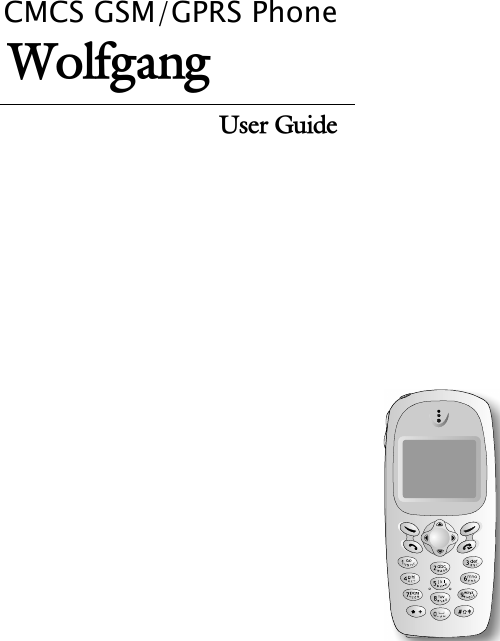
Chi Mei Communication Systems 0208WAG01 PCS Handset with GPRS User Manual wolfgang
Chi Mei Communication Systems, Inc. PCS Handset with GPRS wolfgang
Contents
- 1. Users Manual Part I
- 2. Users Manual Part II
- 3. Rev Manual Part I
- 4. Rev Manual Part II
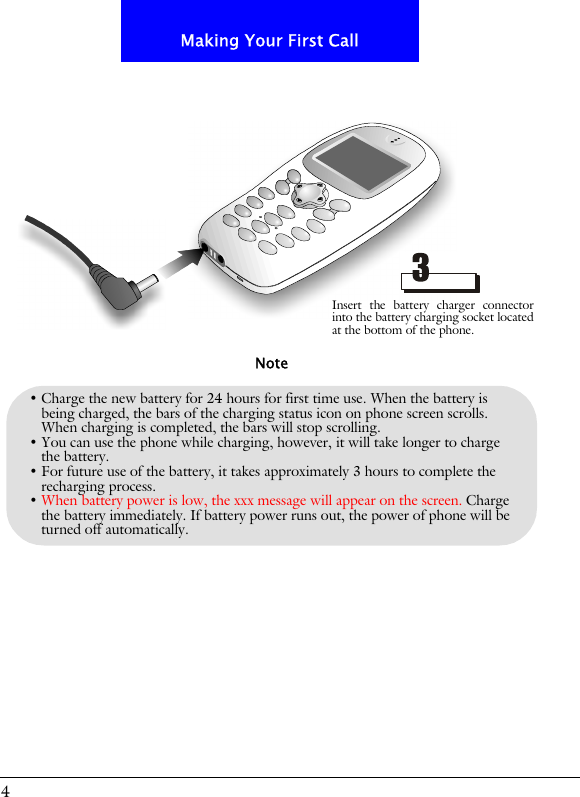
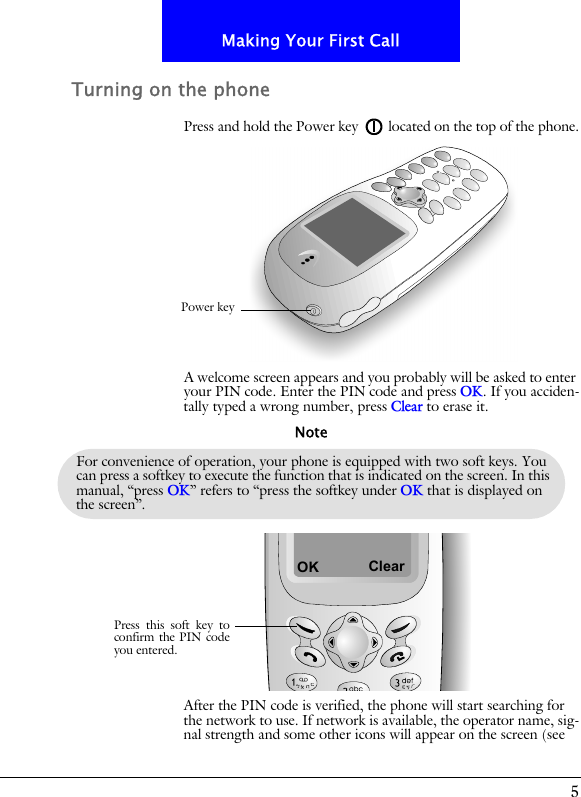
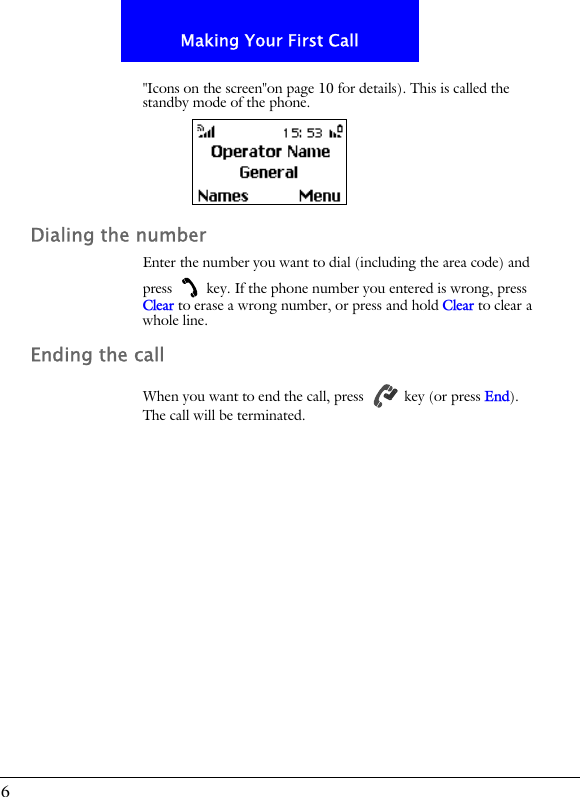
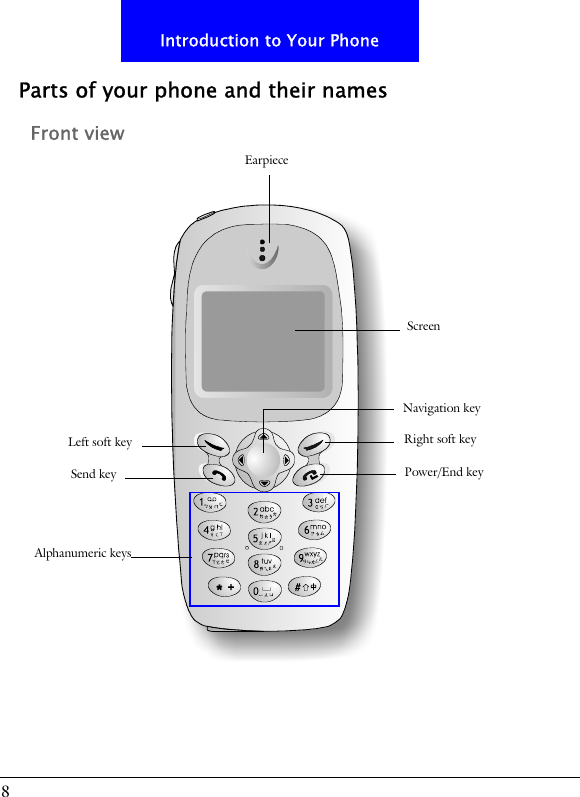
Users Manual Part I