Chi Mei Communication Systems 0303BEN01 PCS 1900 Mobile Handset User Manual Beethoven
Chi Mei Communication Systems, Inc. PCS 1900 Mobile Handset Beethoven
UserManual.wiki
>
Chi Mei Communication Systems
>
0303BEN01 User Manual
Manual
Navigation menu
Upload a User Manual
Namespaces
Wiki Guide
HTML
PDF
Info
Views
User Manual
Discussion / Help
Navigation


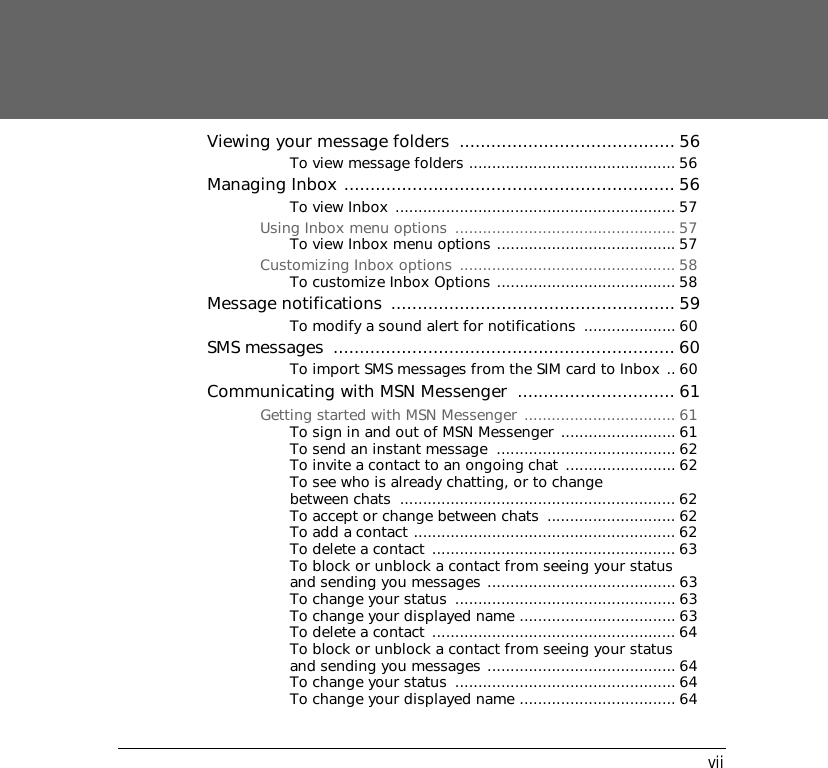


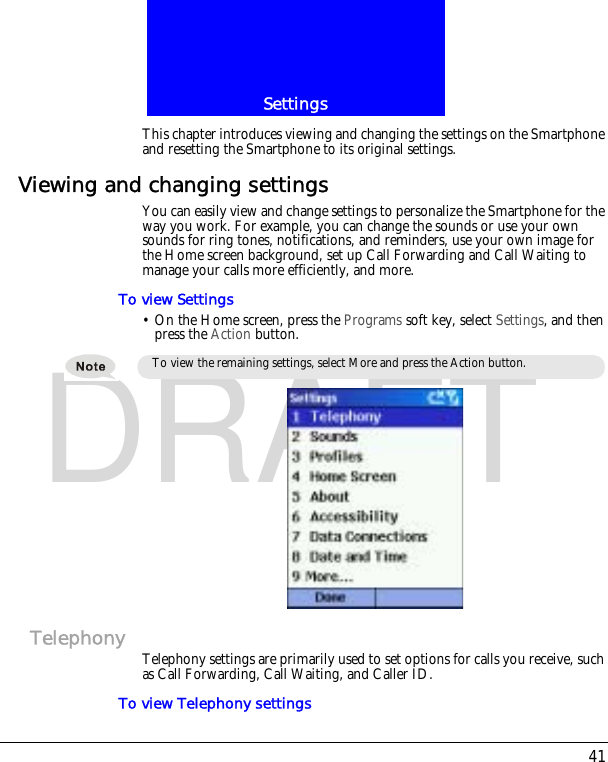
![43SettingsDRAFT3.On the Home screen on your Smartphone, press the Programs soft key, select Settings, select Sounds, and then press the Action button.4.Select the item to customize, press Left or Right to select the sound, and then press the Done soft key.Profiles Profiles settings are used to configure how the Smartphone notifies you of events such as an incoming call, an approaching appointment, or an arriving message. You can use Profiles to change quickly how you receive notifications based on your situation. For example, you may want the Smartphone to ring louder if a client is calling, or you may not want the Smartphone to ring at all, but want to hear calendar reminders. The default profile used with your Smartphone is the Normal profile. The name of the current profile is dis-played on the Home screen, and you can rename it.To view Profiles settings• On the Home screen, press the Programs soft key, select Settings, select Profiles, and then press the Action button.If a Sounds folder does not exist in this directory, you will need to create new one.Make sure that the Smartphone is connected to your desktop computer via USB before you open ActiveSync to paste the sound file.You can also get to Profiles settings by selecting Profile [Type] from the Home screen.](https://usermanual.wiki/Chi-Mei-Communication-Systems/0303BEN01/User-Guide-344183-Page-62.png)
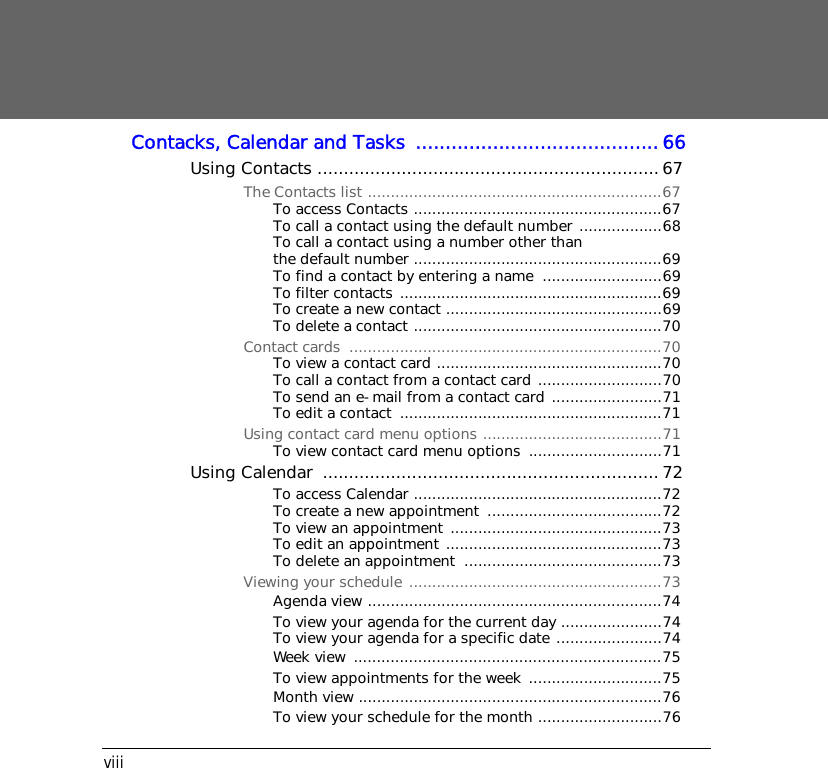
![Settings44DRAFTPreset profilesThe following table shows the list of profiles that come with the Smartphone and their attributes.To use profiles1.On the Home screen, press Down to select Profile: [Type], and press the Action button.Indicates your currentprofileProfile name Ring type Ring volume Notification type Notification volume System sound volumeNormal Ring 3 Play sound 3 3Silent Vibrate Off Vibrate Off OffMeeting Vibrate 1 Play sound 1 OffLoud Ring Loud Play sound Loud LoudAutomatic Toggles between Normal and Meeting, based on your calendar.Headset Ring 3 Play sound 3 3Car Ring 4 Play sound 4 4Speakerphone Ring Loud Play sound Loud Loud](https://usermanual.wiki/Chi-Mei-Communication-Systems/0303BEN01/User-Guide-344183-Page-63.png)


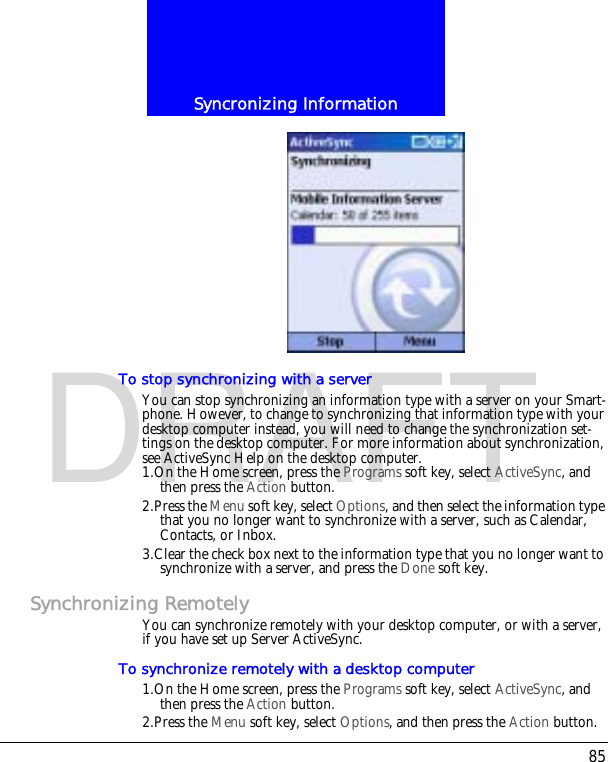
![Syncronizing Information86DRAFT3.Select PC Settings, and then press the Action button.4.Select Include PC sync remotely when synchronizing, and then press the Action button.5.Under Connect To, select the appropriate computer name, and press the Done soft key.6.To start synchronization, press the Sync soft key.To synchronize remotely with a server1.On the Home screen, press the Programs soft key, select ActiveSync, and then press the Action button.2.Press the Menu soft key, select Options, and then press the Action button.3.Select the information type to synchronize with the server, press the Action button, select the Synchronize [Information type] check box, and then press the Done key.Creating a server synchronization scheduleYou can create a server synchronization schedule so that your information is automatically synchronized with the server at time intervals that you specify.To create a schedule to synchronize with a server when your Smart-phone is connected to a desktop computer1.On the Home screen, press the Programs soft key, select ActiveSync, and then press the Action button.2.Press the Menu soft key, select Options, select Schedule, and then press the Action button.3.Select the When connected to my PC, synchronize with the server every check box, and select a length of time.4.Press the Done soft key.To create a schedule to synchronize with a server when your Smart-phone is not connected to a desktop computer (synchronize wire-lessly)1.On the Home screen, press the Programs soft key, select ActiveSync, and then press the Action button.To synchronize remotely with a desktop computer, it must be turned on.](https://usermanual.wiki/Chi-Mei-Communication-Systems/0303BEN01/User-Guide-344183-Page-105.png)