Chi Mei Communication Systems 0307KON01 900/1800/1900 TRIBANDS PHONE WITH GPRS10 AND BLUET User Manual Amadeus
Chi Mei Communication Systems, Inc. 900/1800/1900 TRIBANDS PHONE WITH GPRS10 AND BLUET Amadeus
Contents
- 1. Users manual 1
- 2. Users manual 2
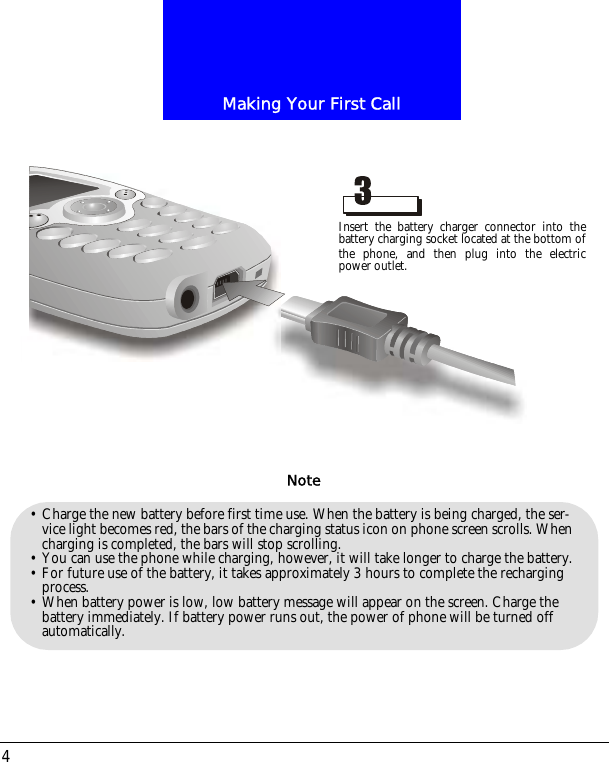
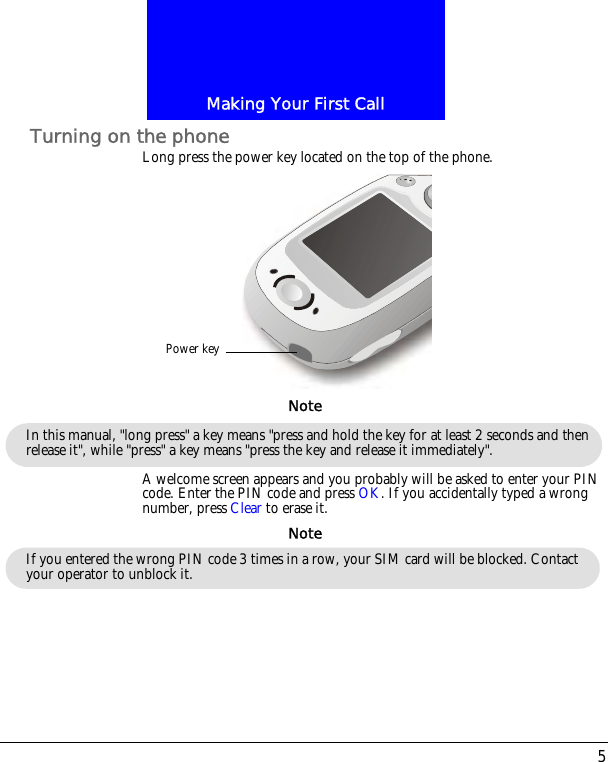
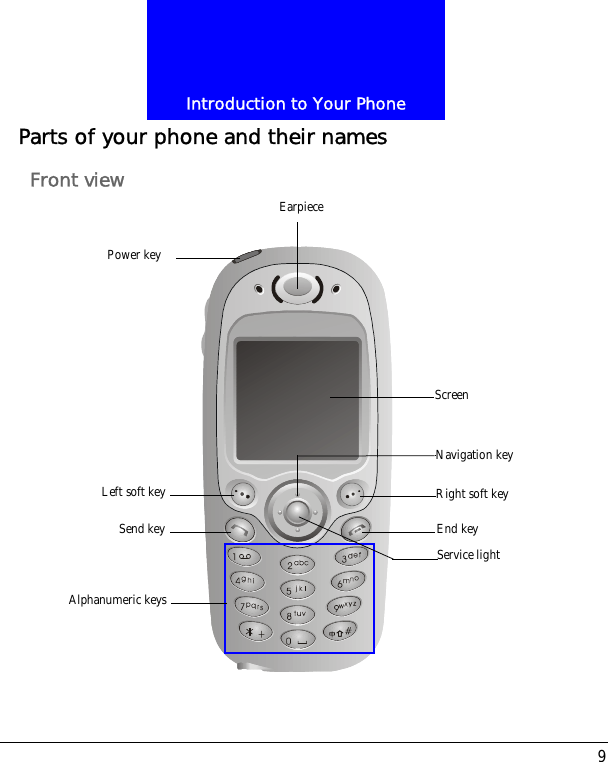
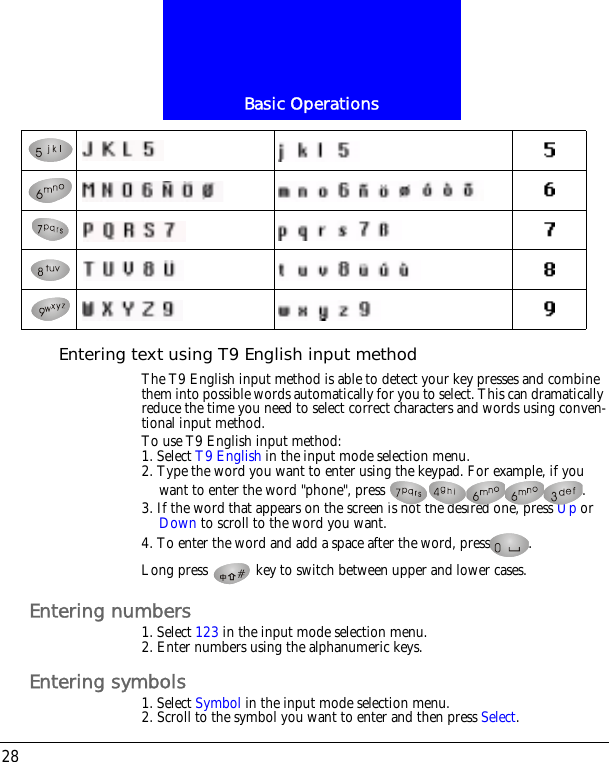
Users manual 1