Chung Hsin Electric and Machinery Mfg PPT-100 Portable Data Terminal User Manual
Chung-Hsin Electric & Machinery Mfg. corp. Portable Data Terminal
UserManual.wiki
>
Chung Hsin Electric and Machinery Mfg
>
PPT 100 User Manual
User Manual
Navigation menu
Upload a User Manual
Namespaces
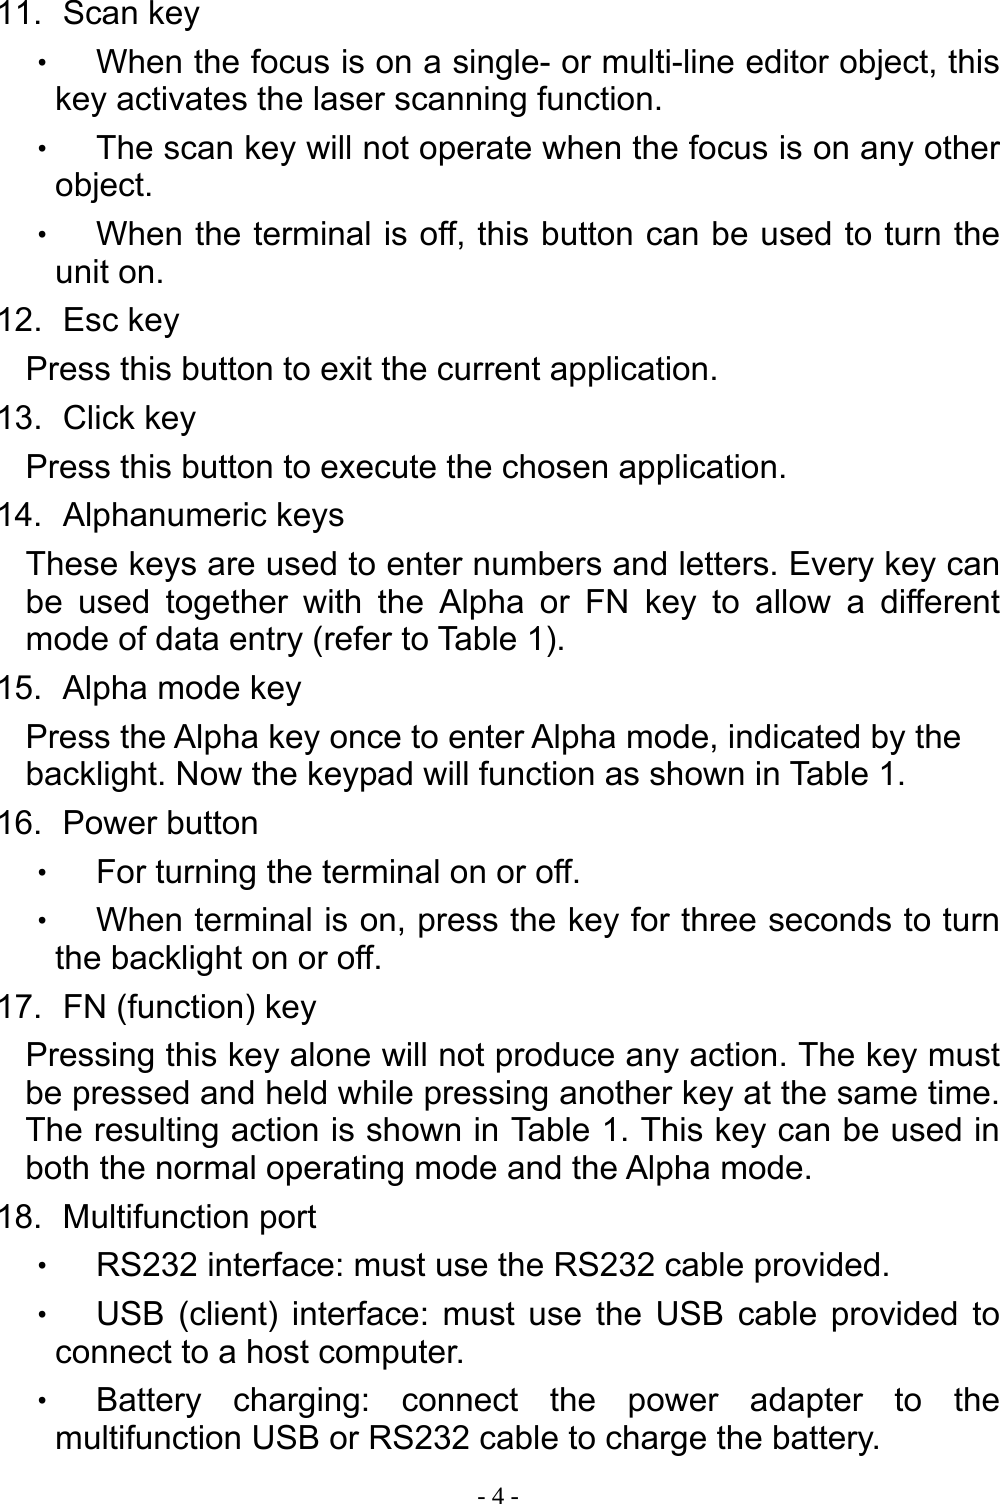
Wiki Guide
HTML
PDF
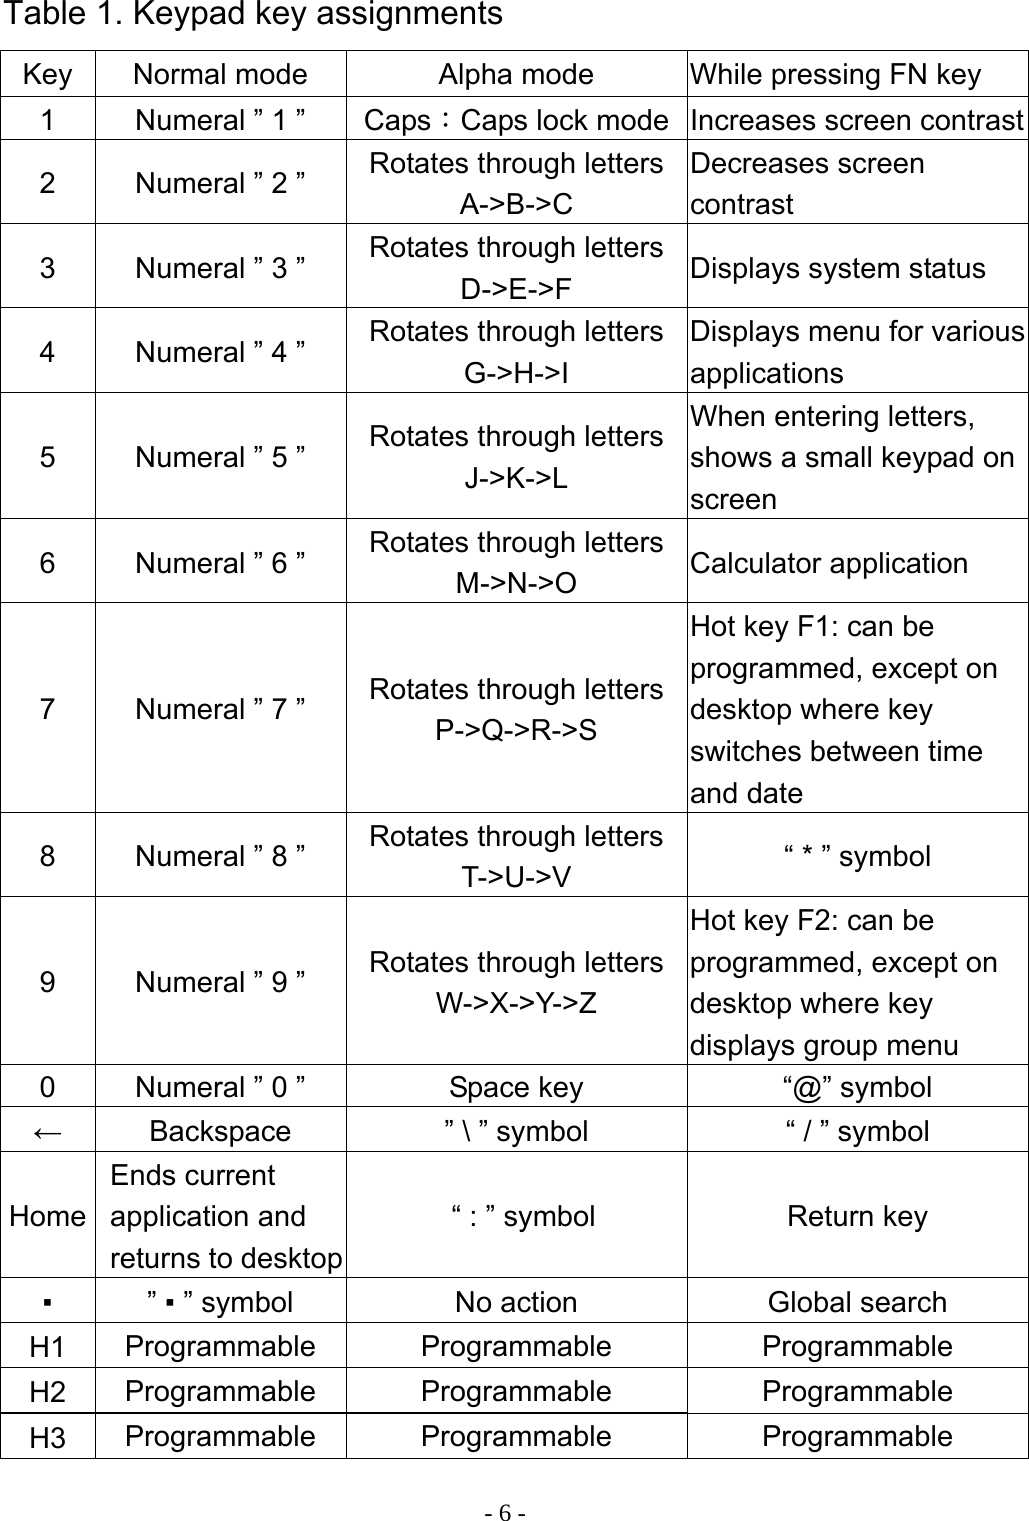
Info
Views
User Manual
Discussion / Help
Navigation
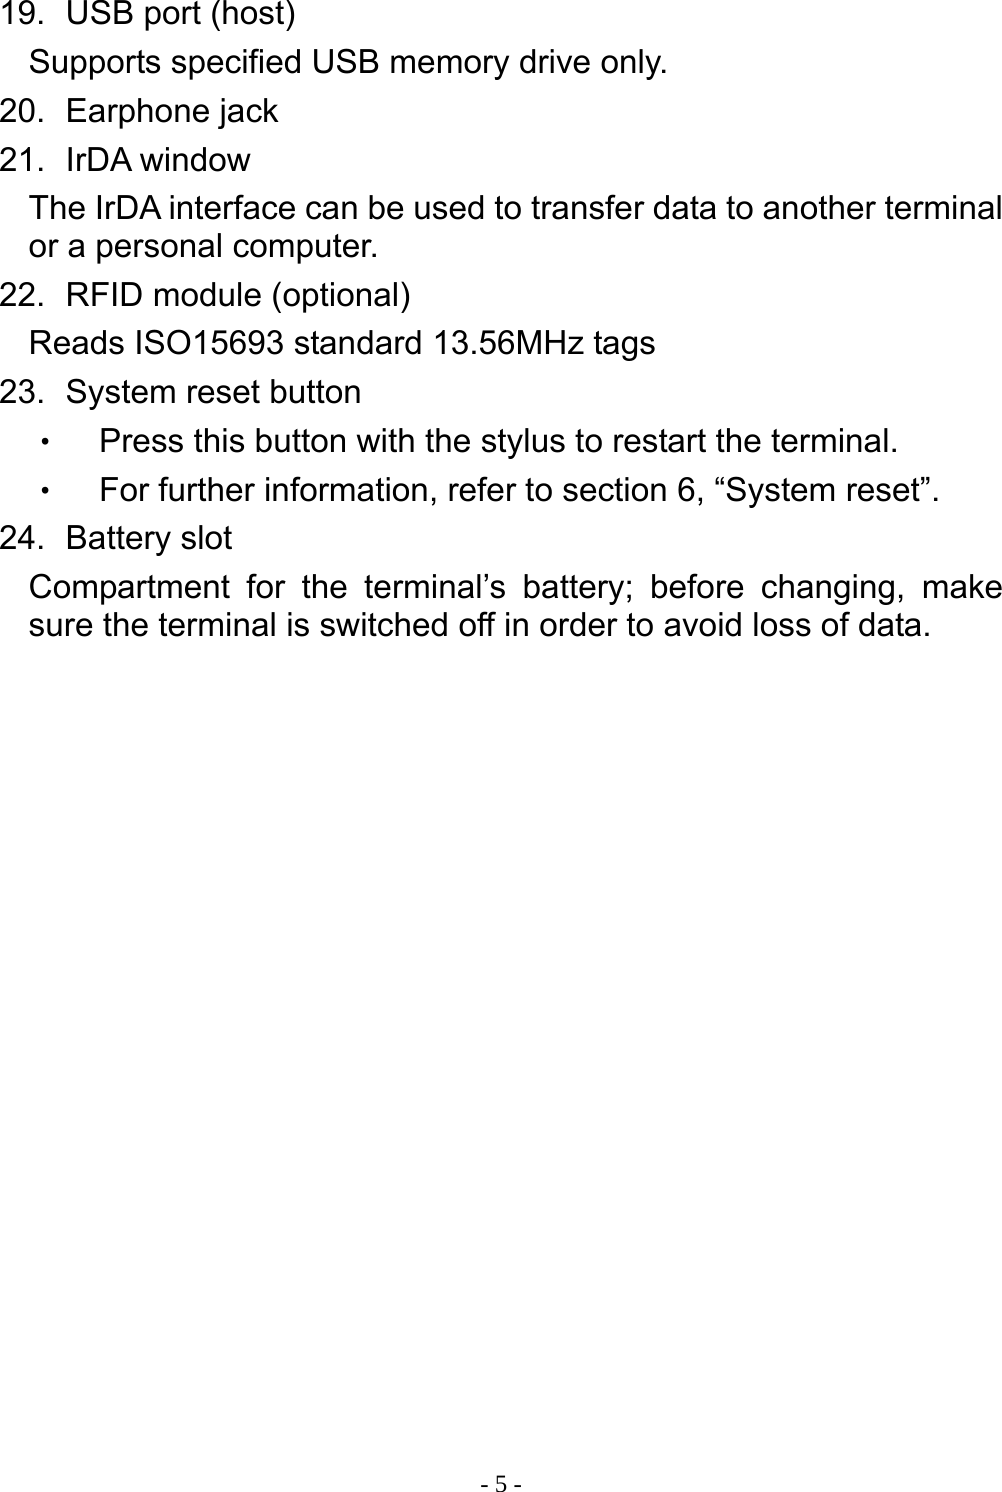


![- 12 - 8. System setting Enter [Tools] group and select [System Setting]. This program allows you to adjust operating parameters according to the terminal’s intended use. 1. General Set the system time Set the system date Recalibrate the touch screen Turn on and off the function to wake up the machine when device is in suspend mode Set the notify method when a barcode is scanned successfully Turn on/off the IrDA receive function](https://usermanual.wiki/Chung-Hsin-Electric-and-Machinery-Mfg/PPT-100/User-Guide-823547-Page-16.png)
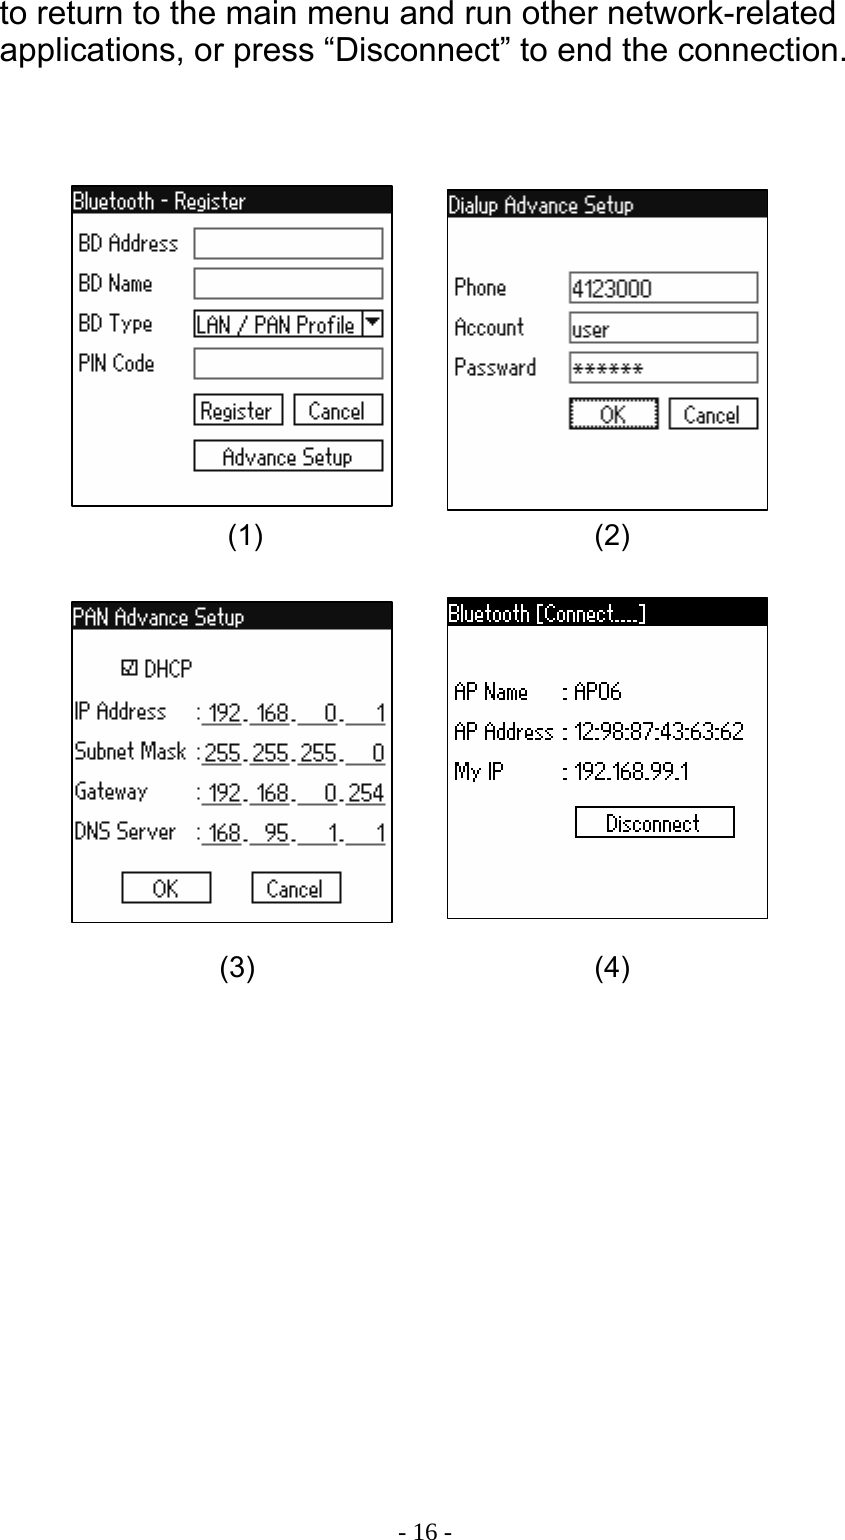
![- 15 -9. Bluetooth Network This terminal is equipped with Bluetooth wireless connectivity. Before using any wireless network related applications, use this program to define the settings. You can also establish the connection priority for several access points to more efficiently use network resources. Switch to the [Tools] group and run the Bluetooth network application. Basic operations are shown in the image below. 1. User can connect to a Bluetooth device manually or with the auto-connect function. Up/down arrows can be used to change connection priority of the devices. 2. Every recognized Bluetooth device is stored according to its profile type. 3. Details of each device, PIN access code, and advanced connection parameters can be edited as shown in images 1, 2 and 3 below. 4. To make a connection, select the desired device and press the “Connect” button. If the connection is successful, the screen will display the view shown below (image 4) and the terminal’s Bluetooth LED will flash intermittently. Press the “Home” button Switch between Bluetooth profilesRecognized Bluetooth devices: when using the auto-connect function, the next available device is automatically chosen in this order Up/down arrows: Select a device, then move it up or down the priority list by clicking the arrows System information windowManually add new deviceAuto search for available device Connect to the selected device Edit parameters of selected deviceDelete selected device](https://usermanual.wiki/Chung-Hsin-Electric-and-Machinery-Mfg/PPT-100/User-Guide-823547-Page-19.png)
![- 17 -10. Barcode Test This terminal features a built-in barcode test, which is accessed from the [Tools] group. In this application, there are two ways to trigger a barcode scan, via either the hardware (image 1) or the software (image 2). Operation is as follows: 1. Hardware trigger: with the object focus on “Barcode”, press the “Scan” button to scan a barcode. This type of scan will stop for the following reasons: ‧ Successful read of a barcode ‧ Scan key is released ‧ Scanning for several seconds without successful read 2. Software trigger: with the object focus on “Test”, press this object or the “Click” button to scan a barcode. When using the software trigger, the scan process cannot be interrupted; however, the scan results will display the type of barcode read. This type of scan will stop for the following reasons: ‧ Successful read of a barcode ‧ Scanning for several seconds without successful read (1) (2)](https://usermanual.wiki/Chung-Hsin-Electric-and-Machinery-Mfg/PPT-100/User-Guide-823547-Page-21.png)
![- 21 -13. Backup The backup feature on the terminal allows a copy of data to be stored on the NAND Flash, preventing data loss when power is low. Switch to the [Tools] group and run the Backup application as shown below: [Backup] 1. Switch to the “Backup” function. 2. Select the type of data to backup and click “Start”. 3. Enter the backup file name and click the “”√” symbol to begin the backup. 4. The backup process will take some time to complete. While backing up files, do not run any other functions to ensure data is not lost. Function currently in Use Pre-set as B: (NAND Flash) Backup Information Start the Backup or Restore function How information is displayedSwitch between Backup / Restore](https://usermanual.wiki/Chung-Hsin-Electric-and-Machinery-Mfg/PPT-100/User-Guide-823547-Page-25.png)
![- 22 -[Restore] 1. Switch to the “Restore” function. 2. The window shown below (image 1) will appear. Select the file to be restored and click “OK”. 3. The window shown here (image 2) will appear, containing information about the selected file. Select the data to be restored, then click “Start”. 4. The system will ask you to reconfirm that you want to restore data (image 3). Click “OK” to begin the process. The Restore process will take some time to complete. While backing up files, do not run any other functions to ensure data is not lost. (2) (3) (1)](https://usermanual.wiki/Chung-Hsin-Electric-and-Machinery-Mfg/PPT-100/User-Guide-823547-Page-26.png)