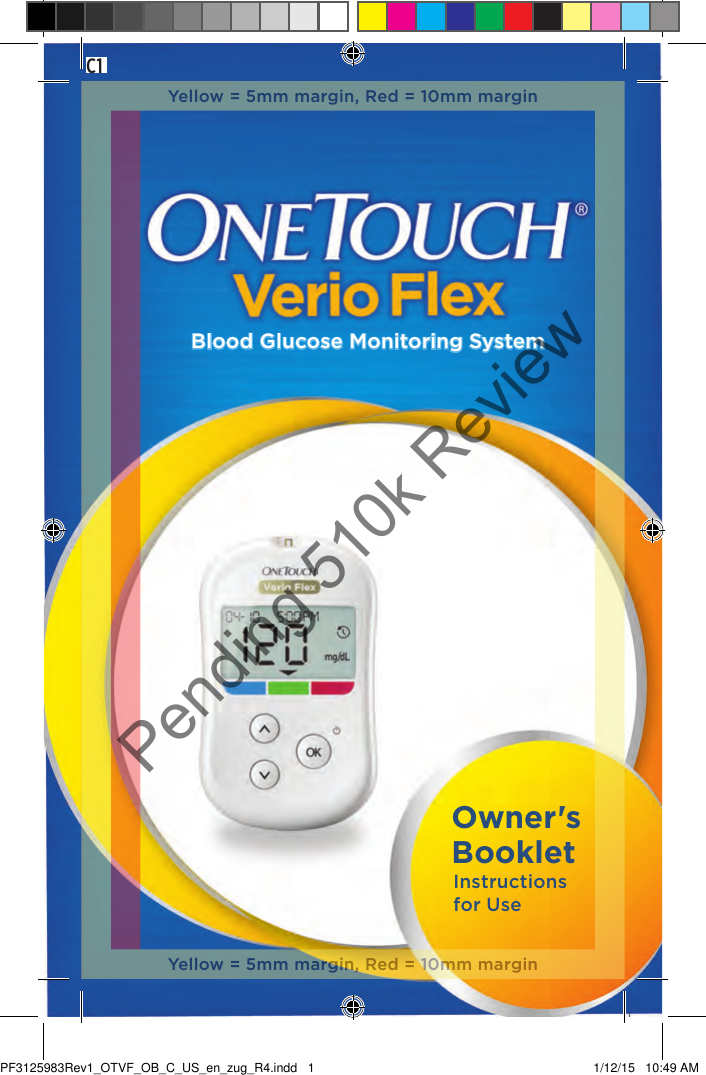
Cilag Z ONE TOUCH Verio Flex / Blood Glucose Monitoring System User Manual
Cilag GmbH International ONE TOUCH Verio Flex / Blood Glucose Monitoring System
UserManual.wiki
>
Cilag
>
Z User Manual
>
User Manual
Contents
1.
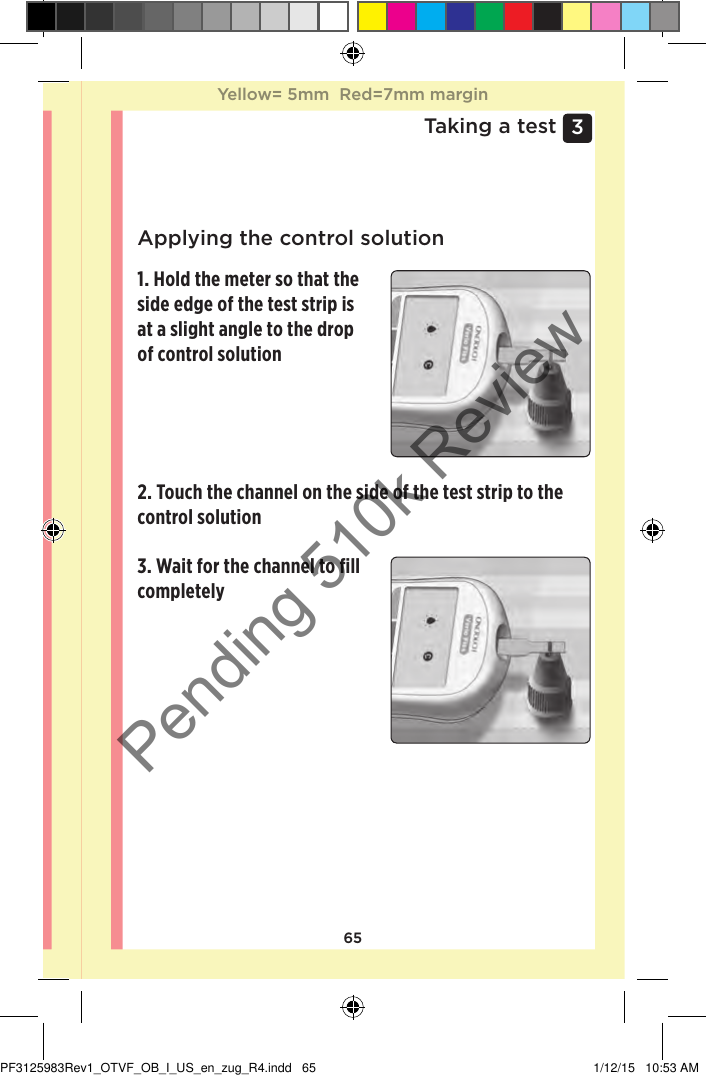
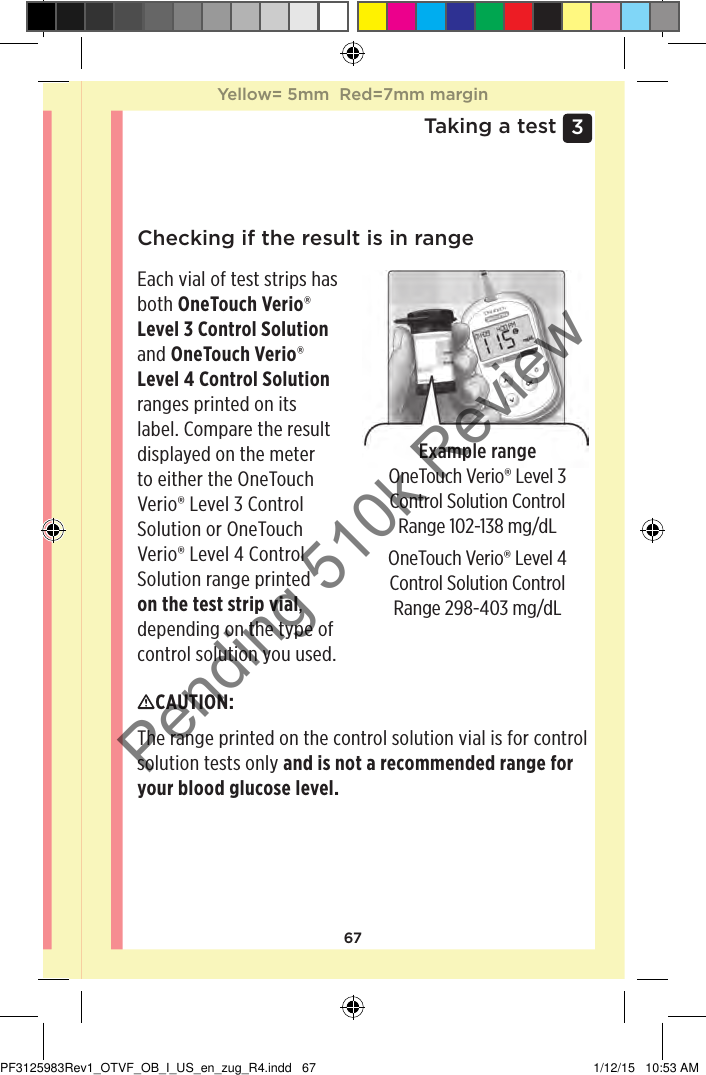
User Manual
2.
User Manual Statements
User Manual
Navigation menu
Upload a User Manual
Namespaces
Wiki Guide
HTML
PDF
Info
Views
User Manual
Discussion / Help
Navigation