Citizen Systems Japan D06B1 Printer with RFID Transmitter User Manual
Citizen Systems Japan Co., Ltd. Printer with RFID Transmitter
UserManual.wiki
>
Citizen Systems Japan
>
D06B1 User Manual
User Manual
Navigation menu
Upload a User Manual
Namespaces
Wiki Guide
HTML
PDF
Info
Views
User Manual
Discussion / Help
Navigation
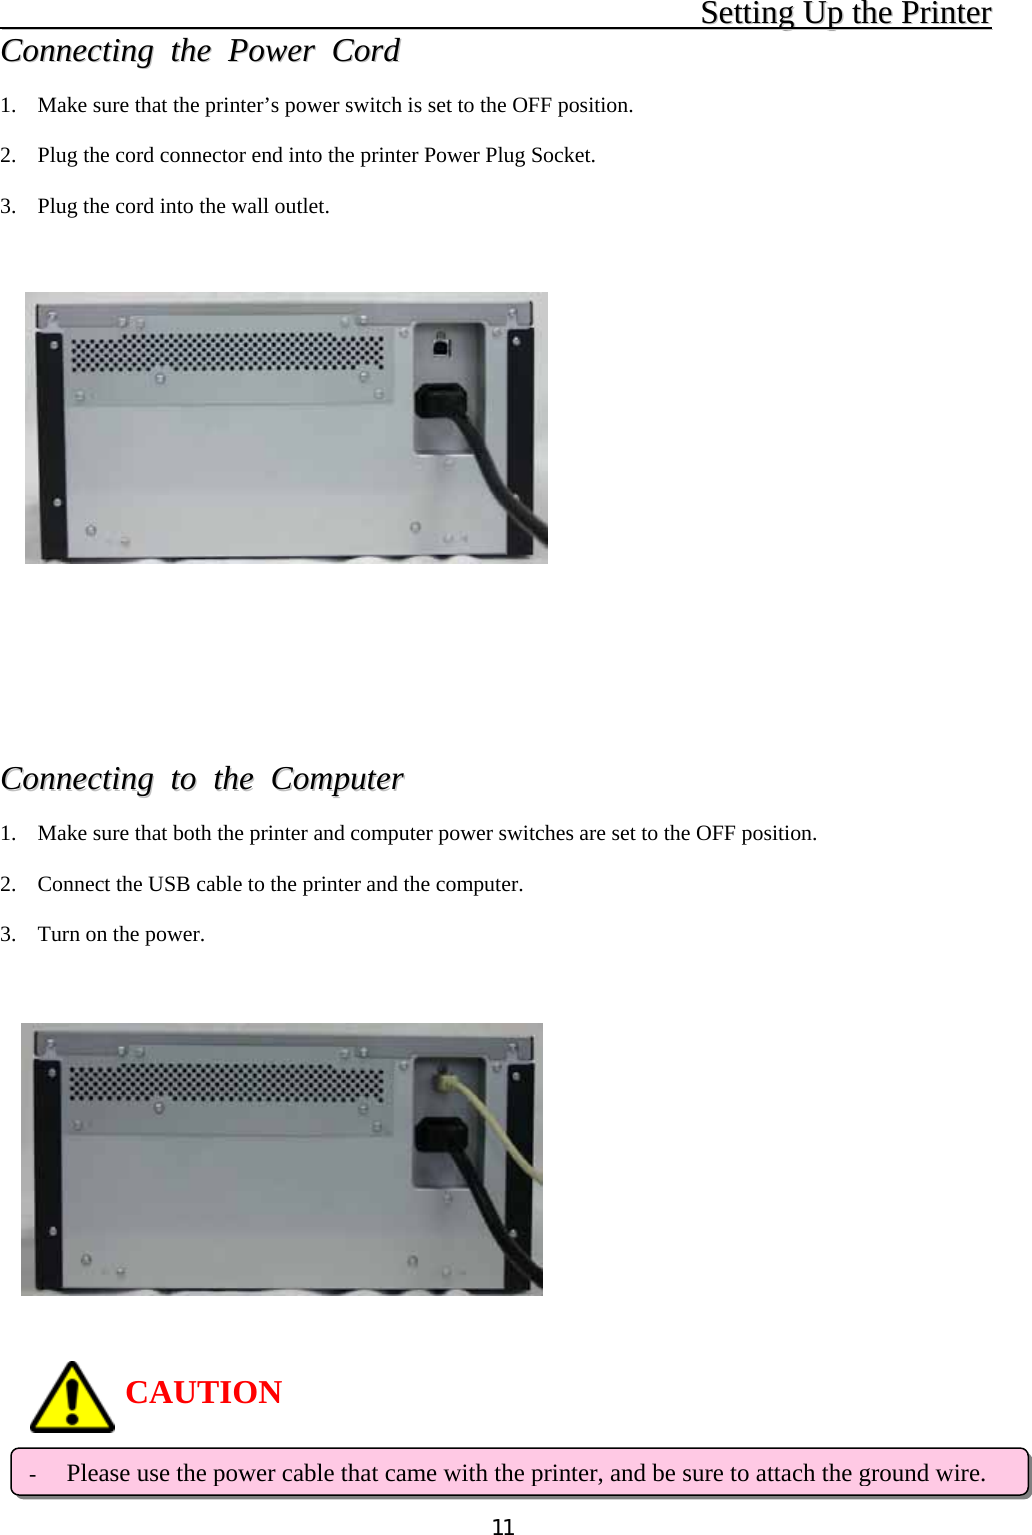
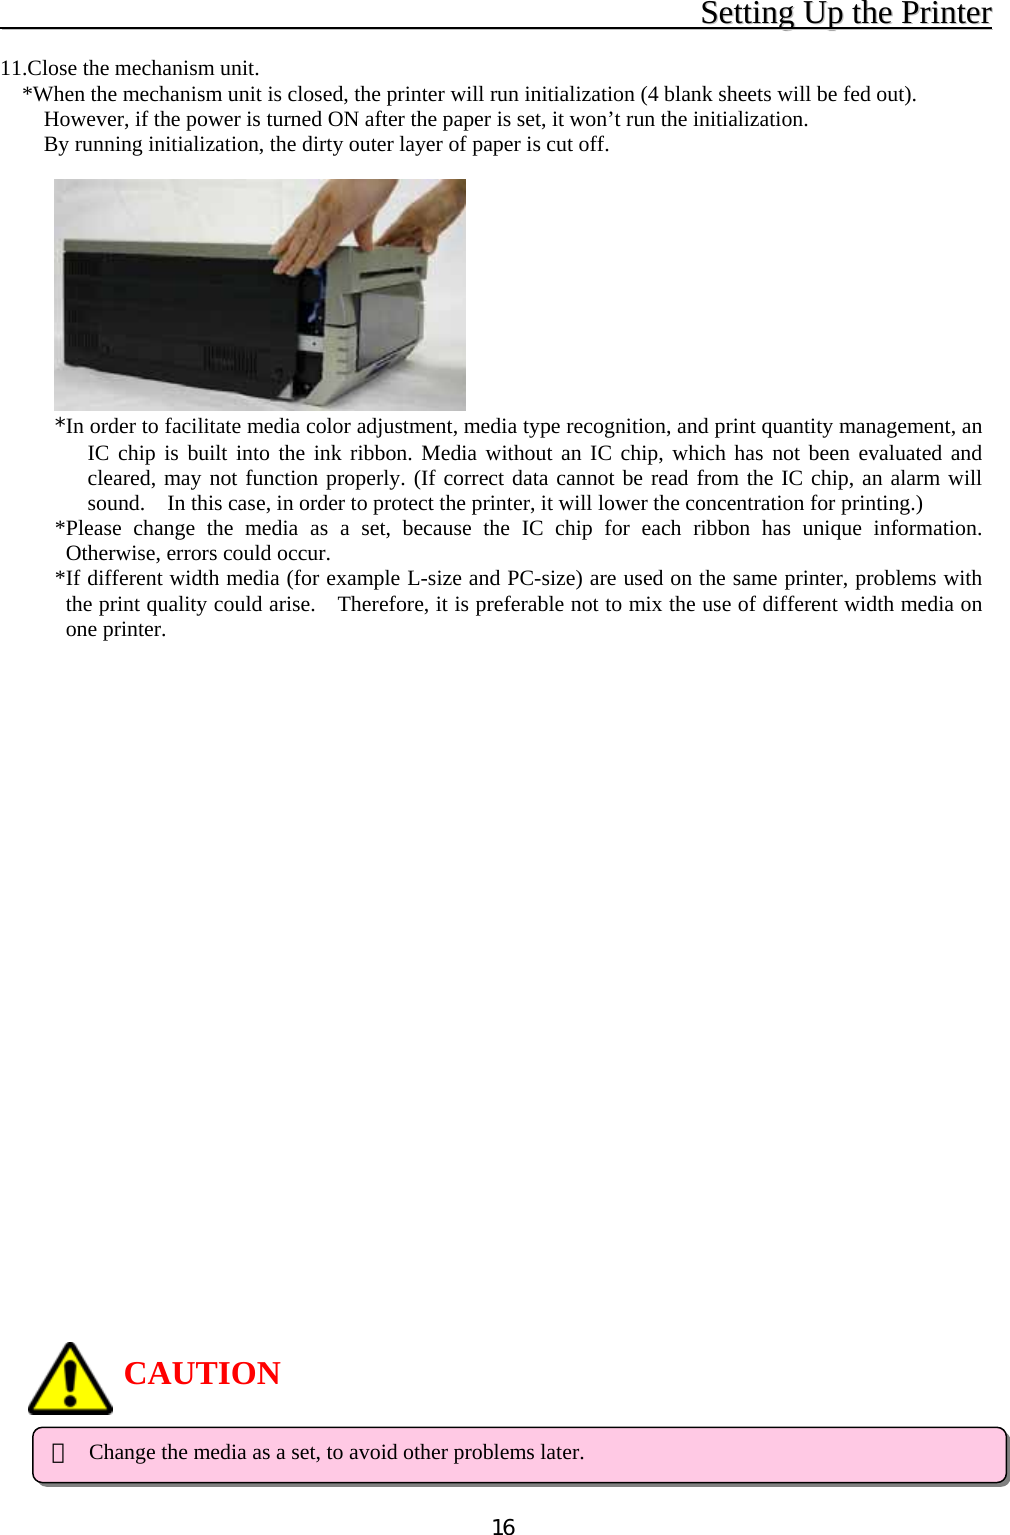
![10 SSeettttiinngg UUpp tthhee PPrriinntteerr NNaammeess ooff CCoommppoonneennttss [Front of Unit] ・ Please be careful not to hurt yourself or damage anything on the edges of the printer. Ventilation USB portPower Plug Socket[Back of Unit] Ventilation [Side of Unit]Platen RollerPower Switch Scrap BoxPrint Feed Out LED Latch LeverCAUTION](https://usermanual.wiki/Citizen-Systems-Japan/D06B1/User-Guide-783847-Page-11.png)