Cobra Electronics XRSR7-RDU RF LINK User Manual
Cobra Electronics Corporation RF LINK
UserManual.wiki
>
Cobra Electronics
>
XRSR7 RDU User Manual
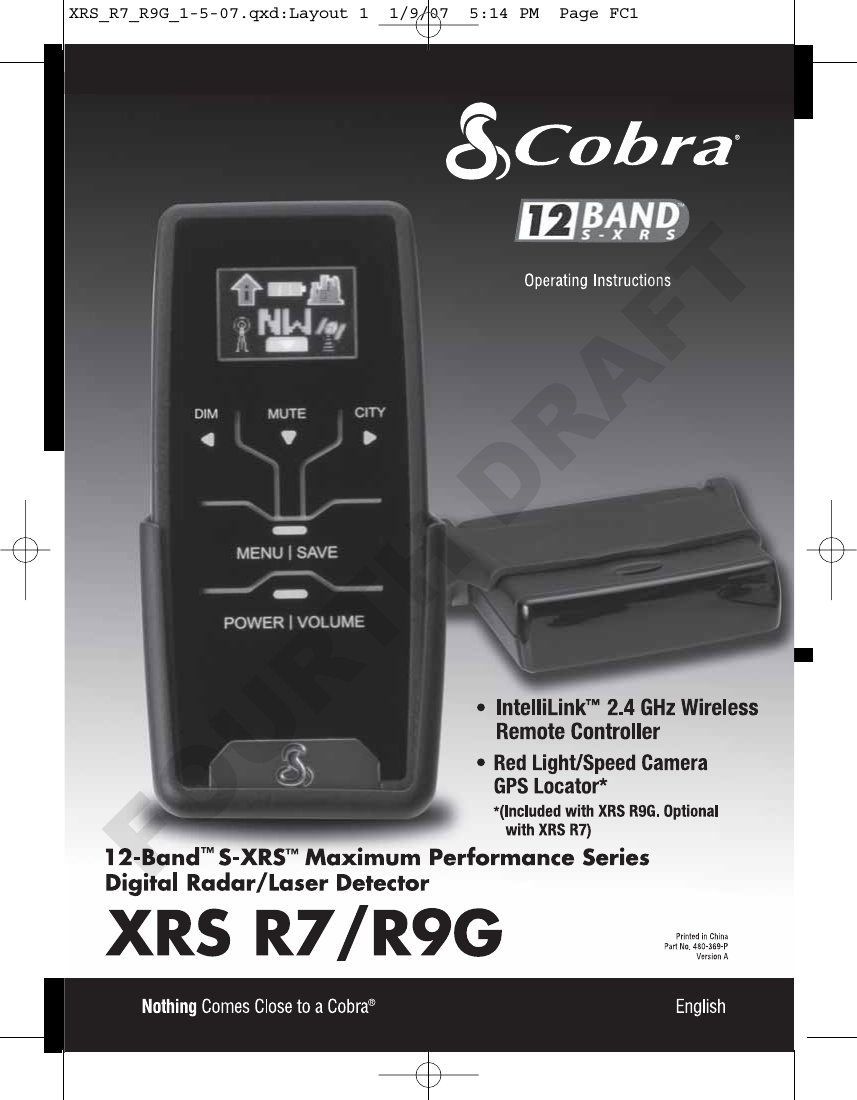
USERS MANUAL
Navigation menu
Upload a User Manual
Namespaces
Wiki Guide
HTML
PDF
Info
Views
User Manual
Discussion / Help
Navigation

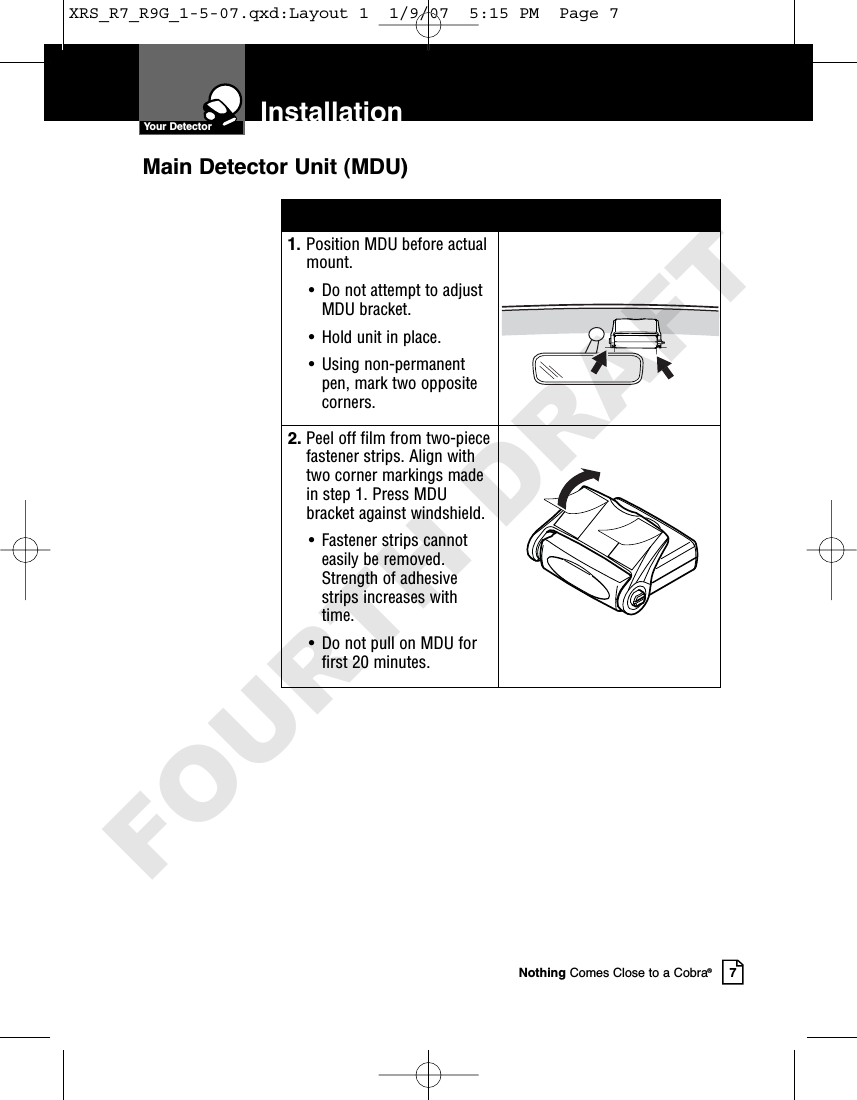
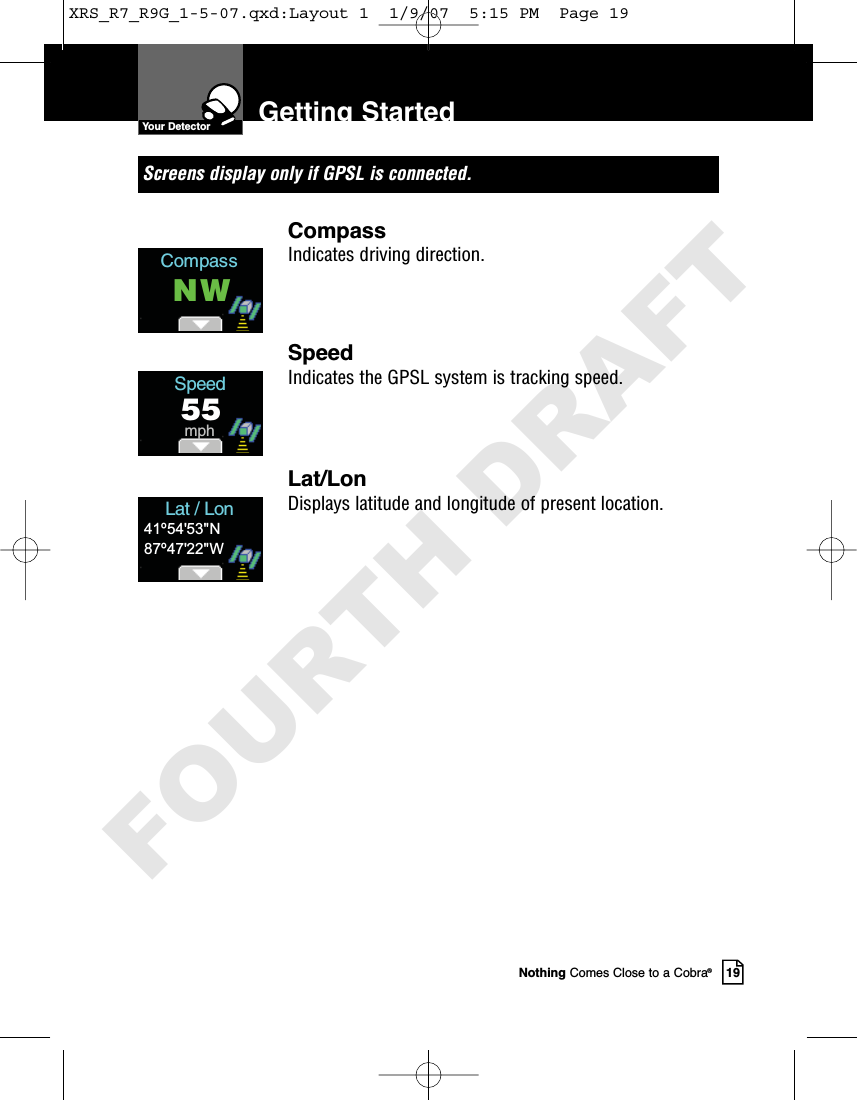
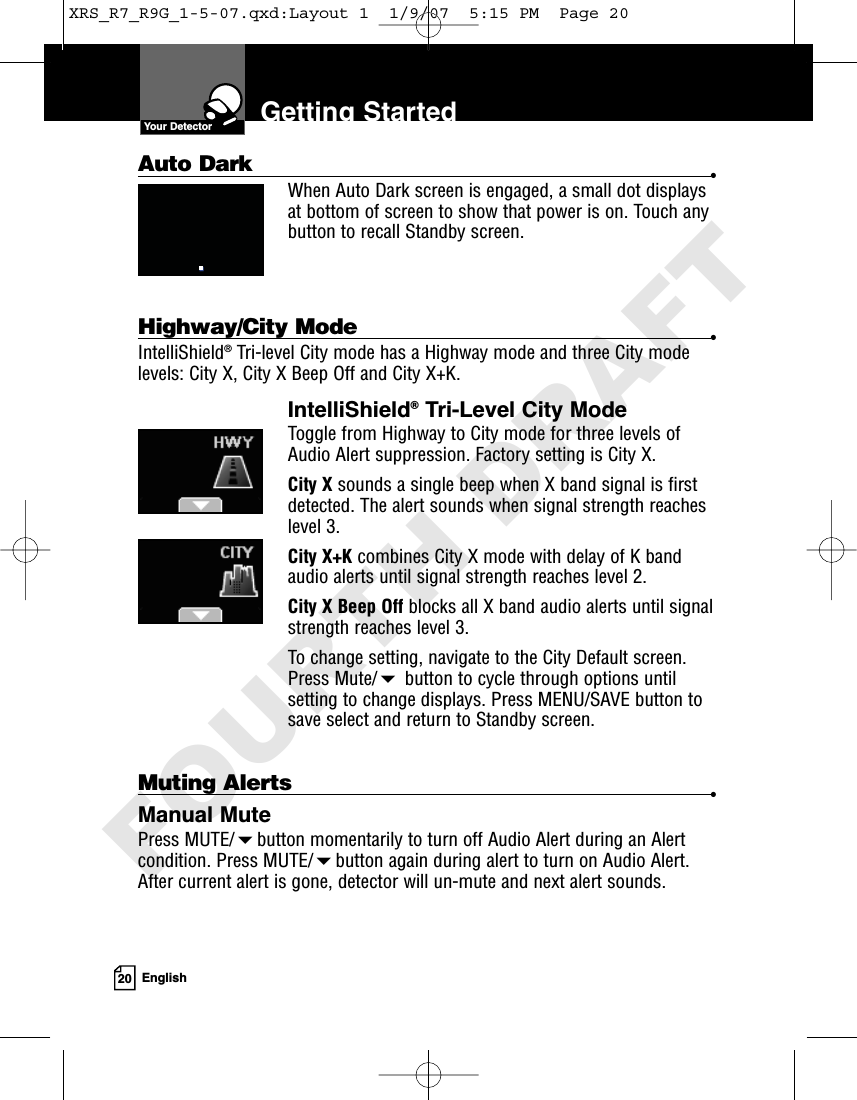
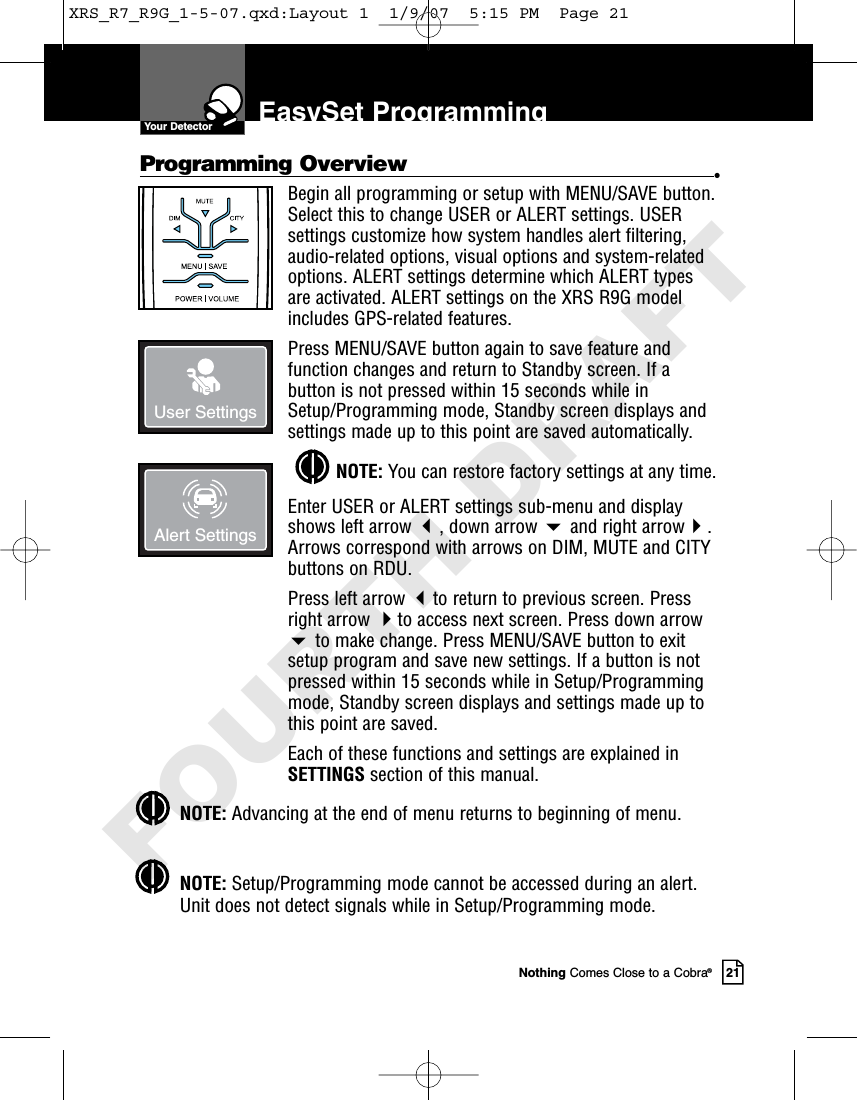
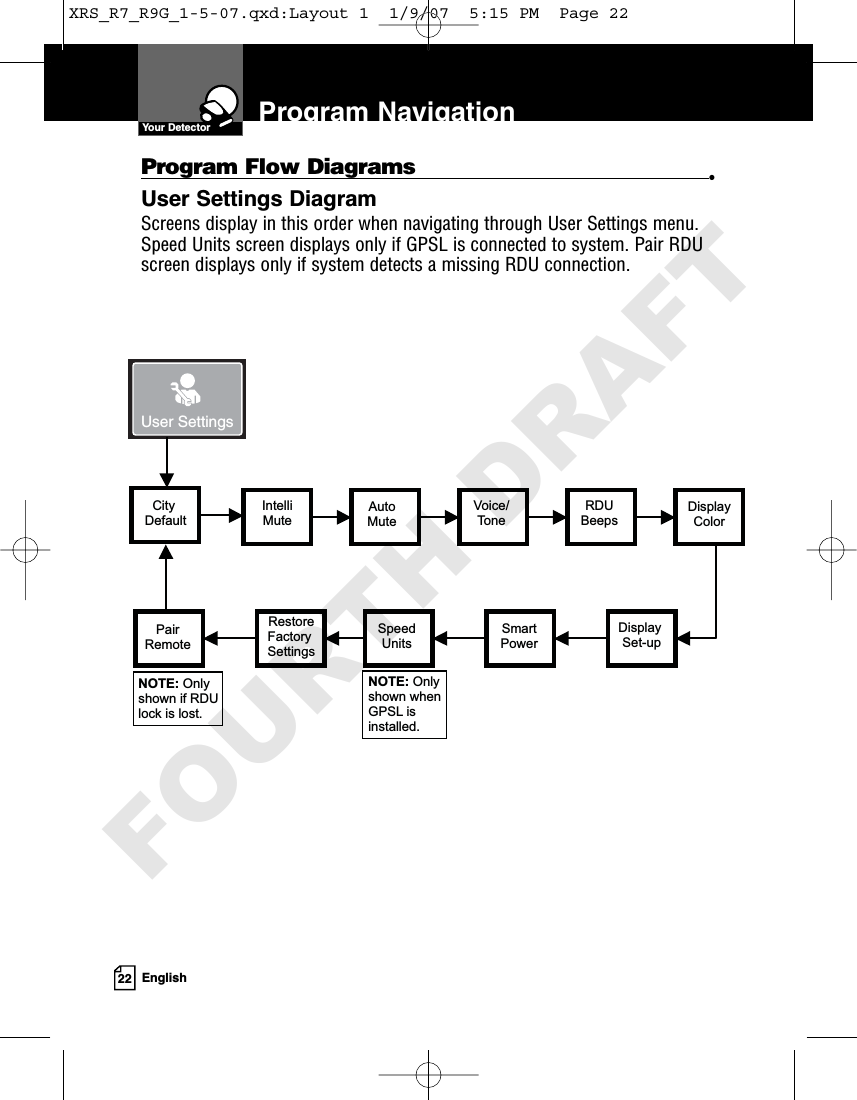
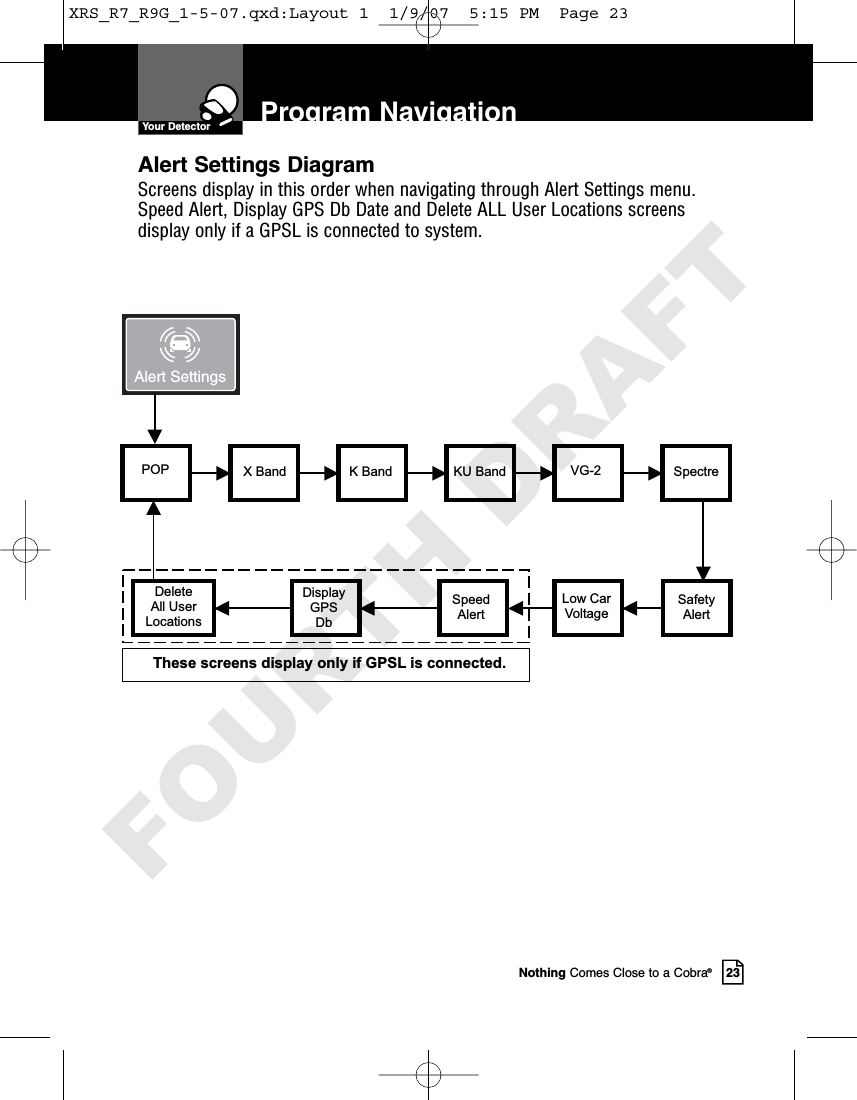
![4EnglishInstallation OverviewMount UnitMain Detector Unit (MDU)Note: To power the MDU, use one of the two power cords provided(See Page A3).•12-Foot Power Cord – Acessory Plug: For connecton to 12-voltvehicle accessory outlet, or•12-Foot Power Cord – Fuse Box: For connection to vehicle’s fusebox using the in-line fuse and wires.Fuse box hard wiring is recommended. Use this configuration toprovide a more discreet installation. If you are unsure about makingthis connection yourself, contact a professional installer.On a negative grounded vehicle:1. Connect the positive wire [marked with a tag (+)] of the DC power cordto an accessory 12-volt fuse that is controlled by the ignition switch(Figure A).2. Connect negitive wire (-) to a chassis ground location (Figure A). Bodypaint may may need to be removed to assure a good groundconnection. IntroductionACCFigure AXRS_R7_R9G_1-5-07.qxd:Layout 1 1/9/07 5:14 PM Page 4FOURTH DRAFT](https://usermanual.wiki/Cobra-Electronics/XRSR7-RDU/User-Guide-770816-Page-8.png)

![Nothing Comes Close to a Cobra®44Accessories Order InfoCustomer AssistanceOrdering From U.S.A.Call 773-889-3087 for pricing or visit www.cobra.com.For Credit Card OrdersCall 773-889-3087 [Press one from the main menu] 8:00 a.m. to 6:00 p.m. Central Time,Monday through Friday.Make Check or Money Order Payable ToCobra Electronics, Attn: Accessories Dept., 6500 West Cortland Street, Chicago, IL 60707 U.S.A.To Order OnlinePlease visit our website: www.cobra.comItem # DescriptionCLP-2B Dual Port Power AdapterRDA GPSL GPS Locator (w/cable) Upgrade Kit (for Model XRS R7 Only)RDA LIBP LiON Replacement BatteryXRS_R7_R9G_1-5-07.qxd:Layout 1 1/9/07 5:14 PM Page 44FOURTH DRAFT](https://usermanual.wiki/Cobra-Electronics/XRSR7-RDU/User-Guide-770816-Page-48.png)
