Codan 2110 2110 SSB Transceiver User Manual 15 04135 EN 1
Codan Limited 2110 SSB Transceiver 15 04135 EN 1
UserManual.wiki
>
Codan
>
2110 User Manual
>
Reference Manual a
Contents
1.
Getting started guide
2.
Reference Manual a
3.
Reference Manual b
4.
Reference Manual c
5.
Antenna reference card
Reference Manual a
Navigation menu
Upload a User Manual
Namespaces
Wiki Guide
HTML
PDF
Info
Views
User Manual
Discussion / Help
Navigation
![About this manual2110 SSB Transceiver Reference Manual 3Standards and iconsThe following standards and icons are used in this manual:This typeface Means...Italic a cross-reference or text requiring emphasisBold a key on a computer keyboardcommand a command that you can enter from a computer, for example, help command <variable>|<variable>a variable associated with a command that you enter using a computer, for example, prompt off|<text string>|time means that you may enter prompt off, prompt <text string> or prompt time command [optional] the information following the command in [] brackets is optionalThis icon Means...1a step within a taskNOTE the text beside this icon may be of interest to youCAUTION proceed with caution as your actions may lead to loss of data, privacy or signal qualityWARNING your actions may cause harm to yourself or the equipment](https://usermanual.wiki/Codan/2110.Reference-Manual-a/User-Guide-521558-Page-15.png)
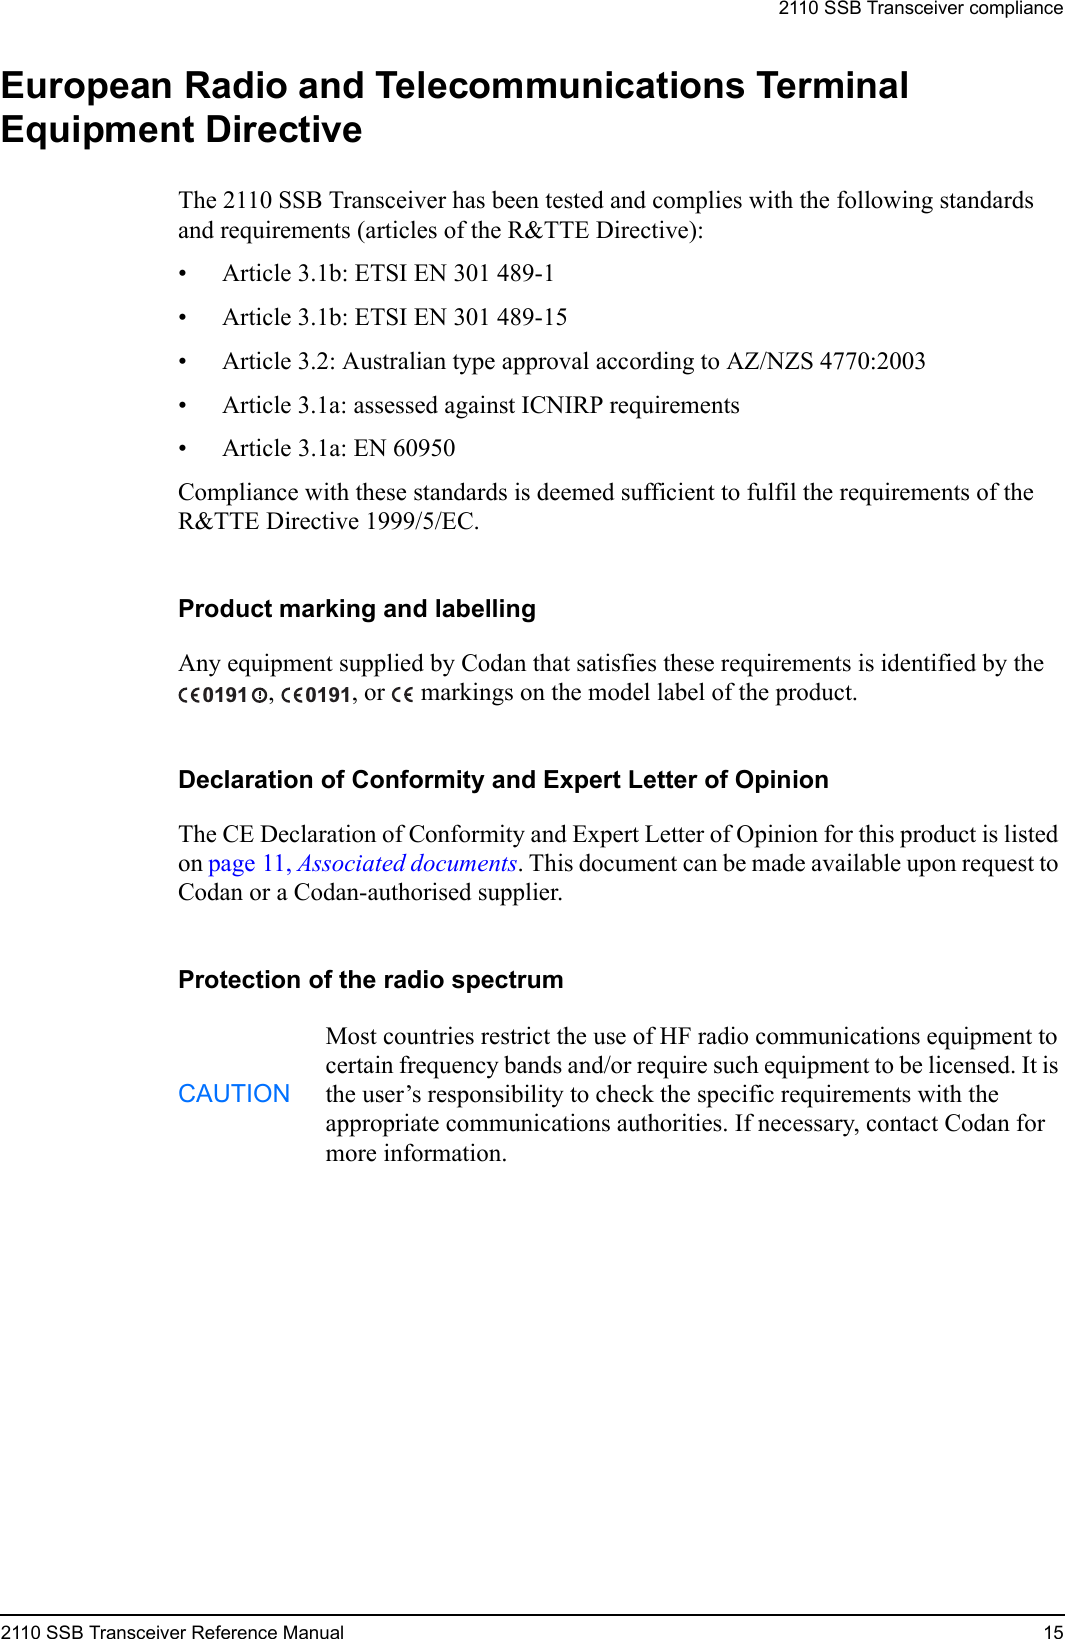


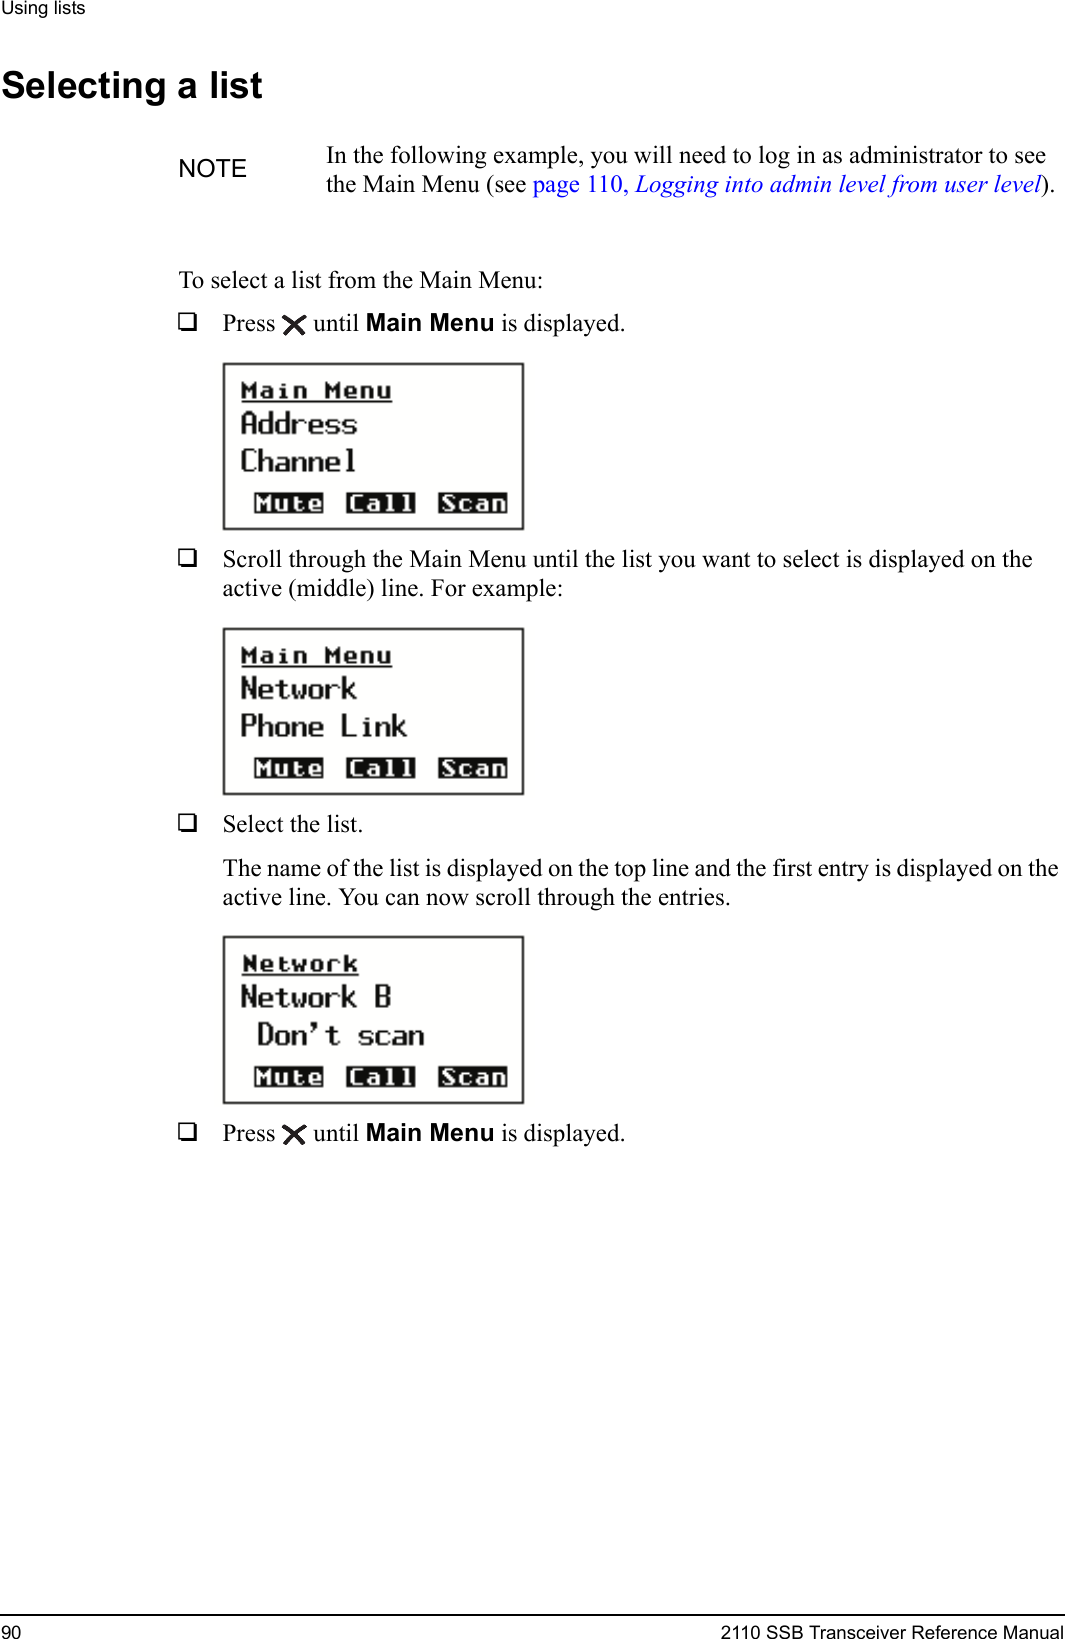
![Operating the transceiver2110 SSB Transceiver Reference Manual 55Deleting textTo delete text:1Use and to move the cursor one position to the right of the character that you want to delete, then press .Entering special characters in messages and namesTo enter special characters:1Use the and keys to move the cursor to the point where you want to insert a special character, then press * repeatedly until the symbol you want is displayed.To enter one of an extended range of special characters:1Use and to move the cursor to the character or space where you want to replace a character.1Press to place an underscore beneath the current character or space.1Use and to scroll through the character choices.1When you have selected the character that you want to use, use 1 or 3 to scroll left or right respectively.1When you have made the changes, press to exit the special character mode.NOTEIf you want to insert a space, make sure that A or a is displayed at the bottom right of the screen before you press 0, otherwise you will enter a zero.NOTE The special characters that are available are:. , ’ ? ! & # $ * ( ) - + / NOTE Make sure that A or a is displayed at the bottom right of the screen before you press *, otherwise you will enter a decimal point.NOTEThe characters that are available are:space , . ; ? : ¨ ‘ ’ / ! @ # $ % ^ & * ( ) _ - + = | \ ~ < > { } [ ] 0 1 2 3 4 5 6 7 8 9A B C D E F G H I J K L M N O P Q R S T U V W X Y Z a b c d e f g h i j k l m n o p q r s t u v w x y z NOTE If you want to add a new character, enter a space then move the cursor to this space.](https://usermanual.wiki/Codan/2110.Reference-Manual-a/User-Guide-521558-Page-67.png)


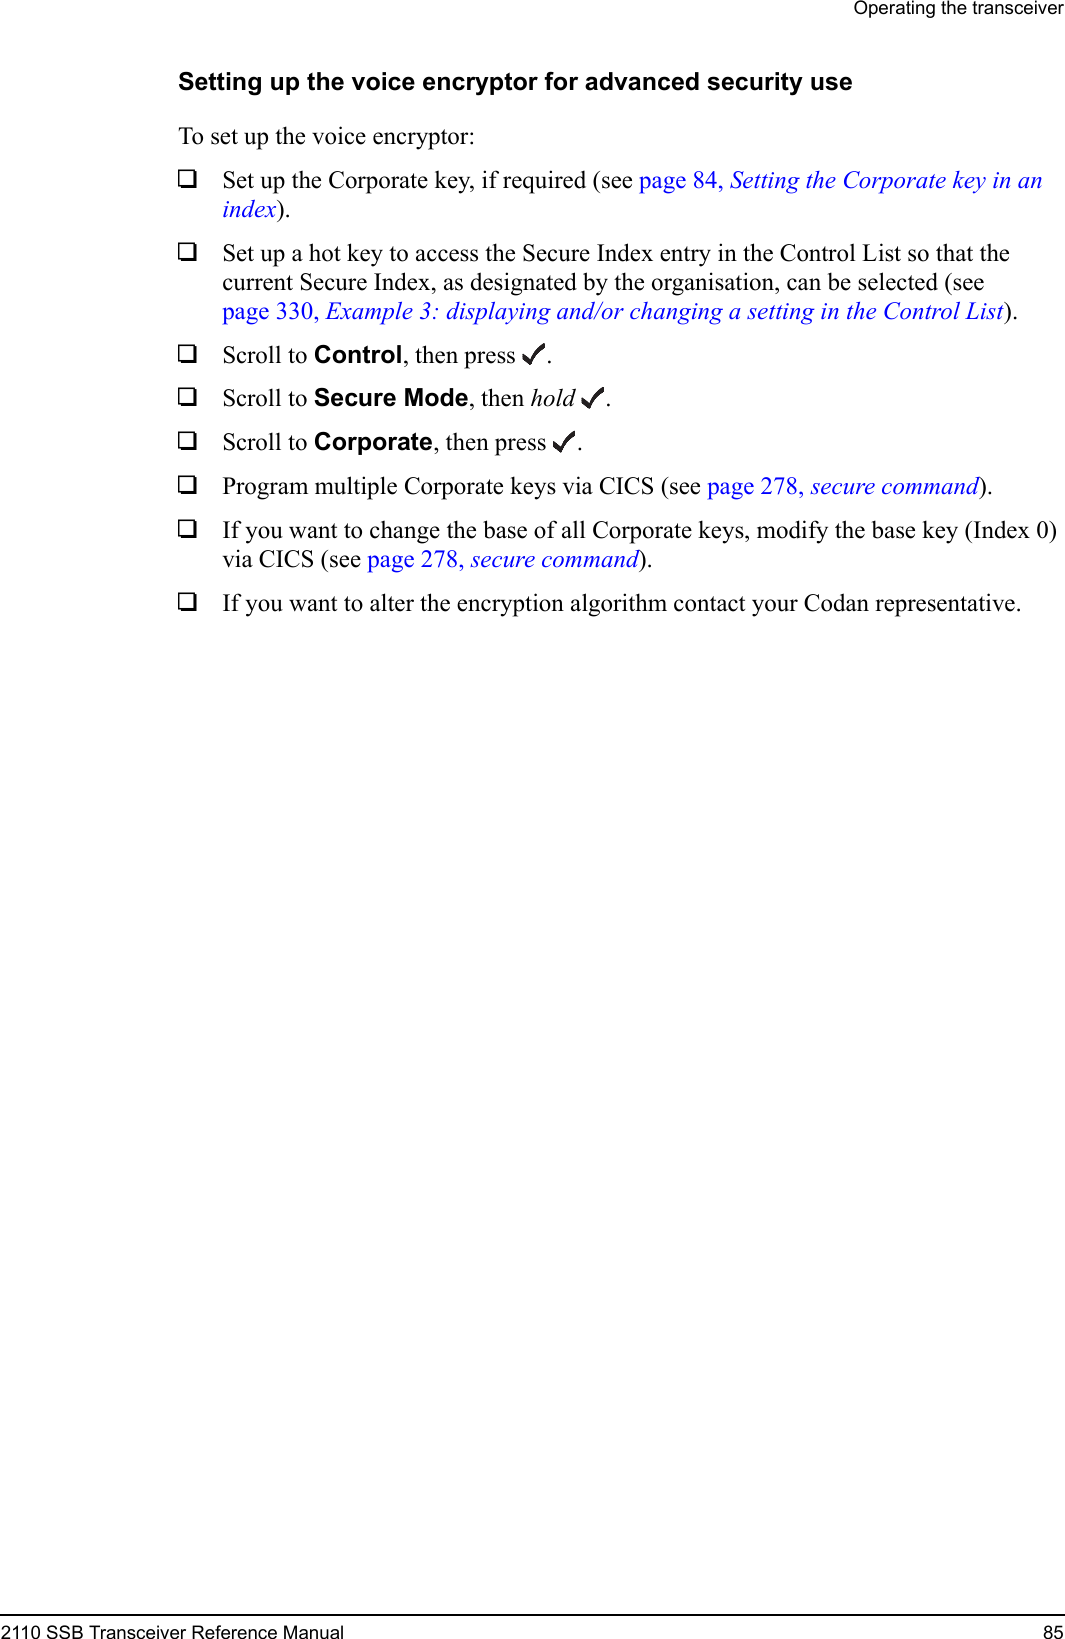

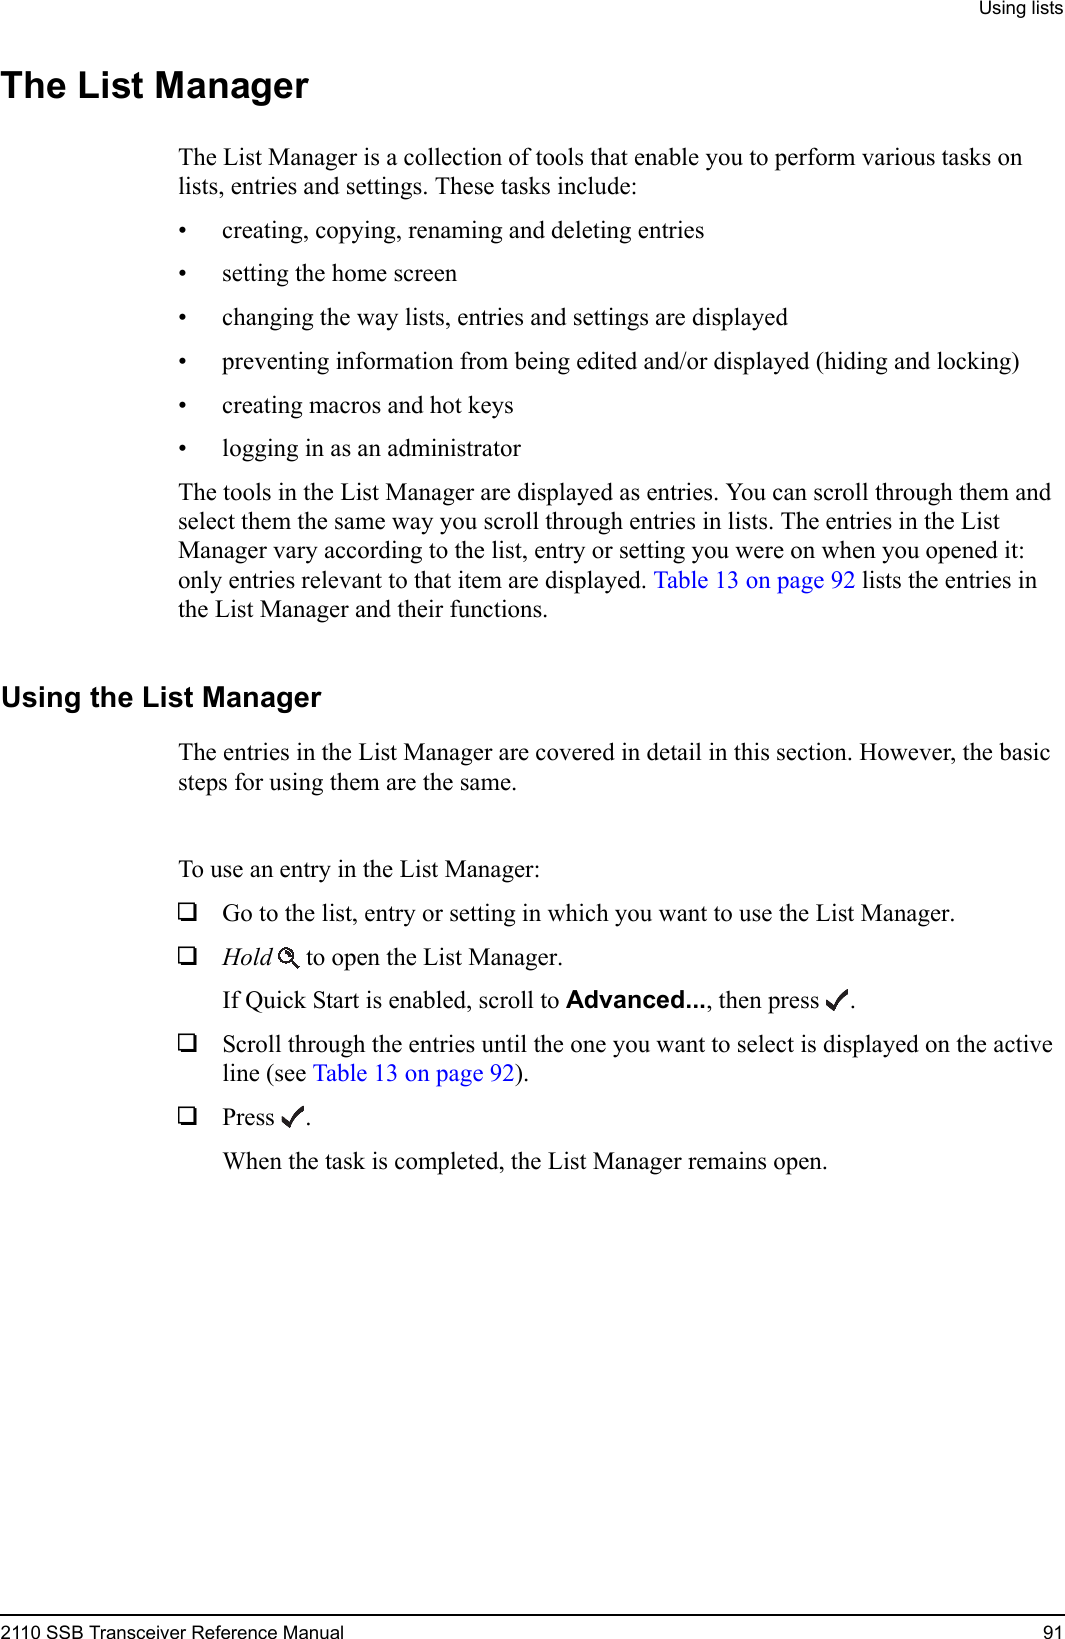

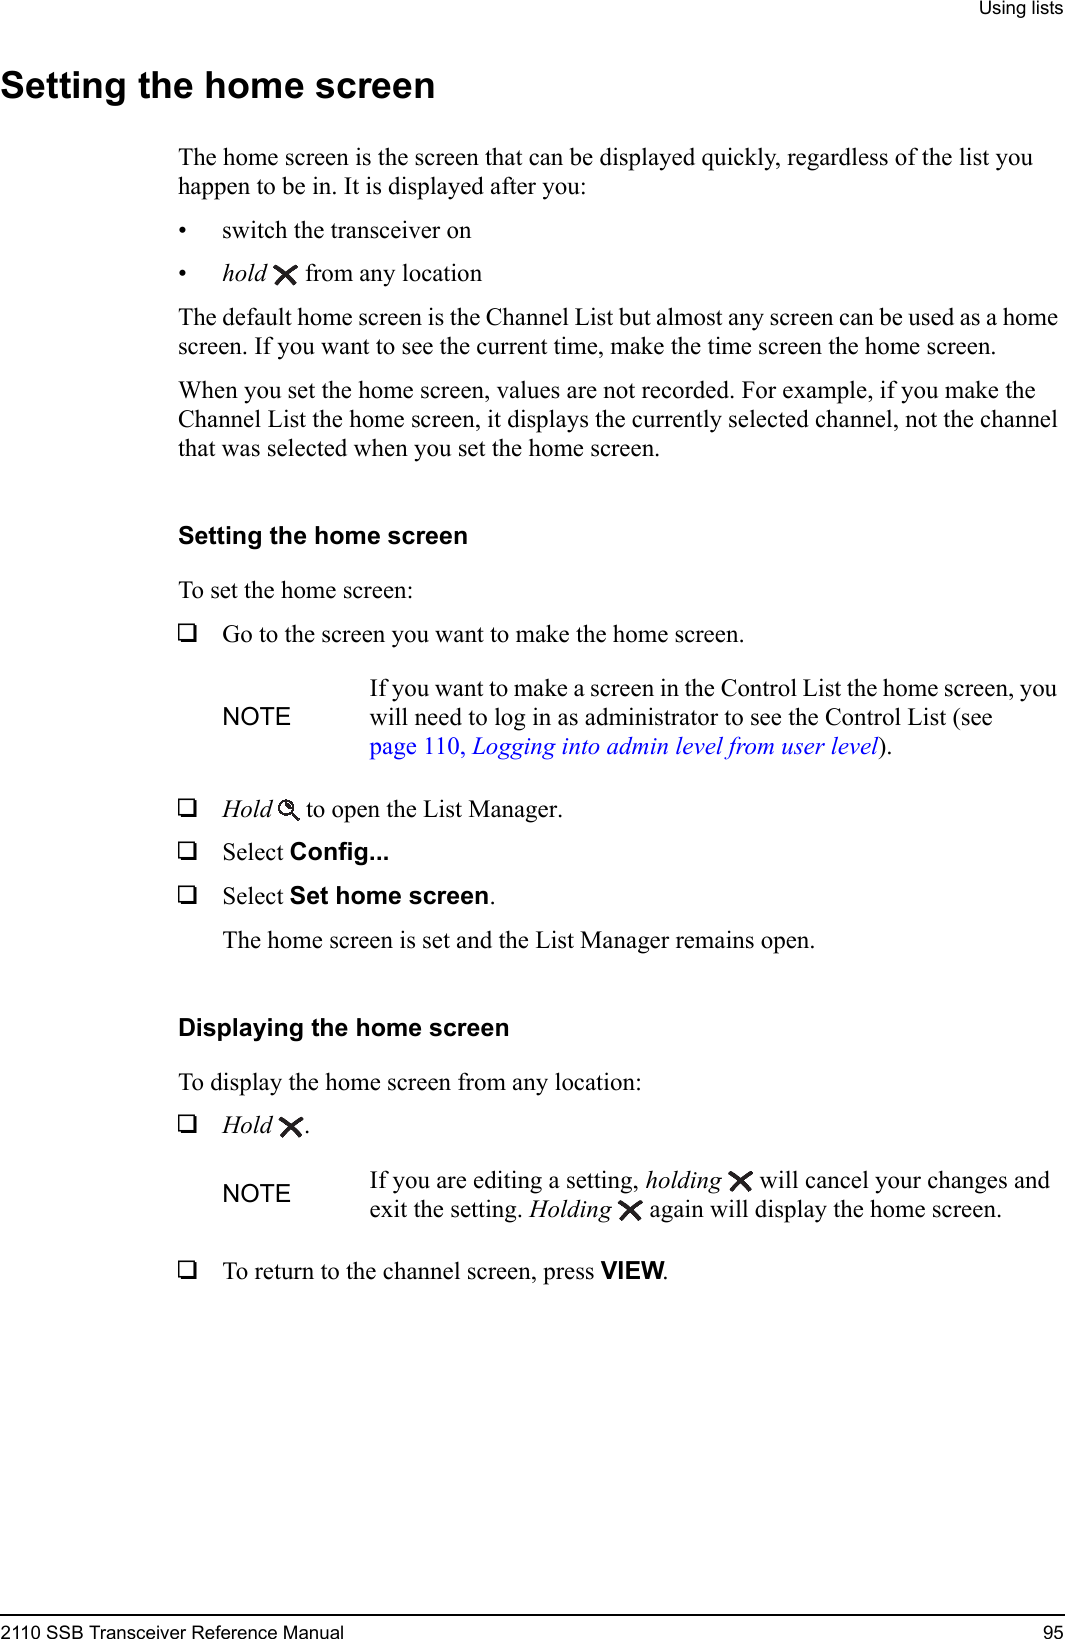


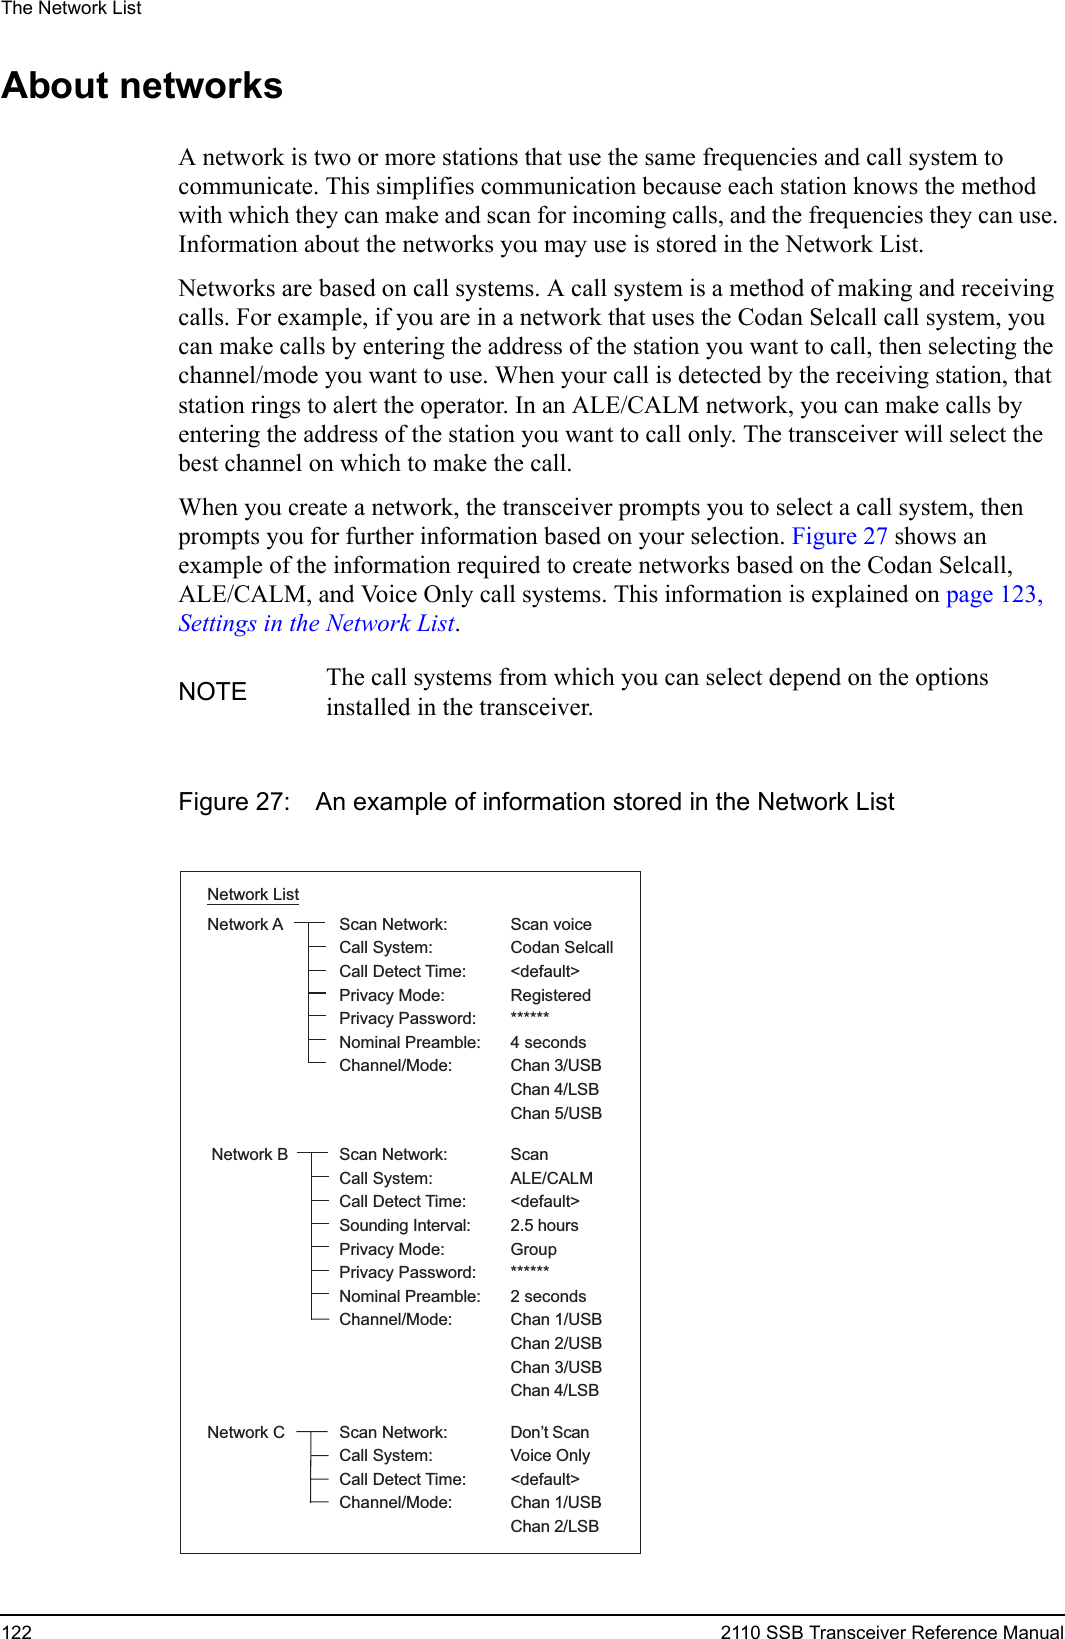
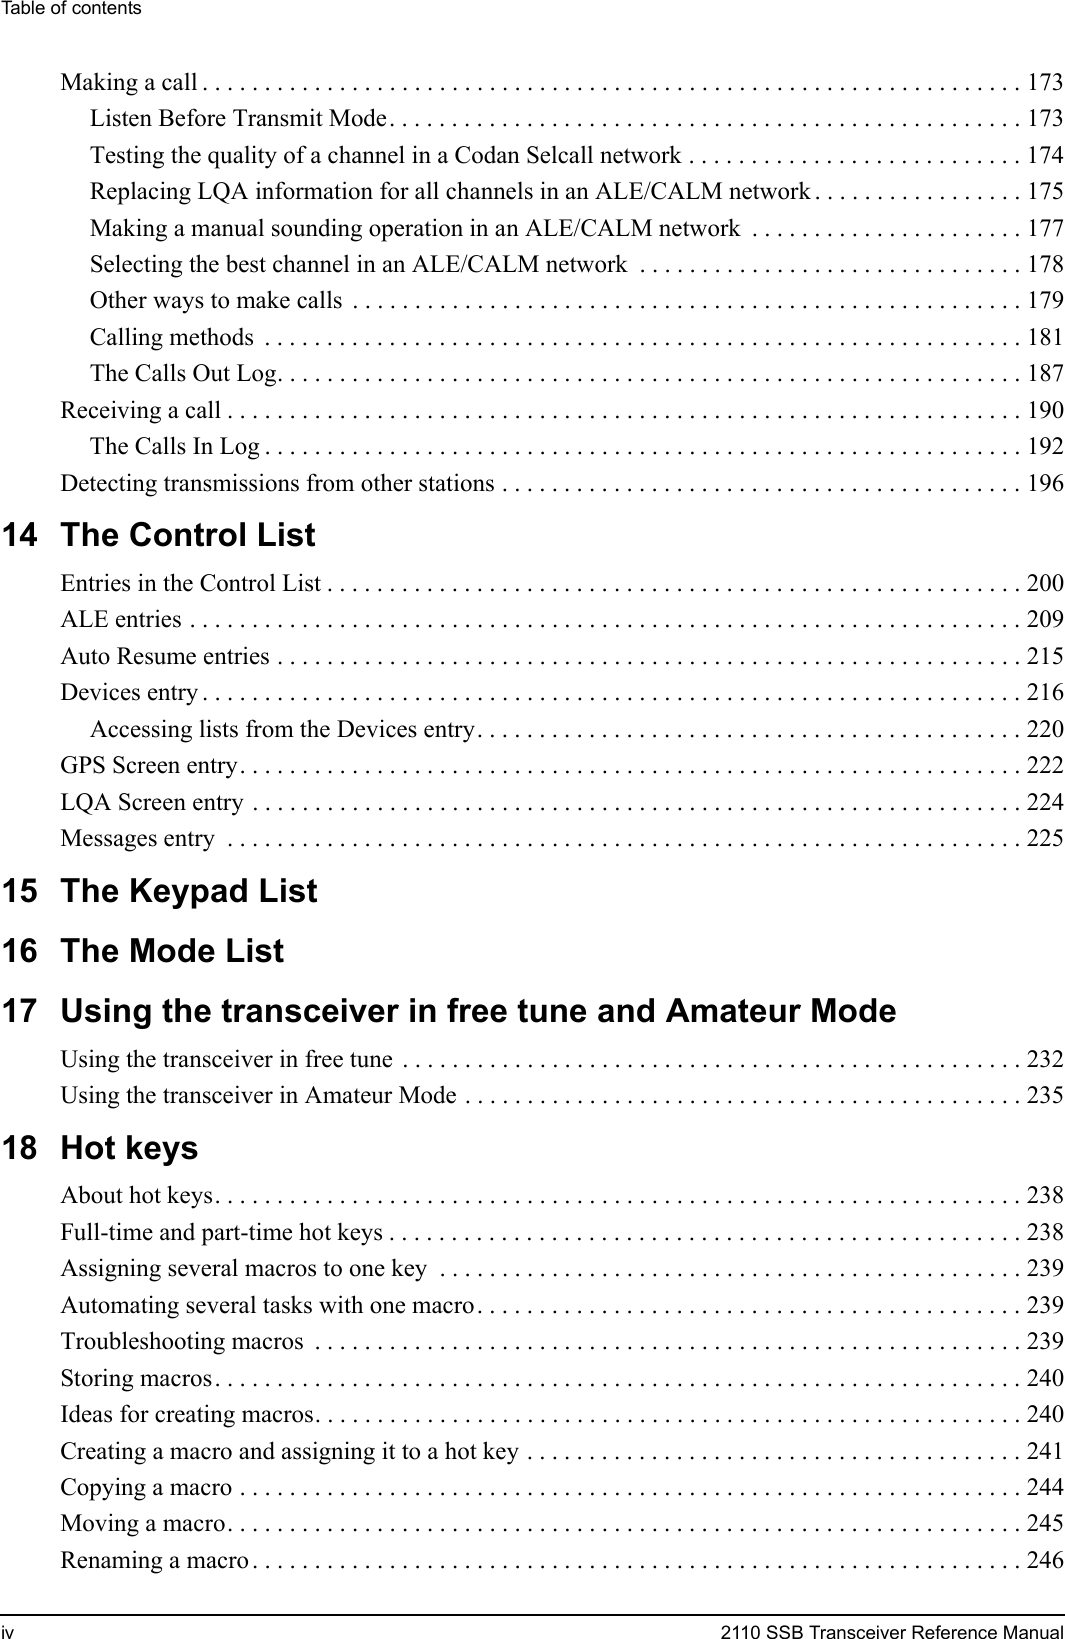
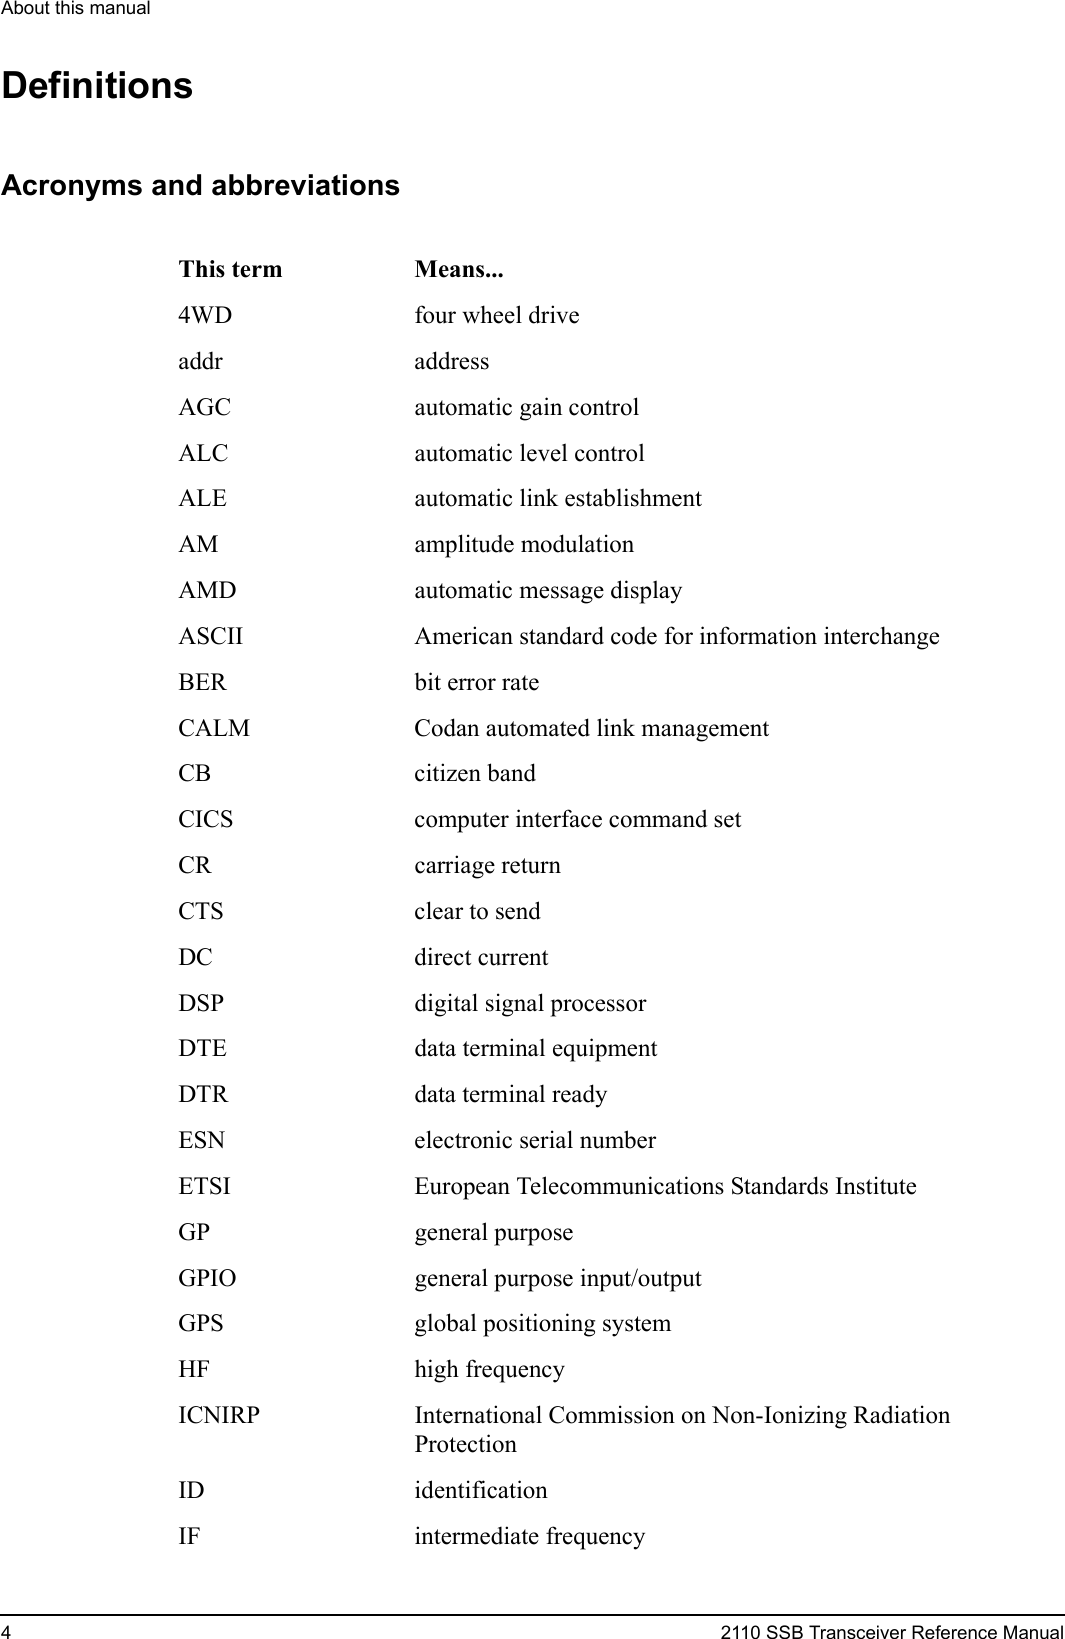
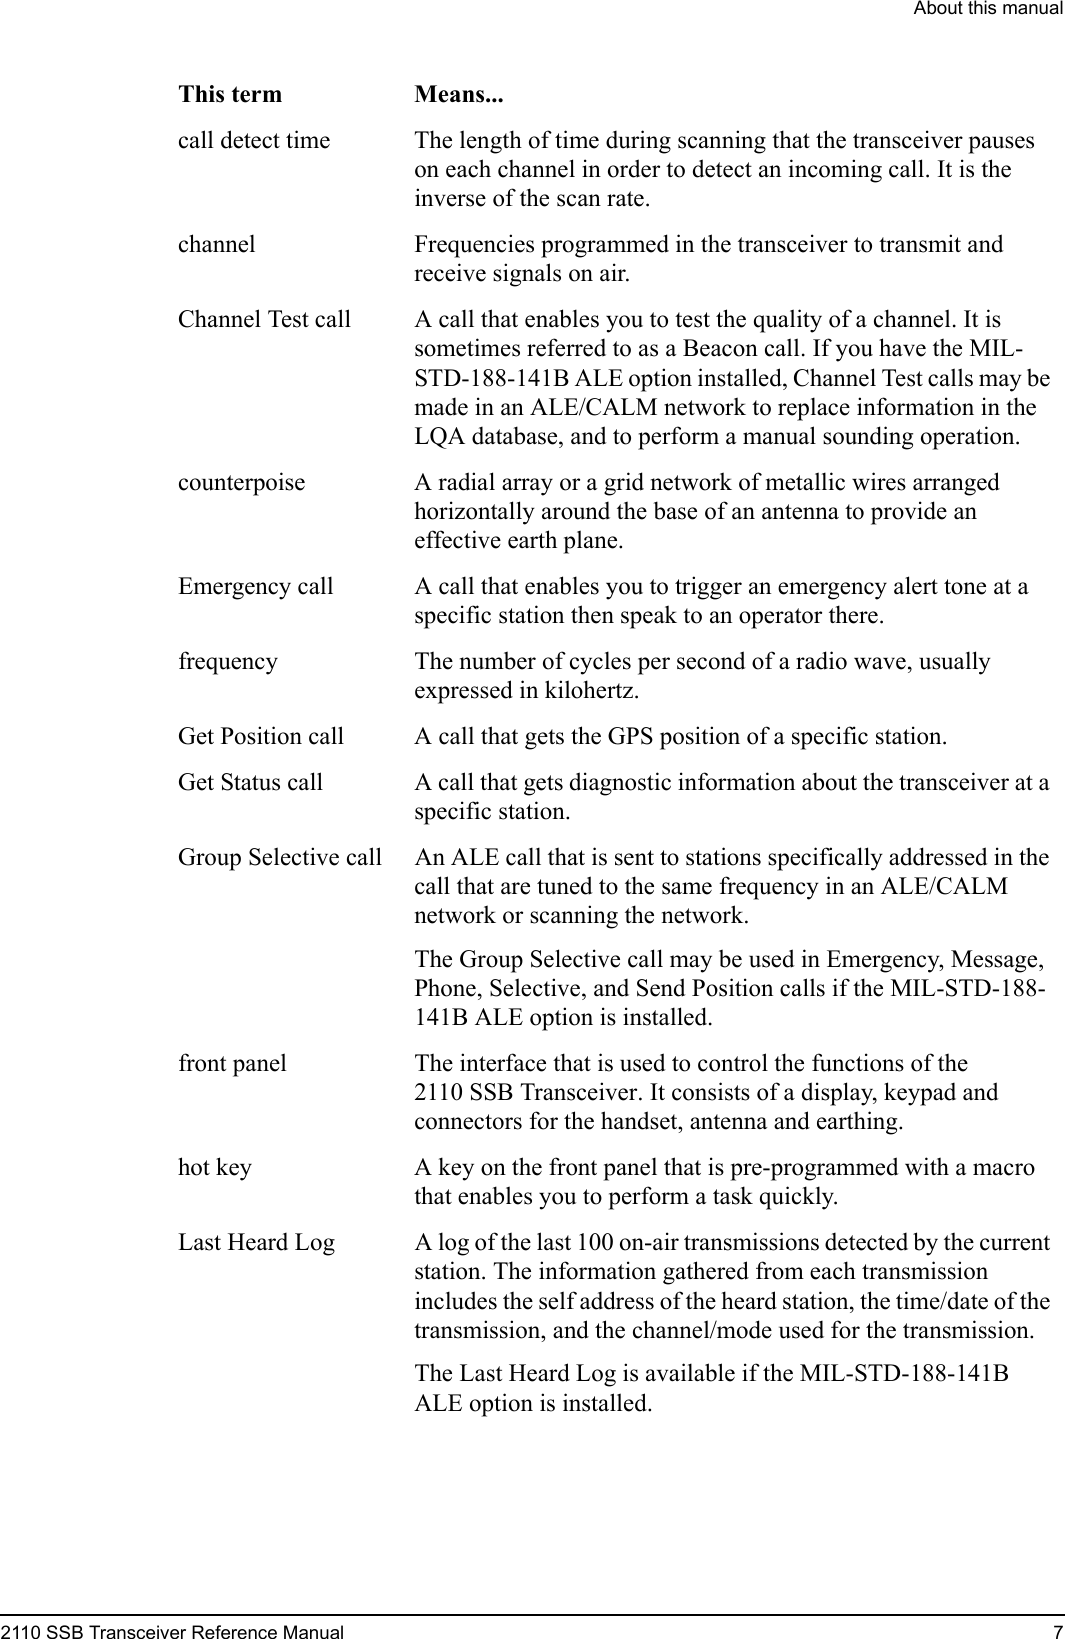
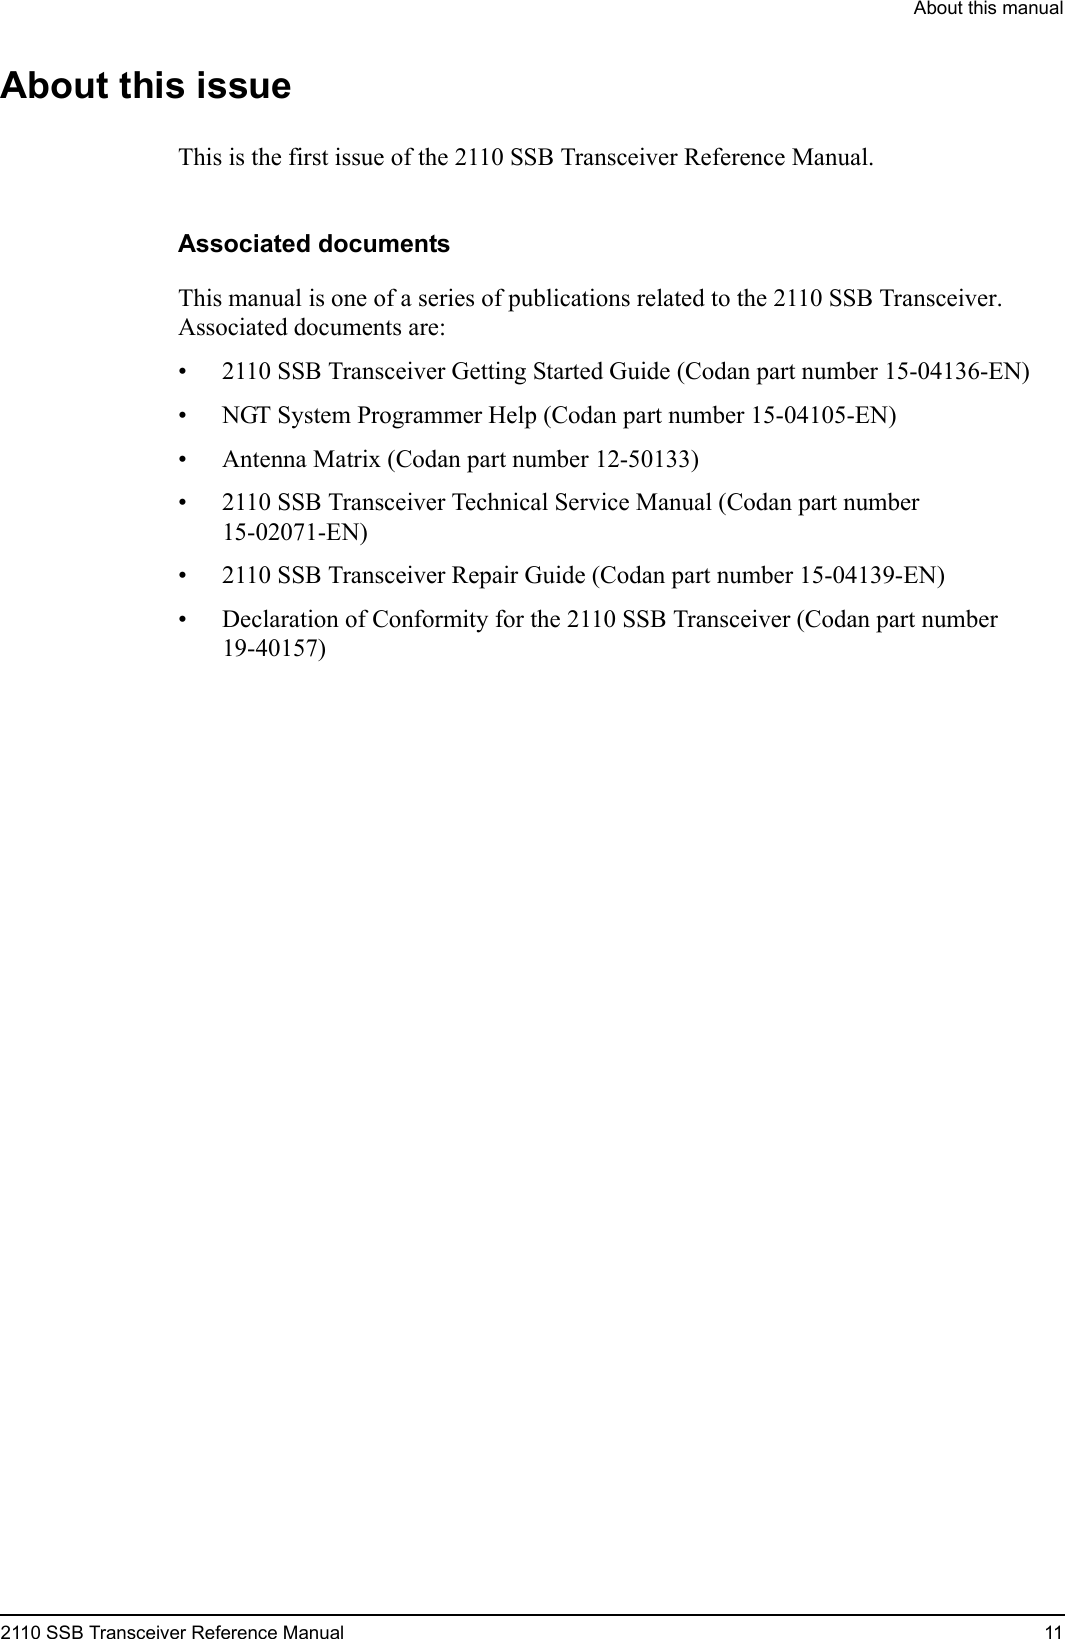
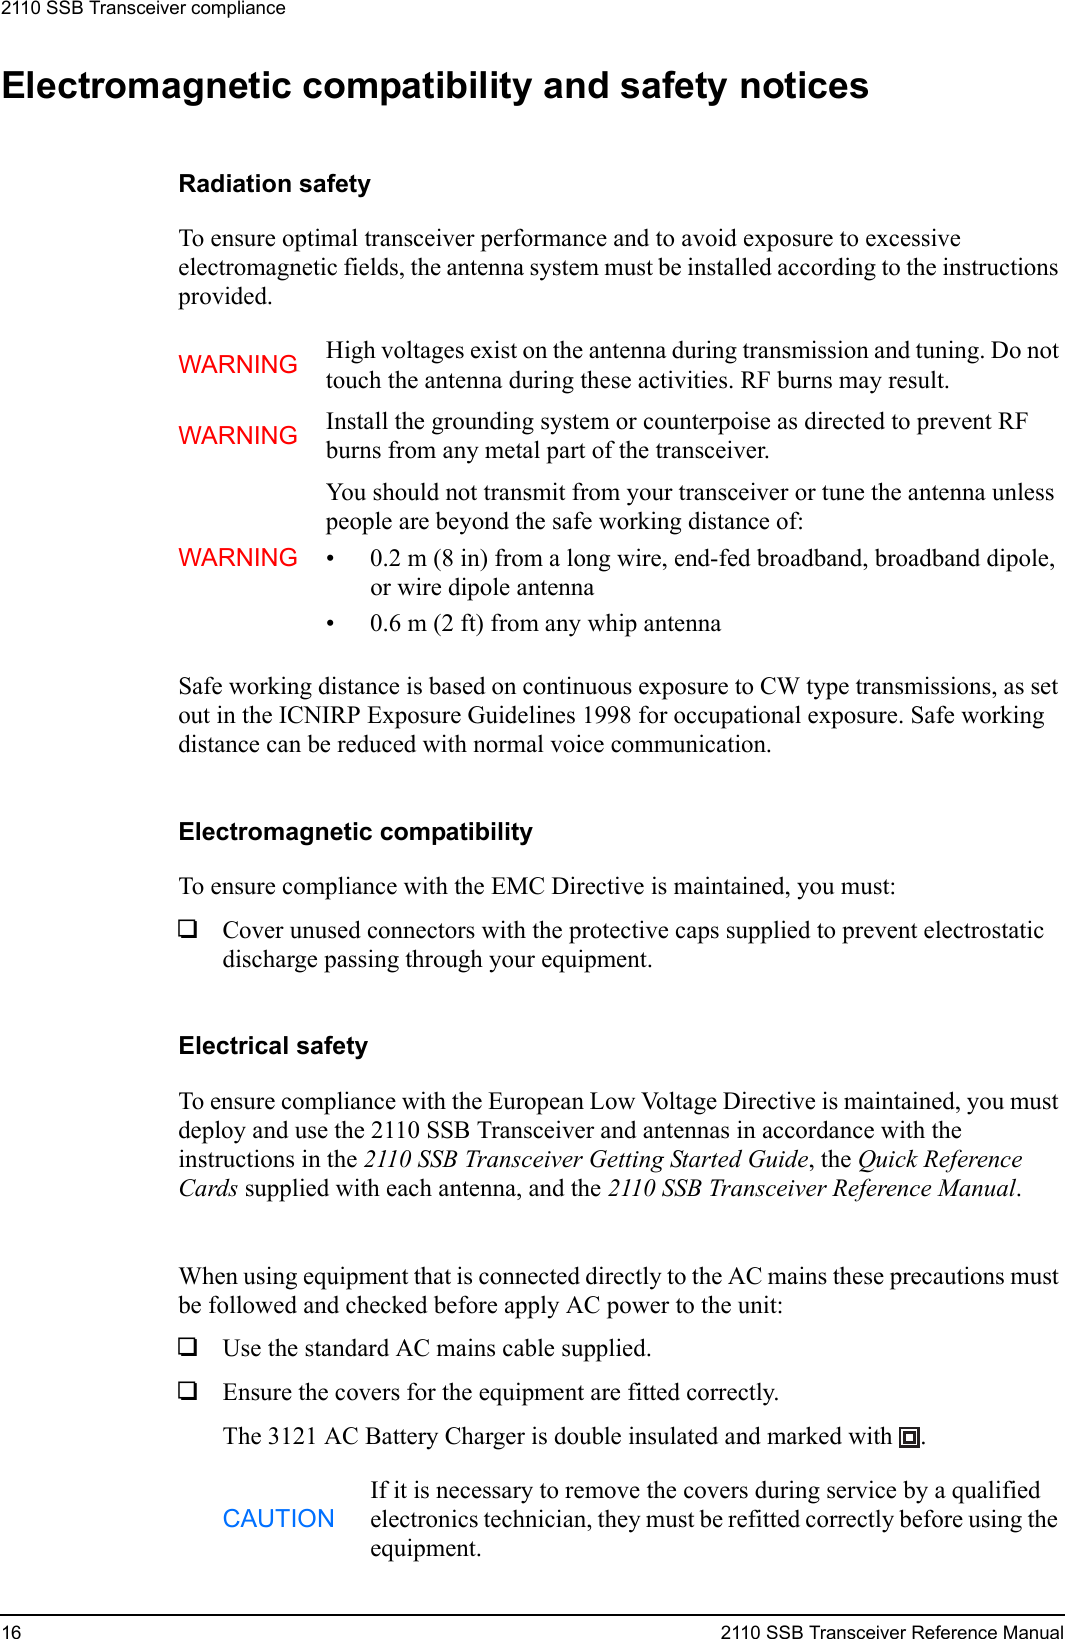
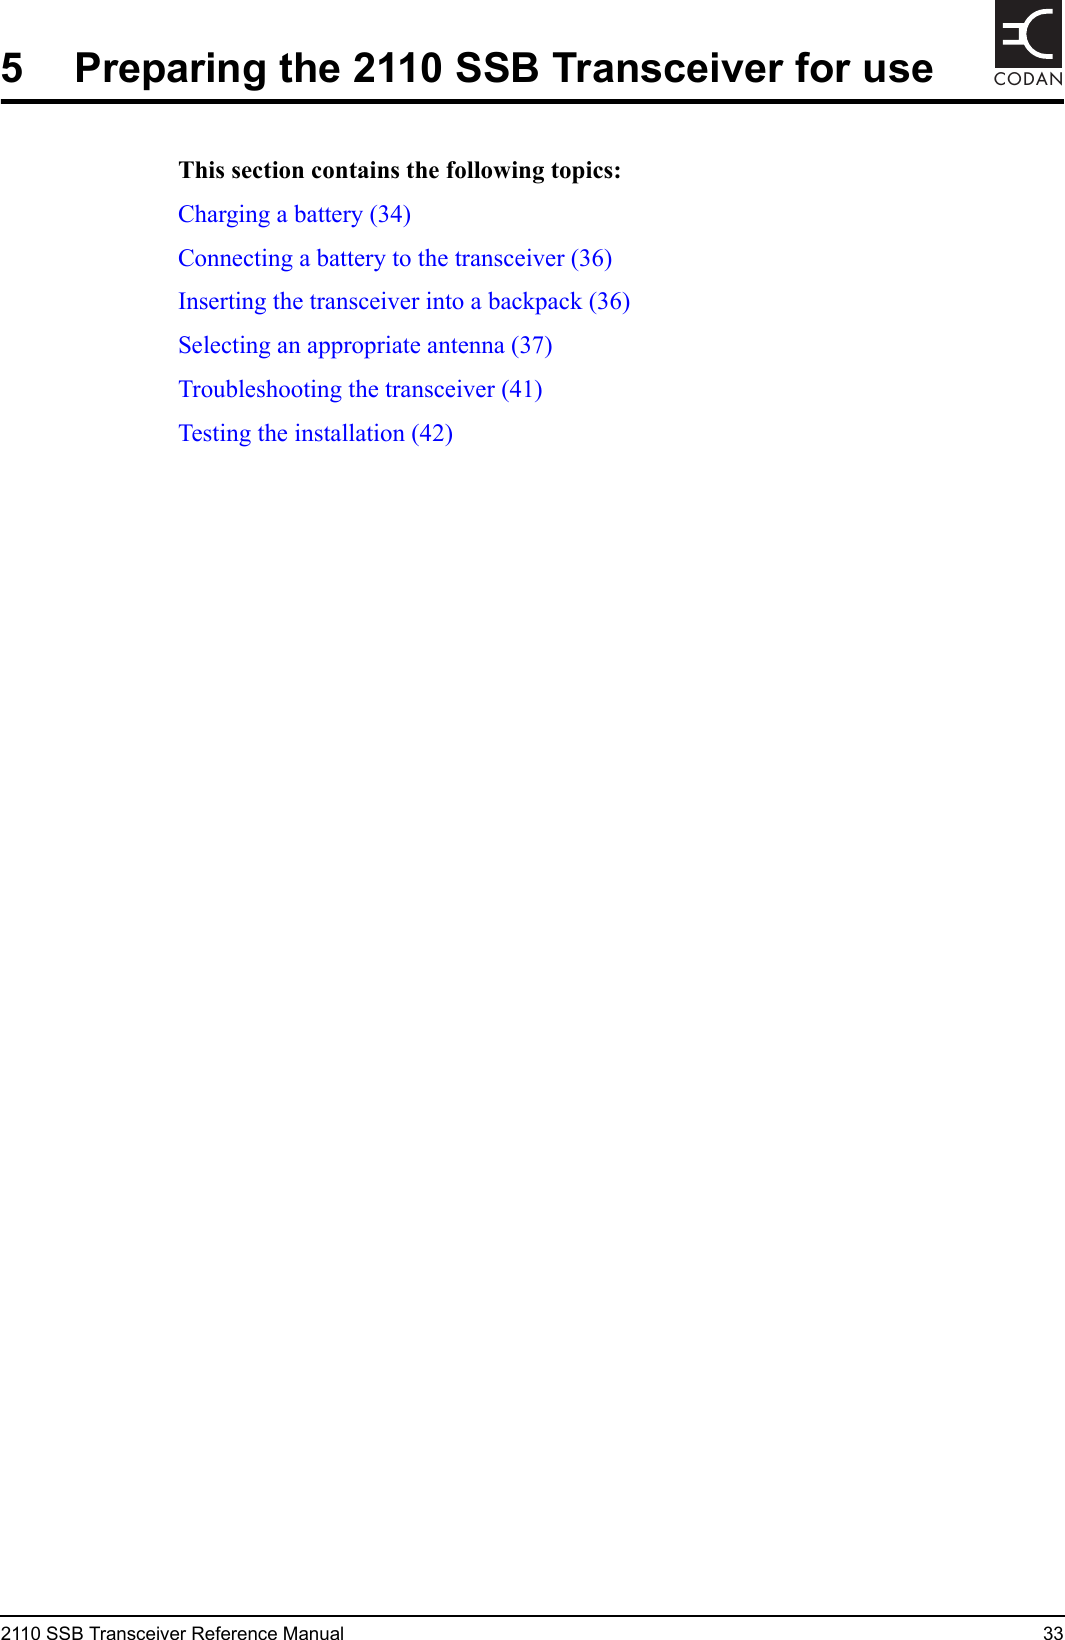
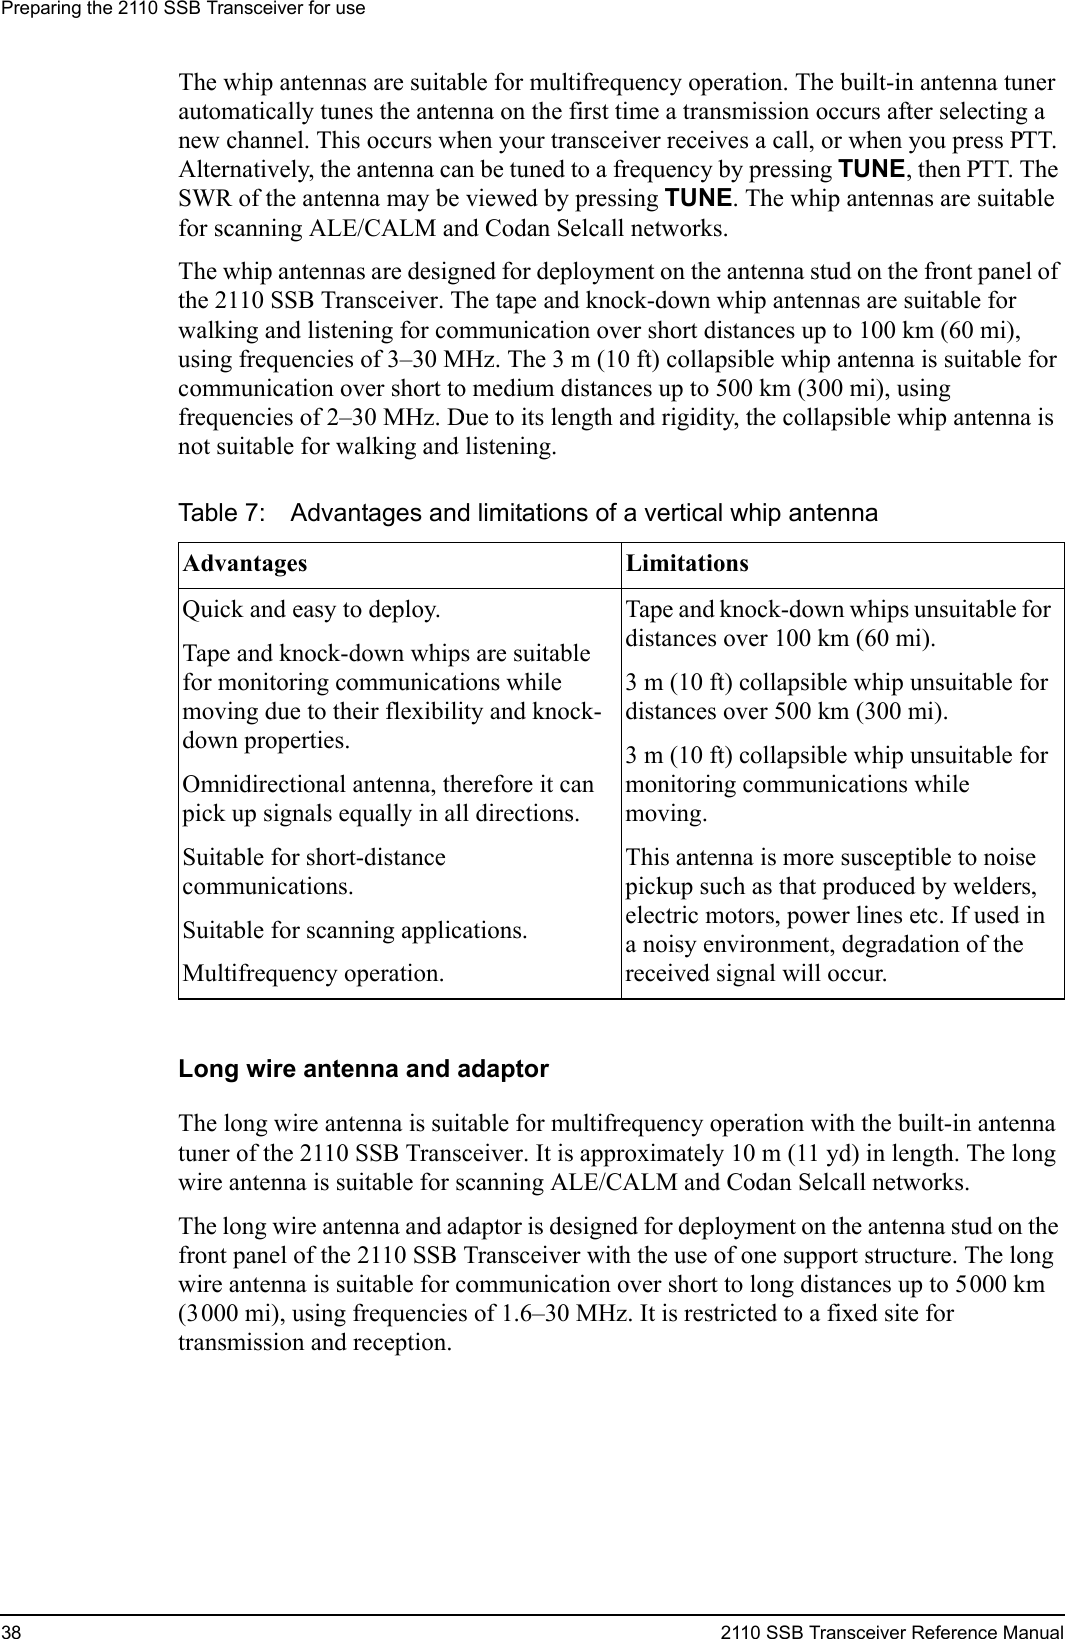
![The Network List124 2110 SSB Transceiver Reference ManualSounding IntervalThe Sounding Interval setting applies to ALE/CALM networks only. The sounding interval is the frequency with which the transceiver sends sounding signals to other stations to assess the quality of the channels in the network.The recommended value is 5 hours. The longer the value, the longer the transceiver takes to update its channel quality information. If the value is set to 5 hours the transceiver will take 5 days to completely update channel quality information. Longer sounding intervals decrease the interruptions on network channels.Privacy ModeThe Privacy Mode setting applies to Codan Selcall and ALE/CALM networks only. The Privacy Mode is the method used to encrypt the data content of calls between stations. If you select Registered or Group, you will need to enter an appropriate password into the Privacy Password setting.When you are setting up ALE/CALM networks, you should ensure that you set up networks with the same Privacy Mode for communication. If there is a mismatch in Privacy Modes, the receiving station will use the most suitable privacy mode out of the networks through which the call may be received.For example, if an initiating station starts an ALE call containing data through a network that has its Privacy Mode set to Plain, and the receiving station determines that the address is valid in networks with the Privacy Mode set to Group or Plain, then it will select the network with the Privacy Mode set to Plain on which to establish the link. Any data communications within this link will use the basic 64 ASCII subset of characters.NOTEThe call detect time is the inverse of the scan rate. For example, a call detect time of 0.2 seconds is equivalent to a scan rate of 5 channels per second.NOTE Link quality information is also updated each time a call is made or received.Privacy Mode Is used for...Registered encrypting Phone calls that you make when you have registered with a network that encrypts telephone numbers (you are provided with a password that you need to enter into the Privacy Password setting)Group encrypting data in calls between two stations (you agree upon a password to enter into the Privacy Password setting)None calls made under a Codan protocol, which uses special formattingPlain (lowest mode)(MIL-STD-188-141B ALE option only)AMD messages in ALE calls (basic 64 ASCII subset A–Z, 0–9, space ! " # $ % & ' ( ) * + , - . / : ; < = > ? @ [ \ ] ^)](https://usermanual.wiki/Codan/2110.Reference-Manual-a/User-Guide-521558-Page-136.png)