Compal Communications EB-G60U GPRS GSM Phone User Manual U COVER p65
Compal Communications, Inc. GPRS GSM Phone U COVER p65
UserManual.wiki
>
Compal Communications
>
EB G60U User Manual
users manual
Navigation menu
Upload a User Manual
Namespaces
Wiki Guide
HTML
PDF
Info
Views
User Manual
Discussion / Help
Navigation

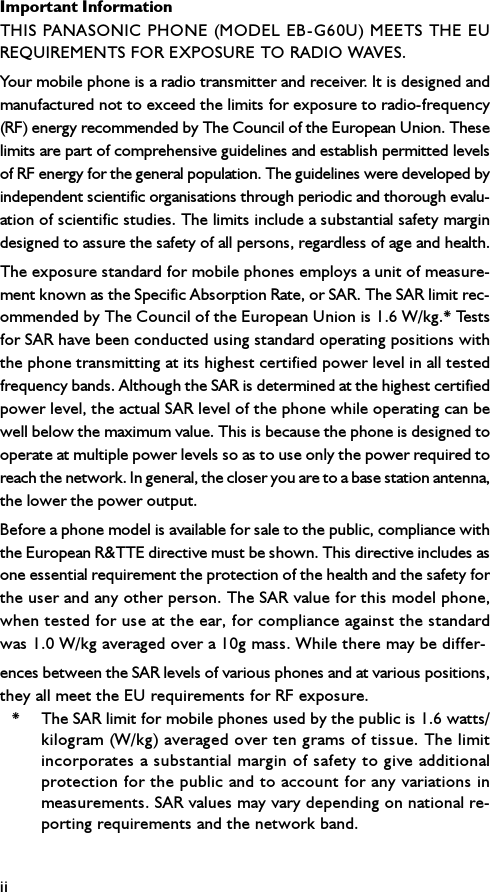


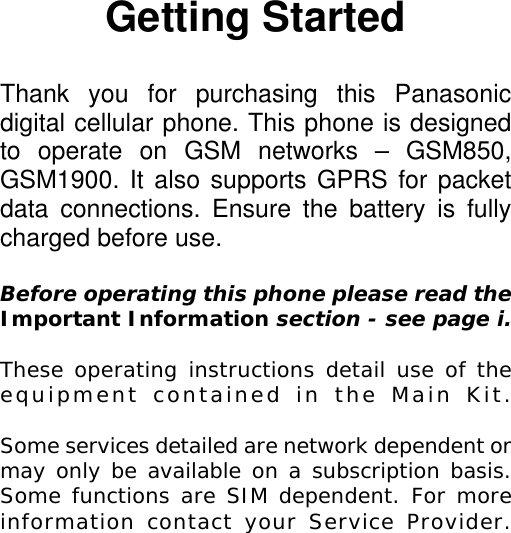

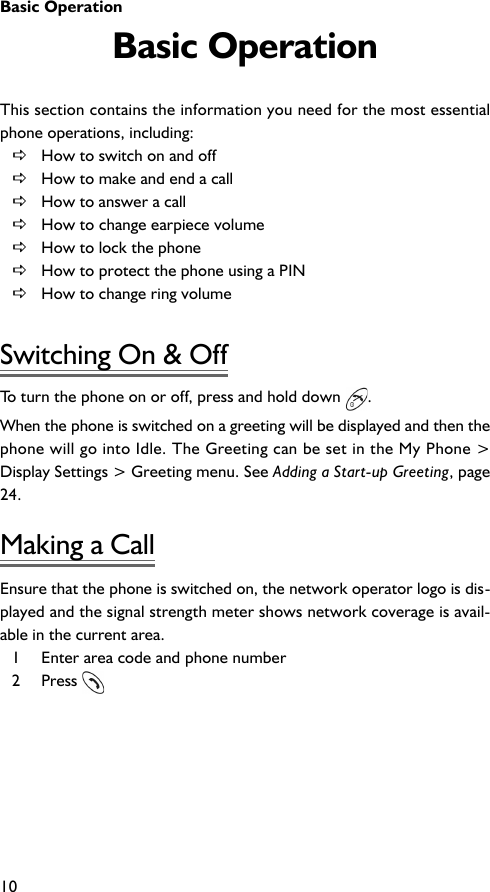
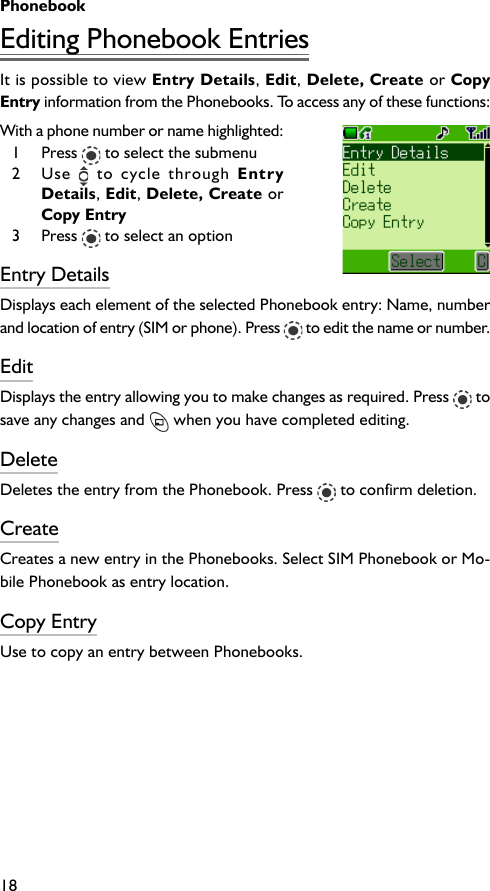
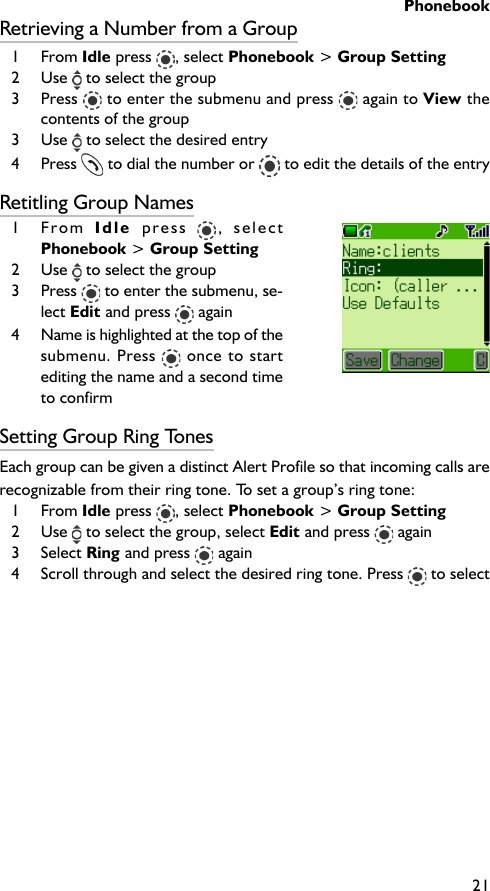


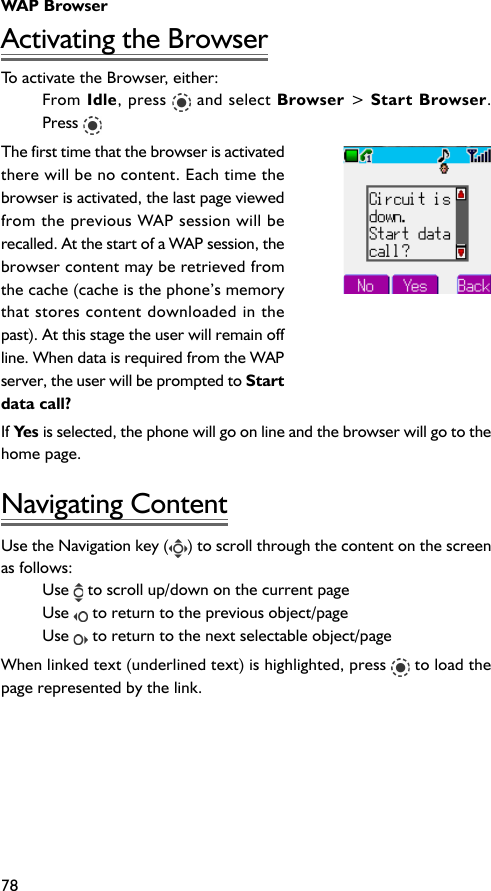
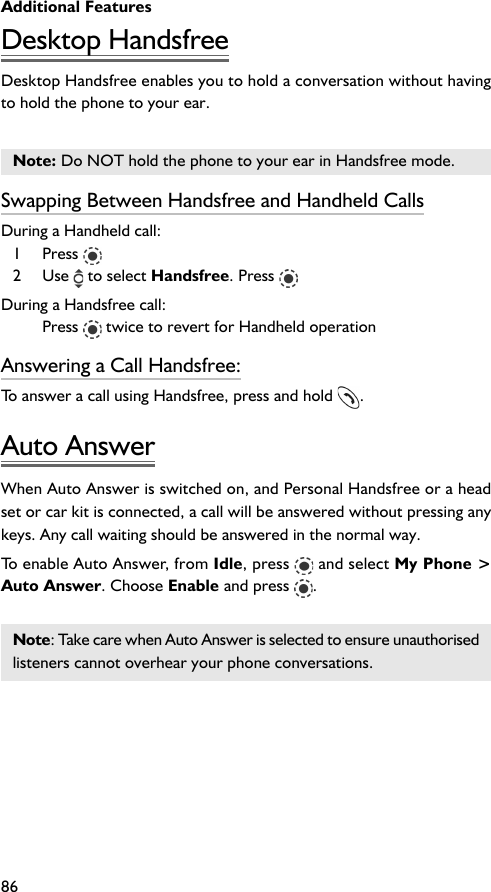
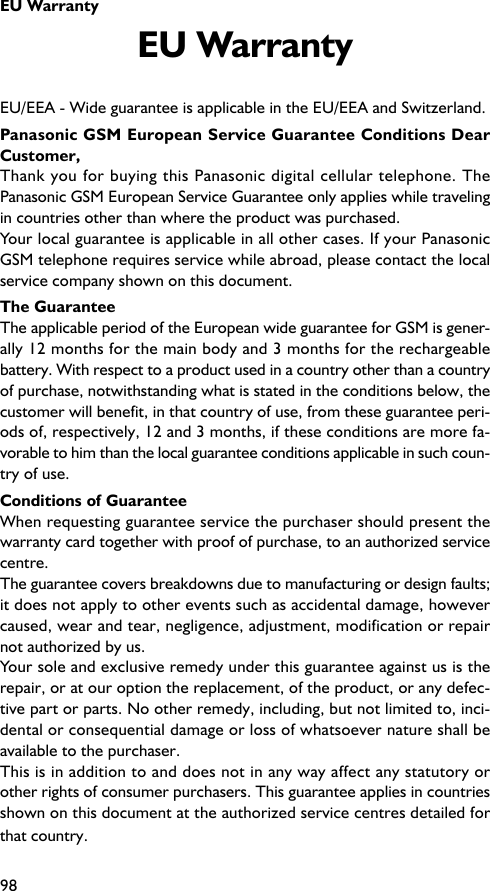
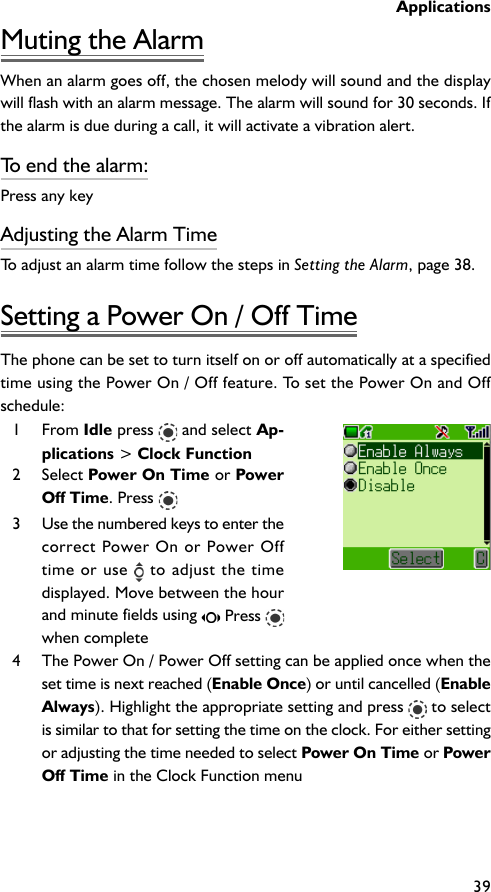
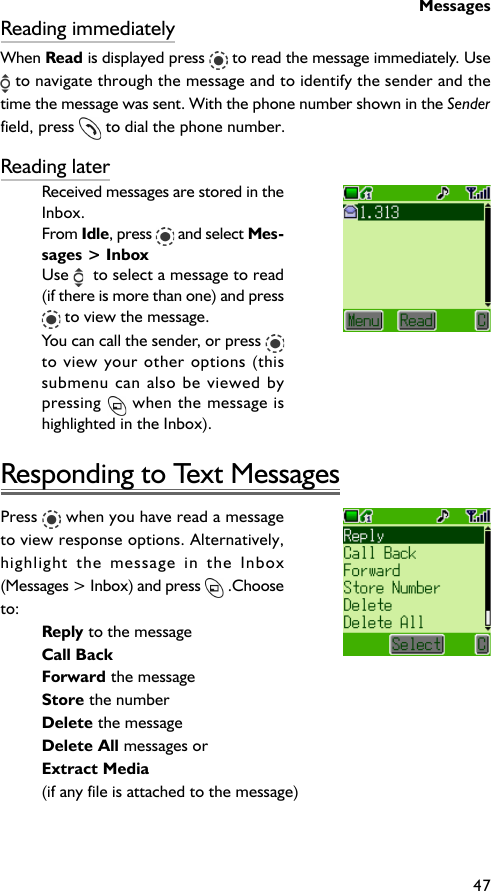
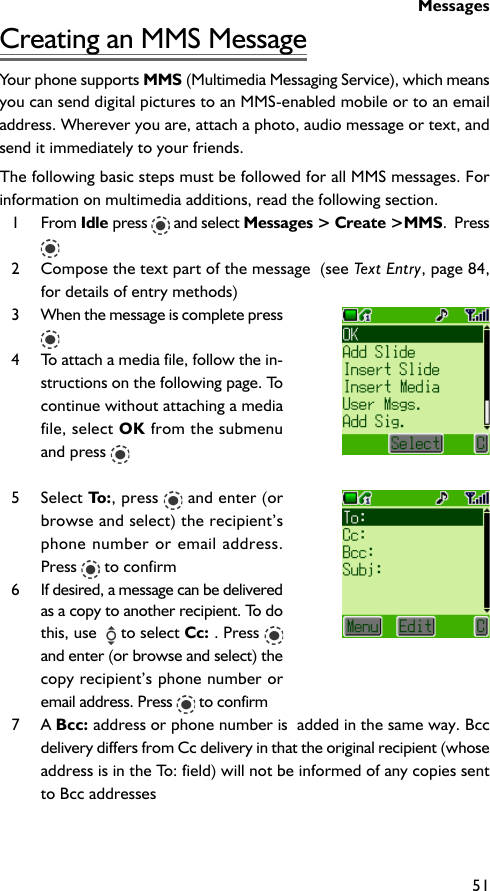
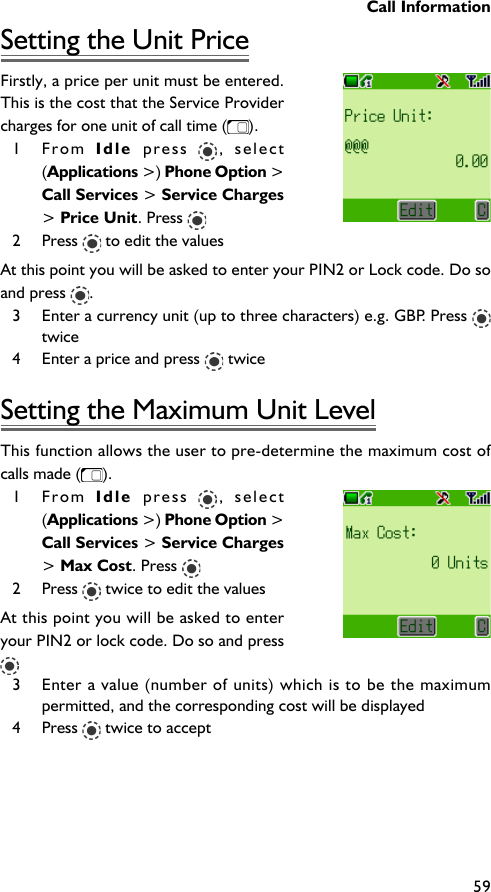
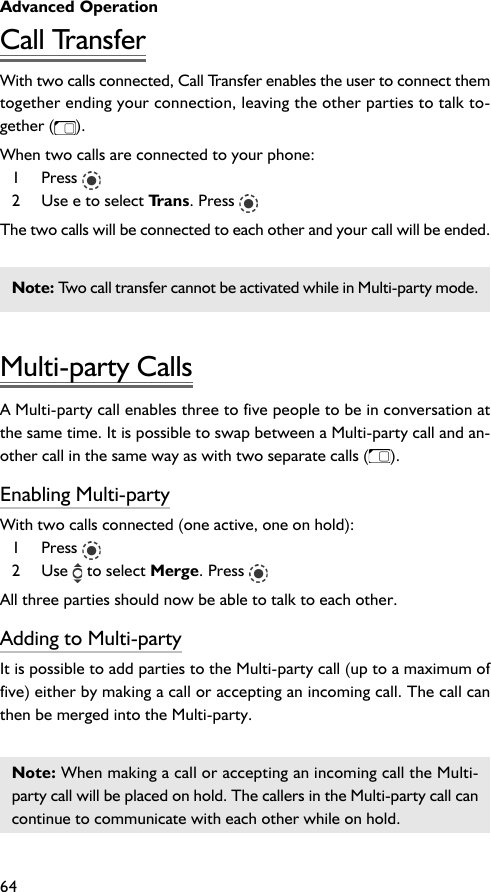
![Applications38Setting the AlarmUp to three separate alarms can be set. For each alarm, you can setdifferent schedules (e.g. daily / weekdays only) and alarm tones as well astimes.If the clock hasn’t been set, the user will be prompted to set it prior tosetting the alarm.To set an alarm1 From Idle press and select Ap-plications > Clock Function >Alarm Set. Press 2 Use to select the alarm to be set(By default the alarms are namedAlarm1, Alarm2 and Alarm3.These names can be changed -- seestep 7 below). Press 3 First set the alarm time. Press to enter Setting Time4 Use the numbered keys to enter the correct alarm time (using the24-hour clock) or use to adjust the time displayed. Move be-tween the hour and minute fields using Press when com-plete5 Use to highlight the desired sched-ule for the alarm and press toselect6 Select Melody and highlight and se-lect the desired alarm melody fromthe submenu. Press to confirm7 Select Rename and enter a namefor the alarm settingWhen the alarm has been set, and the clock is displayed, will bedisplayed when the phone is in Idle.Note : To disable an alarm setting, select Applications > ClockFunction > Alarm Set > [Alarm Name] > Cancel](https://usermanual.wiki/Compal-Communications/EB-G60U/User-Guide-328032-Page-52.png)
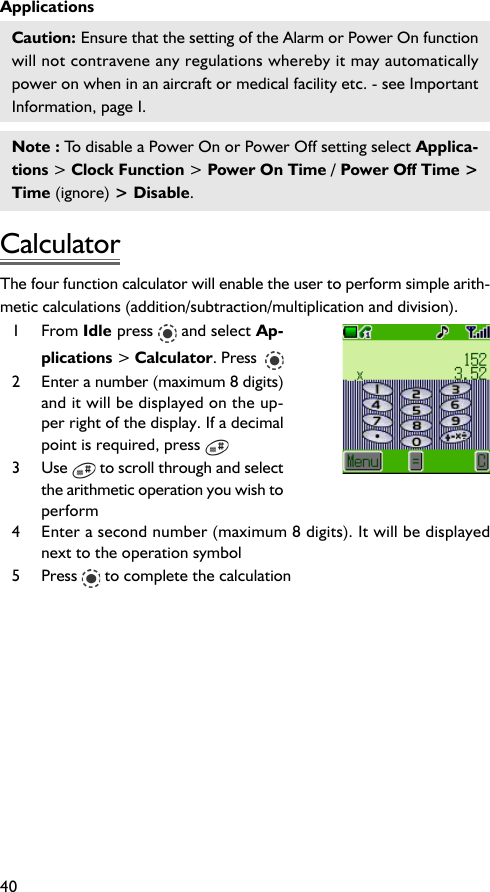
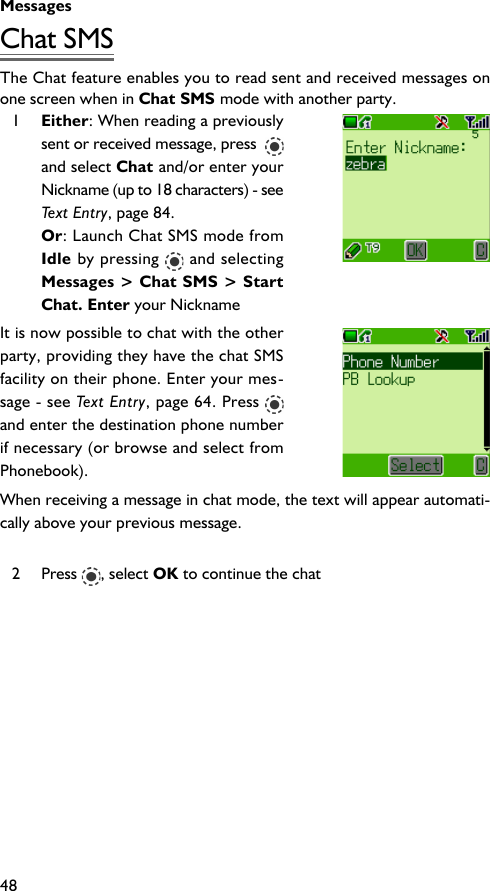

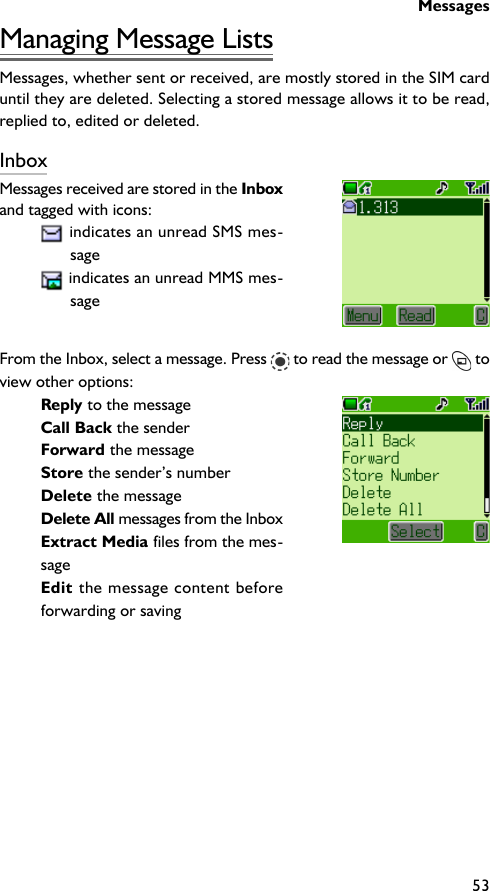
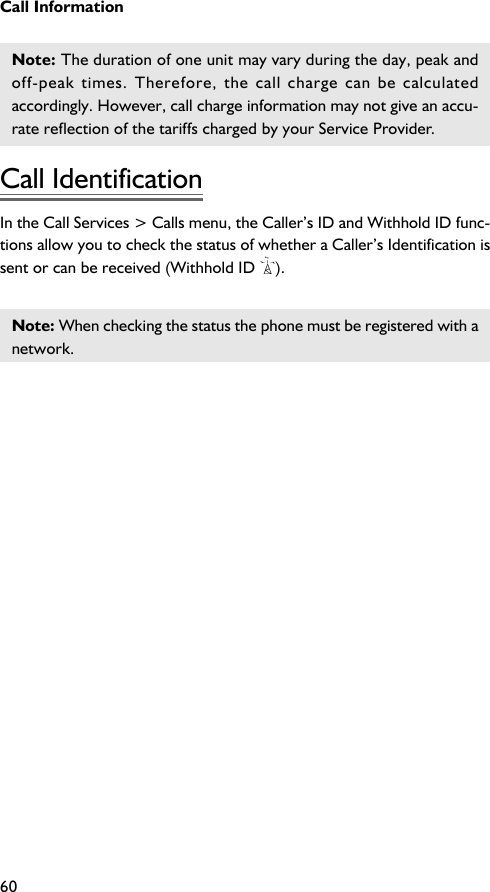
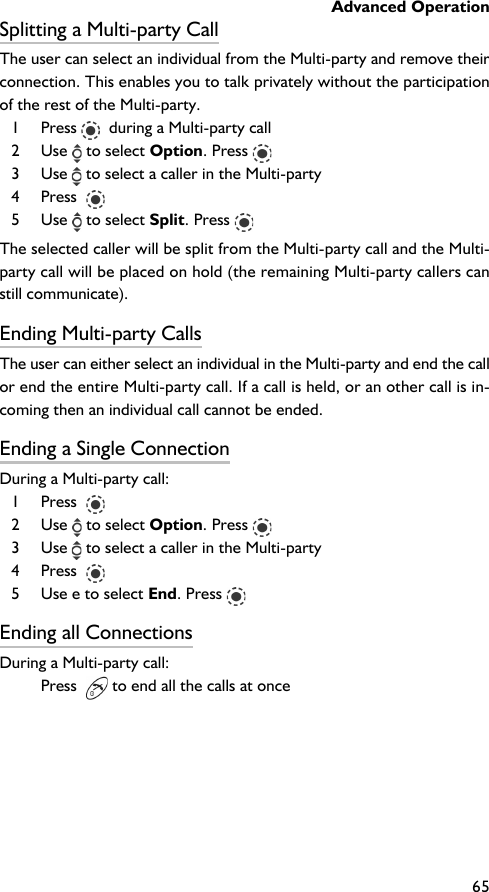
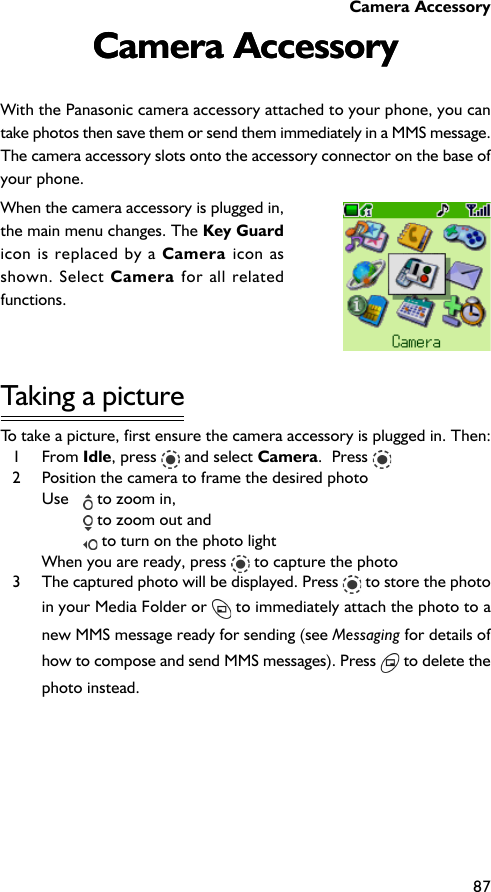
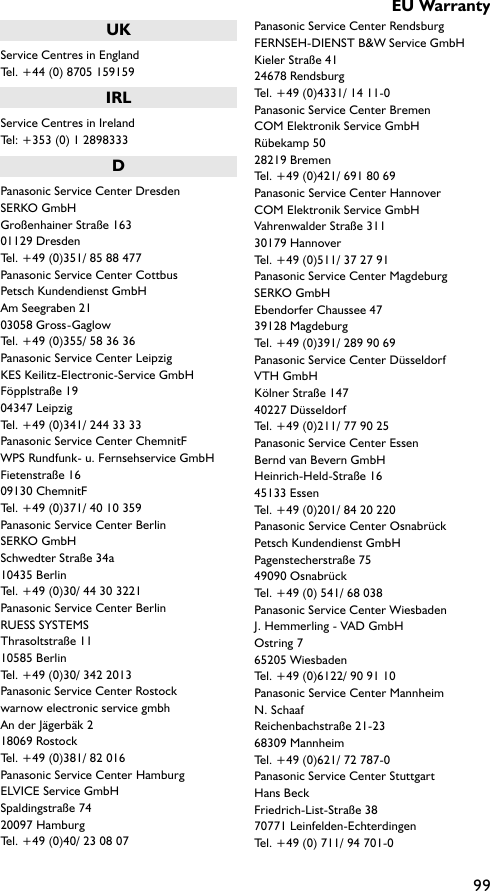
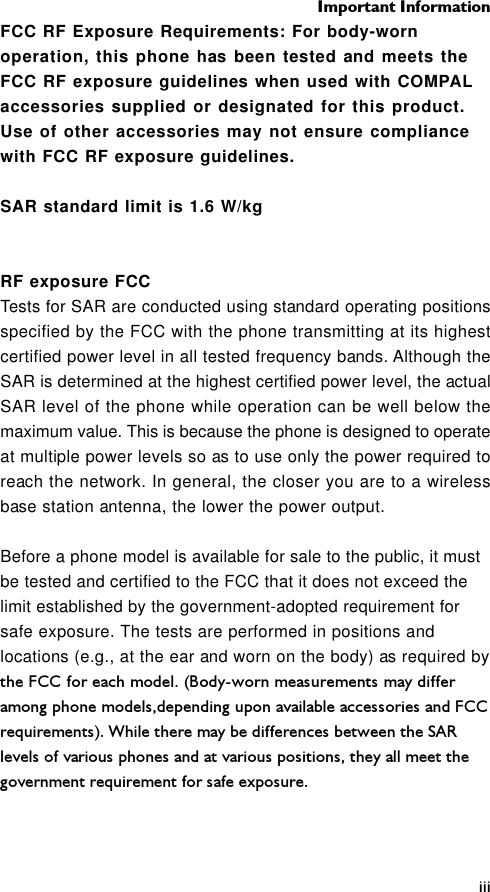
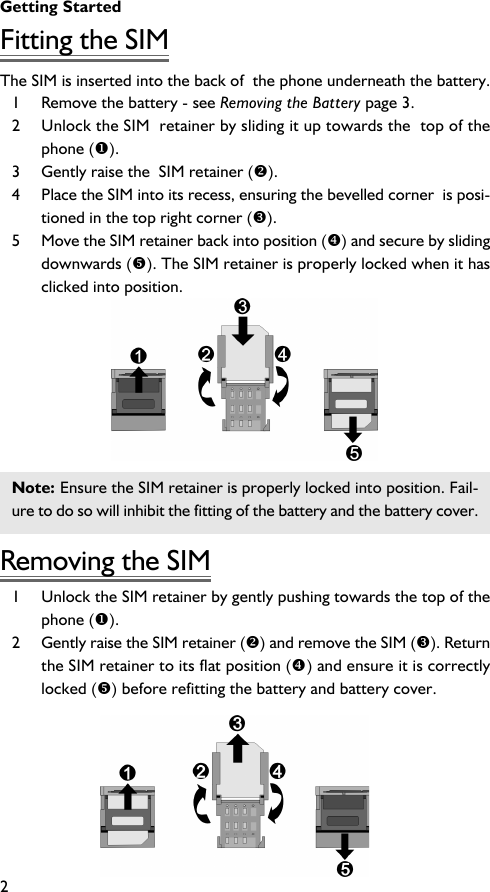
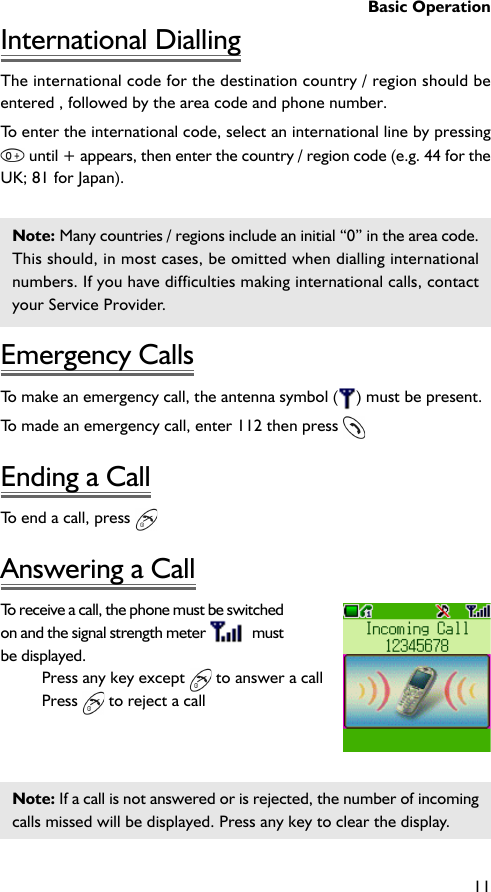
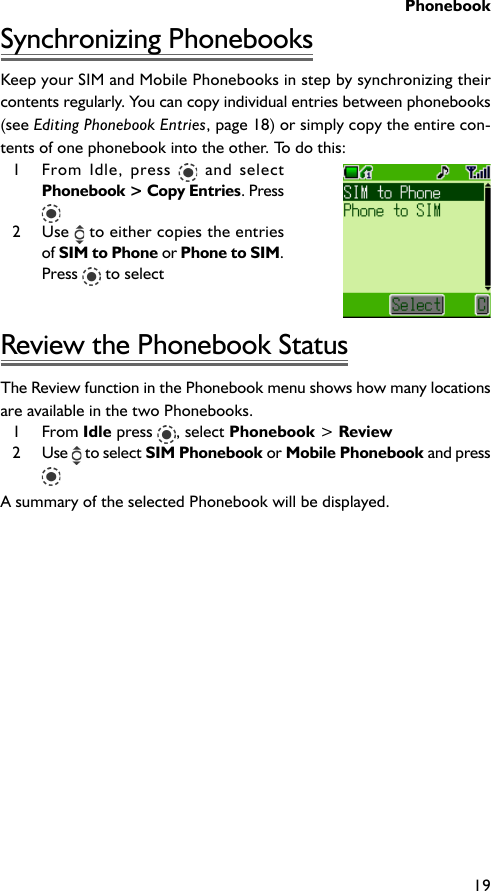
![Schedule67ScheduleThe Scheduler can be used to register reminders for personal events aswell as planning holiday periods.Caution: Ensure that any settings made in the Scheduler will not con-travene any regulations whereby the phone may automatically poweron when in an aircraft or medical facility etc. - see Important Information, page i.Creating a ReminderFrom Idle, press , select Scheduler and press again.1 Select [New Event] and press to create a new schedule event. Usethe Navigation key ( ) to select thedate for your reminder.2 First move the cursor to the yearentry and use to adjust the entry ifnecessary.4 Use in the same way to adjust themonth entry.5 Use to place the cursor over the appropriate date entry. Press to select the date6 Enter the time for the reminder. Usethe numbered keys to enter the cor-rect time (using the 24-hour clock)or use to adjust the time displayed.Move between the hour and minutefields using 7 When the time is entered correctly,press to confirm8 Enter a name to identify this sched-ule entry](https://usermanual.wiki/Compal-Communications/EB-G60U/User-Guide-328032-Page-81.png)

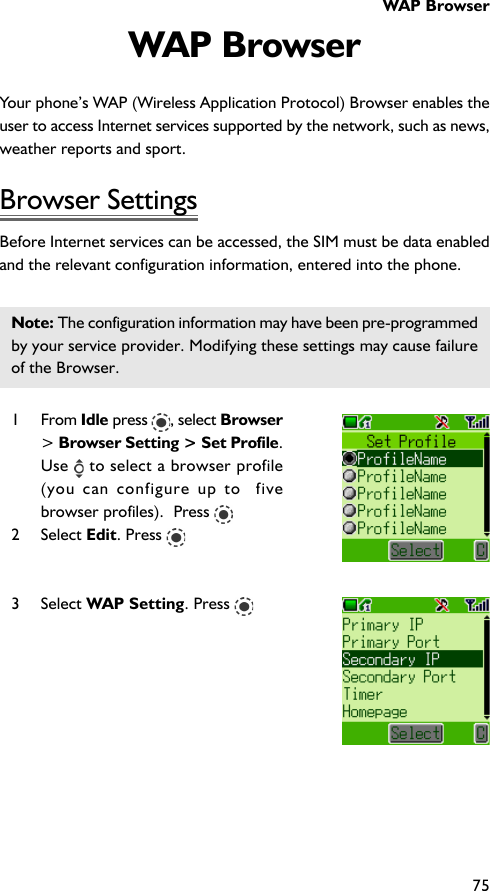
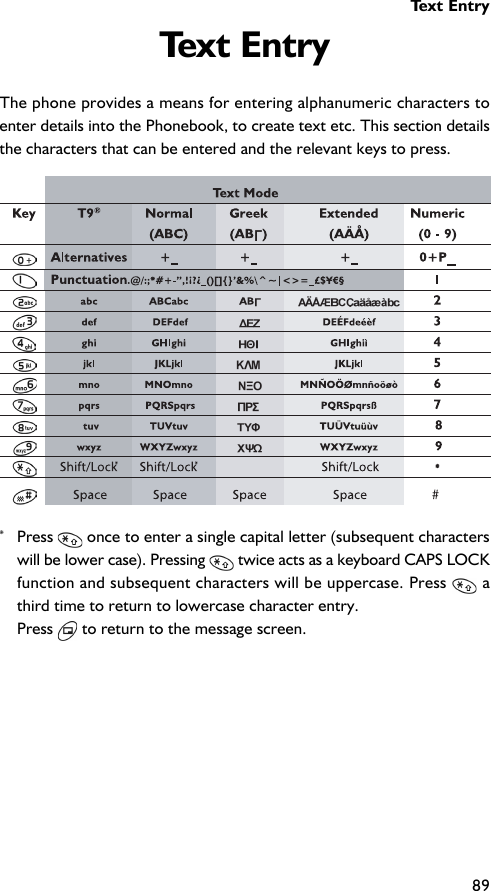
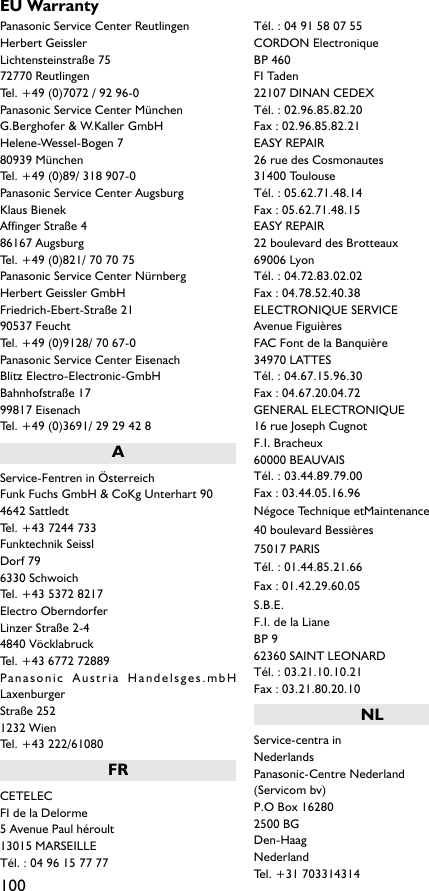
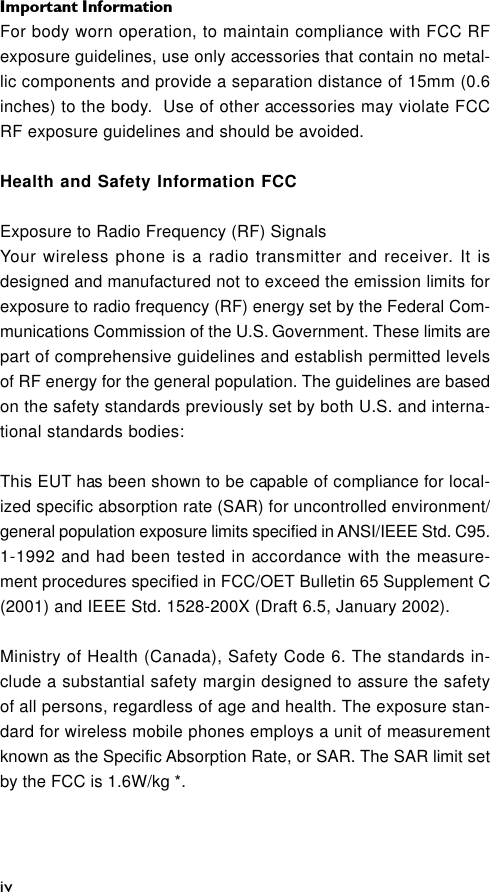
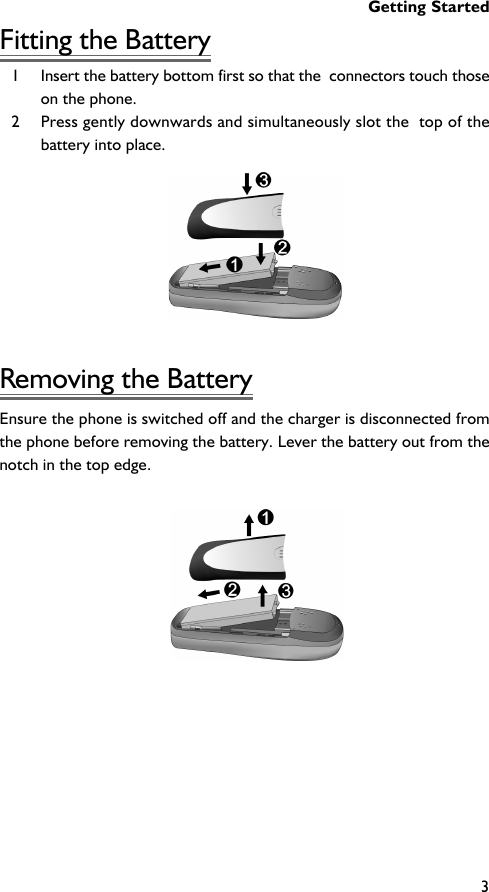
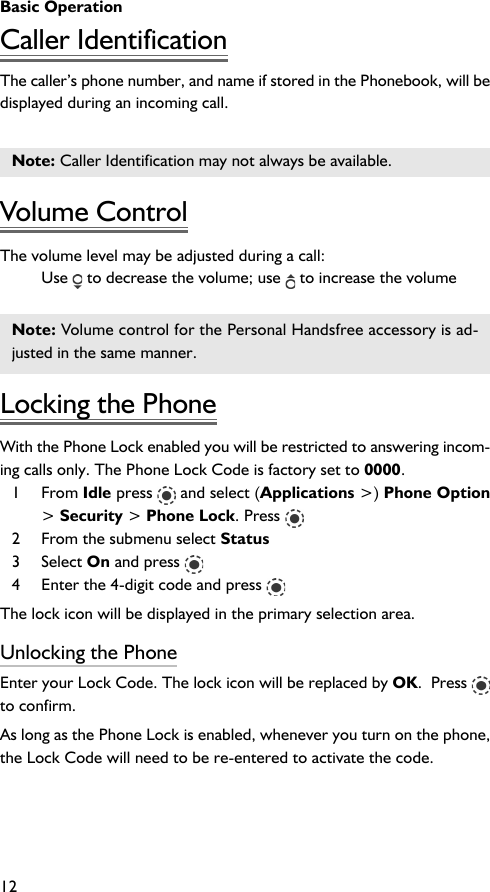
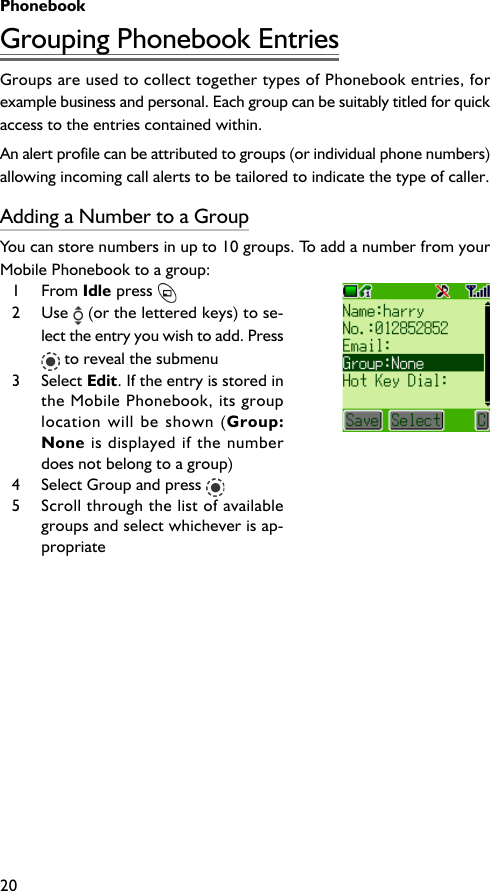
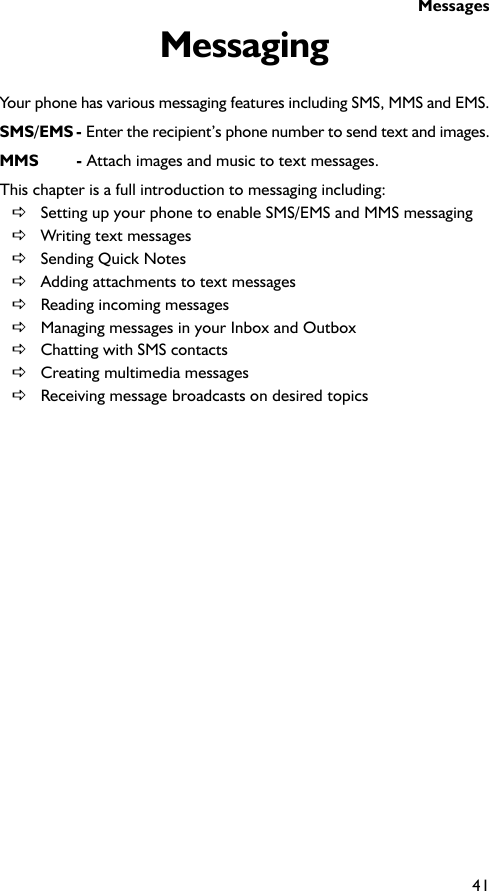
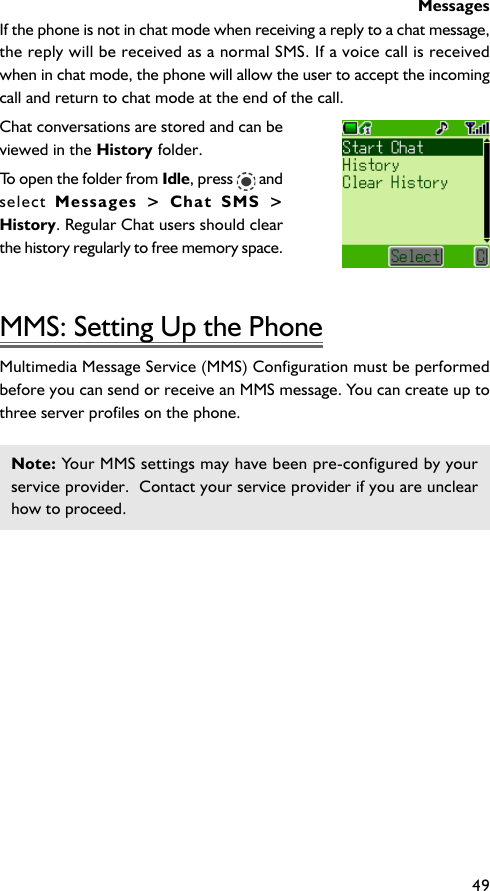
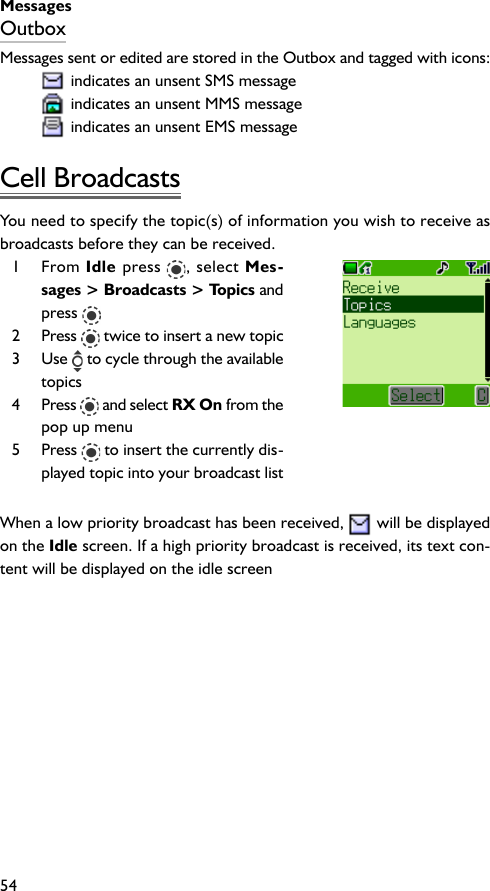
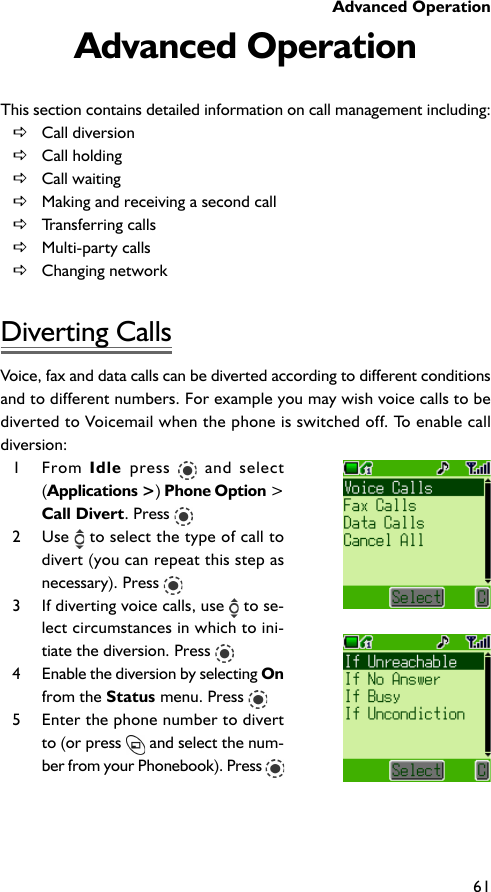
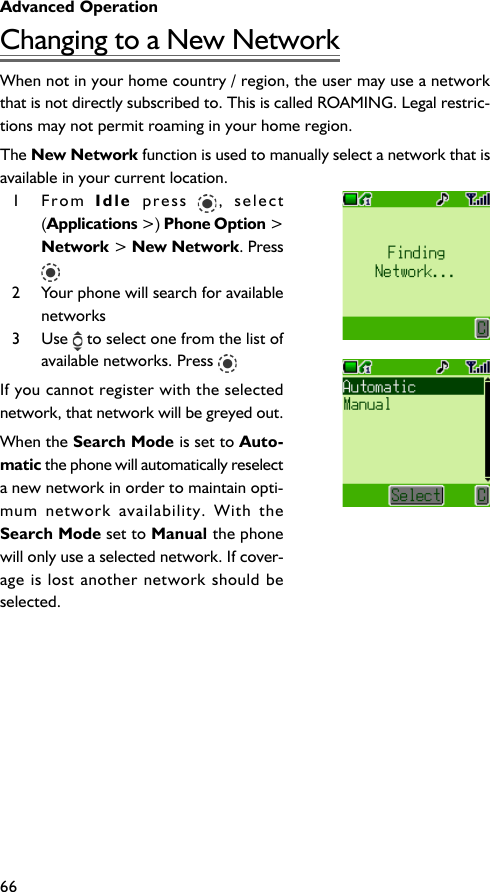
![WAP Browser76A list of configuration parameters will be displayed. Select each param-eter in turn and enter the appropriate values (contact your service pro-vider for details if necessary).For each browser profile, set also the Bearer Type. Go to Browser >Browser Setting > Set Profile > [Select Profile] > Edit > BearerType.To configure a GPRS browser, enter User Name, Password and Apn(Access Point Name).To configure a CSD browser, enter User Name, Password, PhoneNumber, Line Type and Transfer Rate.Note: Contact your service provider for setup values if you are unsure.](https://usermanual.wiki/Compal-Communications/EB-G60U/User-Guide-328032-Page-90.png)
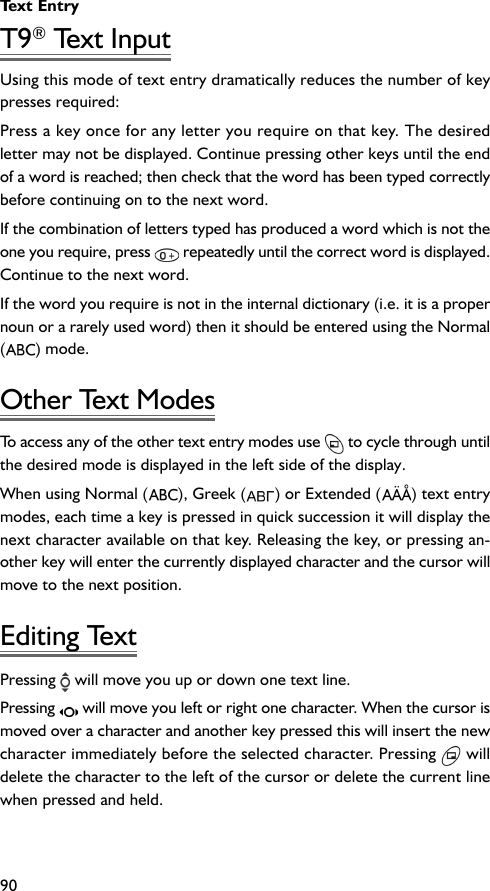
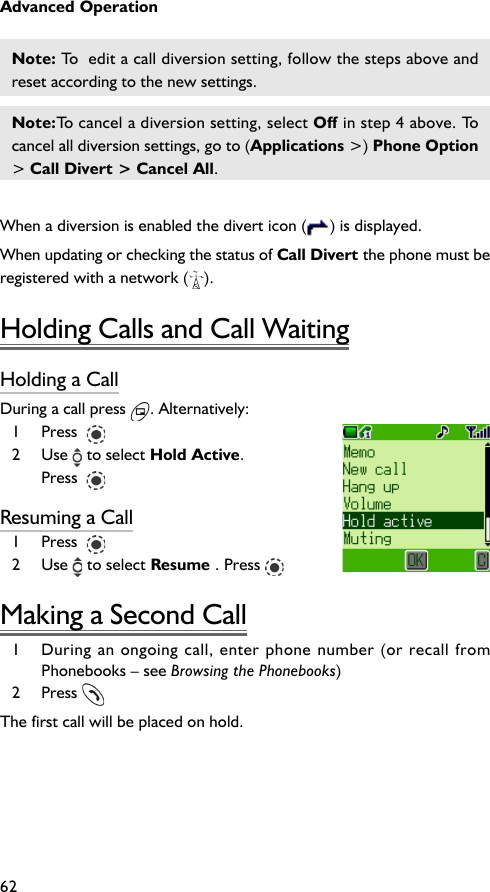
![WAP Browser77Record your WAP settings in the table at the rear of this booklet for easyreference.When you have entered settings for a browser profile, you may wish torename the profile to make it easier to remember. To rename a profile,go to Browser > Browser Setting > Set Profile > [Select Profile]> Rename. The current profile name will be displayed. Edit this nameto rename the profile.Since you can set up to five profiles, you should also select which is youractive profile. To do so, go to Browser > Browser Setting > SetProfile > [Select Profile] > Set As Active. Press](https://usermanual.wiki/Compal-Communications/EB-G60U/User-Guide-328032-Page-91.png)