Compal Communications EB-X500U GPRS User Manual X500 OI English
Compal Communications, Inc. GPRS X500 OI English
UserManual.wiki
>
Compal Communications
>
EB-X500U User Manual
>
UserMan3
Contents
1.
UserMan1
2.
UserMan2
3.
UserMan3
UserMan3
Navigation menu
Upload a User Manual
Namespaces
Wiki Guide
HTML
PDF
Info
Views
User Manual
Discussion / Help
Navigation
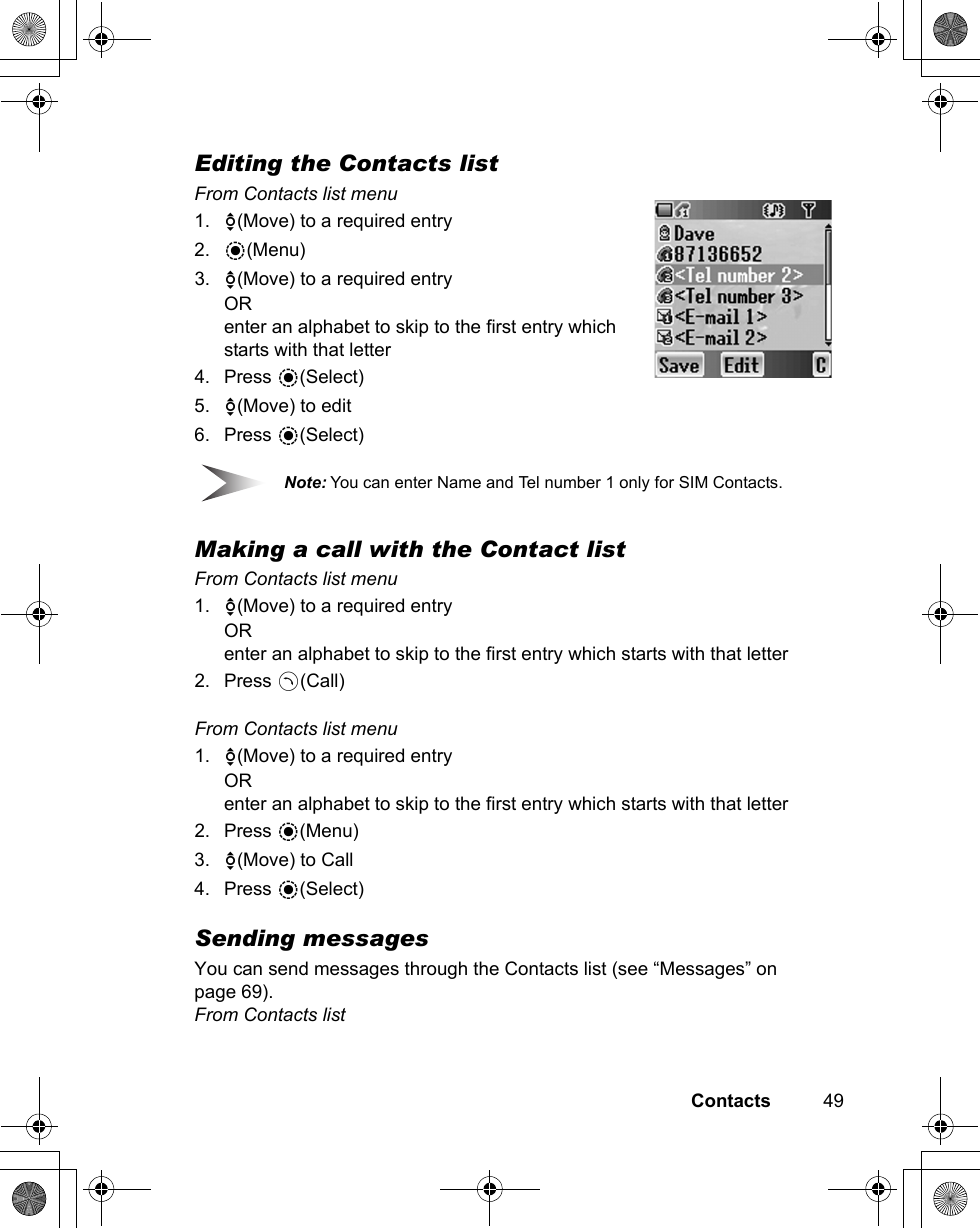
![Contacts 51CreateSIM Contacts: You can store Name, Tel number and Location No.Phone Contacts: You can store Name, 3 Tel numbers, 2 E-mail addresses, Ringtone type, Group, Hot key dial, Photo, Note and Location No.From Contacts menuCreating a new entryFrom Contacts menu1. 4(Move) to Create2. Press <(Select)3. 4(Move) to SIM or Phone4. Press <(Select)From Contacts list menu1. Press <(Menu)2. 4(Move) to Create3. Press <(Select)4. 4(Move) to SIM or Phone5. Press <(Select)From Contacts list menu1. 4(Move) to [New entry]2. Press <(Select)Icons Items Icons ItemsName Hot key dialTel number 1 - 3 PhotoE-mail address1, 2 NoteRingtone or LocationGroup](https://usermanual.wiki/Compal-Communications/EB-X500U.UserMan3/User-Guide-465026-Page-3.png)


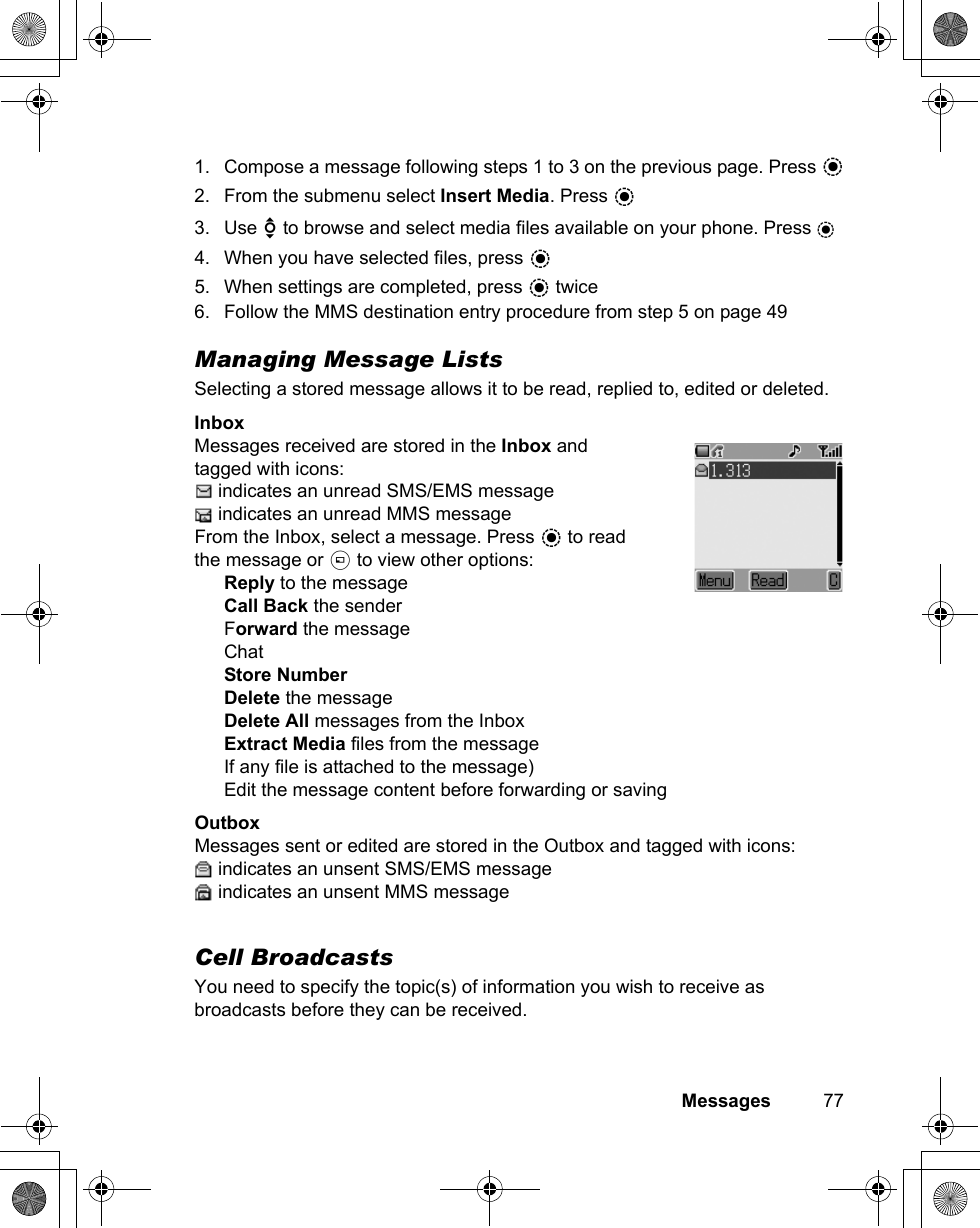
![Messages 71Creating a Text Message 1. From Idle press <, select Messages > Create > SMS/EMS. Press < 2. Write text message. To change text input method (displayed in lower left corner of display), press A. See Text Entry, page 81, for details. Use 0 to navigate through the message and position the cursor to add text Use @ to delete the character to the left of the cursor Press D to cancel the message 3. Press < when you have finished composing the message 4. The submenu that appears gives the options of OK. Press <. For information on adding attachments, see Text Attachments on page 45 5. When [New Entry] is displayed, select an entry from Phonebook or enter the destination manually.- From Phonebook:Press A and select desired entry. Press <, then A to save. Press < twice.- Manual entry:Press < twice. Enter destination number, then press < three times. 6. You will be asked Send Message Now? Press <](https://usermanual.wiki/Compal-Communications/EB-X500U.UserMan3/User-Guide-465026-Page-23.png)
![76 Messages2. Compose the text part of the message (see Text Entry, page 81, for details of entry methods) 3. When the message is complete press < 4. To attach a media file, follow the instructions on the following page. To continue without at-taching a media file, select OK from the submenu and press < 5. Select To:, press <. When [New Entry] is displayed, select an entry from Phonebook or enter the destination manually.- From Phonebook:Press A and select desired entry. Press <, then A to save. Press < twice.- Manual entry:Press < twice. Enter destination number, then press < three times.6. If desired, a message can be delivered as a copy to another recipient. To do this, use 4 to select Cc:. Press < and follow the operation in step 5.7. A Bcc: address or phone number is added in the same way. Bcc delivery differs from Cc delivery in that the original recipient (whose address is in the To: field) will not be informed of any copies sent to Bcc addresses 8. When the To: field has been filled and any required Cc or Bcc entries have been added, add the message subject heading. Use 4 to select Subj:, press < and enter the subject heading. Press < to confirm, then press A 9. Use 4 to select Send or Save as appropriate. Press < twiceNote: Saved messages are stored in the Outbox and can be edited and sent in the future.Attaching Media Files Media files such as voice files can easily be added to MMS messages.](https://usermanual.wiki/Compal-Communications/EB-X500U.UserMan3/User-Guide-465026-Page-28.png)
![78 Messages1. From Idle press <, select Messages > Broadcasts > Topics and press < 2. Select [New Channel] and press < twice to insert a new topic 3. Enter Channel No. and press < When a low priority broadcast has been received, will be displayed on the Idle screen. If a high priority broadcast is received, its text content will be displayed on the idle screen Enabling/Disabling Cell Broadcasts 1. From Idle press <, select Messages > Broadcasts and press < 2. Select Receive and press < 3. Use 4 to select Enable or Disable and press < Language The language in which broadcast messages displayed can be changed (F). 1. From Idle press <, select Messages > Broadcasts > Languages and press < 2. Select a list and press <3. Select required language and press <](https://usermanual.wiki/Compal-Communications/EB-X500U.UserMan3/User-Guide-465026-Page-30.png)