Compal Electronics TG7 PCS Band GSM Phone User Manual Manual
Compal Electronics Inc PCS Band GSM Phone Manual
UserManual.wiki
>
Compal Electronics
>
TG7 User Manual
Manual
Navigation menu
Upload a User Manual
Namespaces
Wiki Guide
HTML
PDF
Info
Views
User Manual
Discussion / Help
Navigation

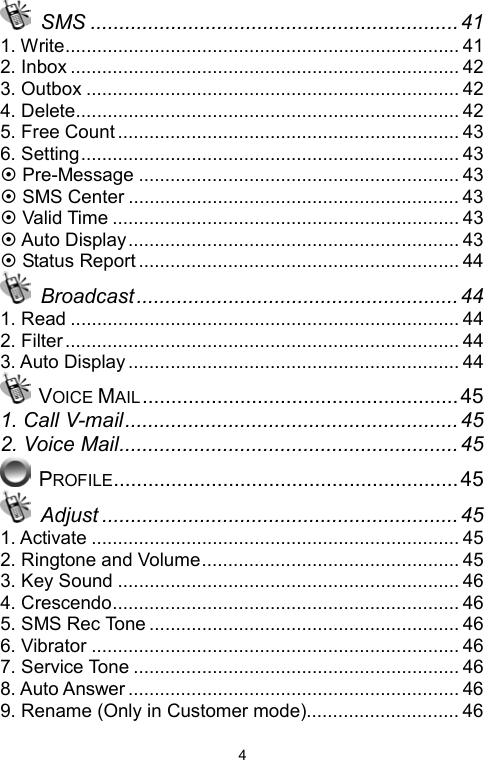


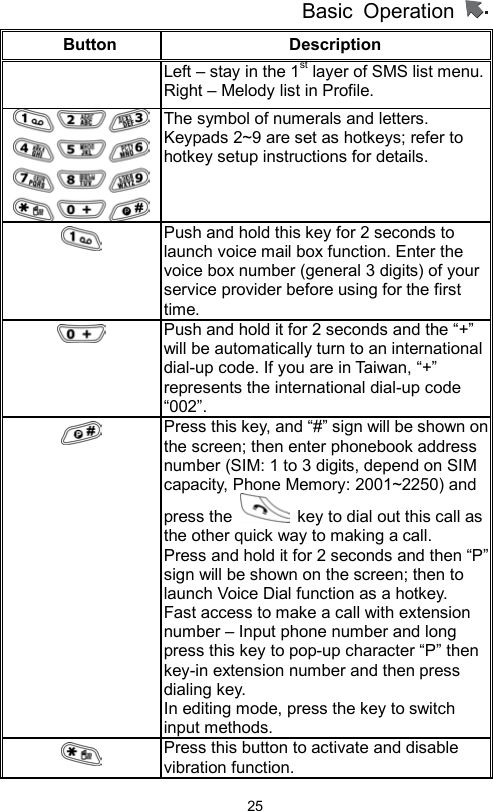
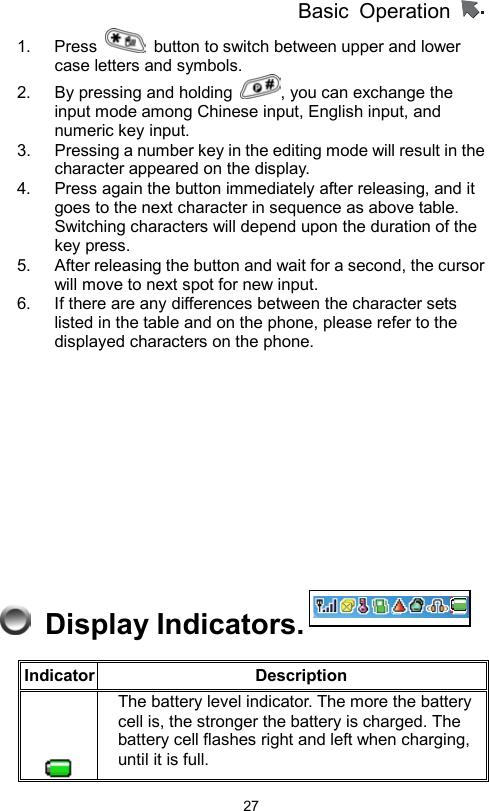
![Basic Operation 26Button Description In English Mode, press this key to switch English letter between upper and lower case. In T9 input Method, press this key to switch input methods and symbols. Adjust volume during a call. In folder close mode, press Up key to activate the backlight of Sub_LCM. Alphanumeric Mapping The alphabetical and numerical keypad mapping relations are listed on the following table: Upper Case Mode Lower Case Mode 1 Space .: /\│1[]{}() Space .: /\│1[]{}() 2 A B C 2 Ä Å Æ ç a b c 2 ä å à æ ç 3 D E F 3 É d e f 3 é è 4 G H I 4 g h i 4 ì 5 J K L 5 J k l 5 6 MNO6ÑÖ m n o 6 ñ ö ò 7 P Q R S 7 β p q r s 7 β 8 T U V 8 Ü t u v 8 ü ù 9 W X Y Z 9 w x y z 9 0 Space + - * / ( ) 0 Space + - * / ( ) 0 * : * . , “_ @ <> !; : * . , “_ @ <> !; # # / =? % # / =? % Note:](https://usermanual.wiki/Compal-Electronics/TG7/User-Guide-465564-Page-26.png)