D Link DWL3200APA1 IEEE 802.11g Wireless Access Point User Manual
D Link Corporation IEEE 802.11g Wireless Access Point
D Link >
Contents
User manual part 3
64
DWL-3200AP User’s Manual
D-Link Systems, Inc.
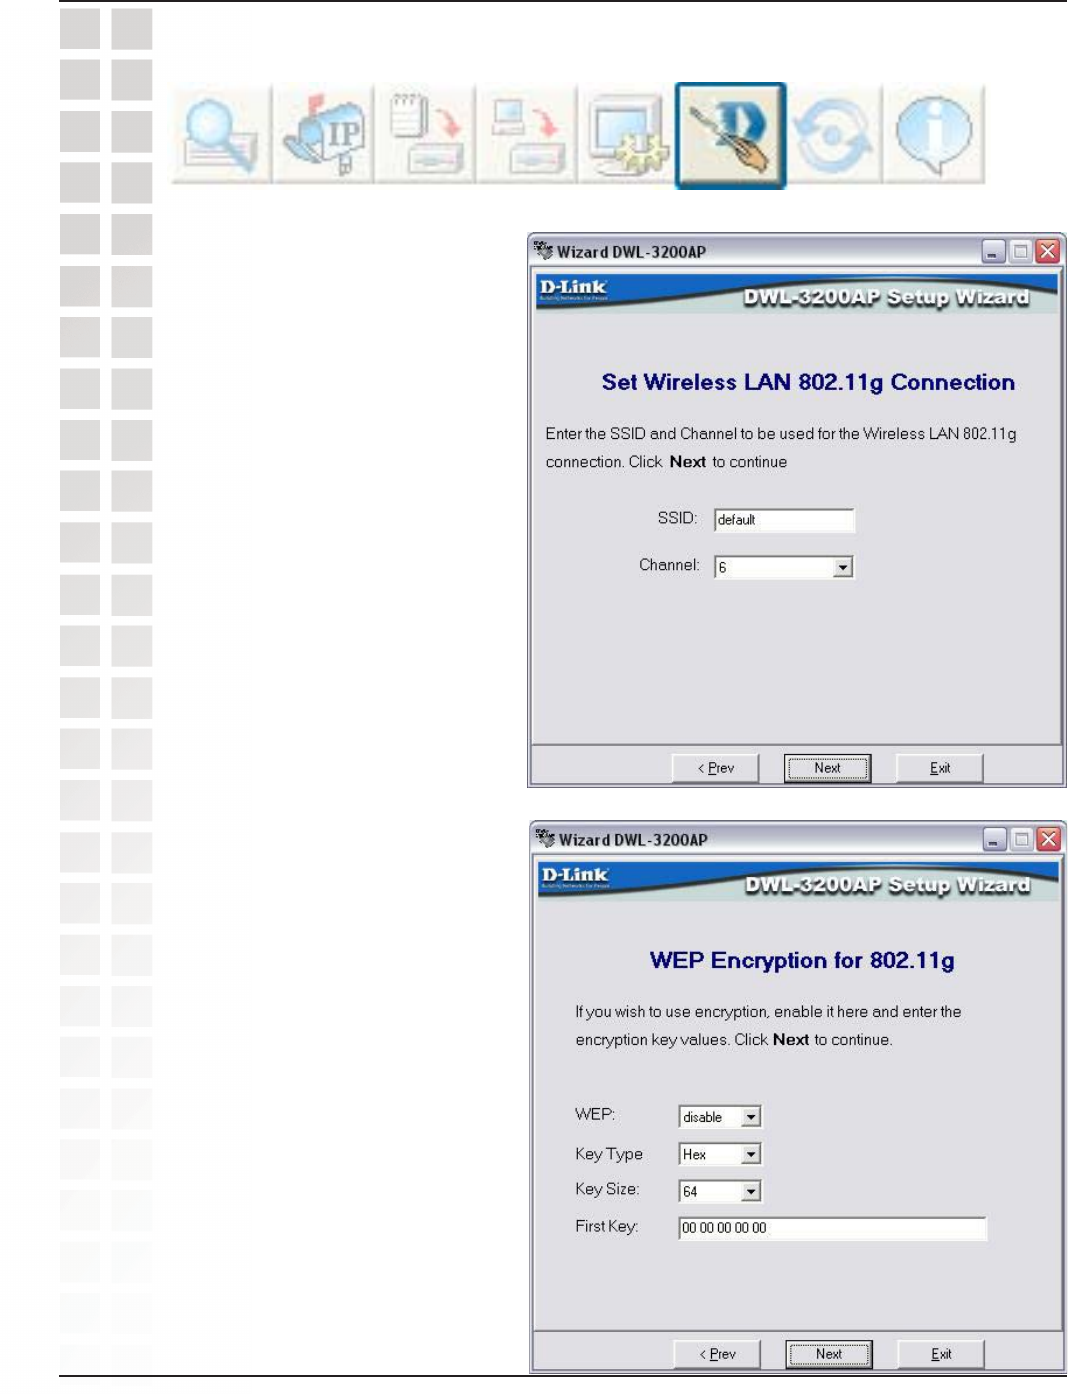
Setup Wizard (continued)
Enter the SSID and the
Channel for the IEEE
network.
Using the AP Manager
Click Next.
If you want to enable
Encryption, enter the
Encryption values here.
Click Next.
65
DWL-3200AP User’s Manual
D-Link Systems, Inc.
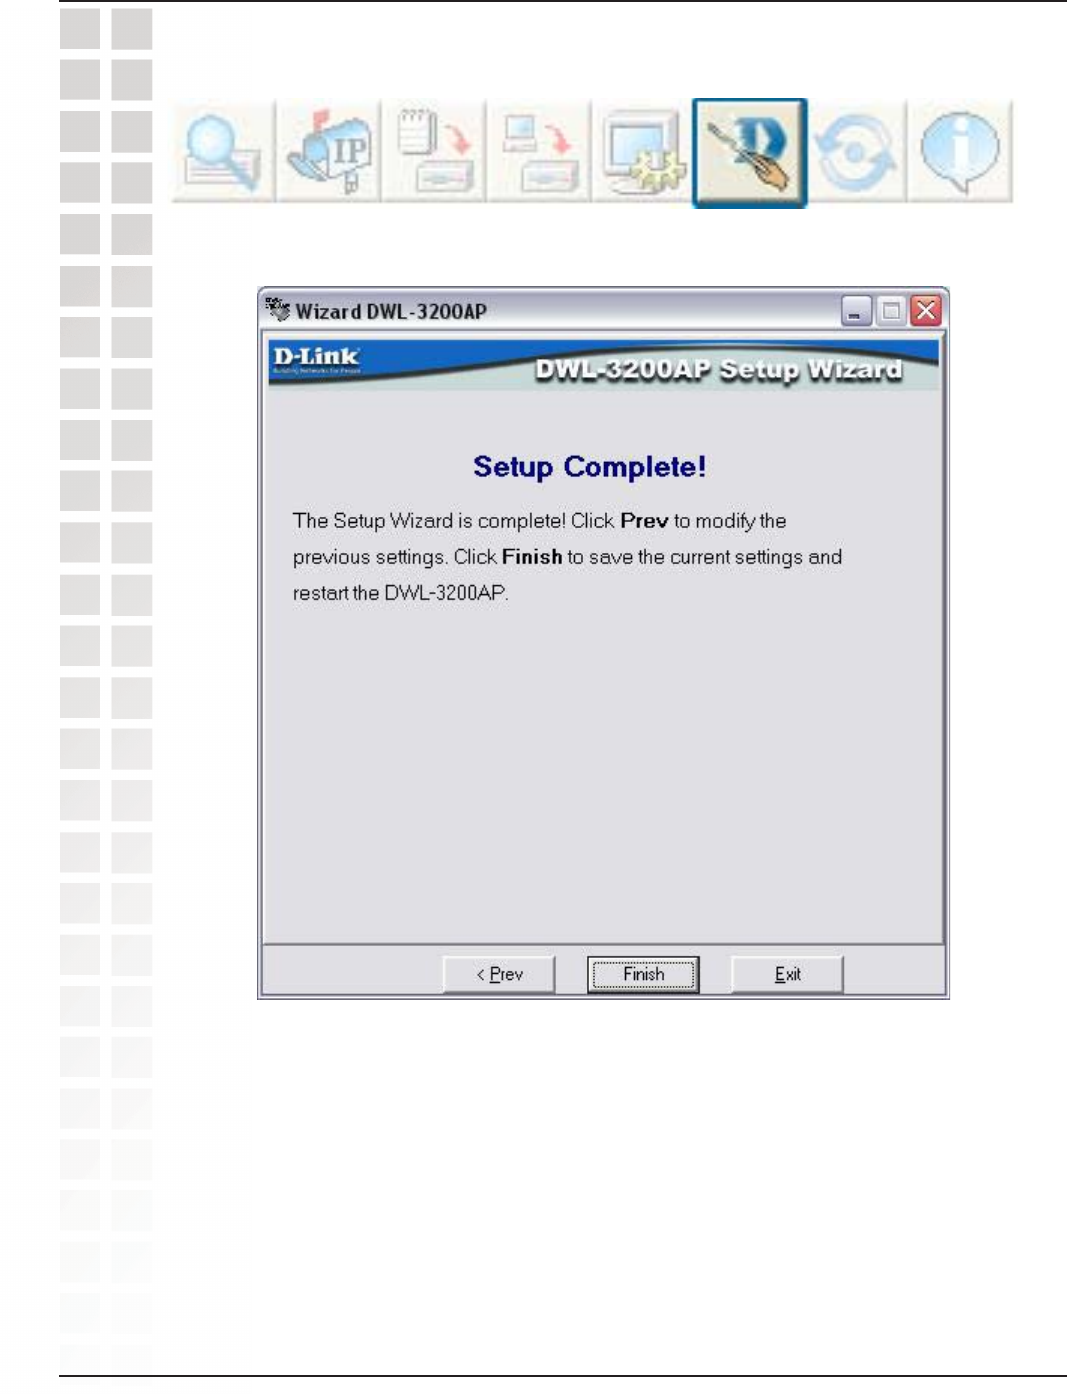
Setup Wizard (continued)
Using the AP Manager
The DWL-3200AP setup is complete!
66
DWL-3200AP User’s Manual
D-Link Systems, Inc.
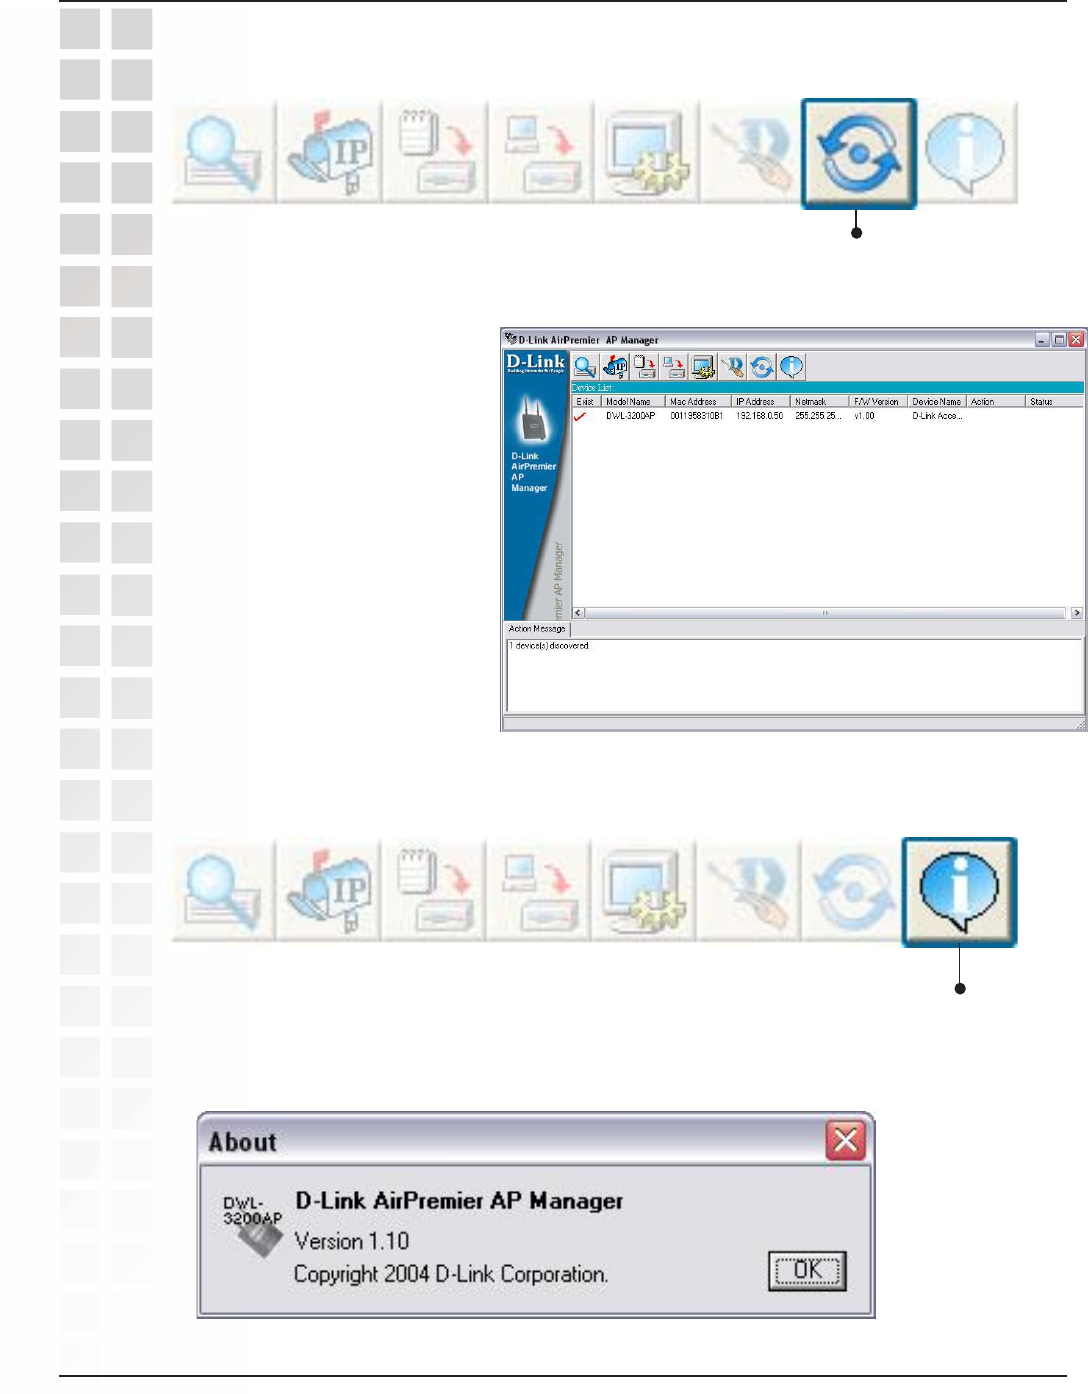
Using the AP Manager
Refresh
Click on this button to refresh the list of
devices available on the network.
Devices with a checkmark
next to them are still
available on the network.
Devices with an X are no
longer available on the
network.
Click on this button to view the
version of AP Manager.
About
67
DWL-3200AP User’s Manual
D-Link Systems, Inc.
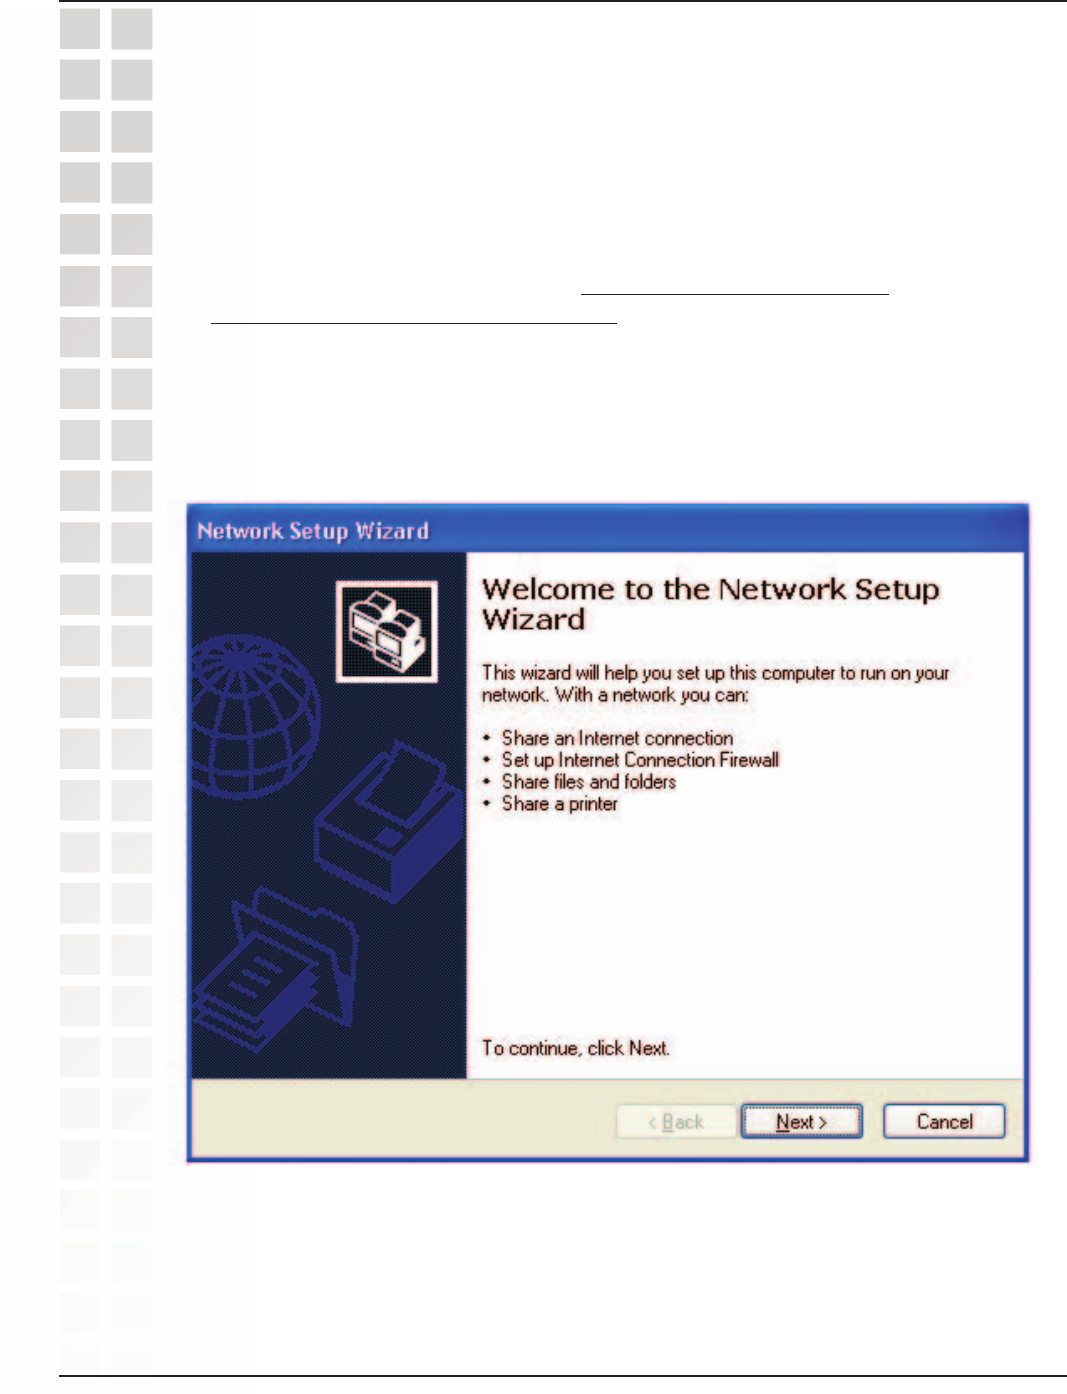
Using the Network Setup Wizard in Windows XP
In this section you will learn how to establish a network at home or work, using Microsoft
Windows XP.
Note: Please refer to websites such as http://www.homenethelp.com
and http://www.microsoft.com/windows2000 for information about networking computers
using Windows 2000, Me or 98.
Go to Start>Control Panel>Network Connections
Select Set up a home or small office network
Networking Basics
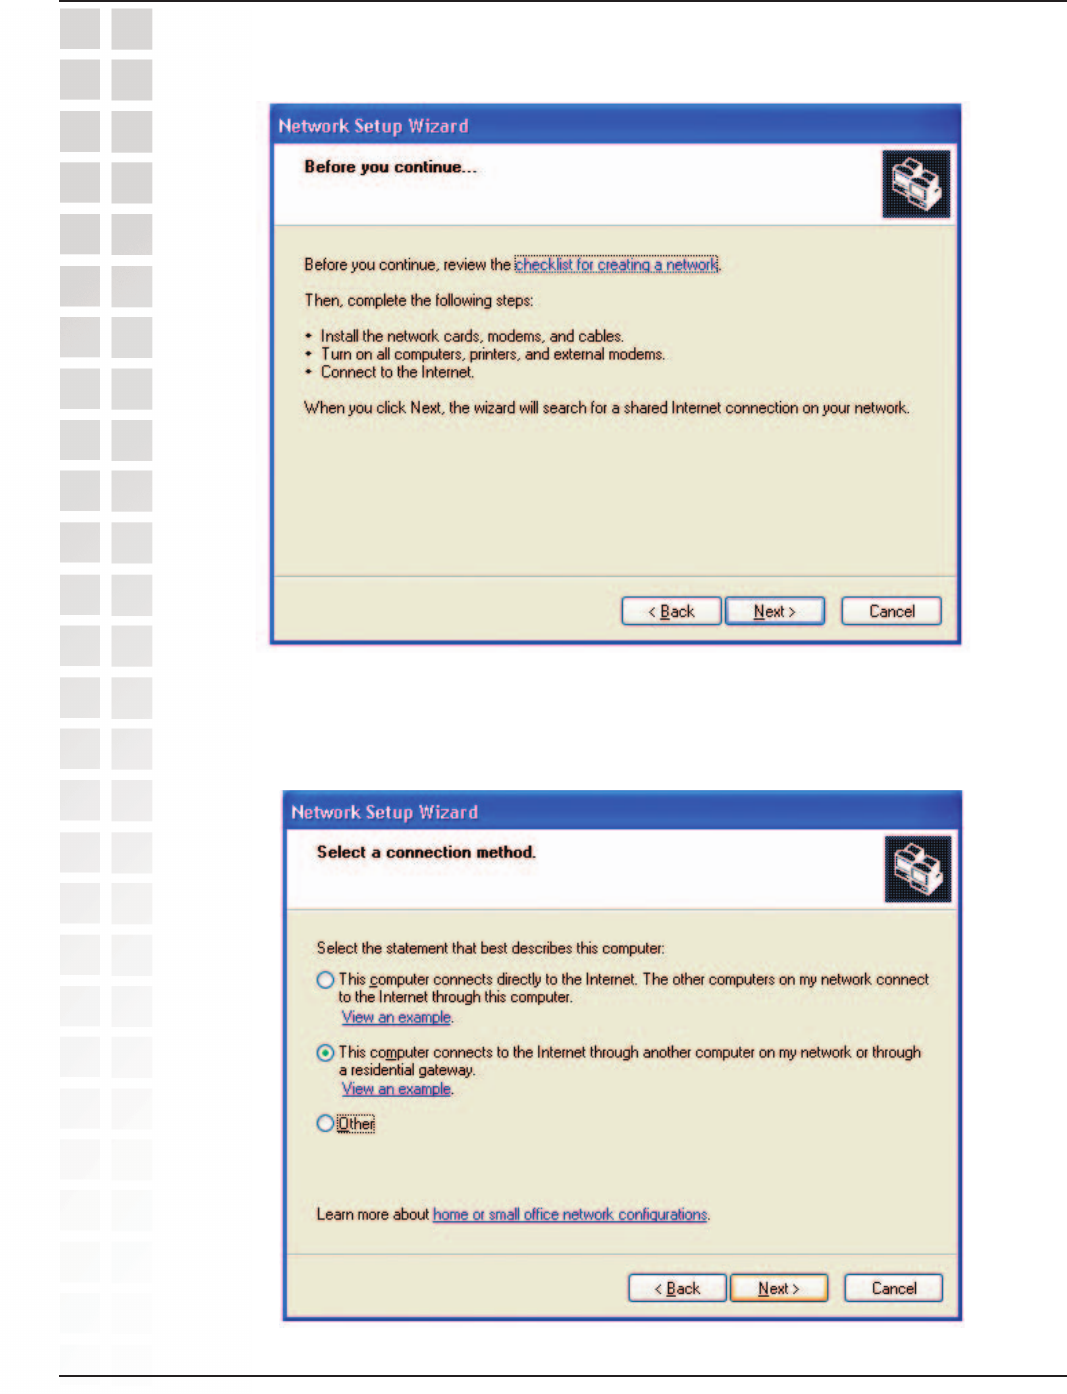
When this screen appears, click Next.
68
DWL-3200AP User’s Manual
D-Link Systems, Inc.
Networking Basics
Click Next.
In the following window, select the best description of your computer. If your computer
connects to the internet through a gateway/router, select the second option as shown.
Click Next.
Please follow all the instructions in this window:
69
DWL-3200AP User’s Manual
D-Link Systems, Inc.
Networking Basics
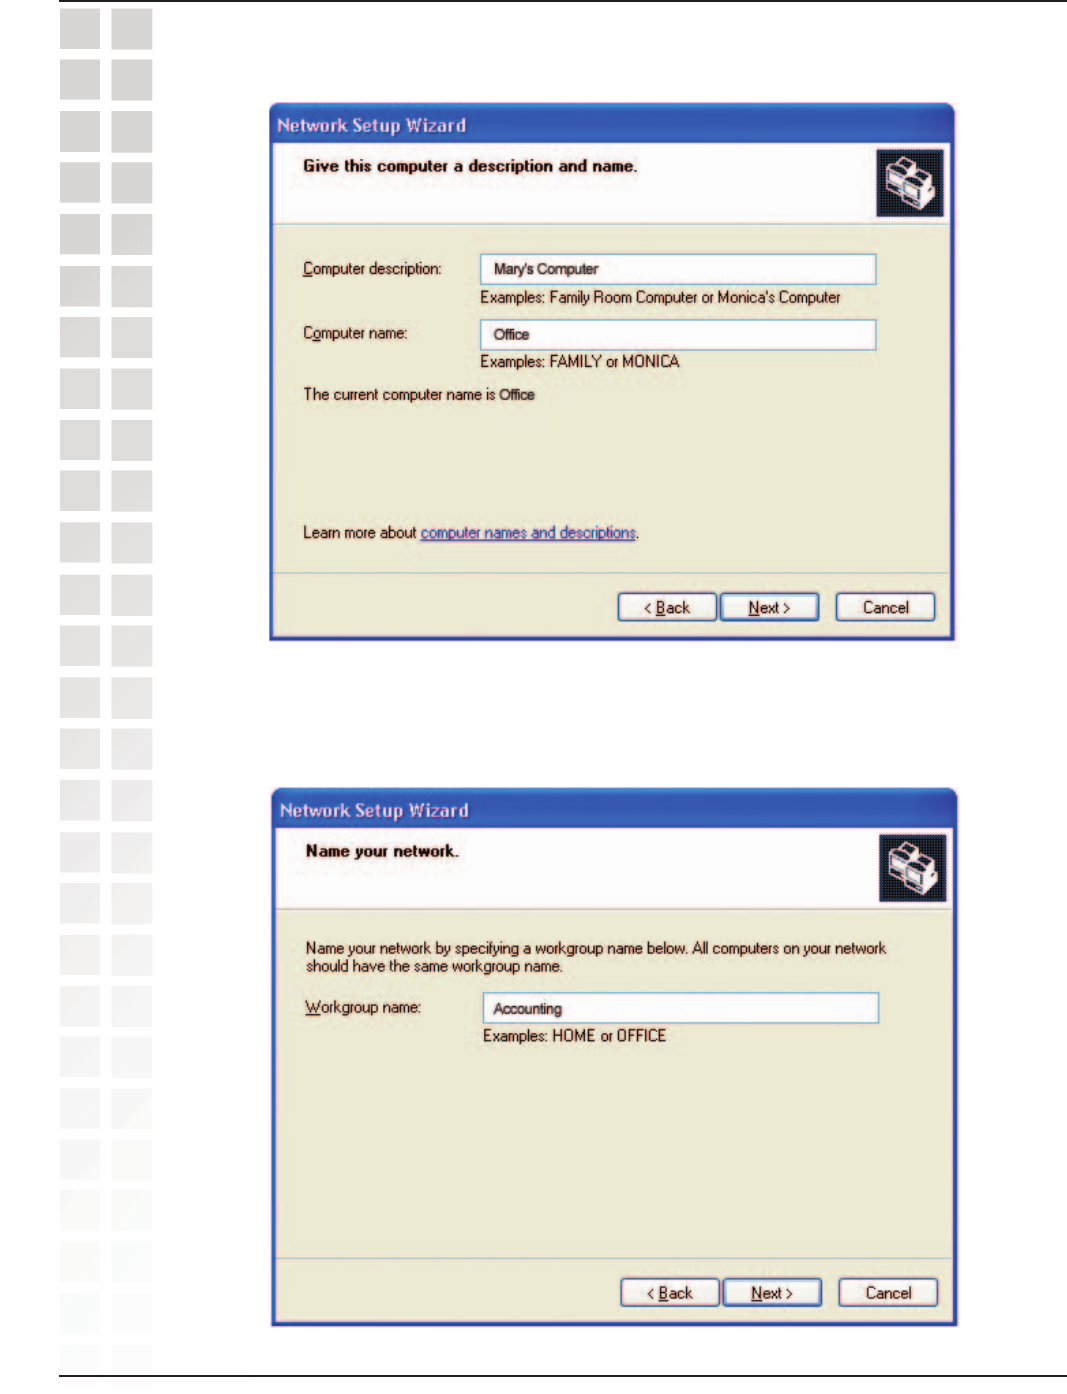
Enter a Computer description and a Computer name (optional).
Click Next.
Enter a Workgroup name. All computers on your network should have the same
Workgroup name.
Click Next.
70
DWL-3200AP User’s Manual
D-Link Systems, Inc.
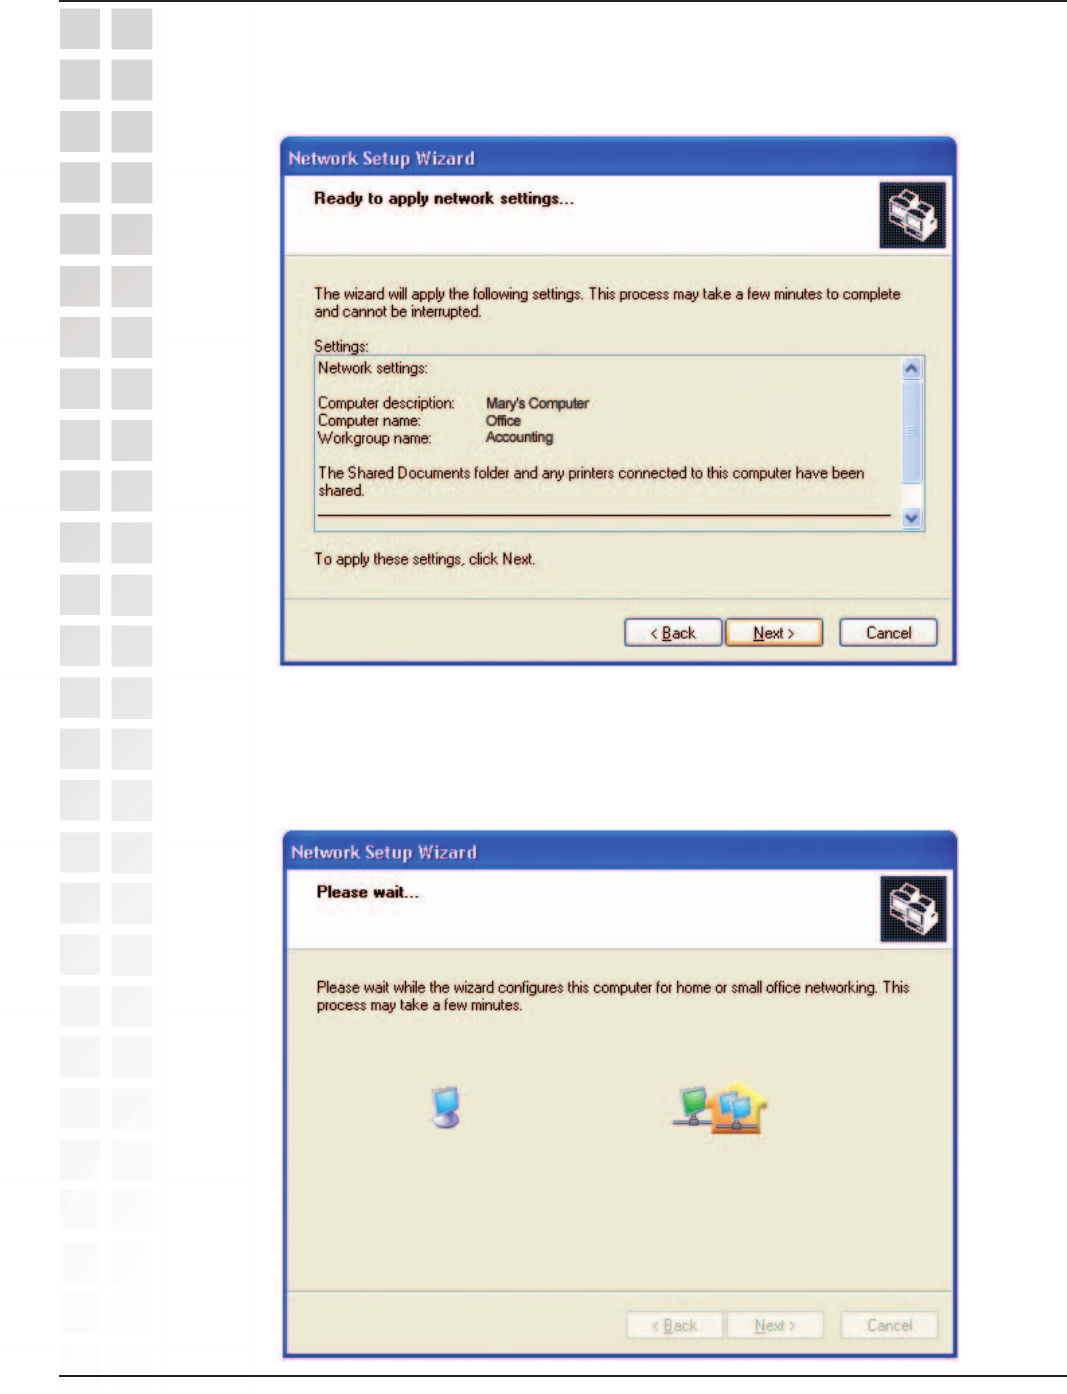
Please wait while the Network Setup Wizard applies the changes.
When the changes are complete, click Next.
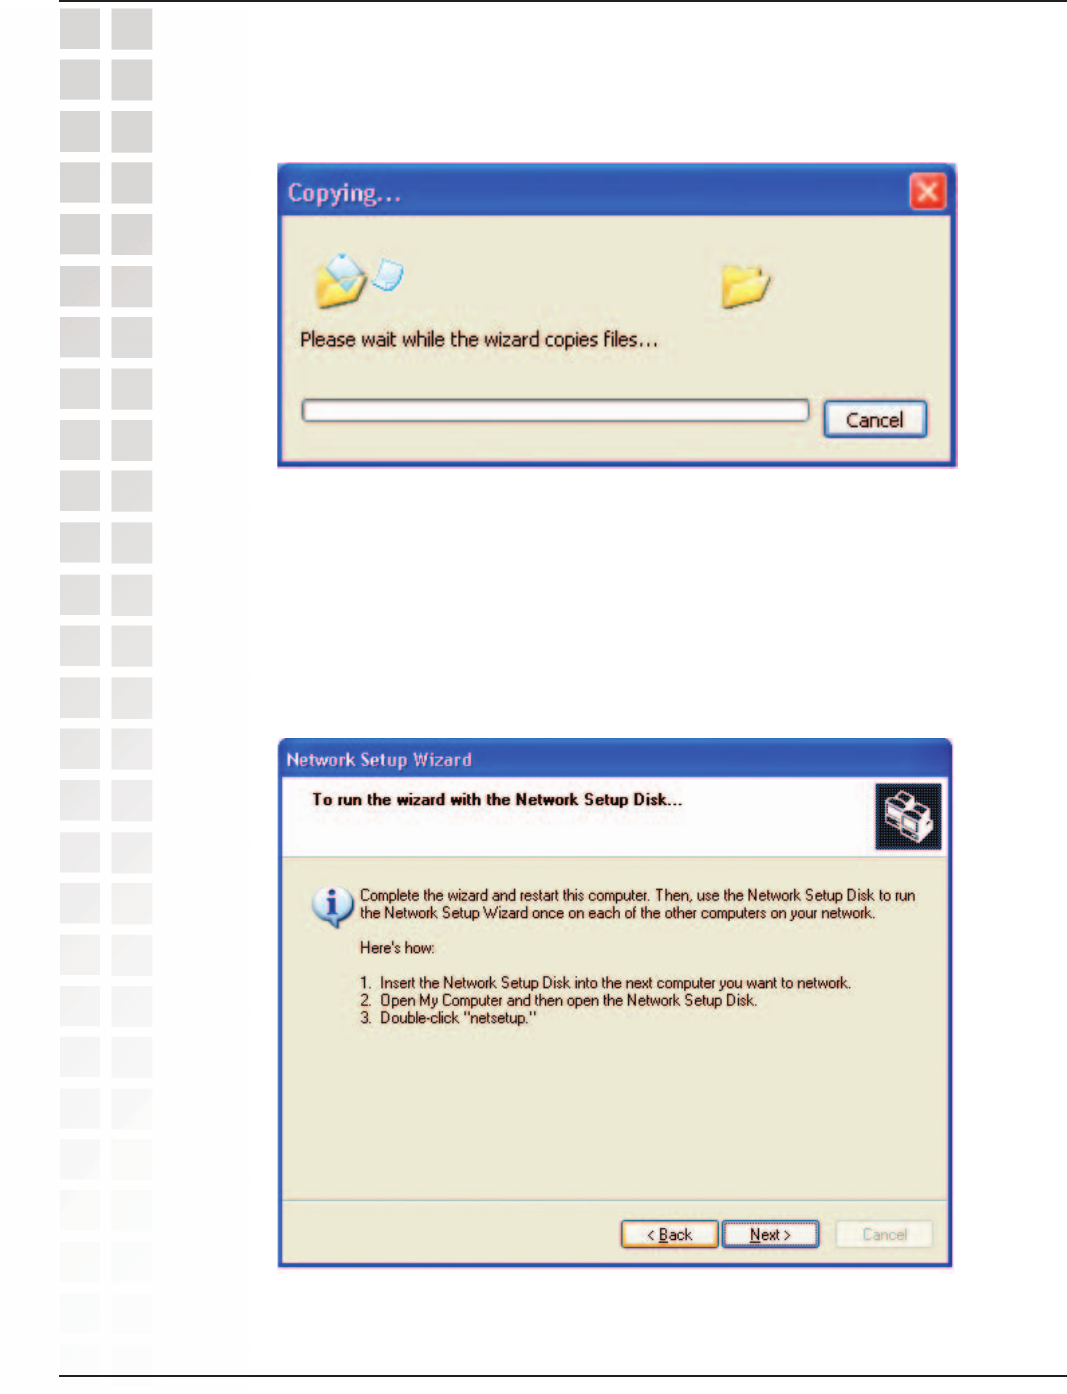
Please wait while the Network Setup Wizard configures the computer. This may take a
few minutes.
Networking Basics
71
DWL-3200AP User’s Manual
D-Link Systems, Inc.
Networking Basics
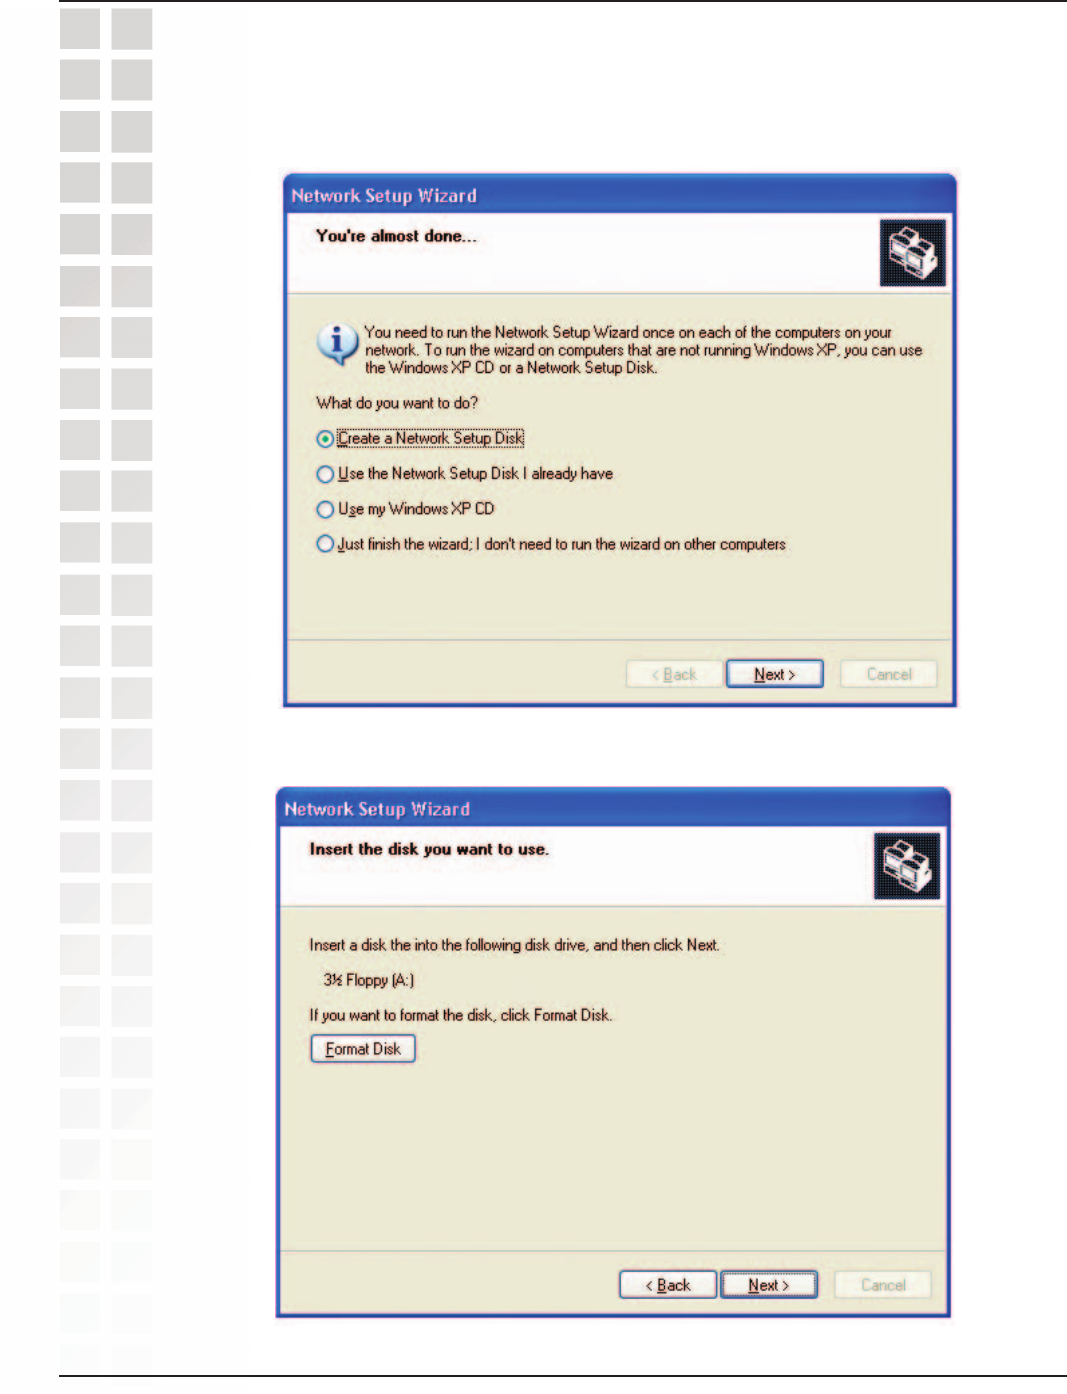
Insert a disk into the Floppy Disk Drive, in this case drive A.
Click Next.
In the window below, select the option that fits your needs. In this example, Create a
Network Setup Disk has been selected. You will run this disk on each of the computers
on your network. Click Next.
72
DWL-3200AP User’s Manual
D-Link Systems, Inc.
Please read the information under Here’s how in the screen below. After you complete
the Network Setup Wizard you will use the Network Setup Disk to run the Network
Setup Wizard once on each of the computers on your network. To continue click Next.
Networking Basics
73
DWL-3200AP User’s Manual
D-Link Systems, Inc.
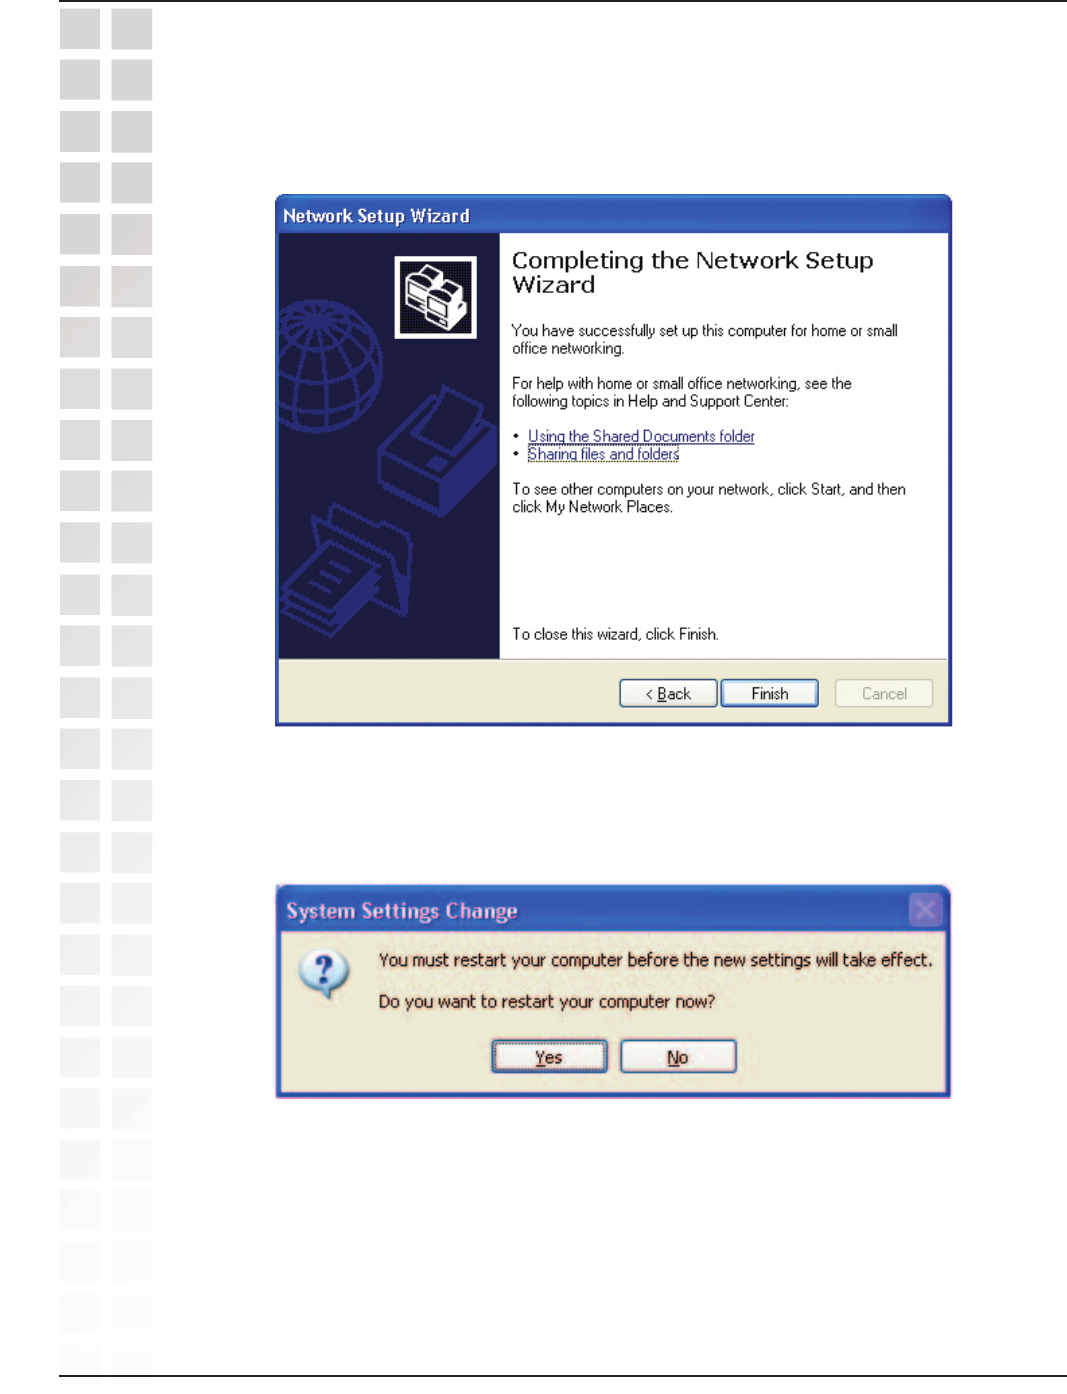
Please read the information on this screen, then click Finish to complete the Network
Setup Wizard.
The new settings will take effect when you restart the computer. Click Yes to restart the
computer.
You have completed configuring this computer. Next, you will need to run the Network
Setup Disk on all the other computers on your network. After running the Network
Setup Disk on all your computers, your new wireless network will be ready to use.
Networking Basics
74
DWL-3200AP User’s Manual
D-Link Systems, Inc.
Networking Basics
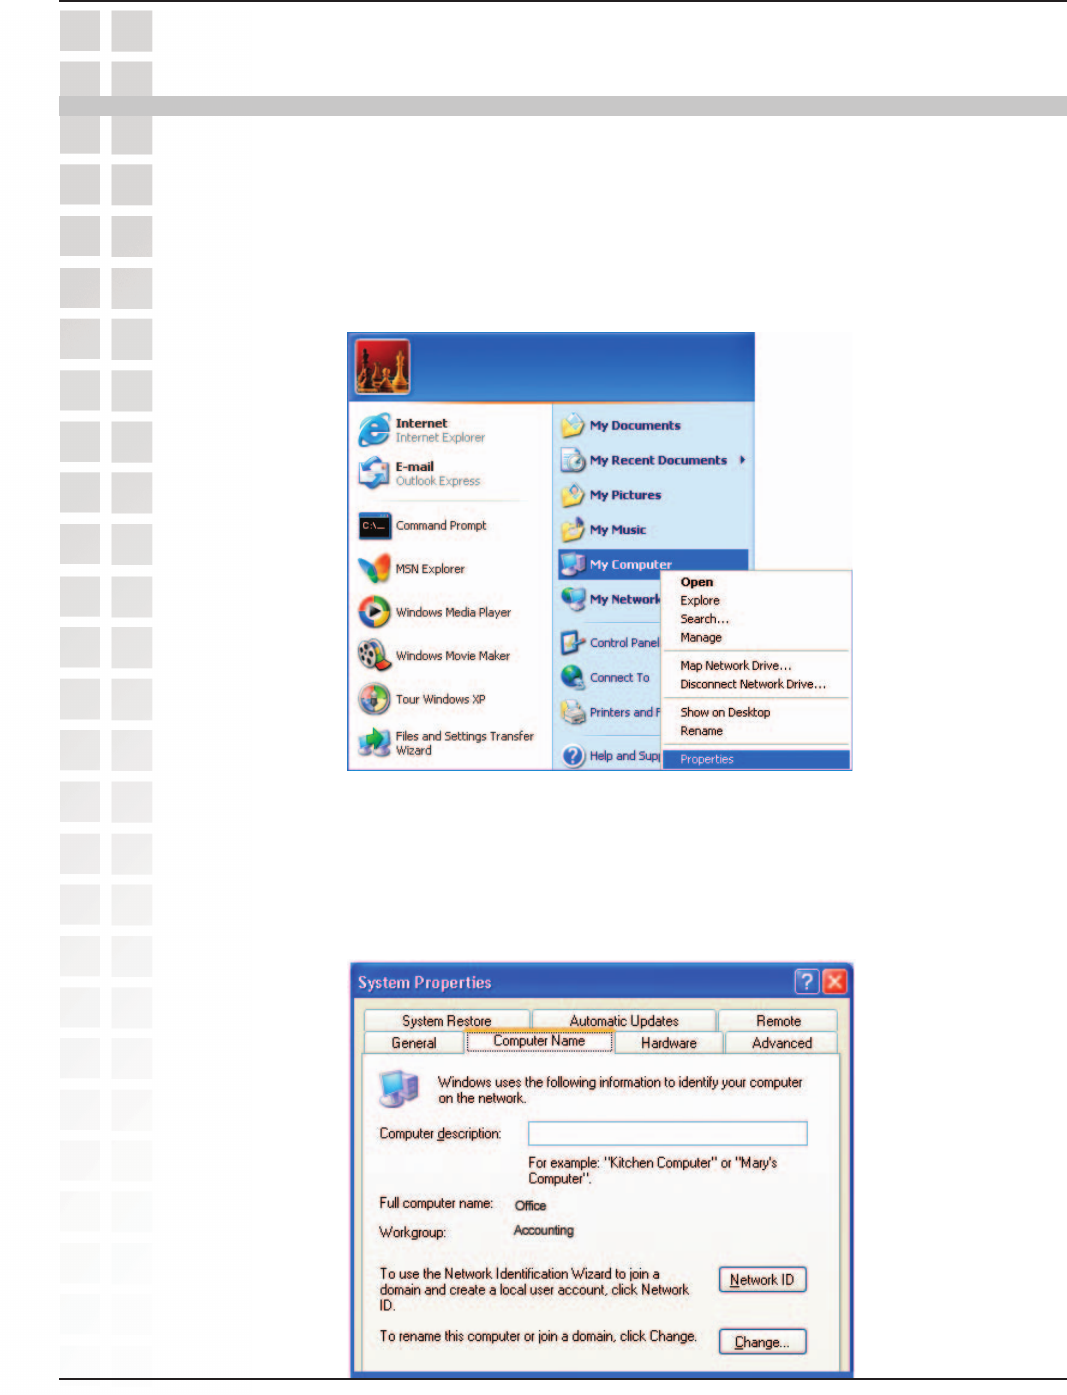
Naming Your Computer
To name your computer n Windows XP, please follow these directions.
Click Start (in the lower left corner of the screen).
Right-click on My Computer.
Select Properties and click.
Select the Computer Name Tab in the System Properties window.
You may enter a Computer Description if you wish; this field is optional.
To rename the computer and join a domain, Click Change.
75
DWL-3200AP User’s Manual
D-Link Systems, Inc.
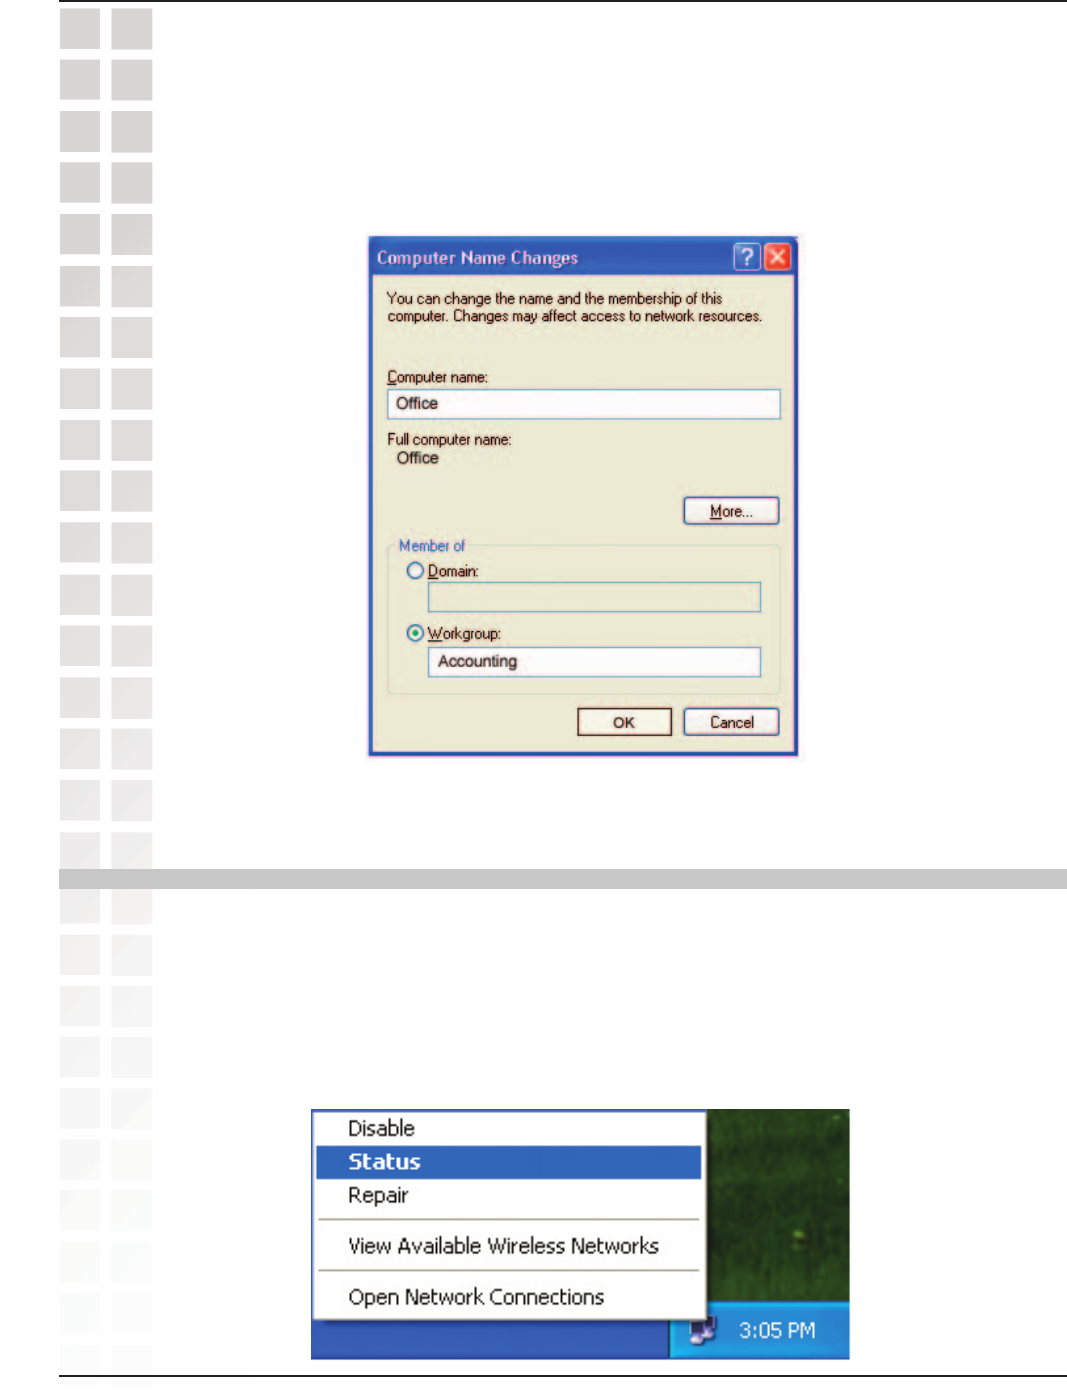
In this window, enter the Computer name.
Select Workgroup and enter the name of the Workgroup.
All computers on your network must have the same Workgroup name.
Click OK.
Networking Basics
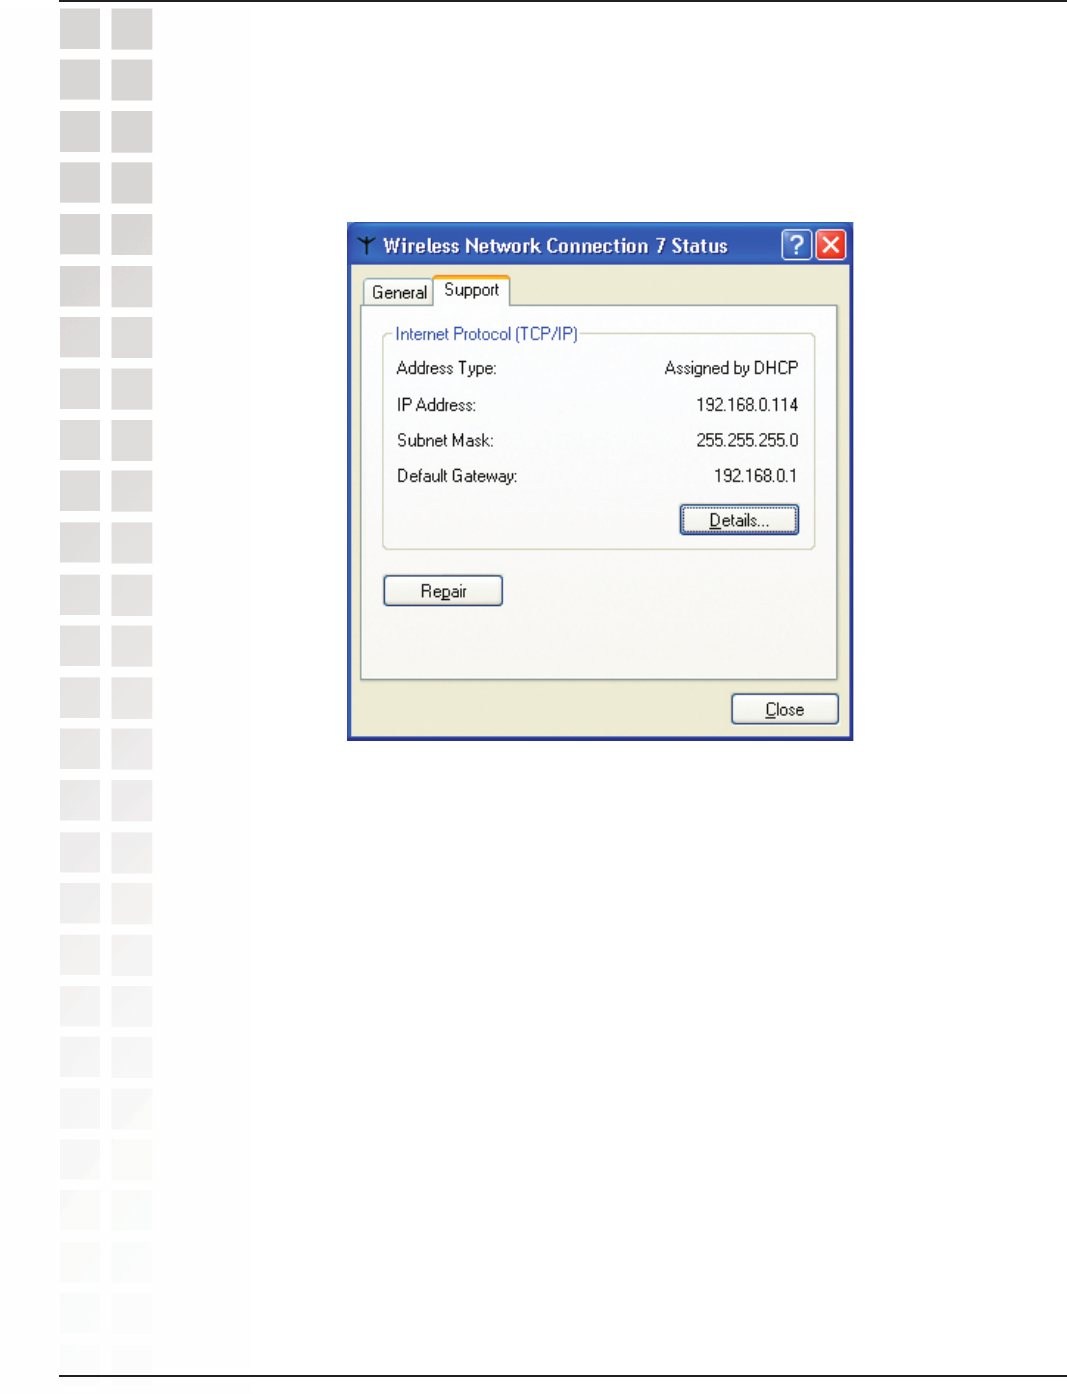
The wireless adapter-equipped computers in your network must be in the same IP
Address range (see Getting Started in this manual for a definition of IP Address Range.)
To check on the IP Address of the adapter, please do the following:
Right-click on the Local Area Connection icon in the task bar.
Click on Status.
Checking the IP Address in Windows XP
76
DWL-3200AP User’s Manual
D-Link Systems, Inc.
Networking Basics
This window will appear:
Click the Support tab.
Click Close.
77
DWL-3200AP User’s Manual
D-Link Systems, Inc.
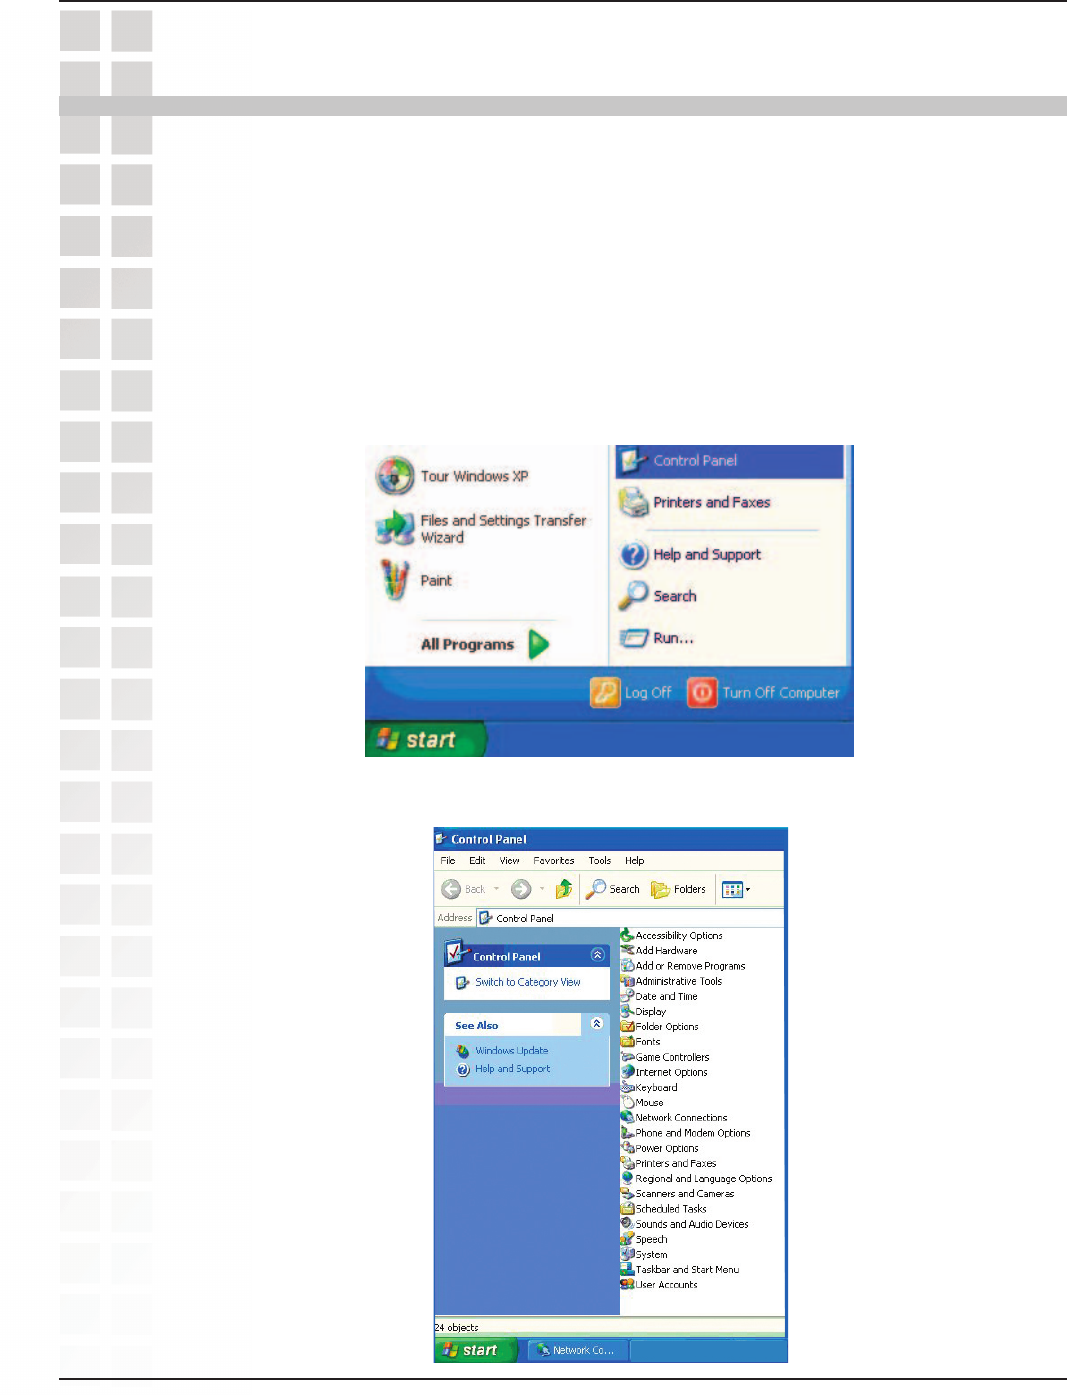
Note: DHCP-enabled routers will automatically assign IP addresses to the computers
on the network, using DHCP (Dynamic Host Configuration Protocol) technology. If you
are using a DHCP-capable router you will not need to assign static IP addresses.
If you are not using a DHCP capable router, or you need to assign a static IP address,
please follow these instructions:
Go to Start.
Double-click on Control Panel.
Assigning a Static IP Address in Windows XP/2000
Networking Basics
Double-click on Network Connections.
78
DWL-3200AP User’s Manual
D-Link Systems, Inc.
Networking Basics
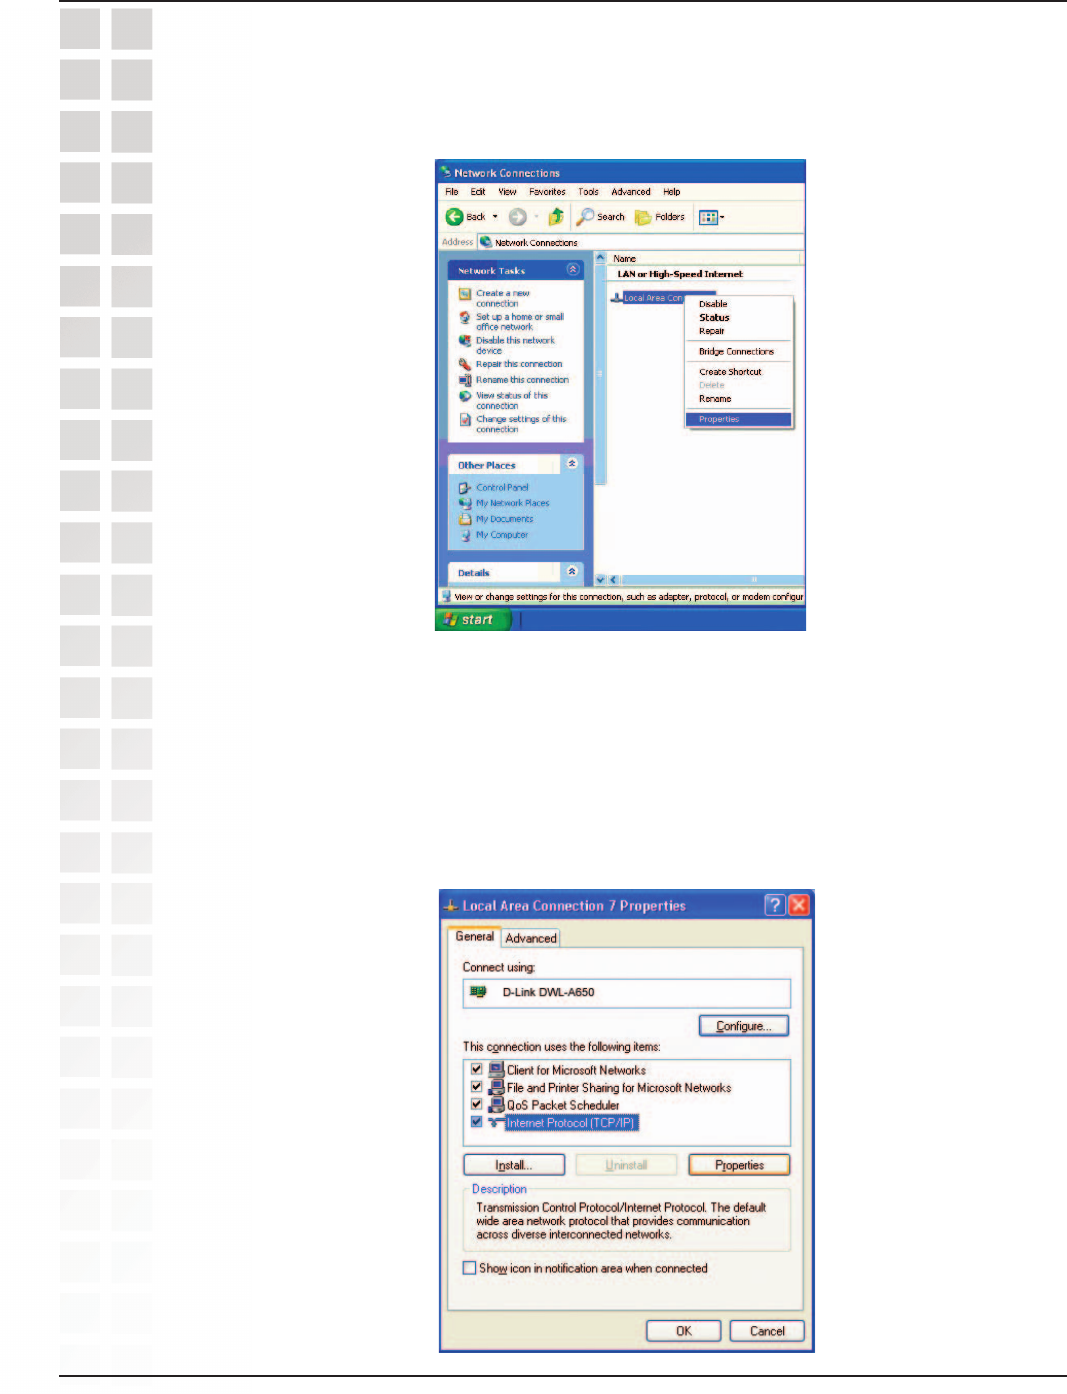
Right-click on Local Area Connections.
Double-click on Properties.
Click on Internet Protocol (TCP/IP).
Click Properties.
Input your IP address and subnet mask. (The IP addresses on your network must
be within the same range. For example, if one computer has an IP address of
192.168.0.2, the other computers should have IP addresses that are sequential,
like 192.168.0.3 and 192.168.0.4. The subnet mask must be the same for all the
computers on the network.)
79
DWL-3200AP User’s Manual
D-Link Systems, Inc.
Networking Basics
Input your DNS server addresses. (Note: If you are entering a DNS server, you
must enter the IP address of the default gateway.)
The DNS server information will be supplied by your ISP (Internet Service Provider.)
Click OK.
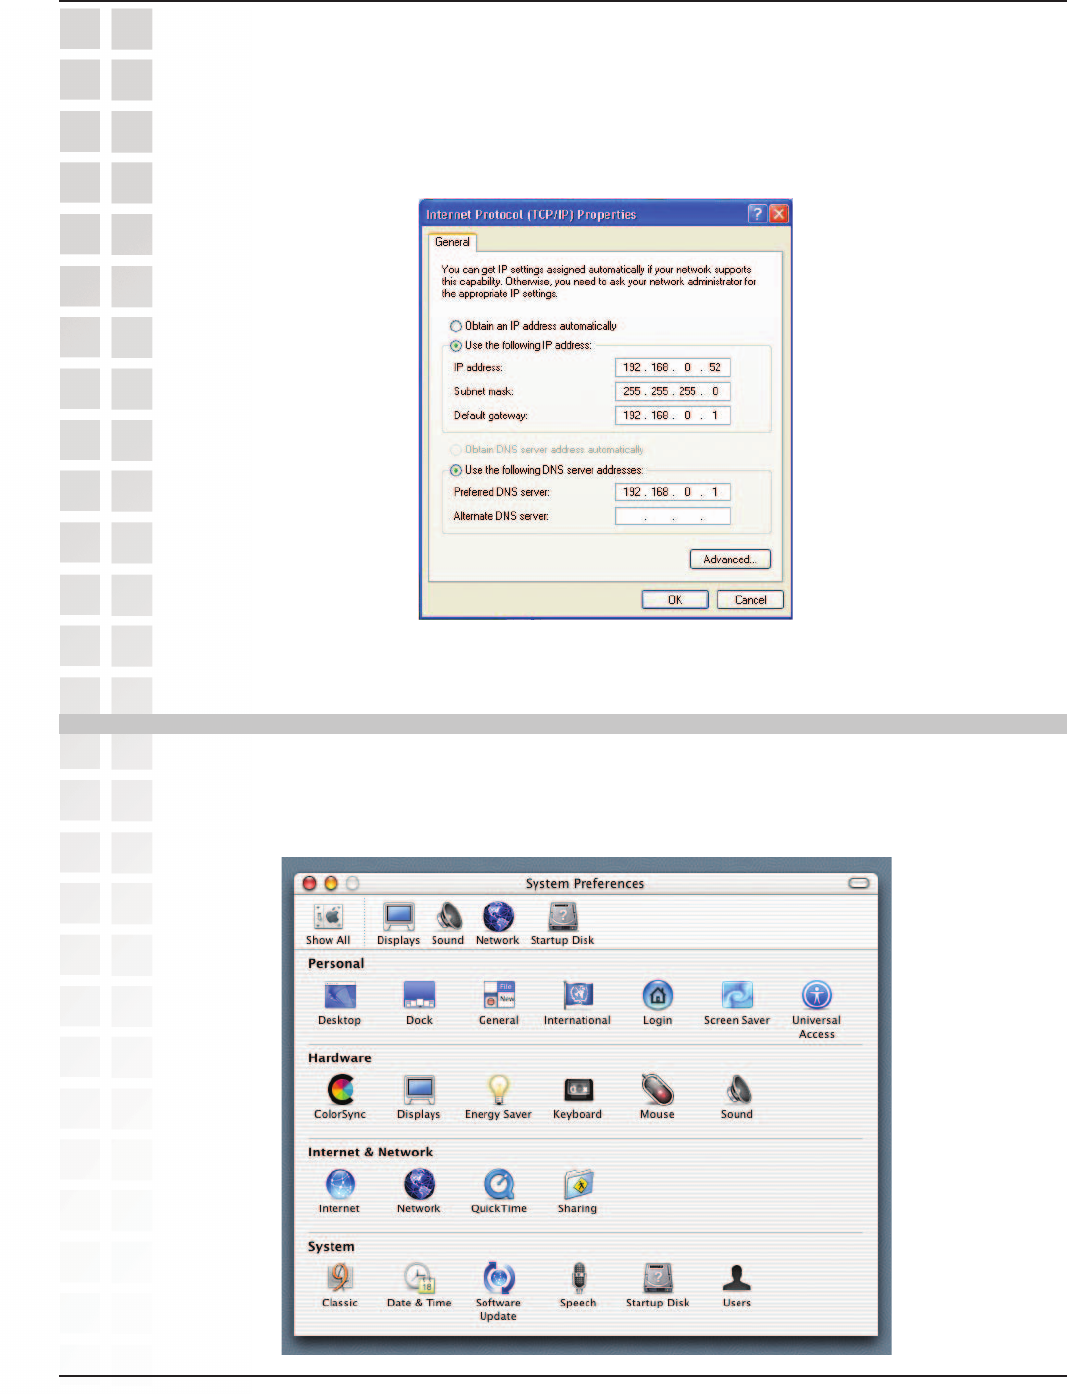
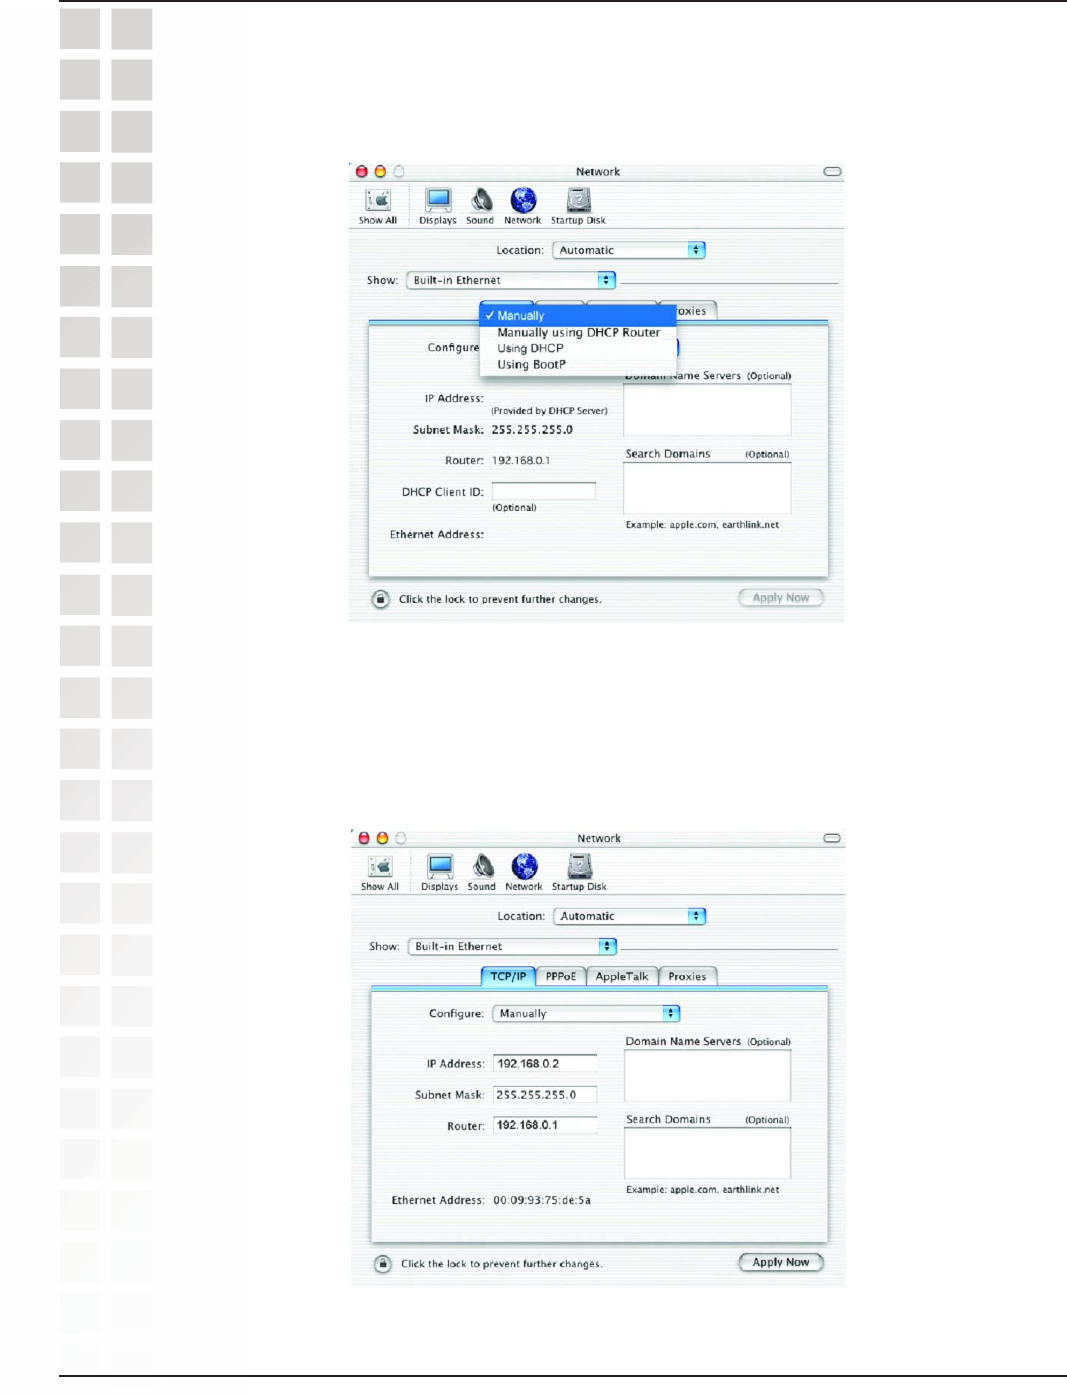
Assigning a Static IP Address in Macintosh OSX
Go to the Apple Menu and select System Preferences.
Click on Network.
80
DWL-3200AP User’s Manual
D-Link Systems, Inc.
Networking Basics
Select Built-in Ethernet in the Show pull-down menu.
Select Manually in the Configure pull-down menu.
Input the Static IP Address, the Subnet Mask and the Router IP Address in the
appropriate fields.
Click Apply Now.