D Link HPW220AVA1 Powerline AV Wireless N150 Mini Extender/Powerline AV Wireless N150 Mini Router User Manual Manual
D Link Corporation Powerline AV Wireless N150 Mini Extender/Powerline AV Wireless N150 Mini Router Manual
D Link >
Manual
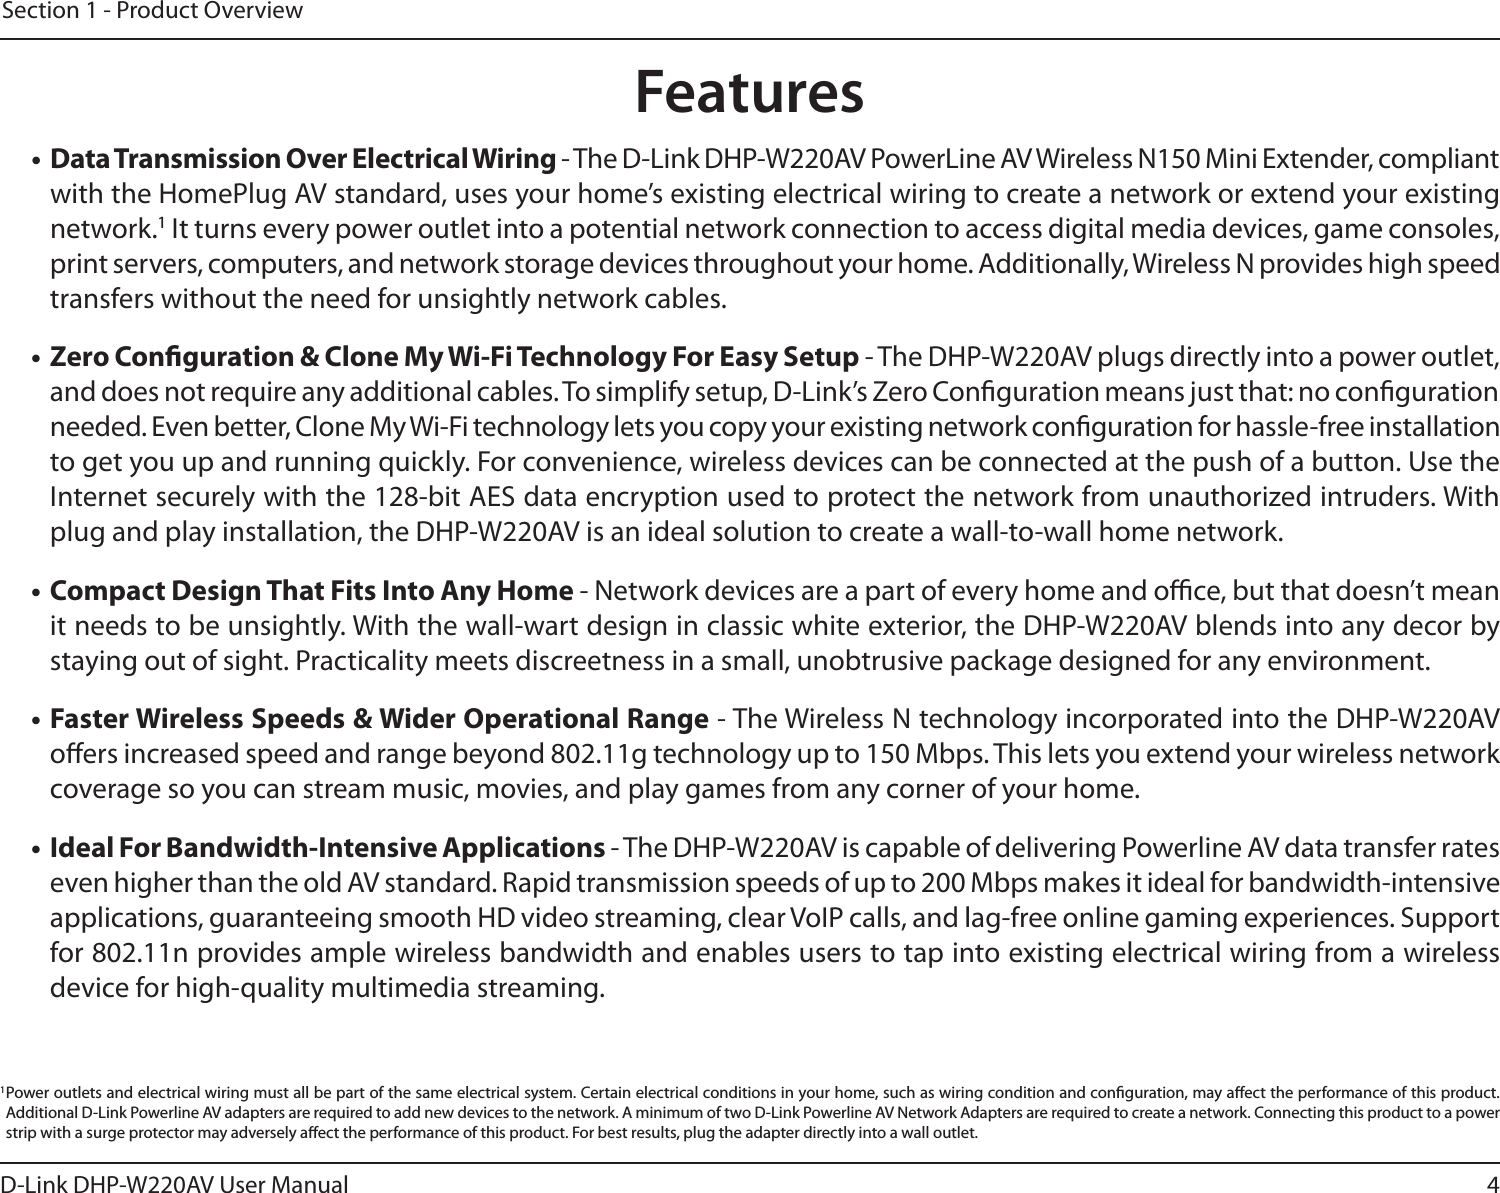


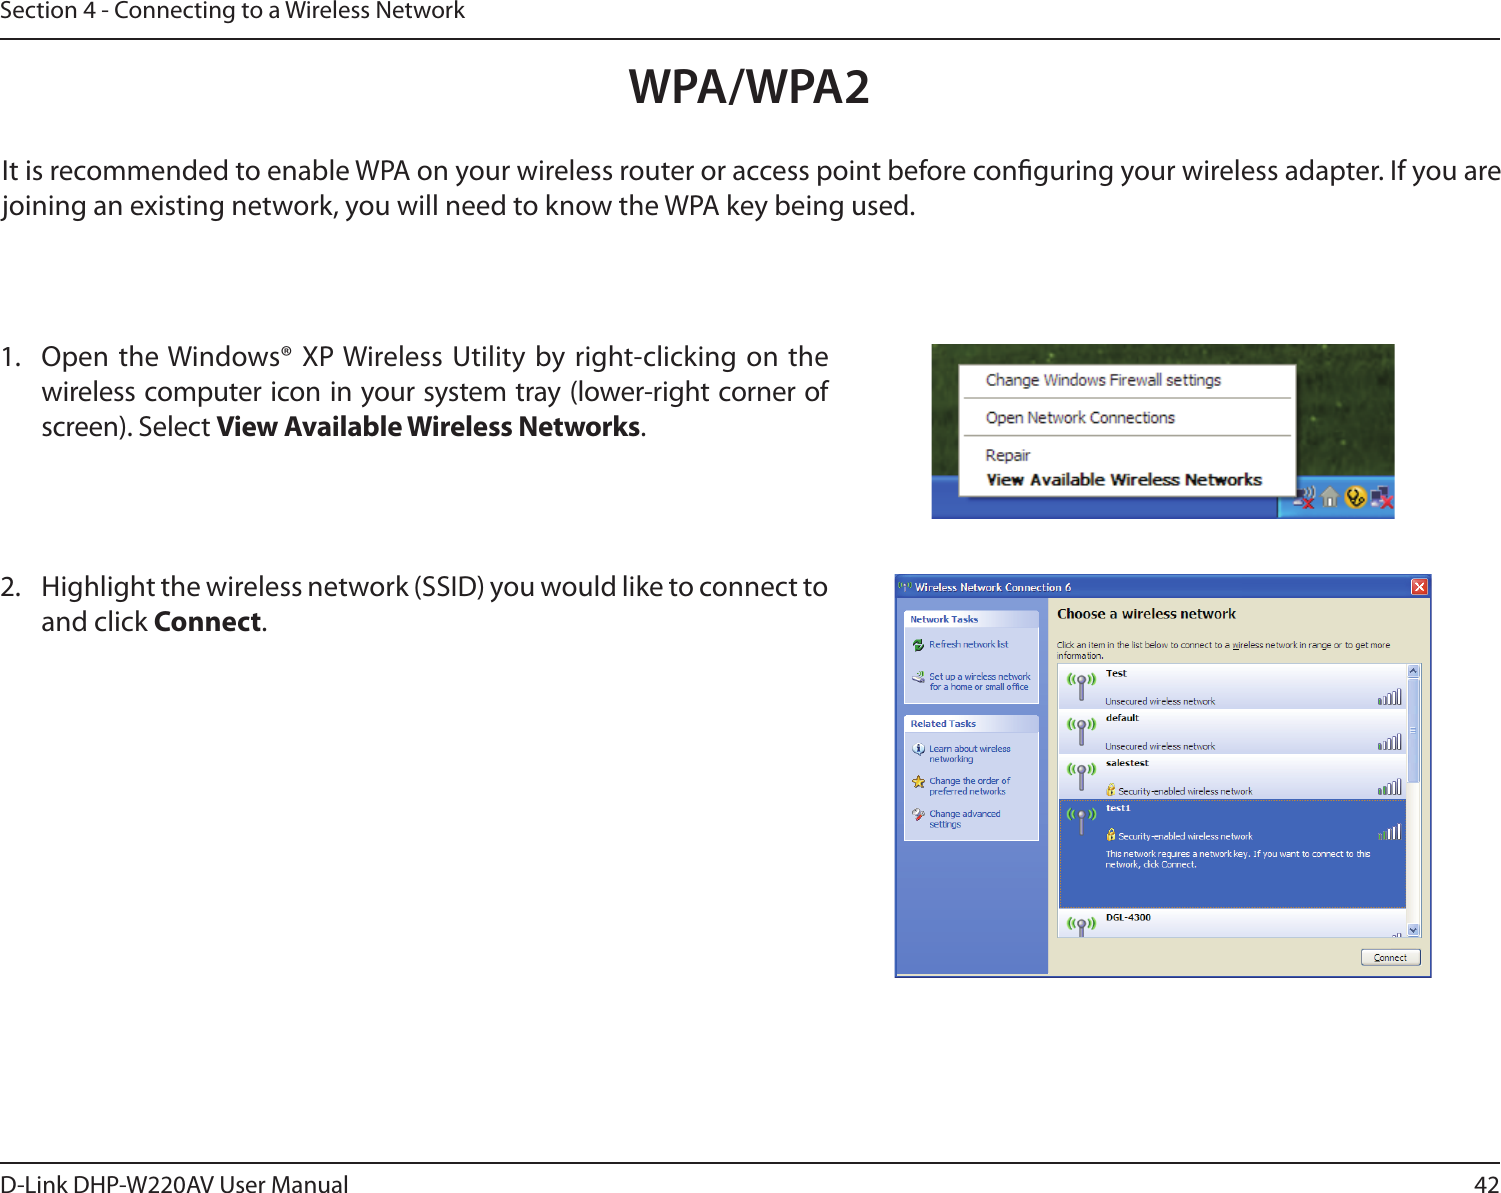
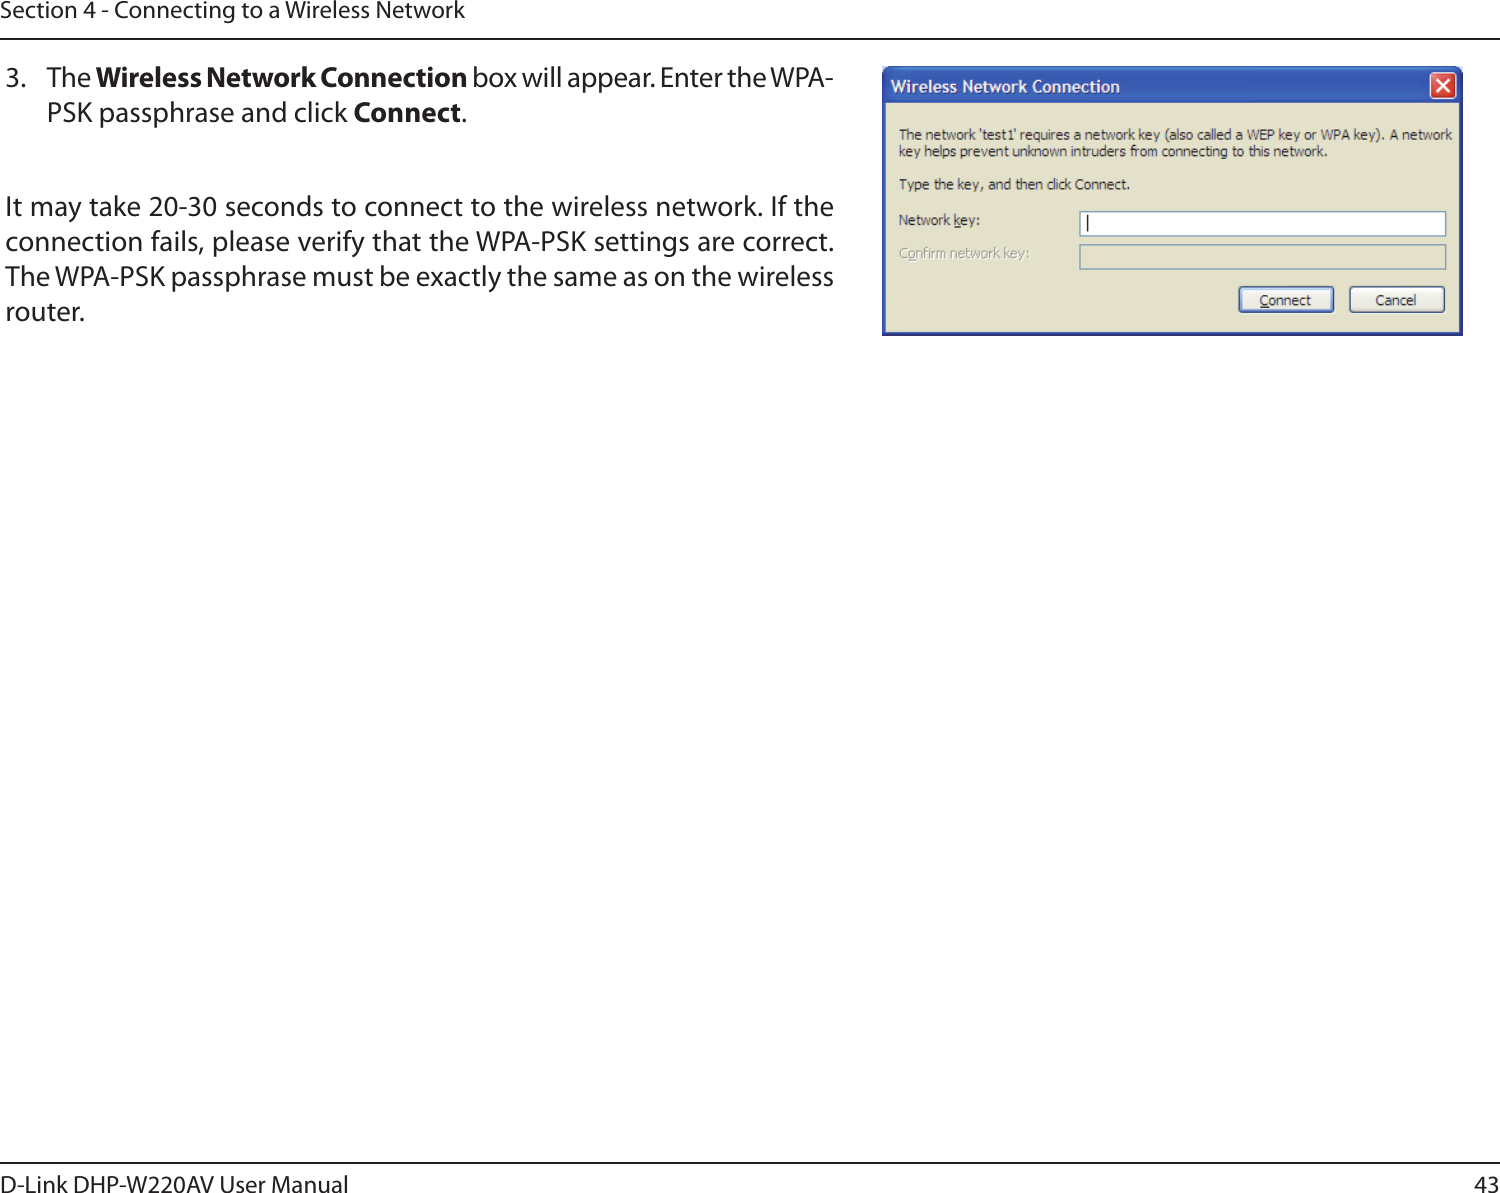
![46D-Link DHP-W220AV User ManualSection 5 - Troubleshooting3. Why can’t I connect to certain sites or send and receive emails when connecting through my router? If you are having a problem sending or receiving email, or connecting to secure sites such as eBay, banking sites, and Hotmail, we suggest lowering the MTU in increments of ten (Ex. 1492, 1482, 1472, etc). To nd the proper MTU Size, you’ll have to do a special ping of the destination you’re trying to go to. A destination could be another computer, or a URL. • Click on Start and then click Run. • Windows® 95, 98, and Me users type in command (Windows® NT, 2000, XP, Vista®, and 7 users type in cmd) and press Enter (or click OK). • Once the window opens, you’ll need to do a special ping. Use the following syntax: ping [url] [-f] [-l] [MTU value] Example: ping yahoo.com -f -l 1472 You should start at 1472 and work your way down by 10 each time. Once you get a reply, go up by 2 until you get a fragmented packet. Take that value and add 28 to the value to account for the various TCP/IP headers. For example, lets say that 1452 was the proper value, the actual MTU size would be 1480, which is the optimum for the network we’re working with (1452+28=1480). Once you nd your MTU, you can now congure your router with the proper MTU size.](https://usermanual.wiki/D-Link/HPW220AVA1/User-Guide-2446145-Page-50.png)