D Link IR842A1 AC1200 Wi-Fi Gigabit Router User Manual
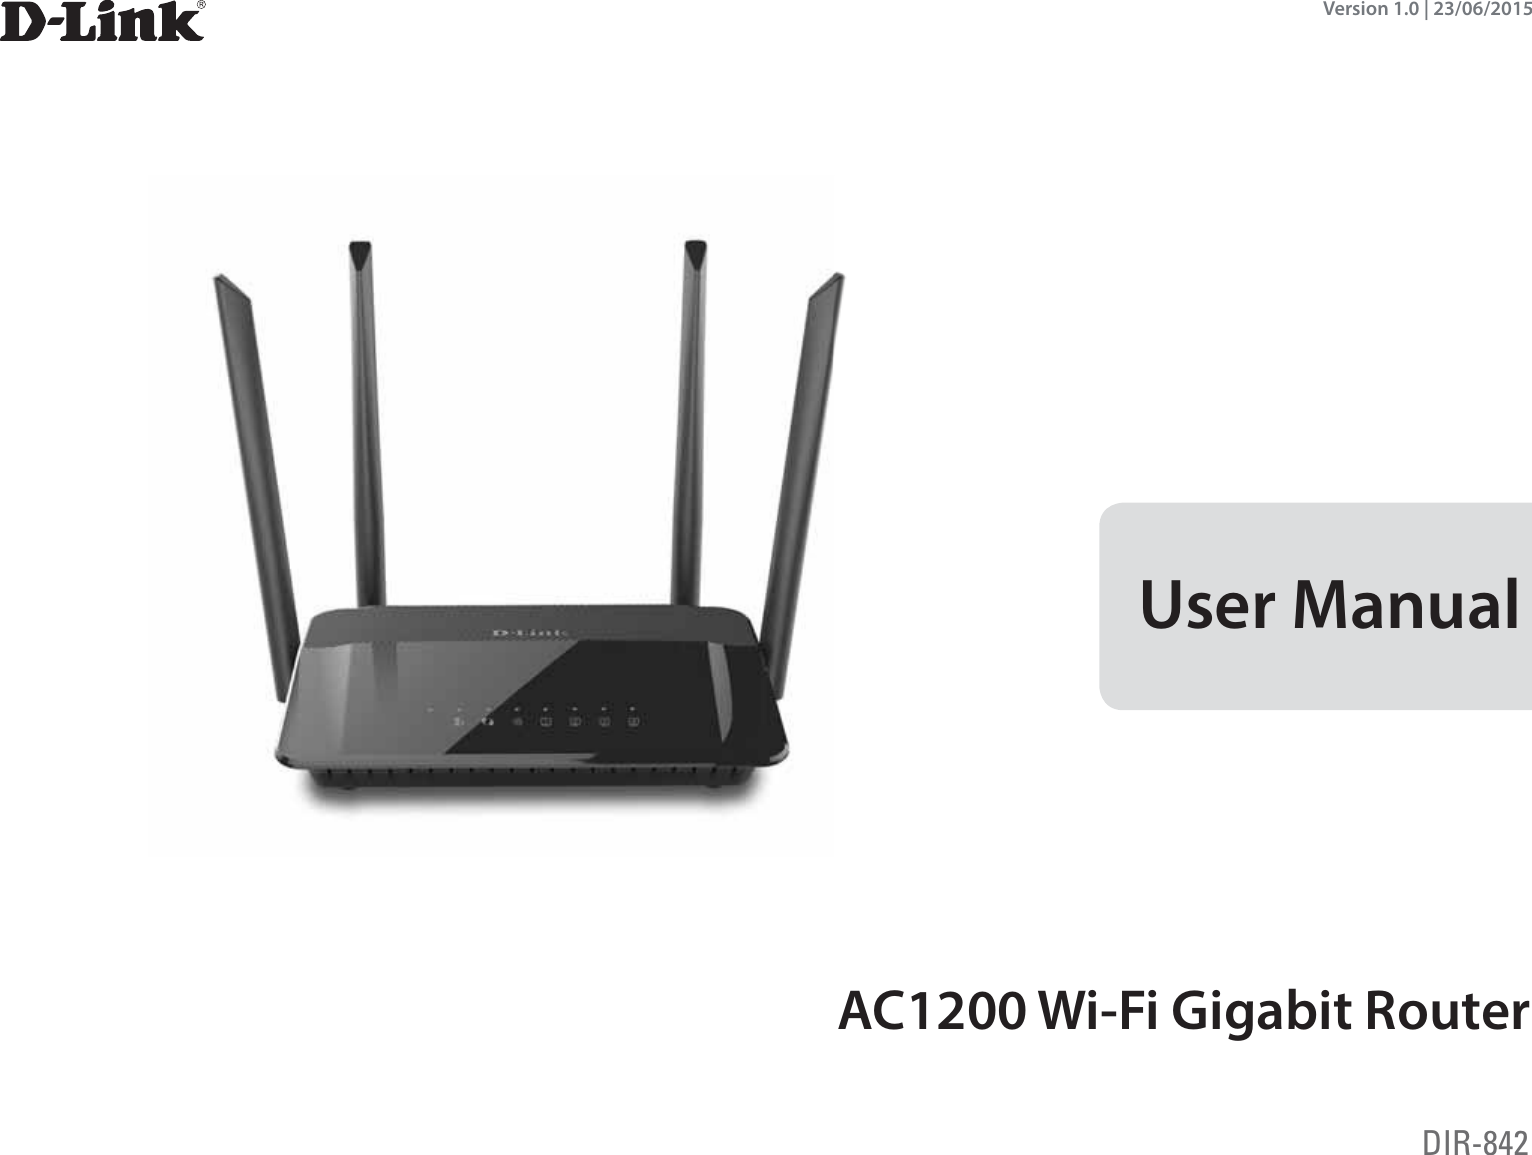
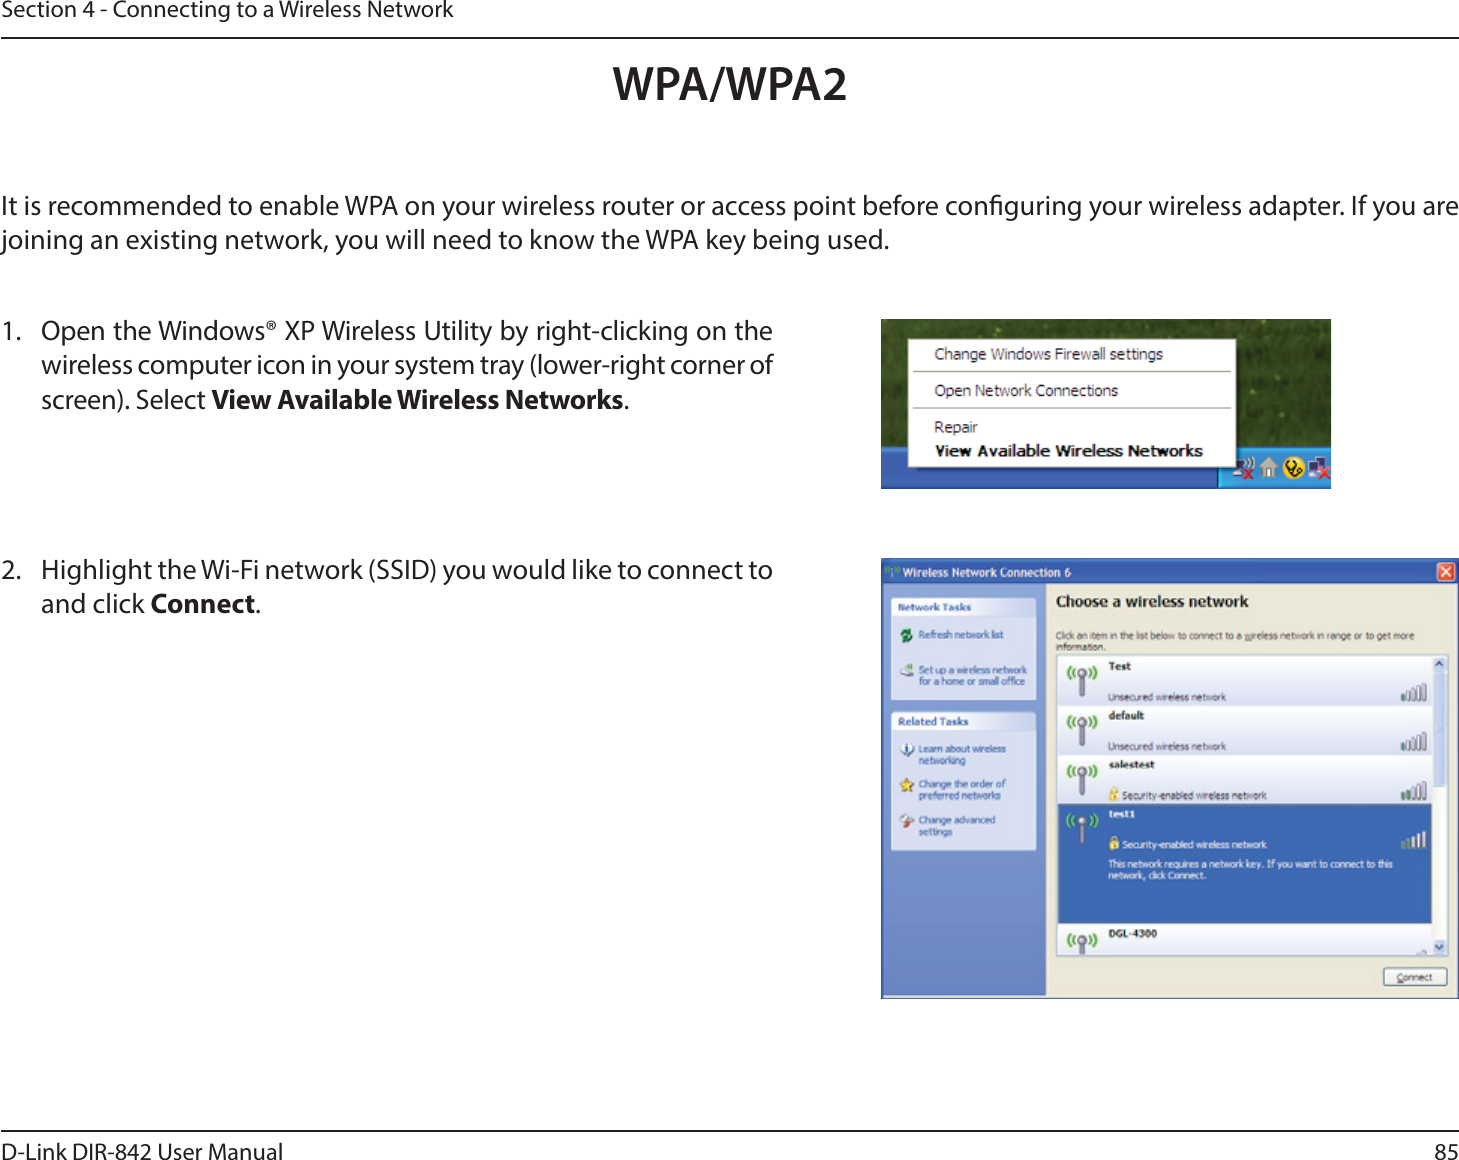
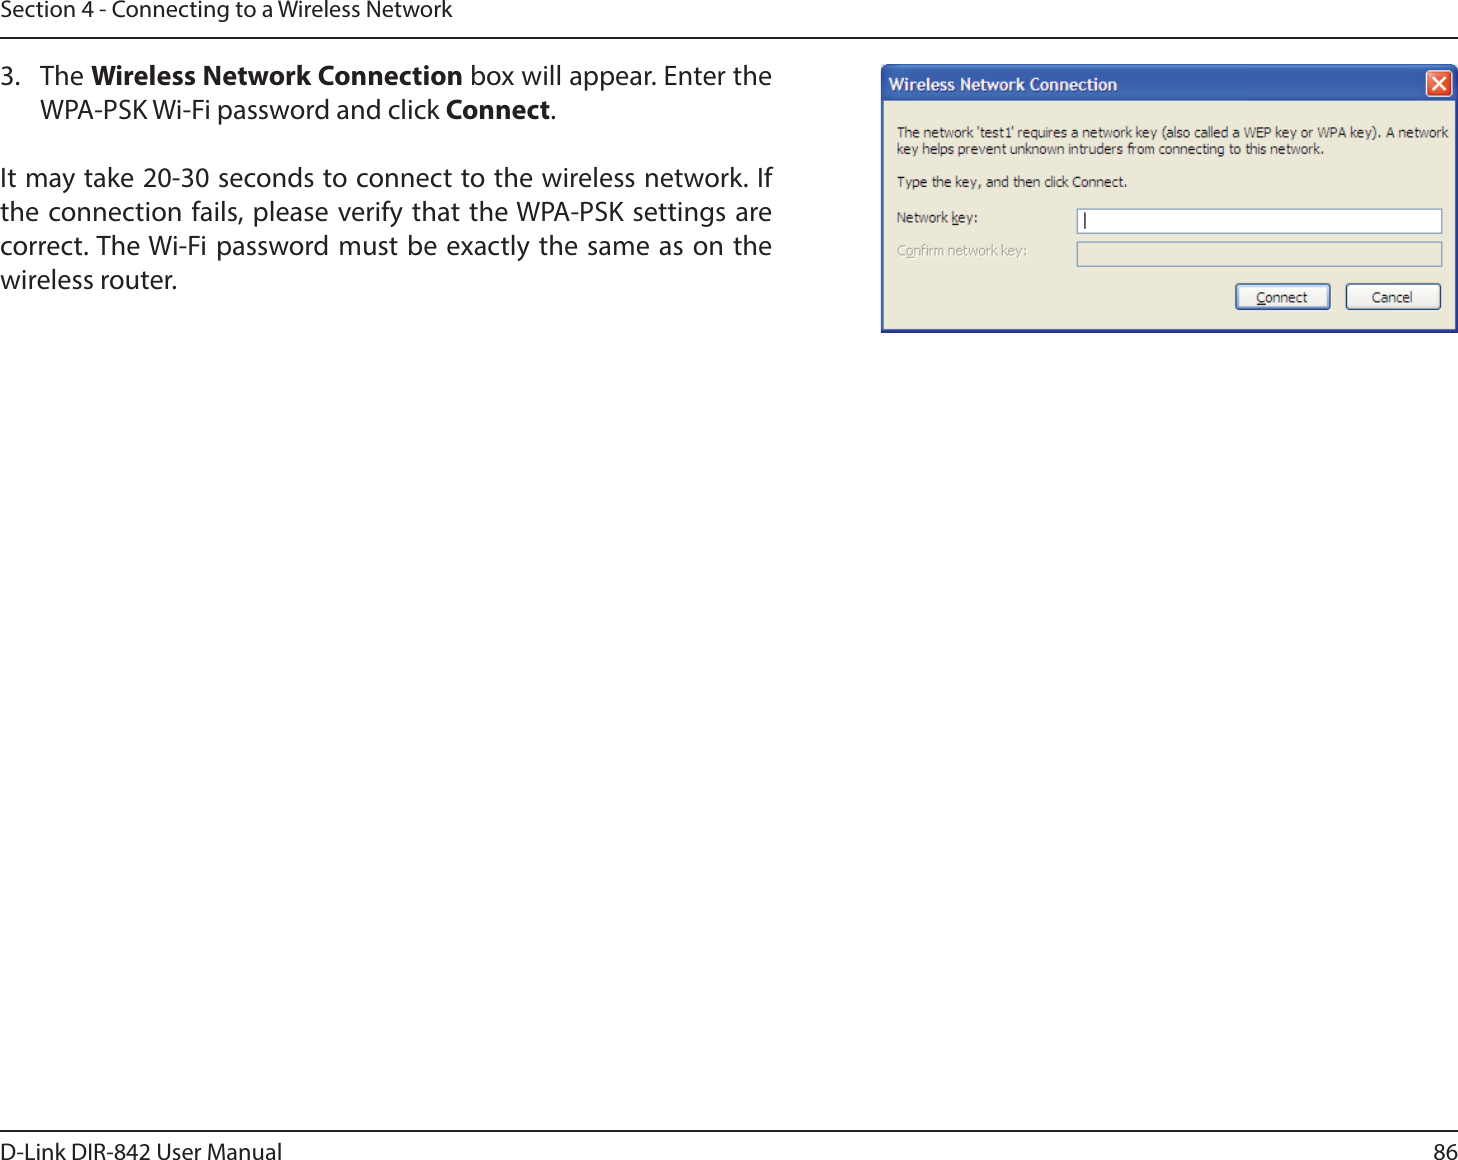
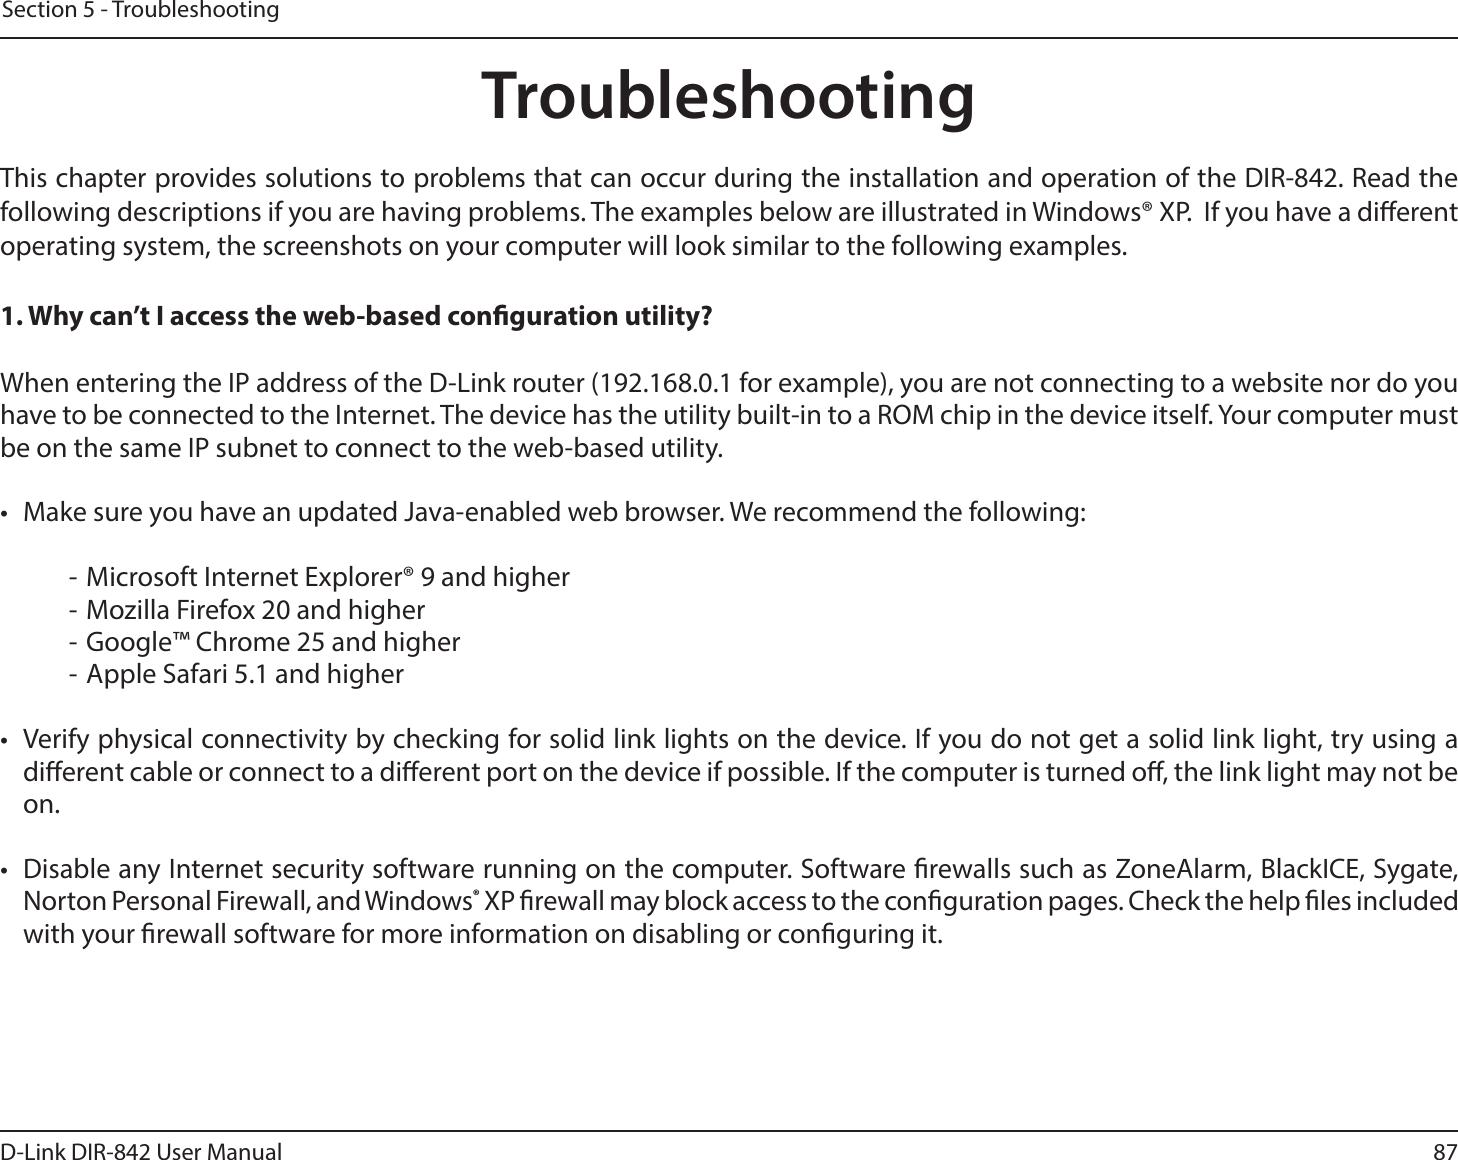
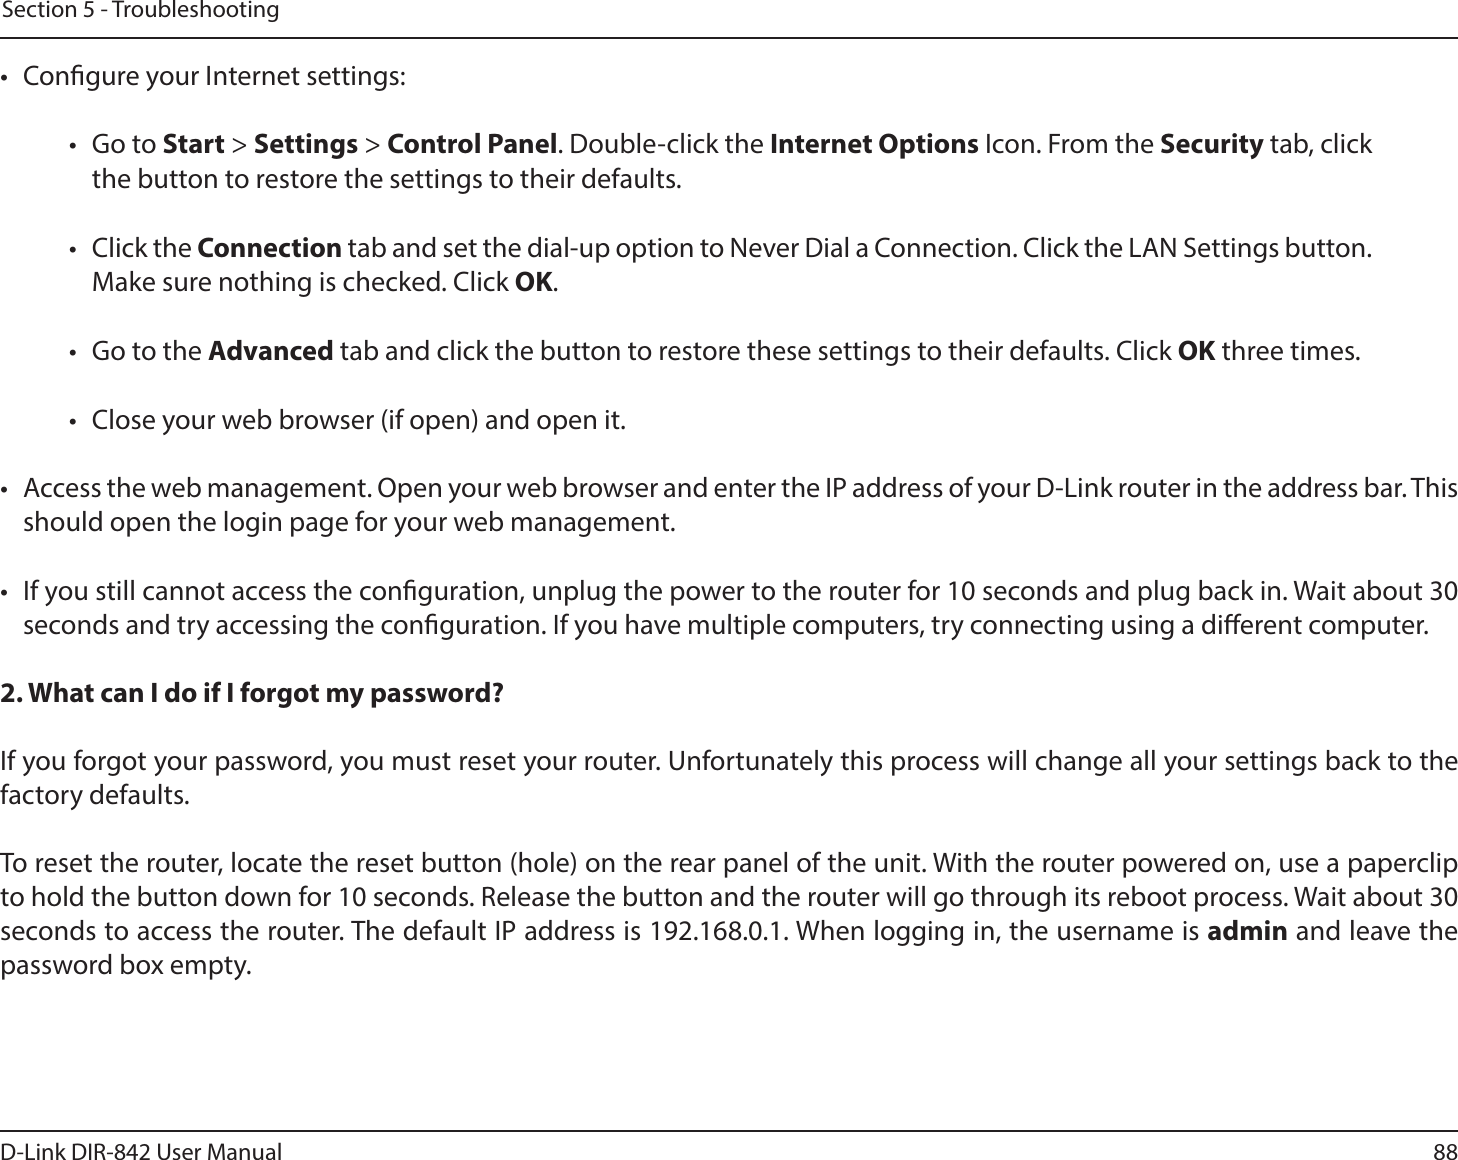
D Link Corporation AC1200 Wi-Fi Gigabit Router
UserManual.wiki
>
D Link
>
IR842A1 User Manual
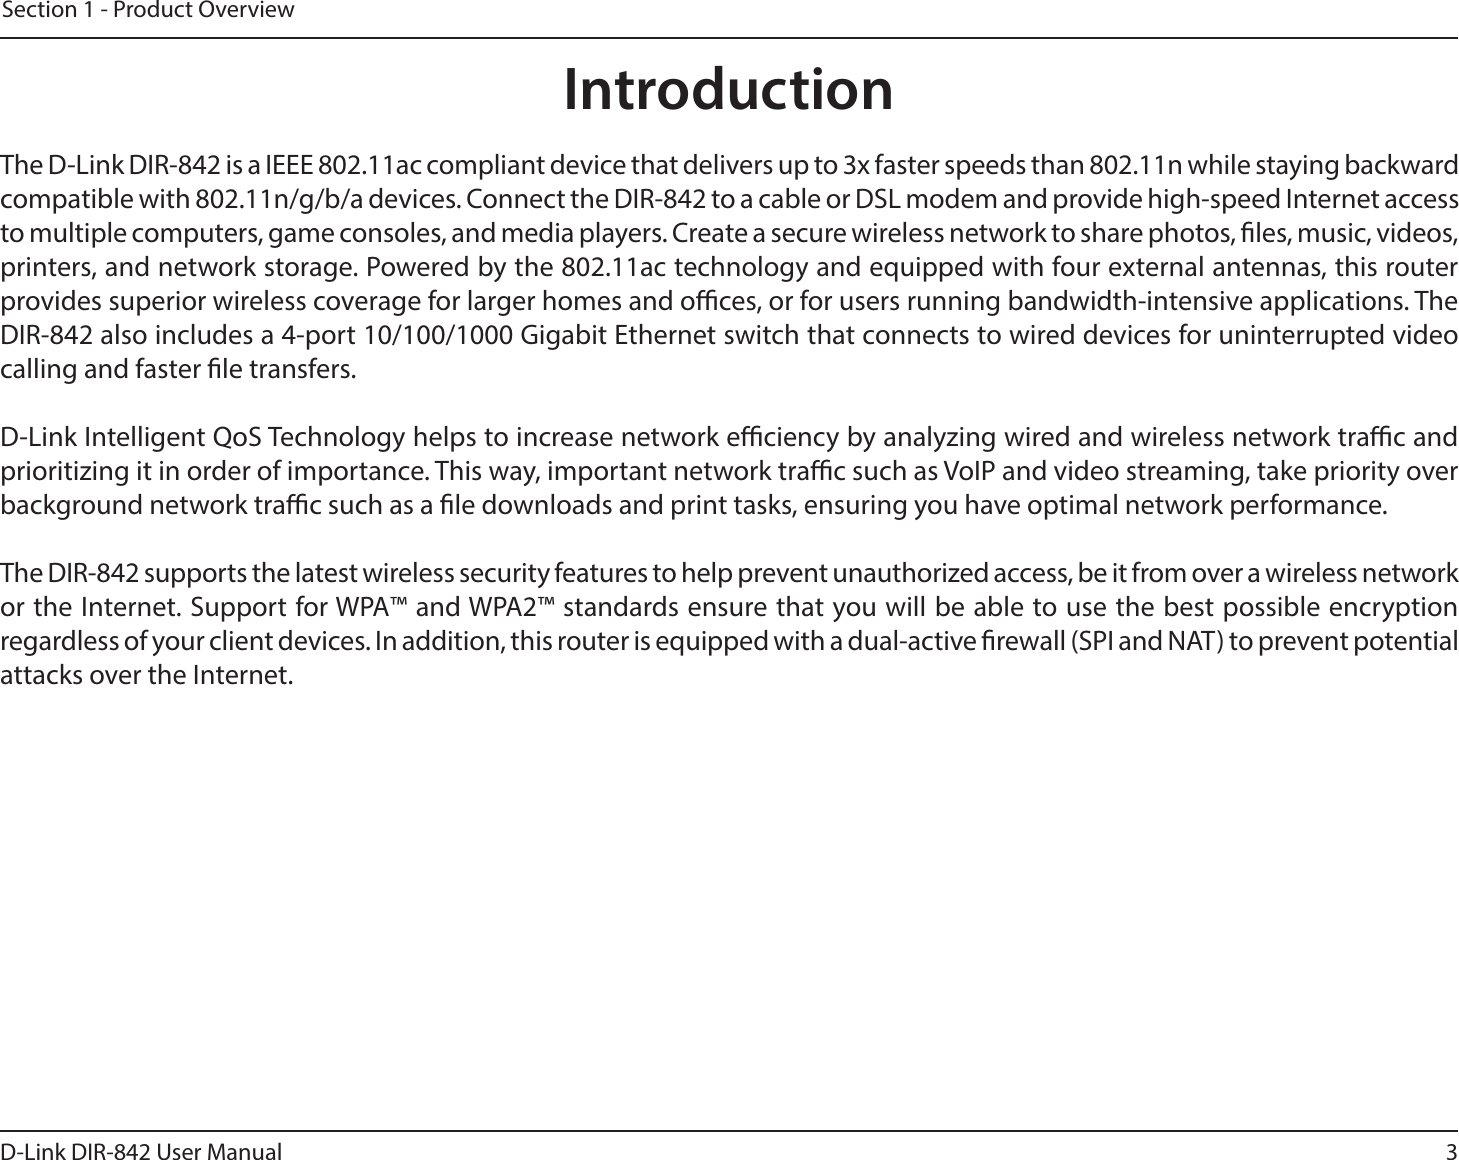
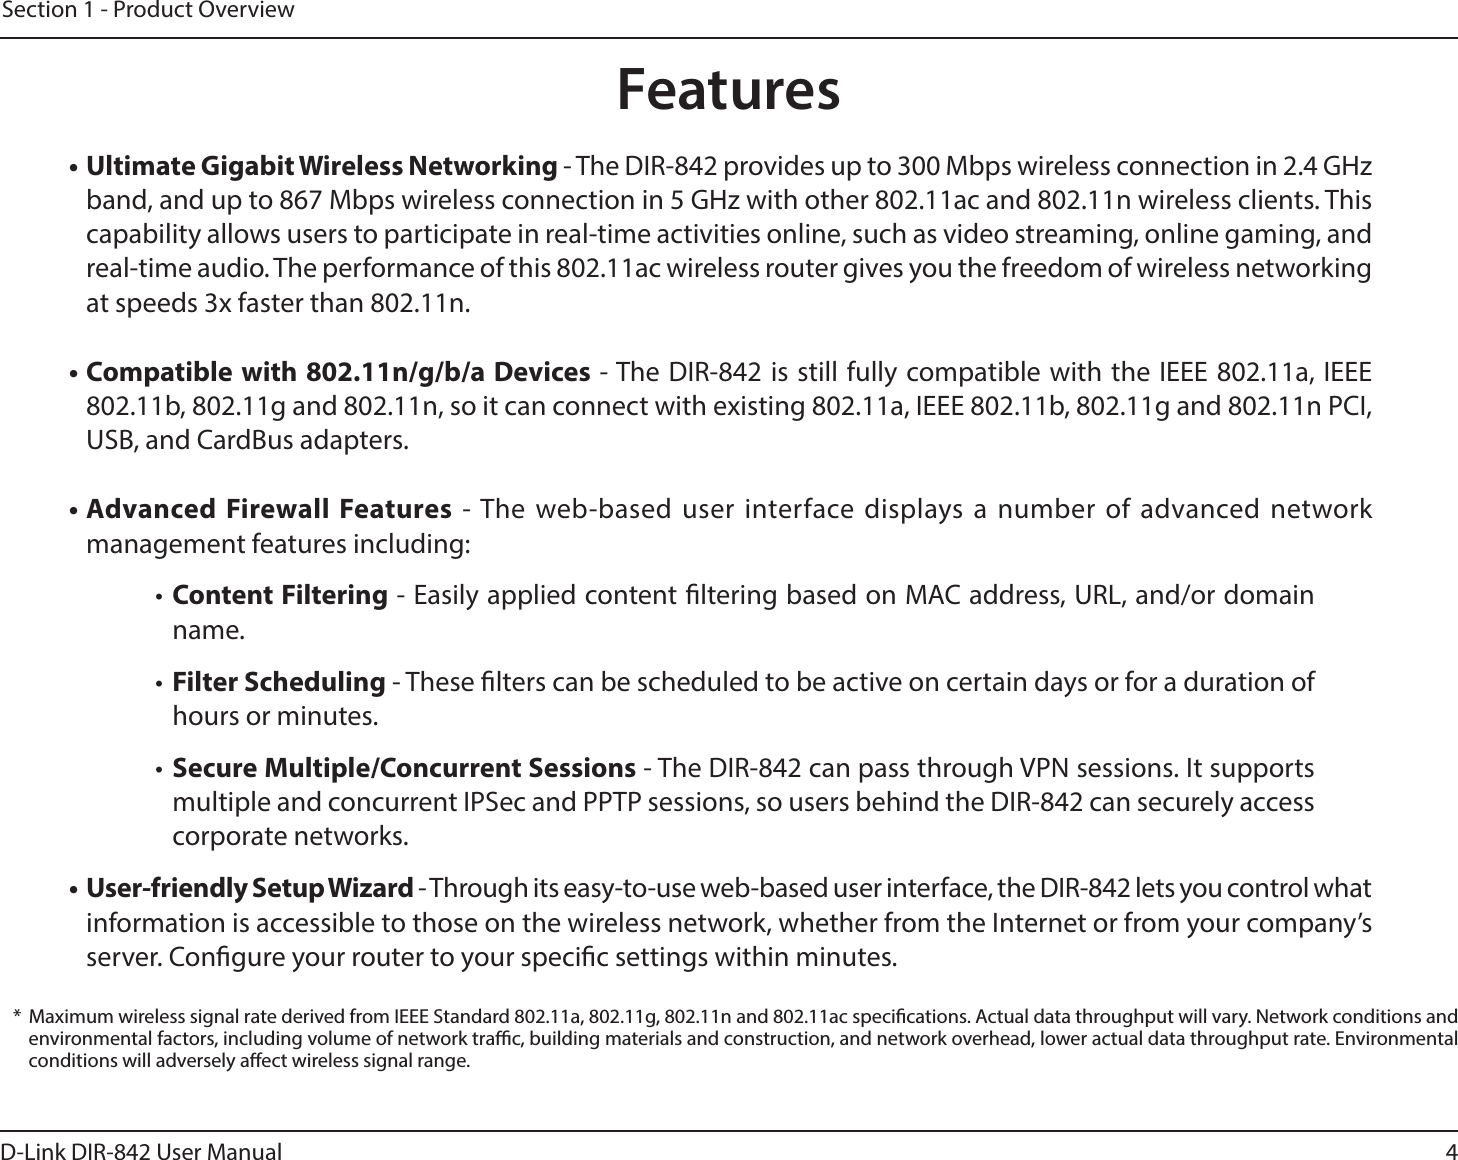
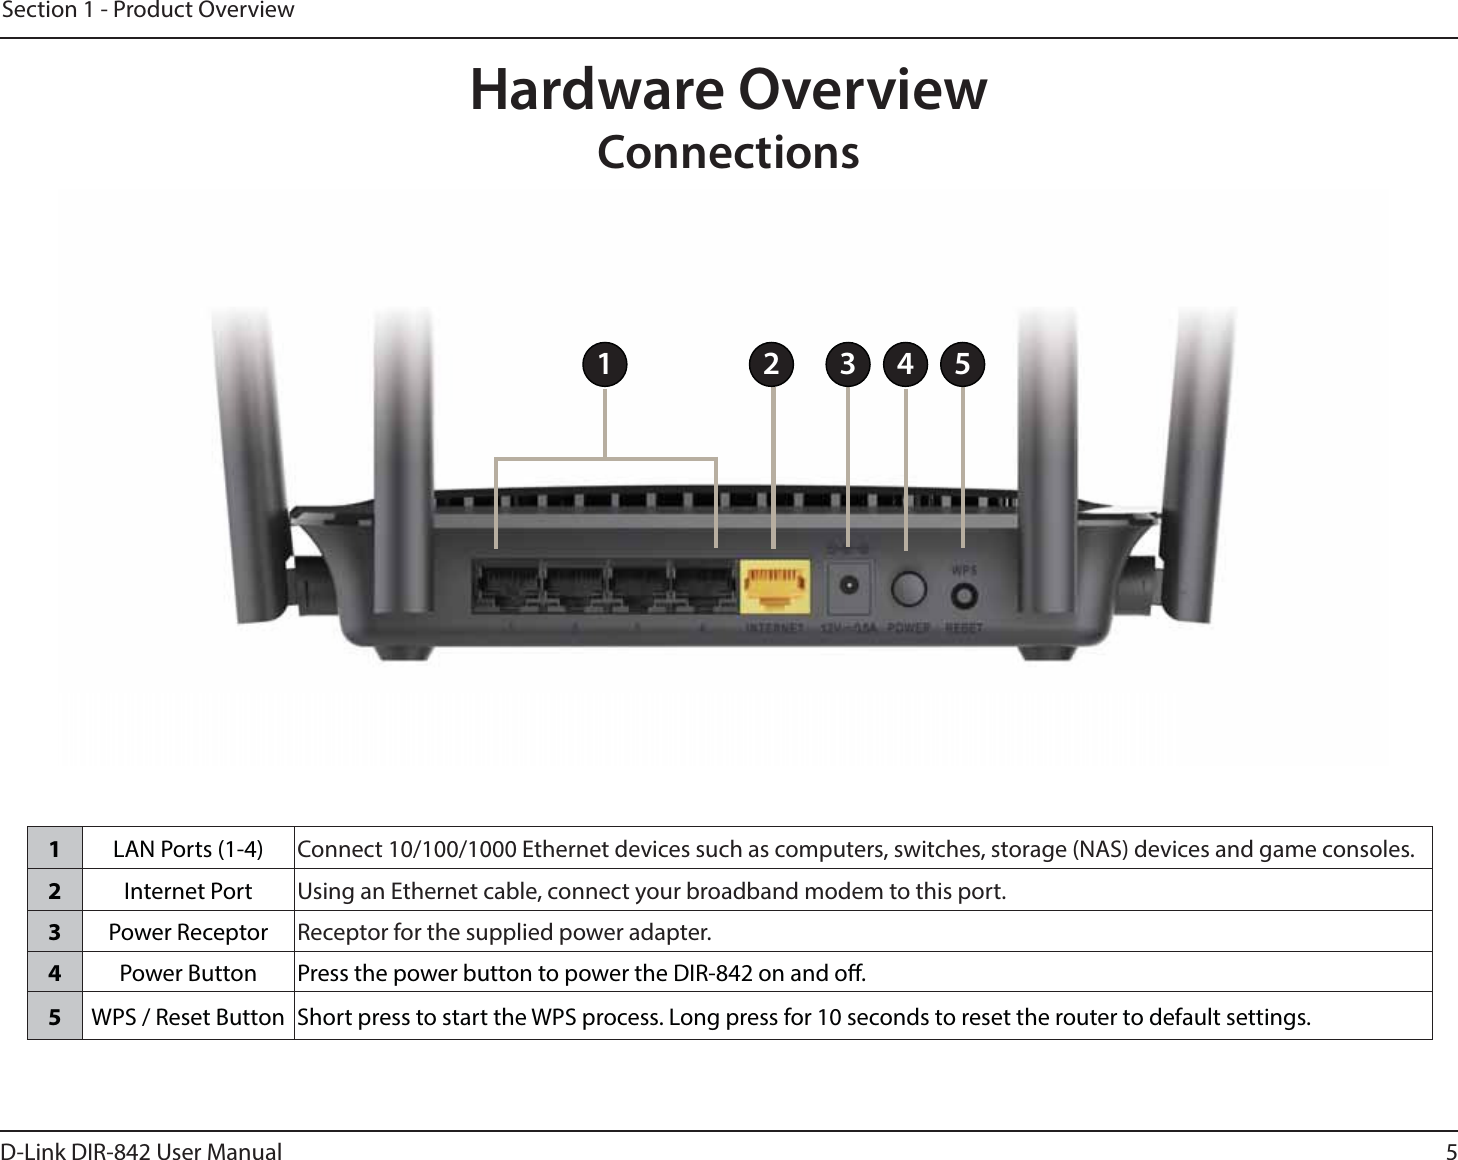
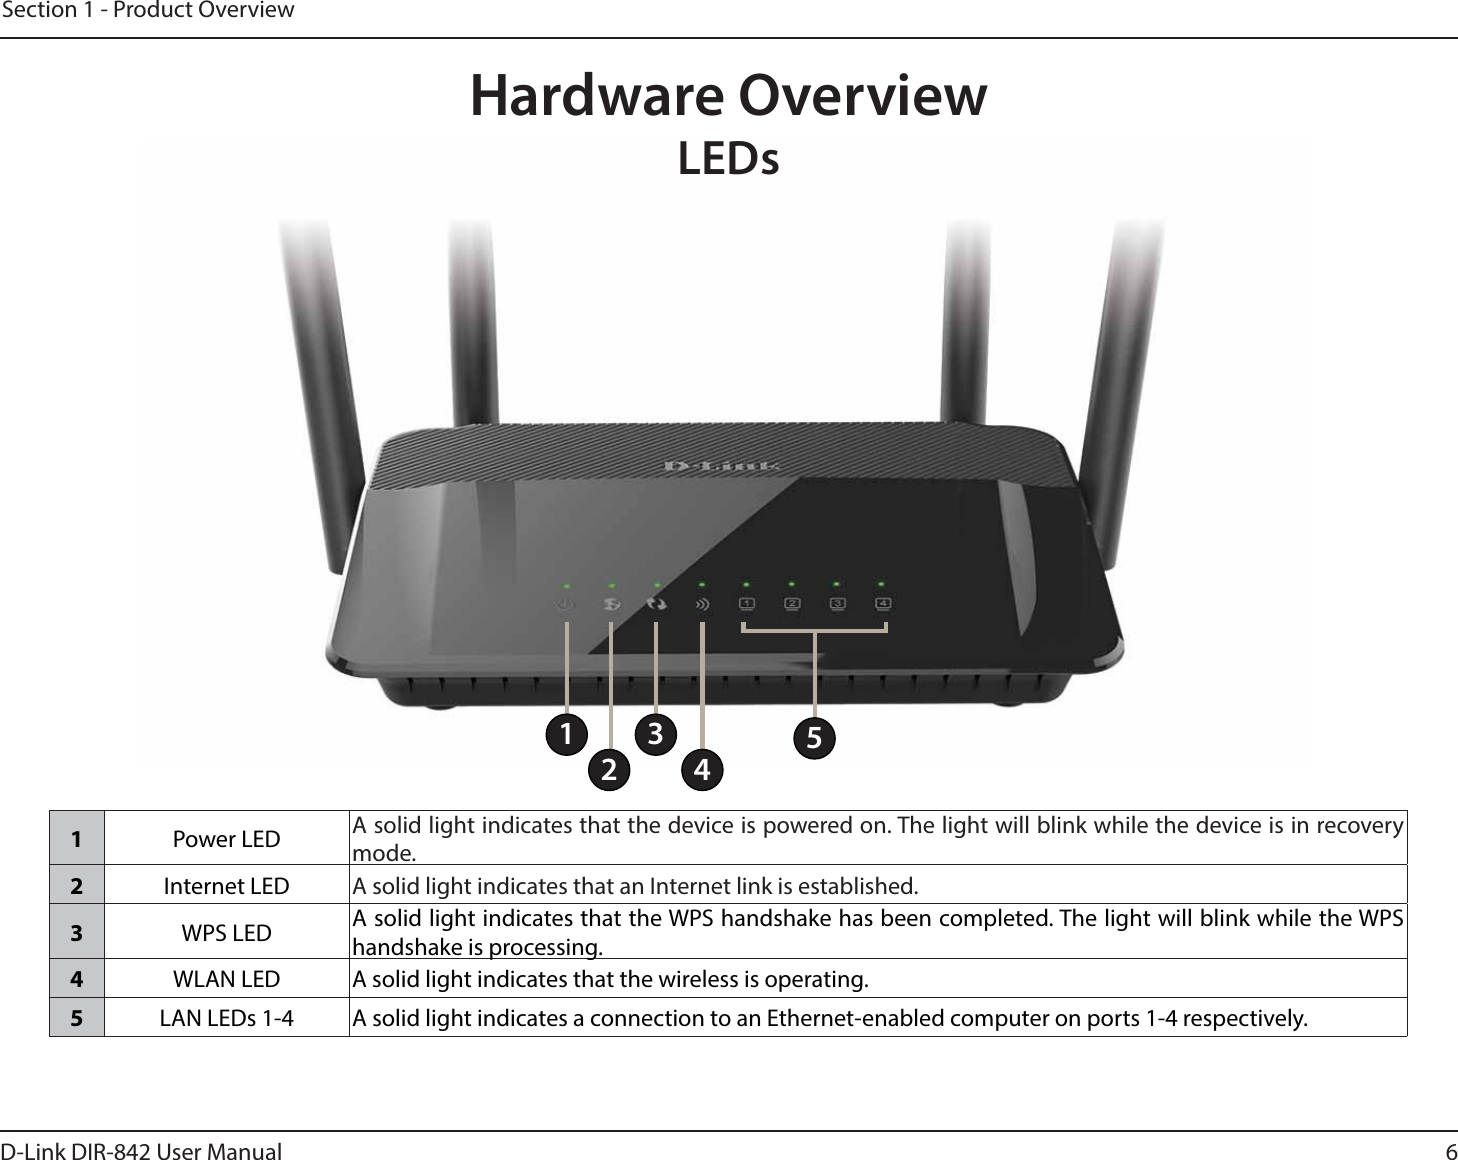
User manual
Navigation menu
Upload a User Manual
Namespaces
Wiki Guide
HTML
PDF
Info
Views
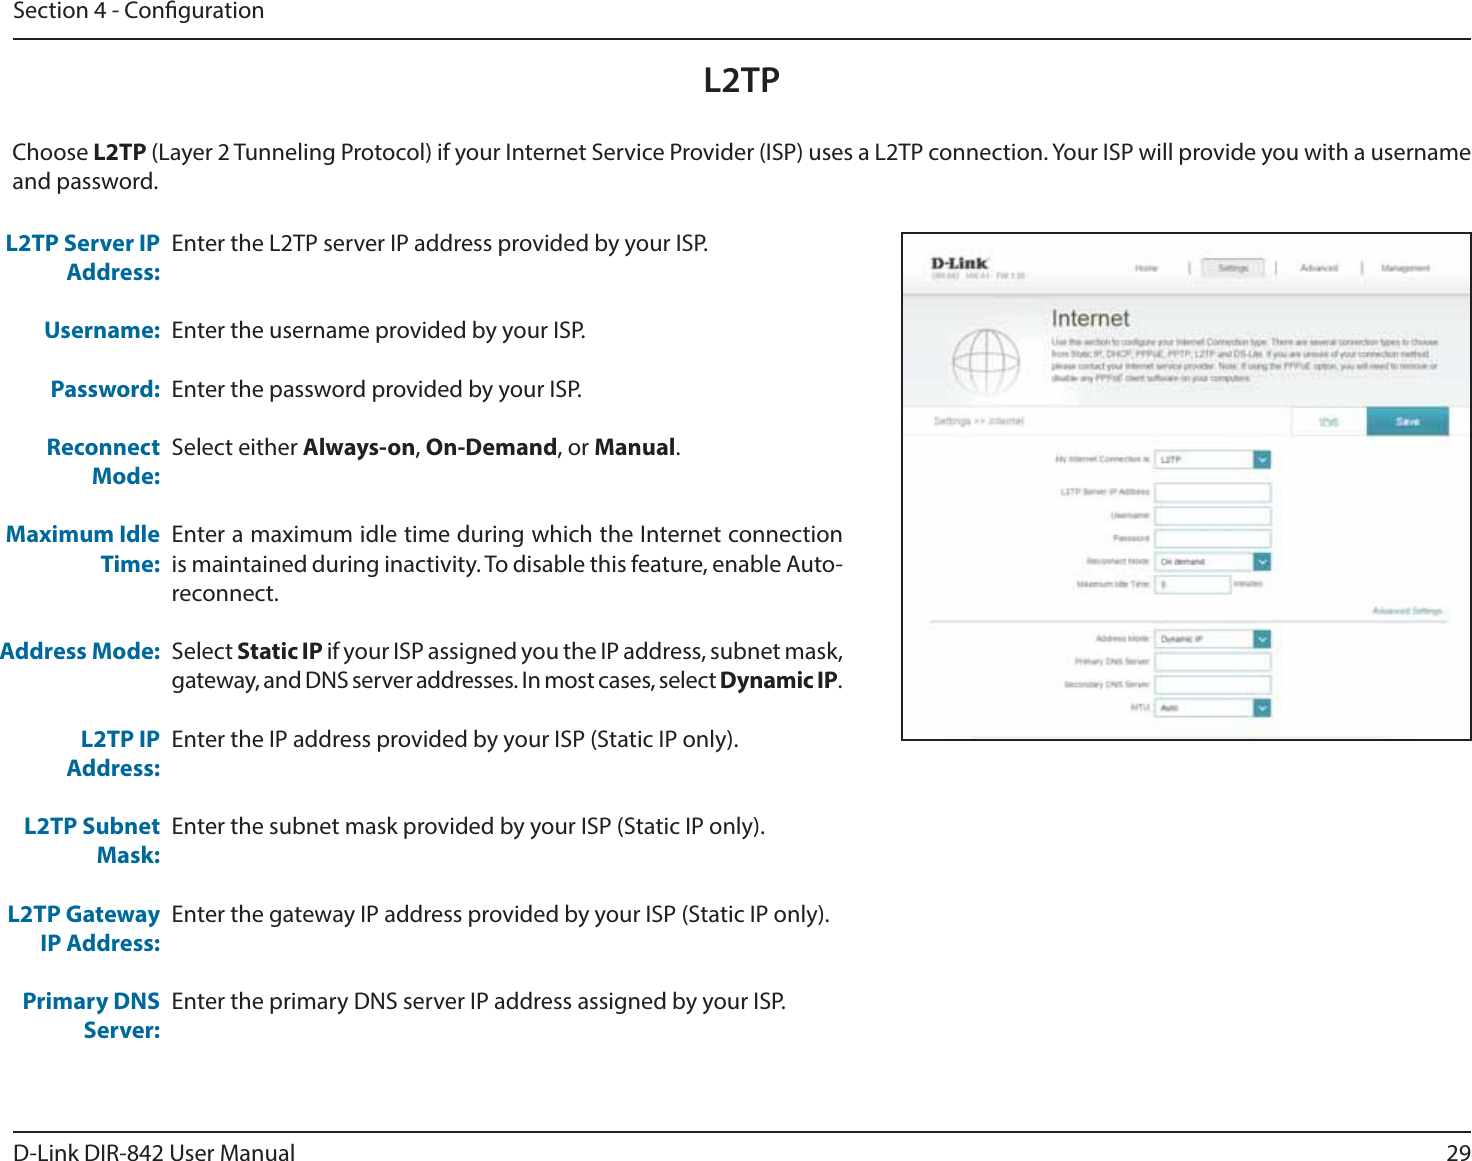
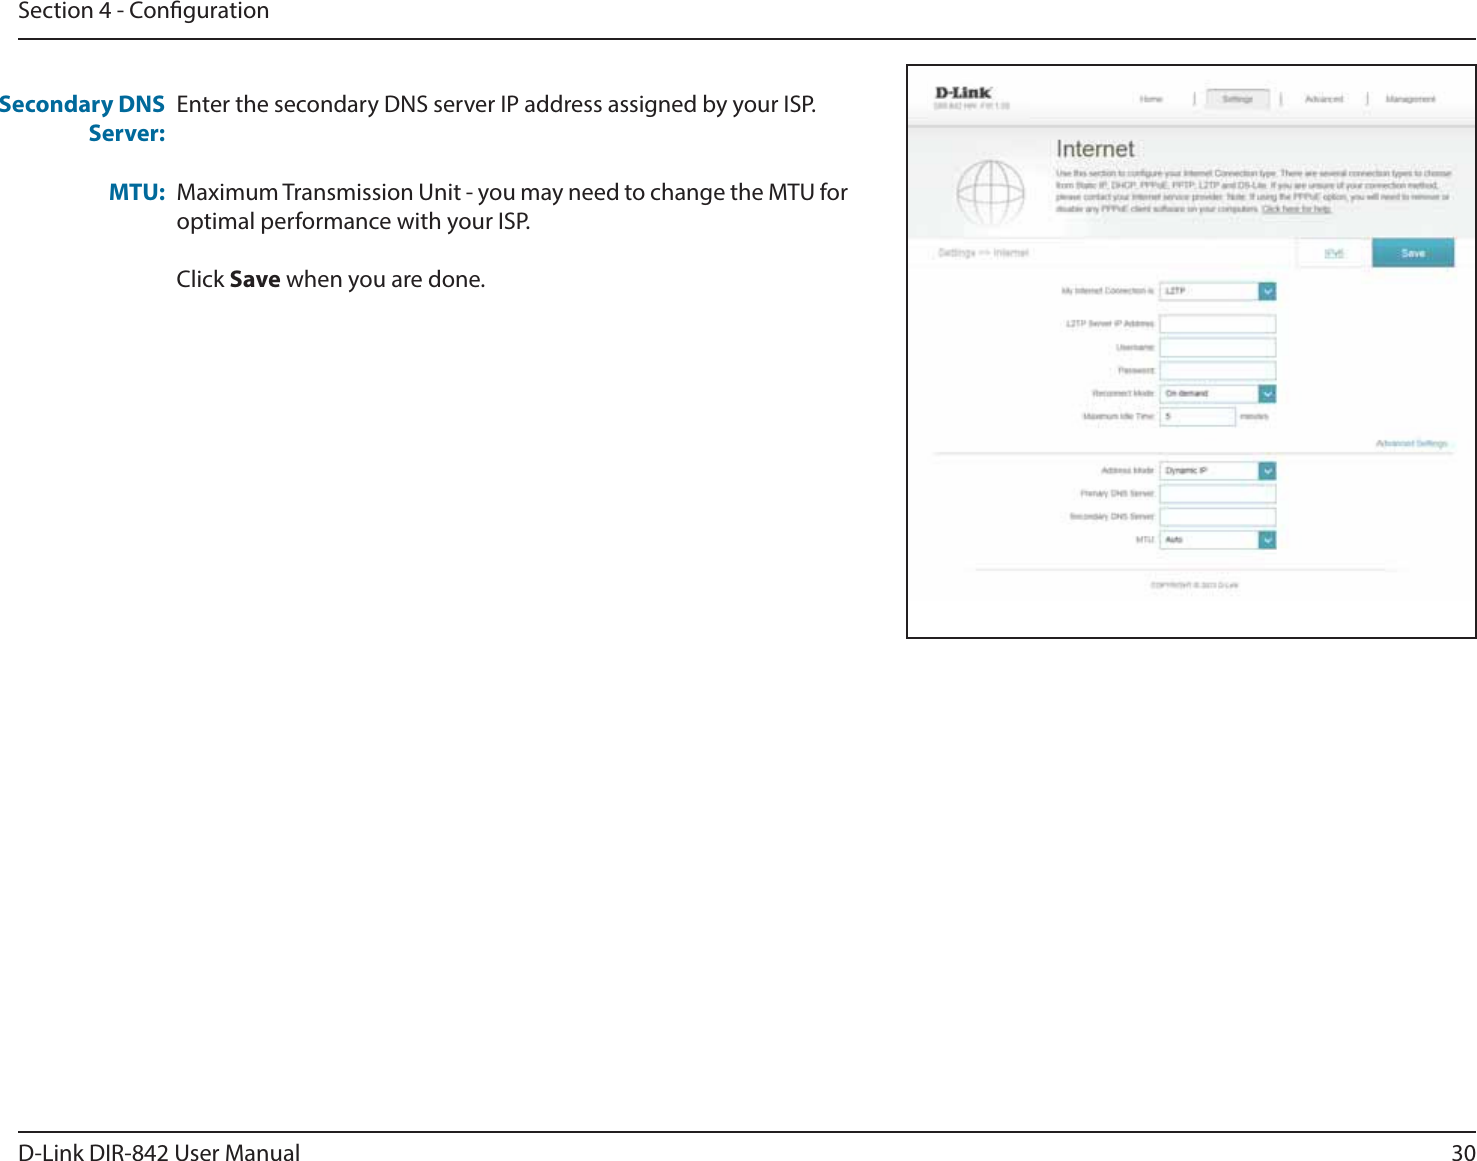
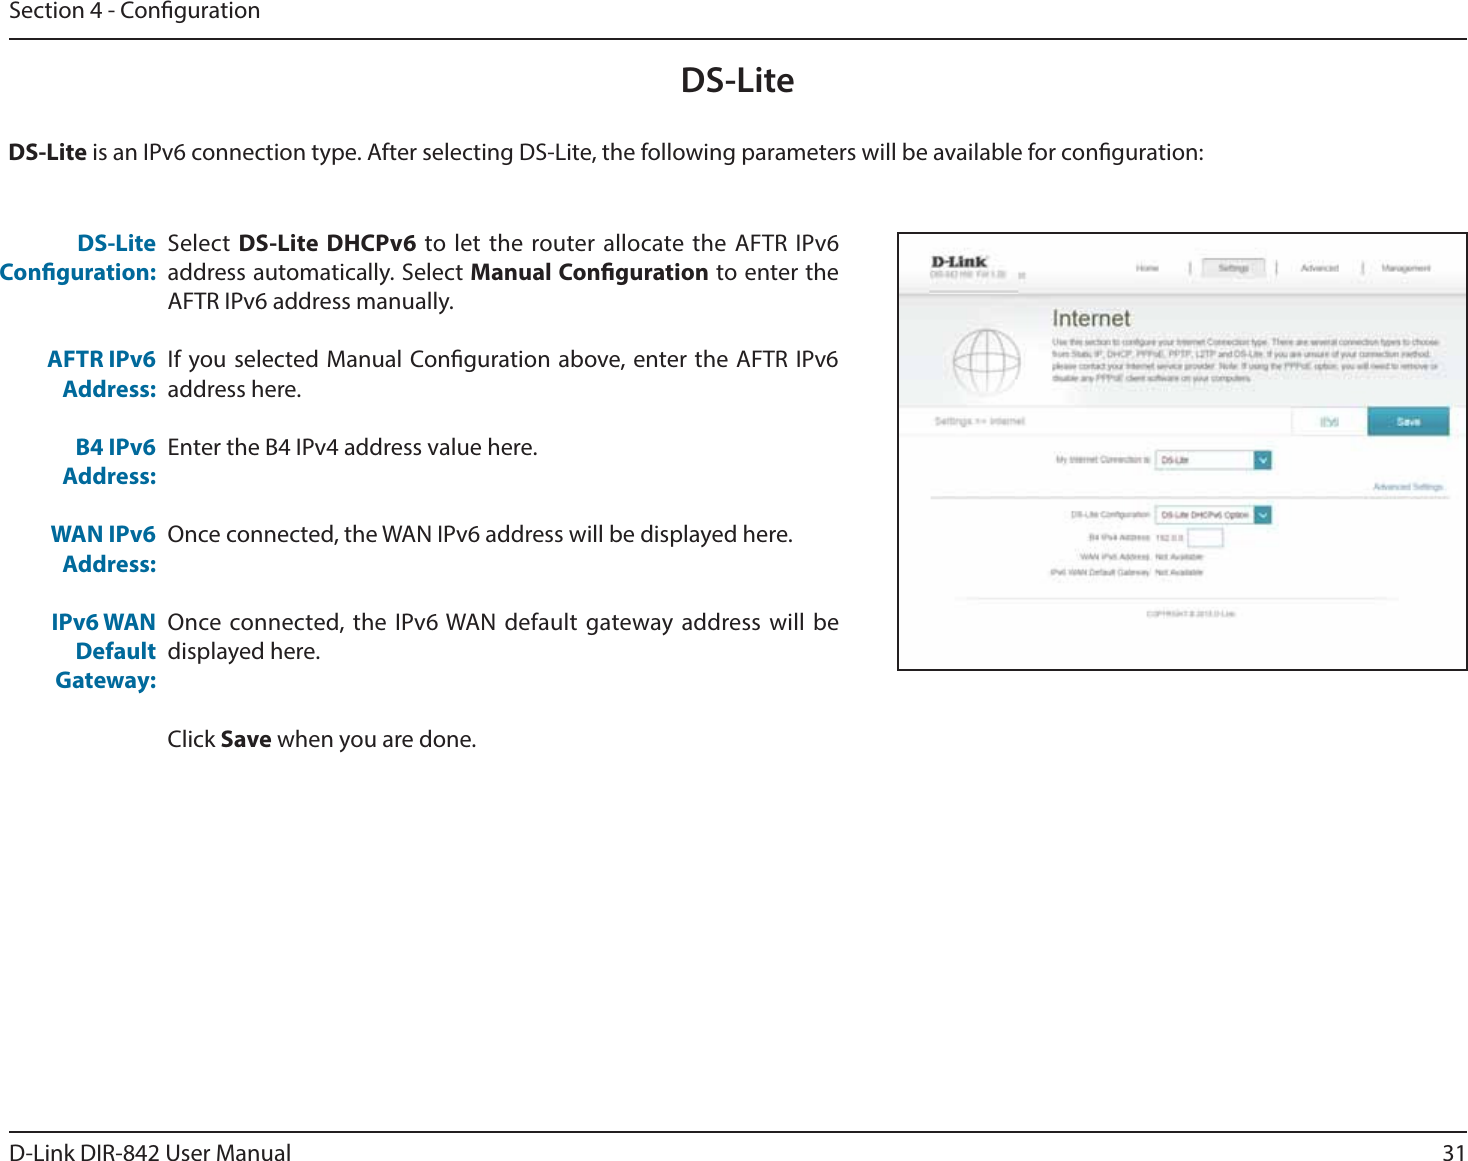
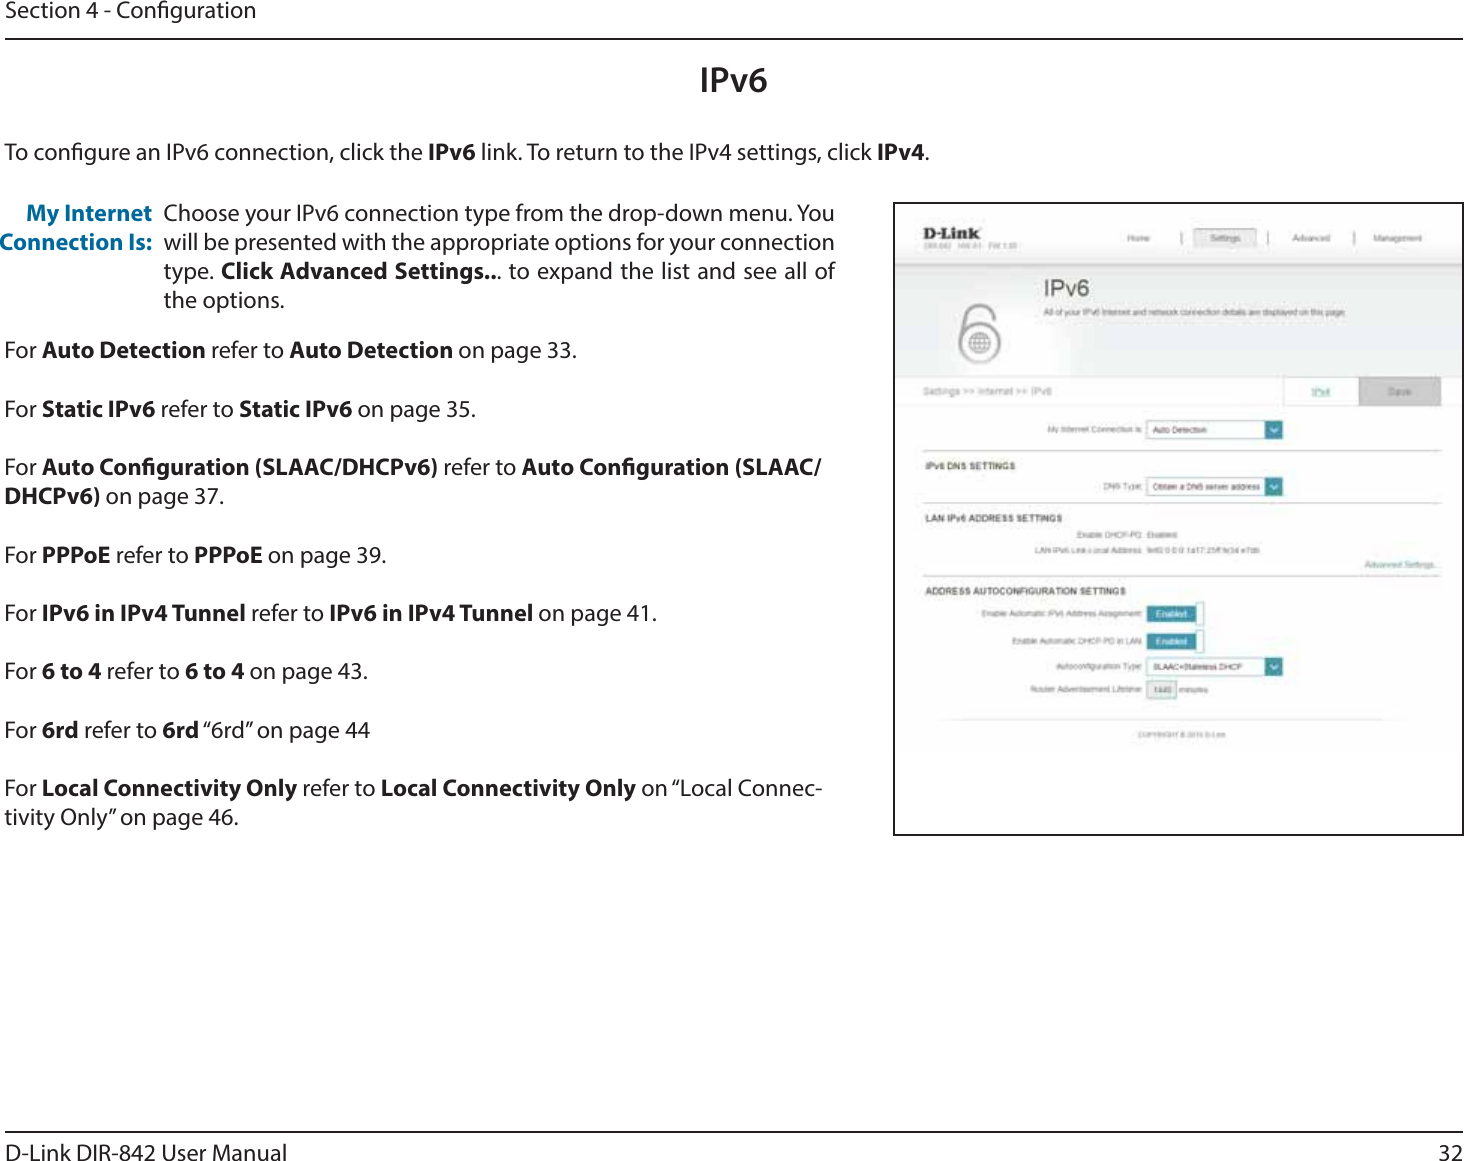
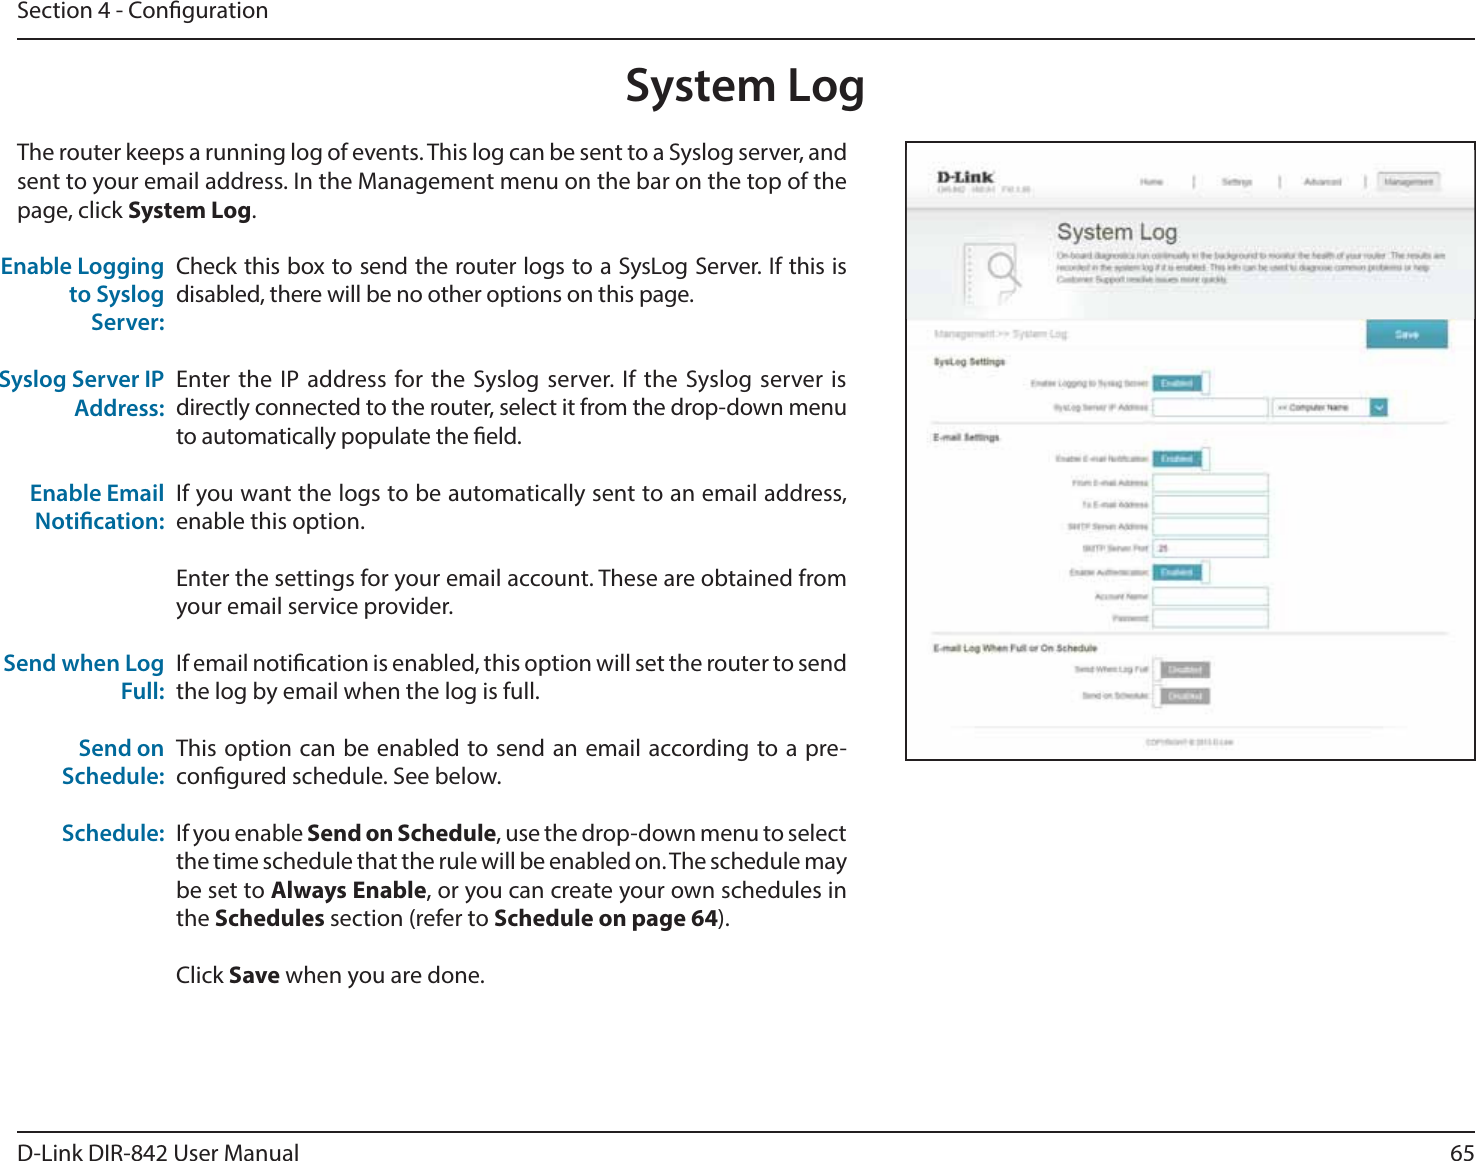
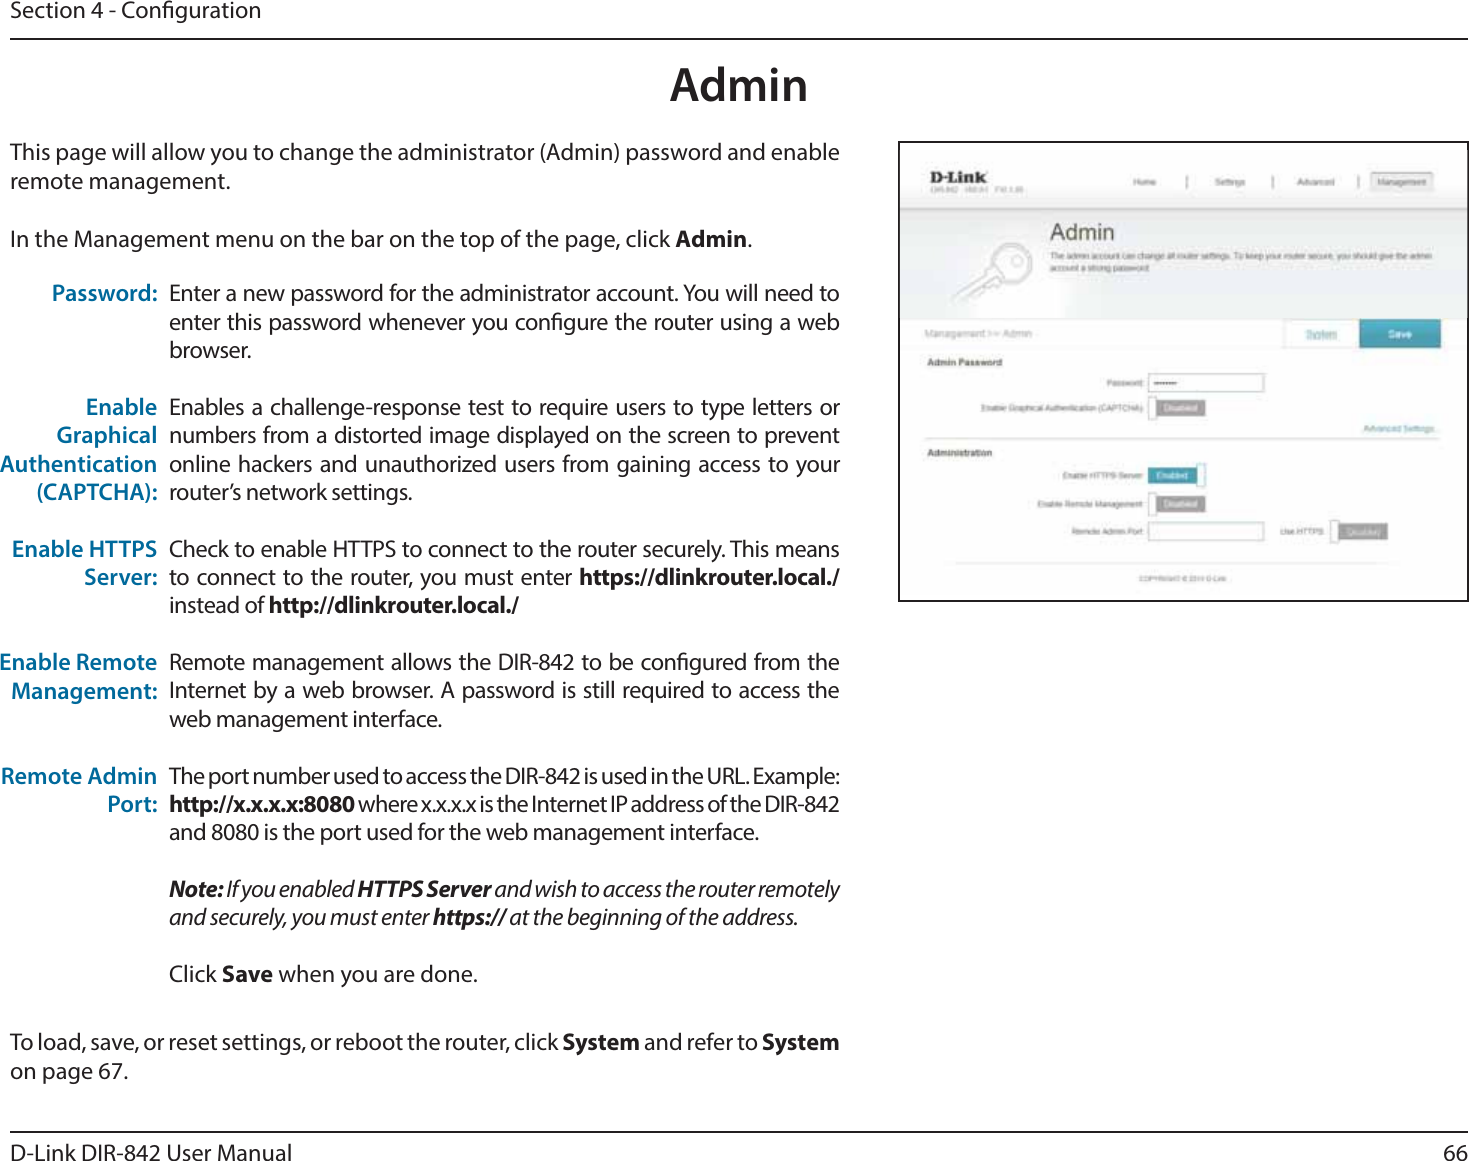
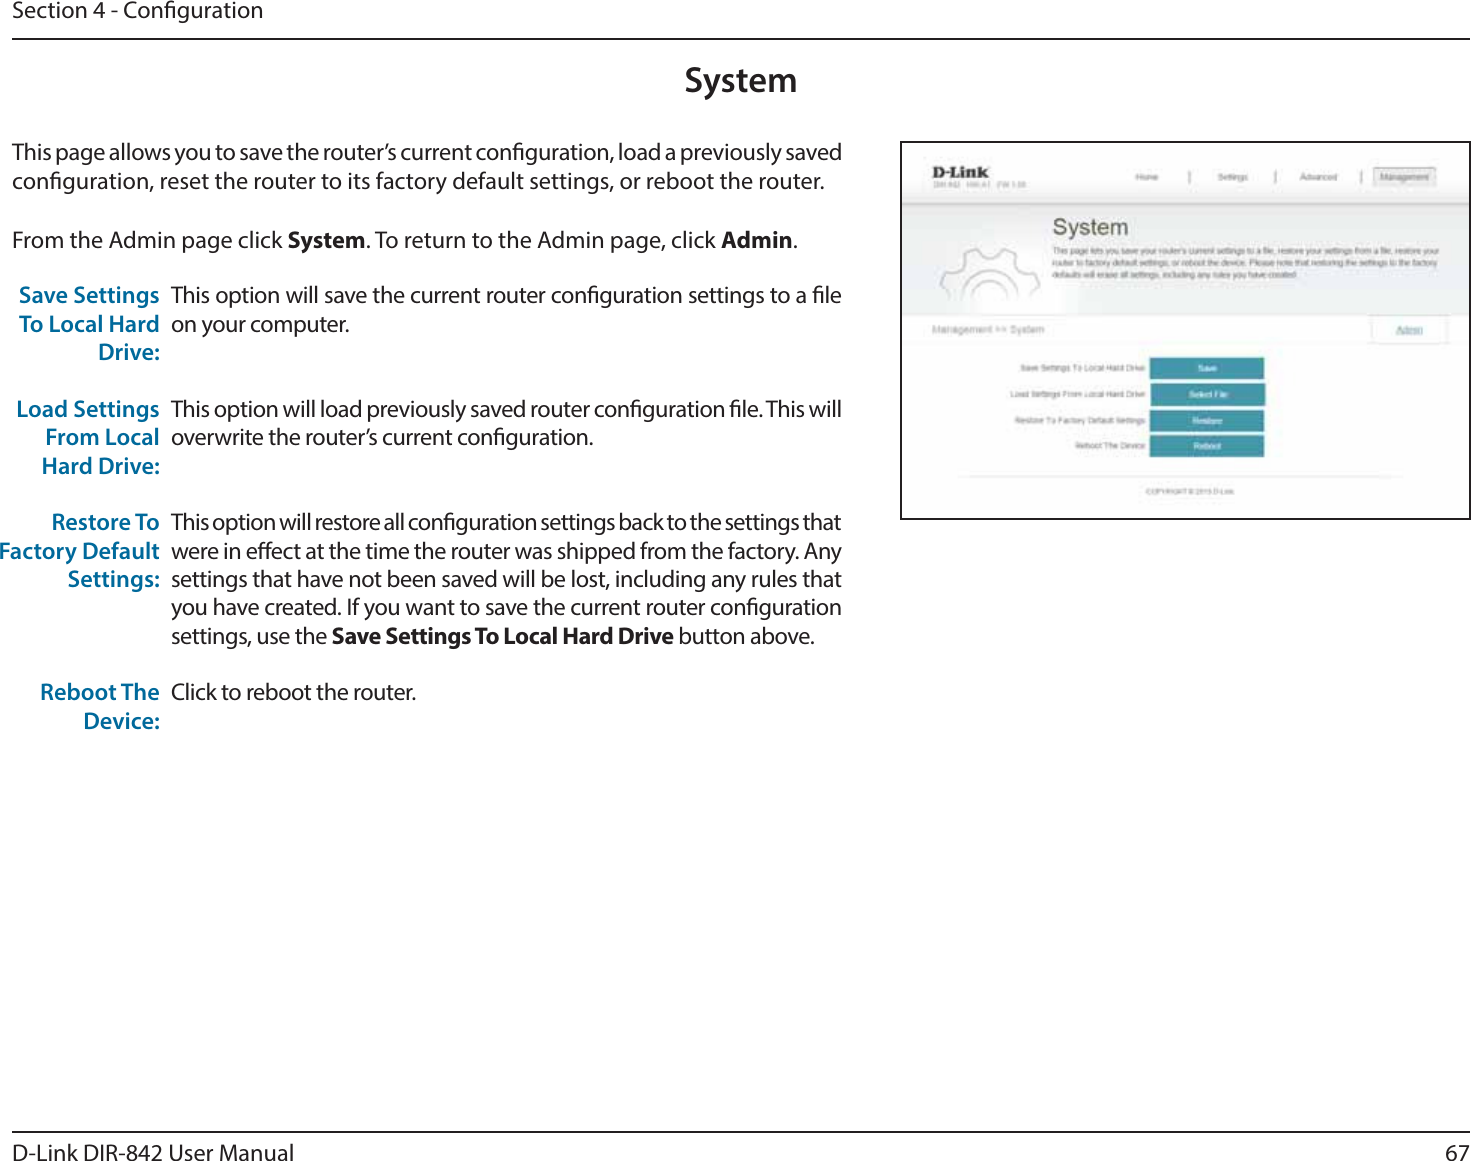
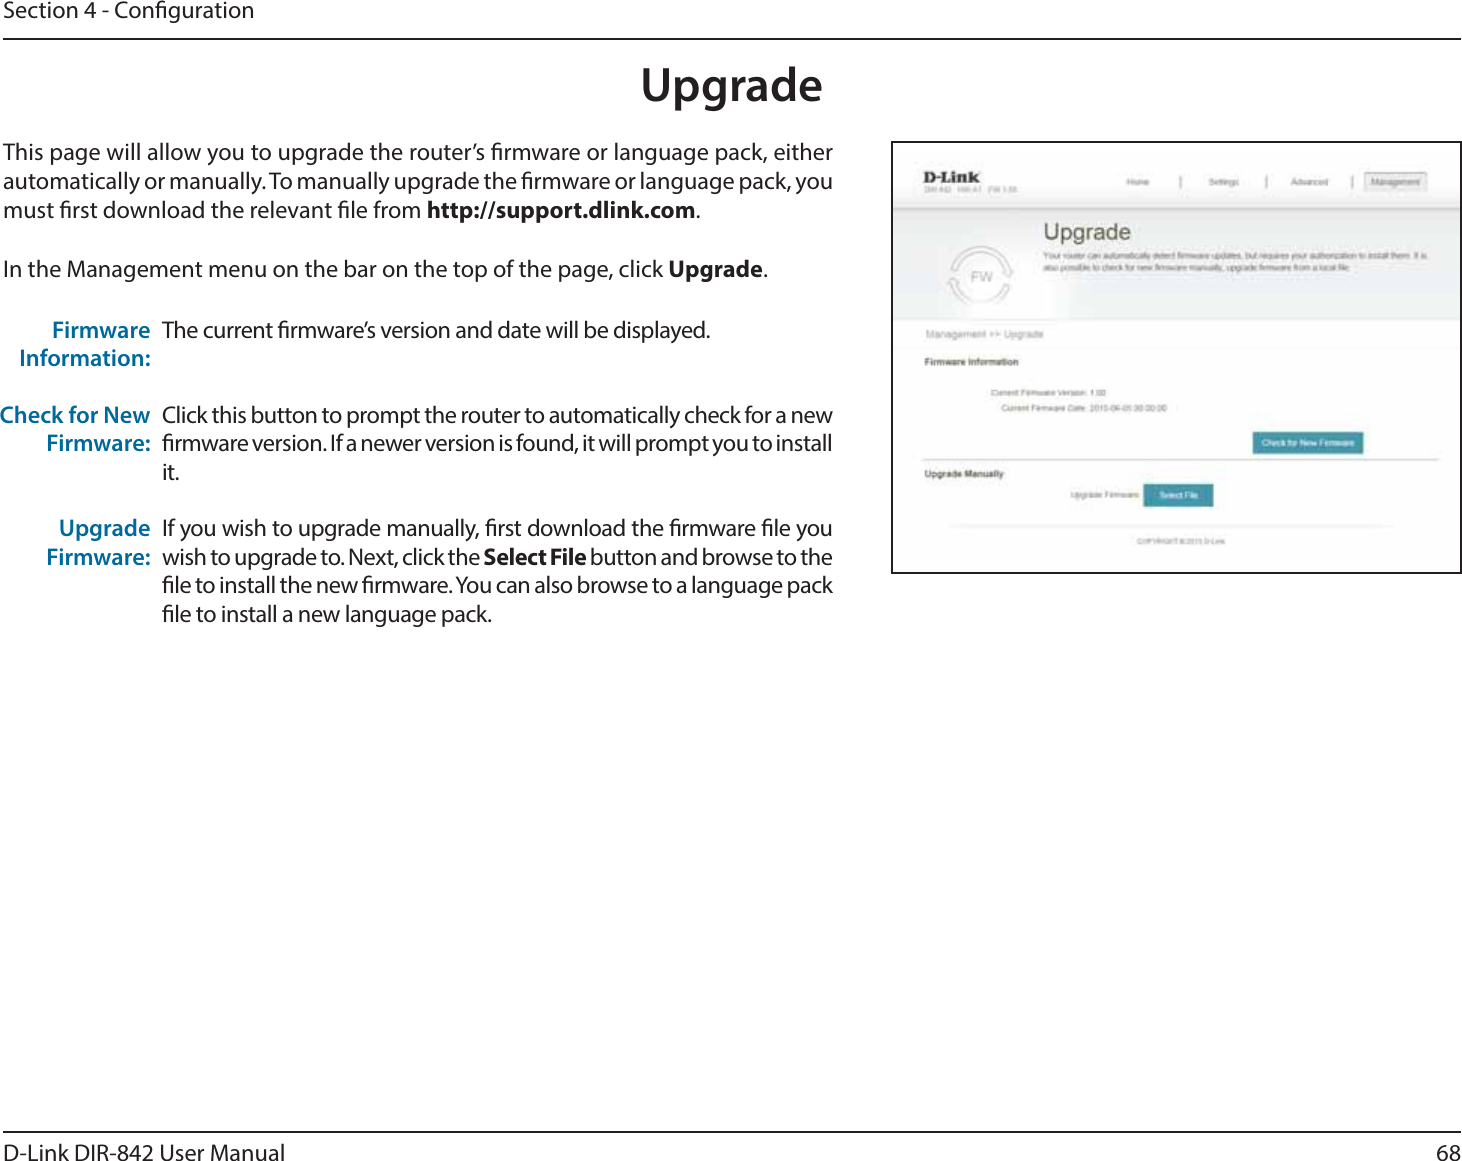
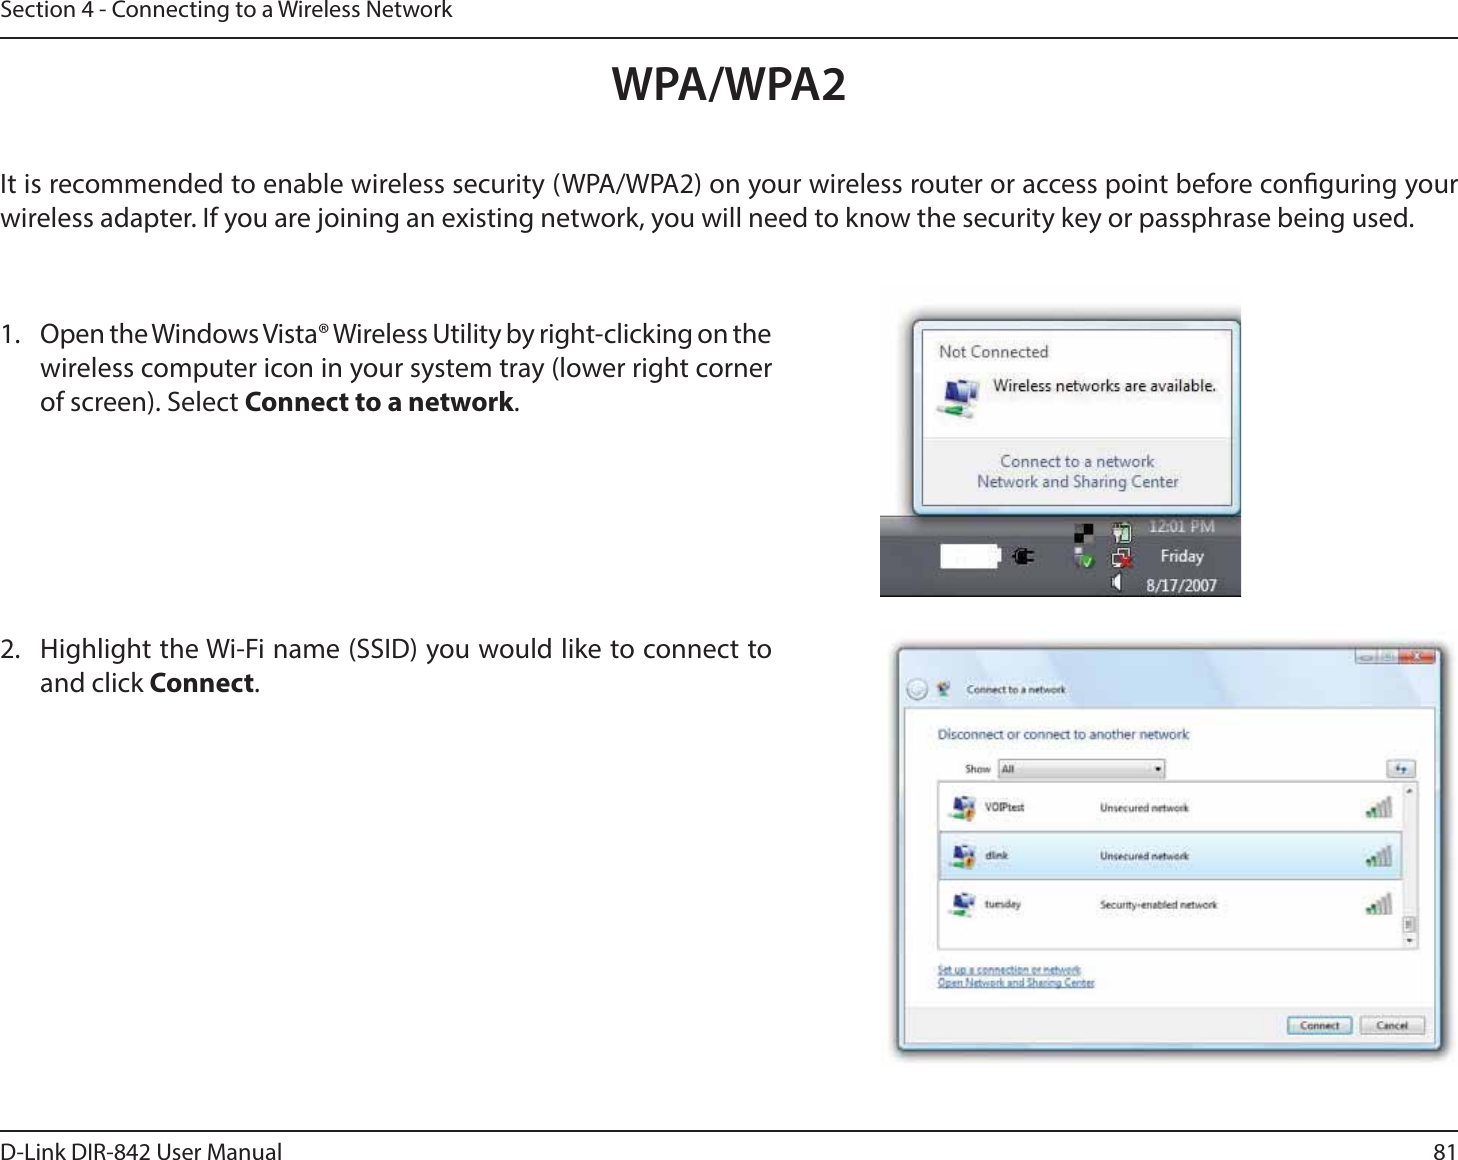
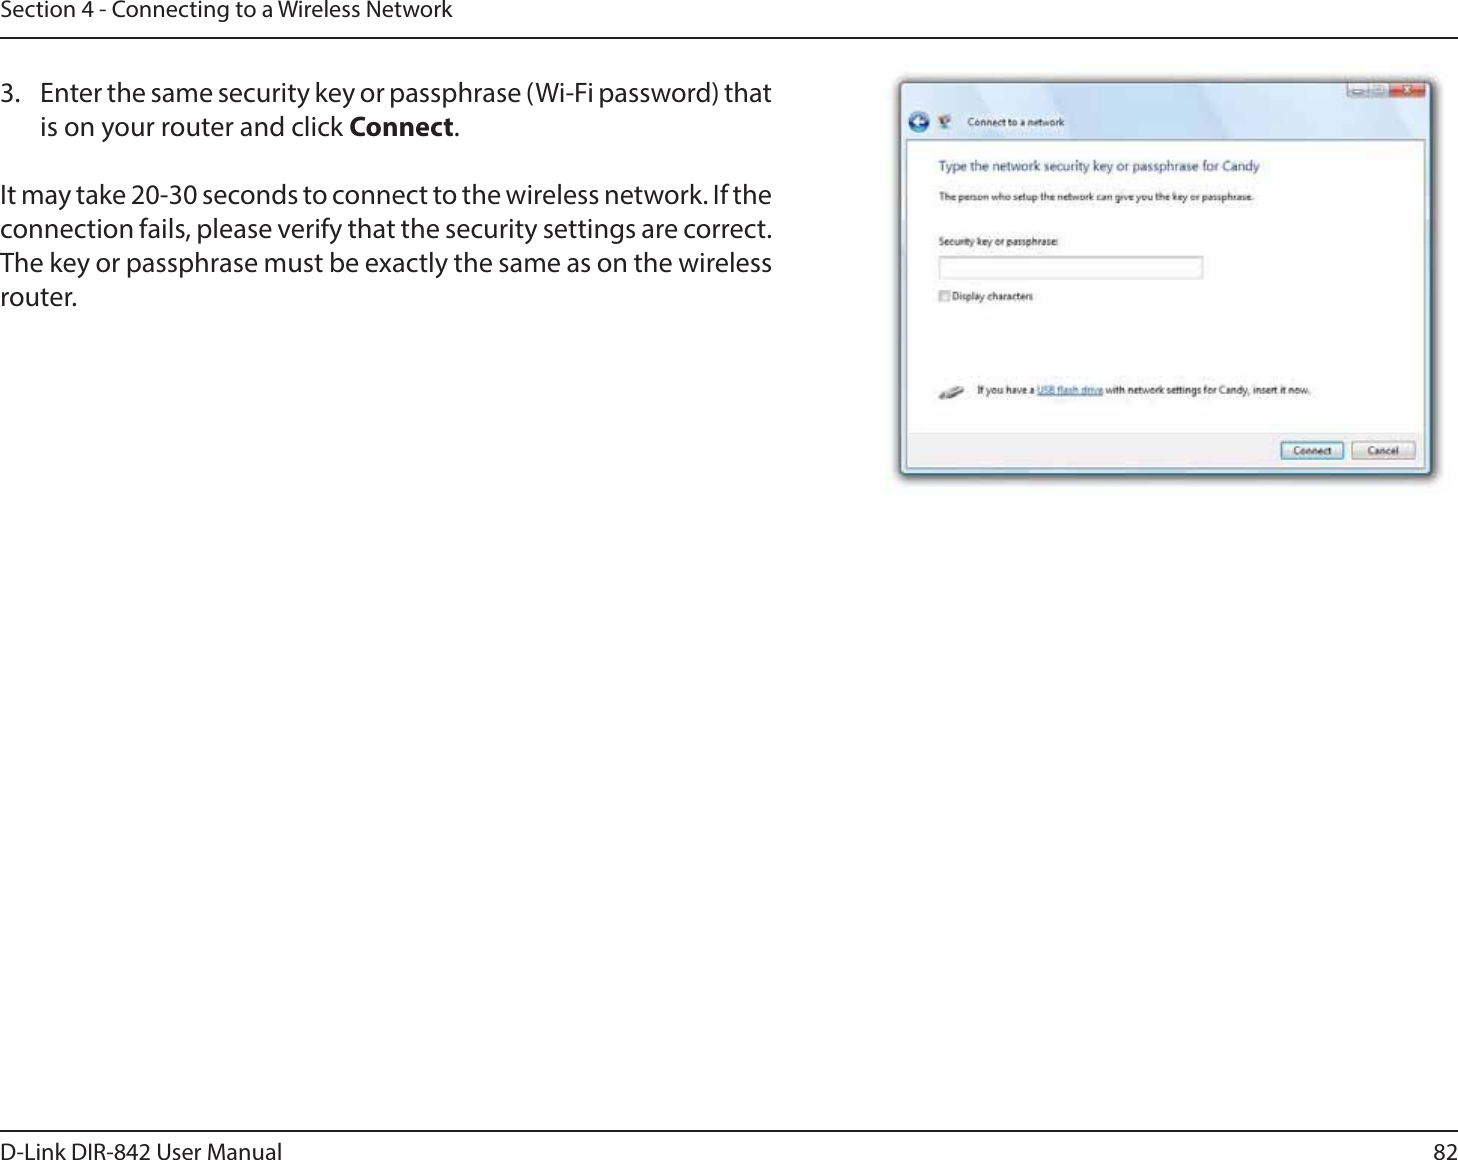
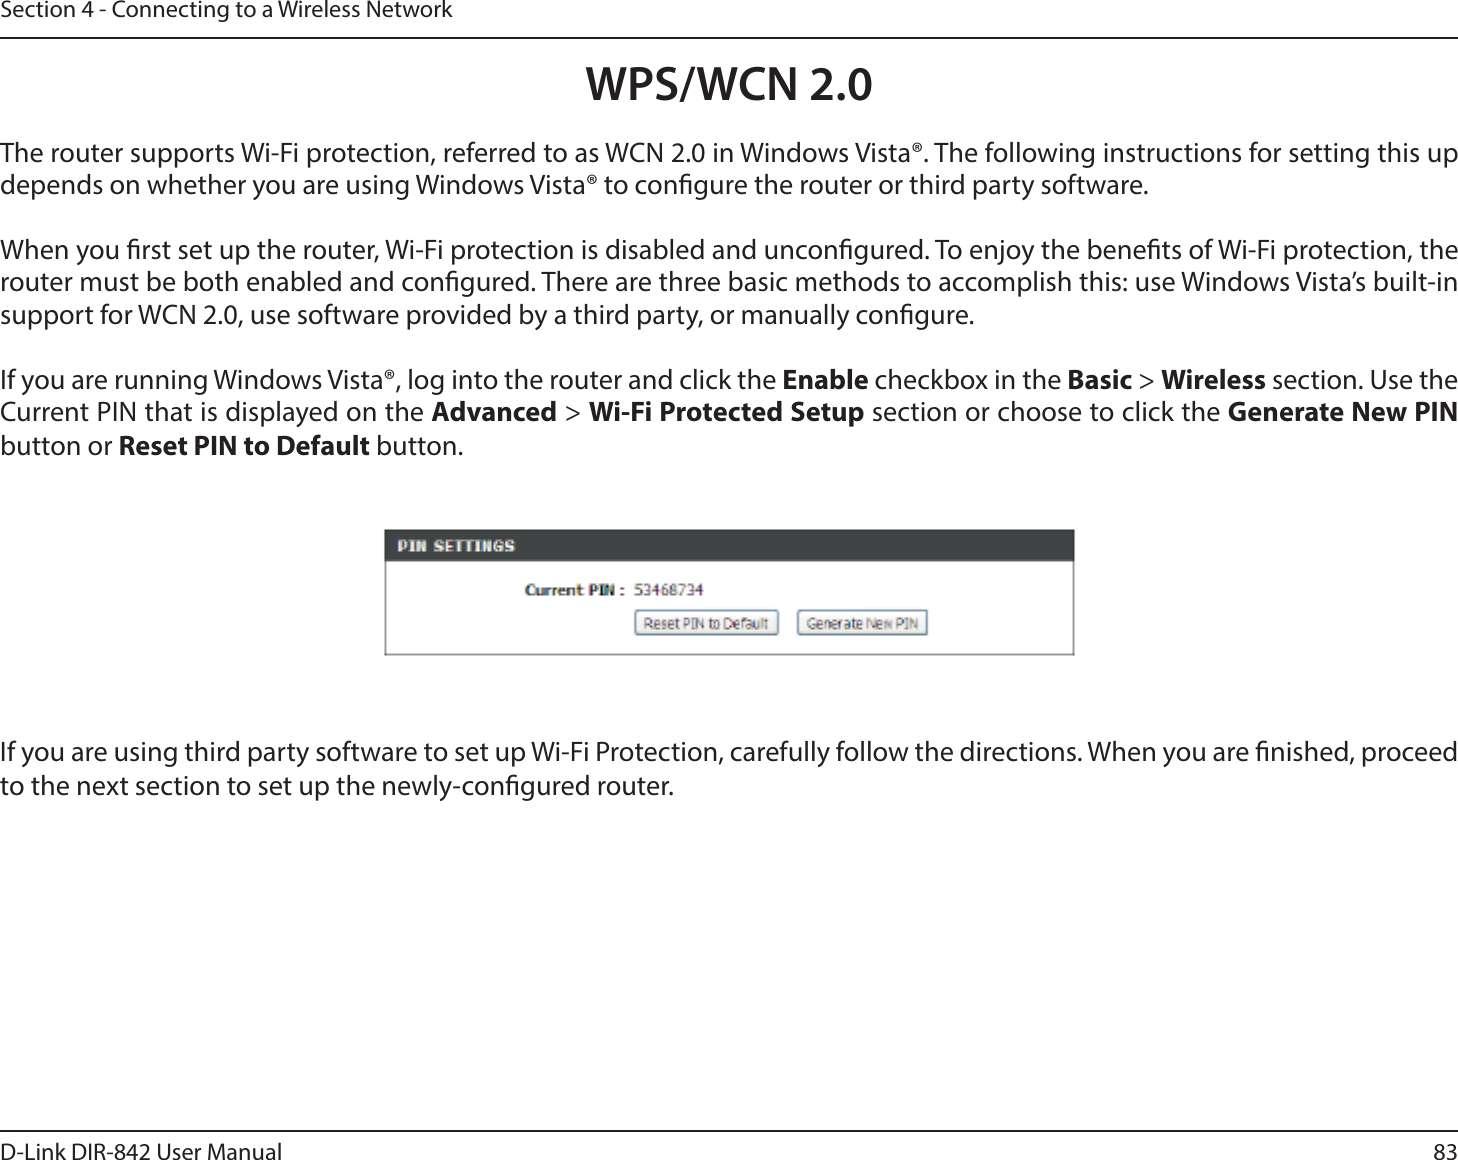
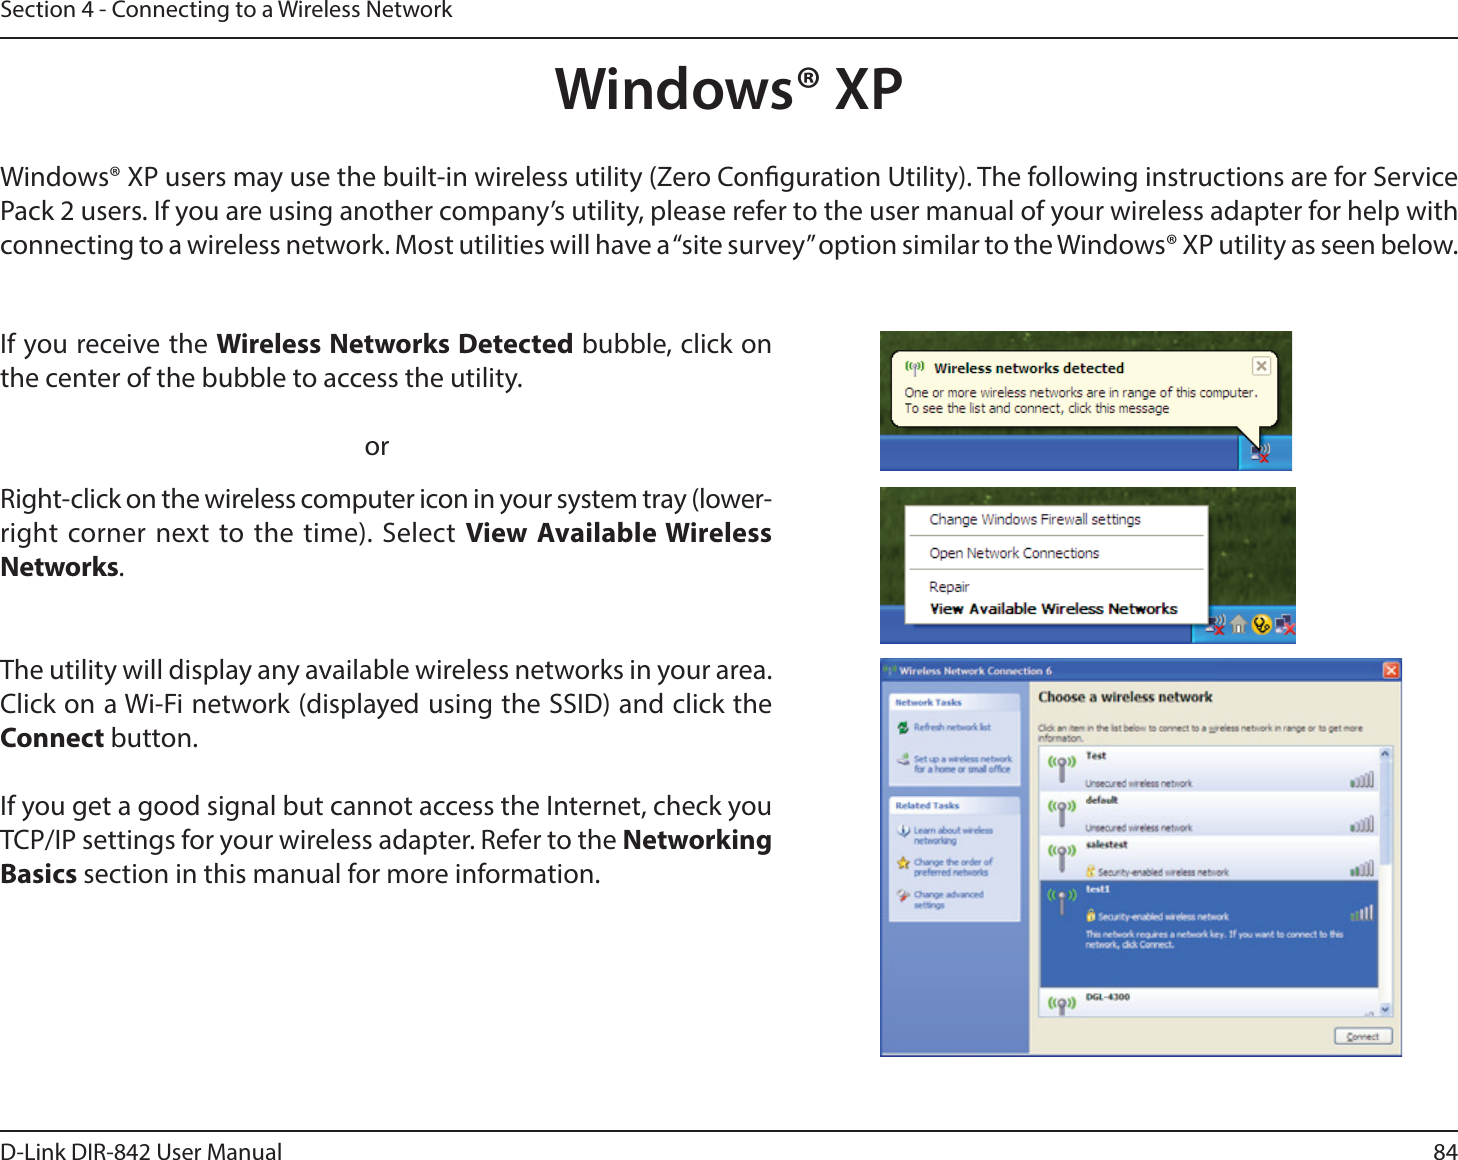
User Manual
Discussion / Help
Navigation


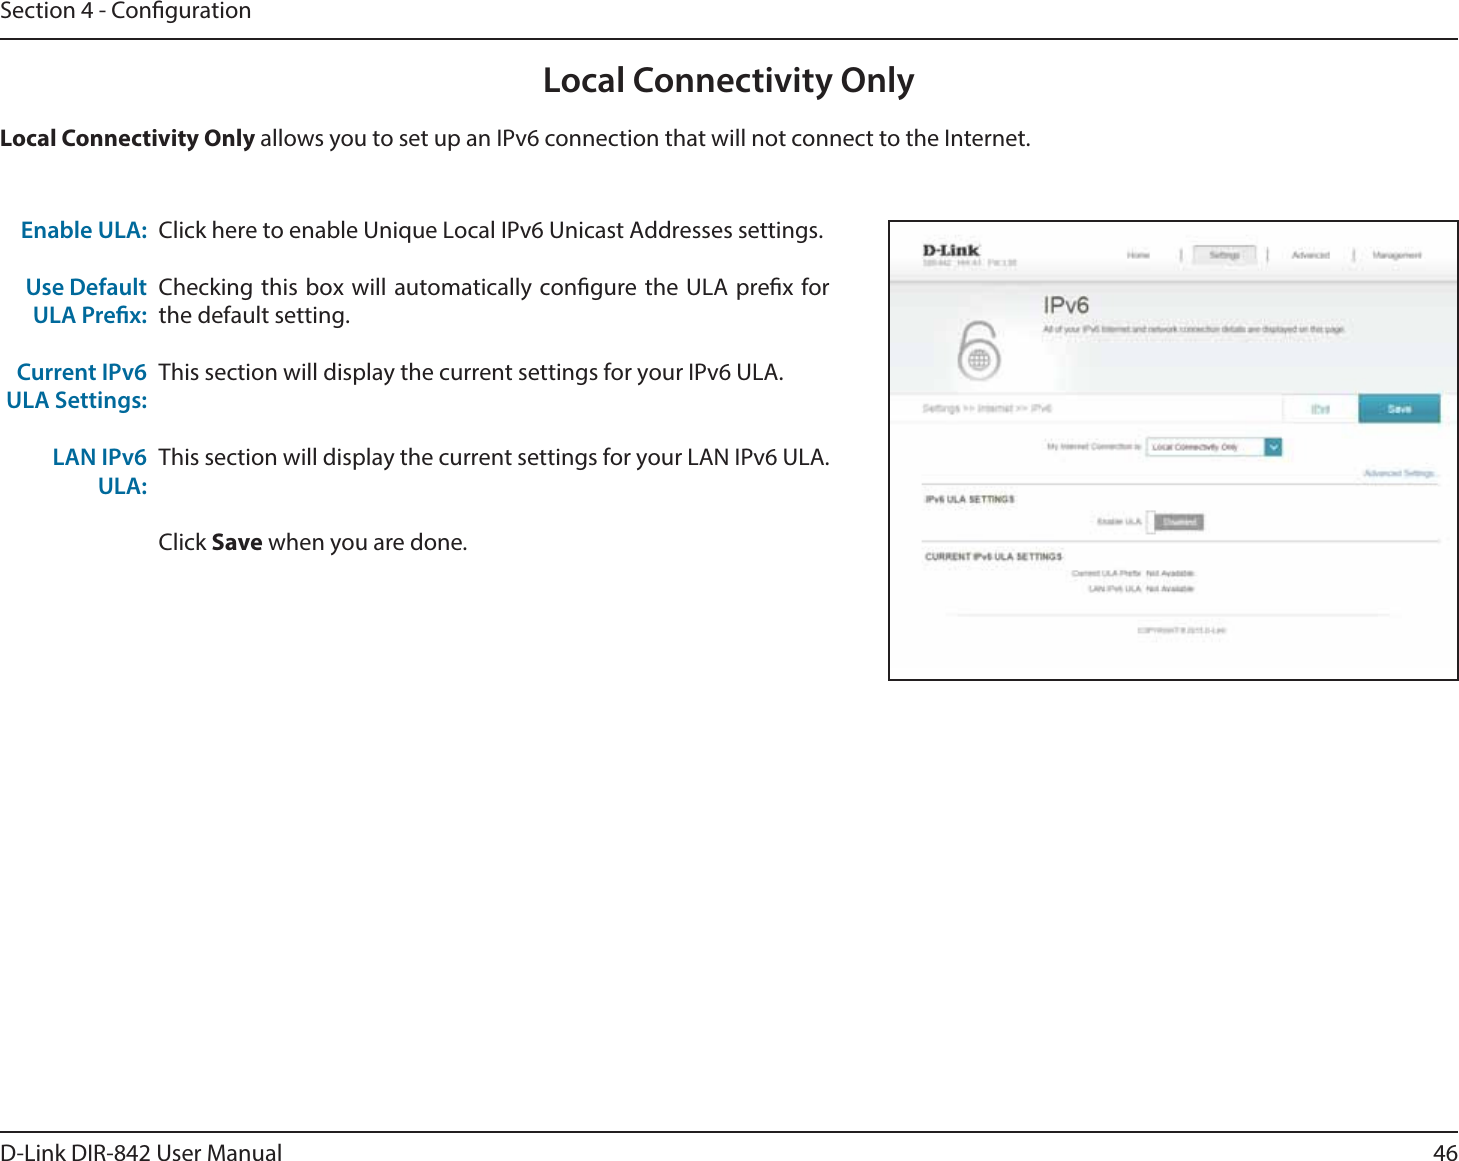


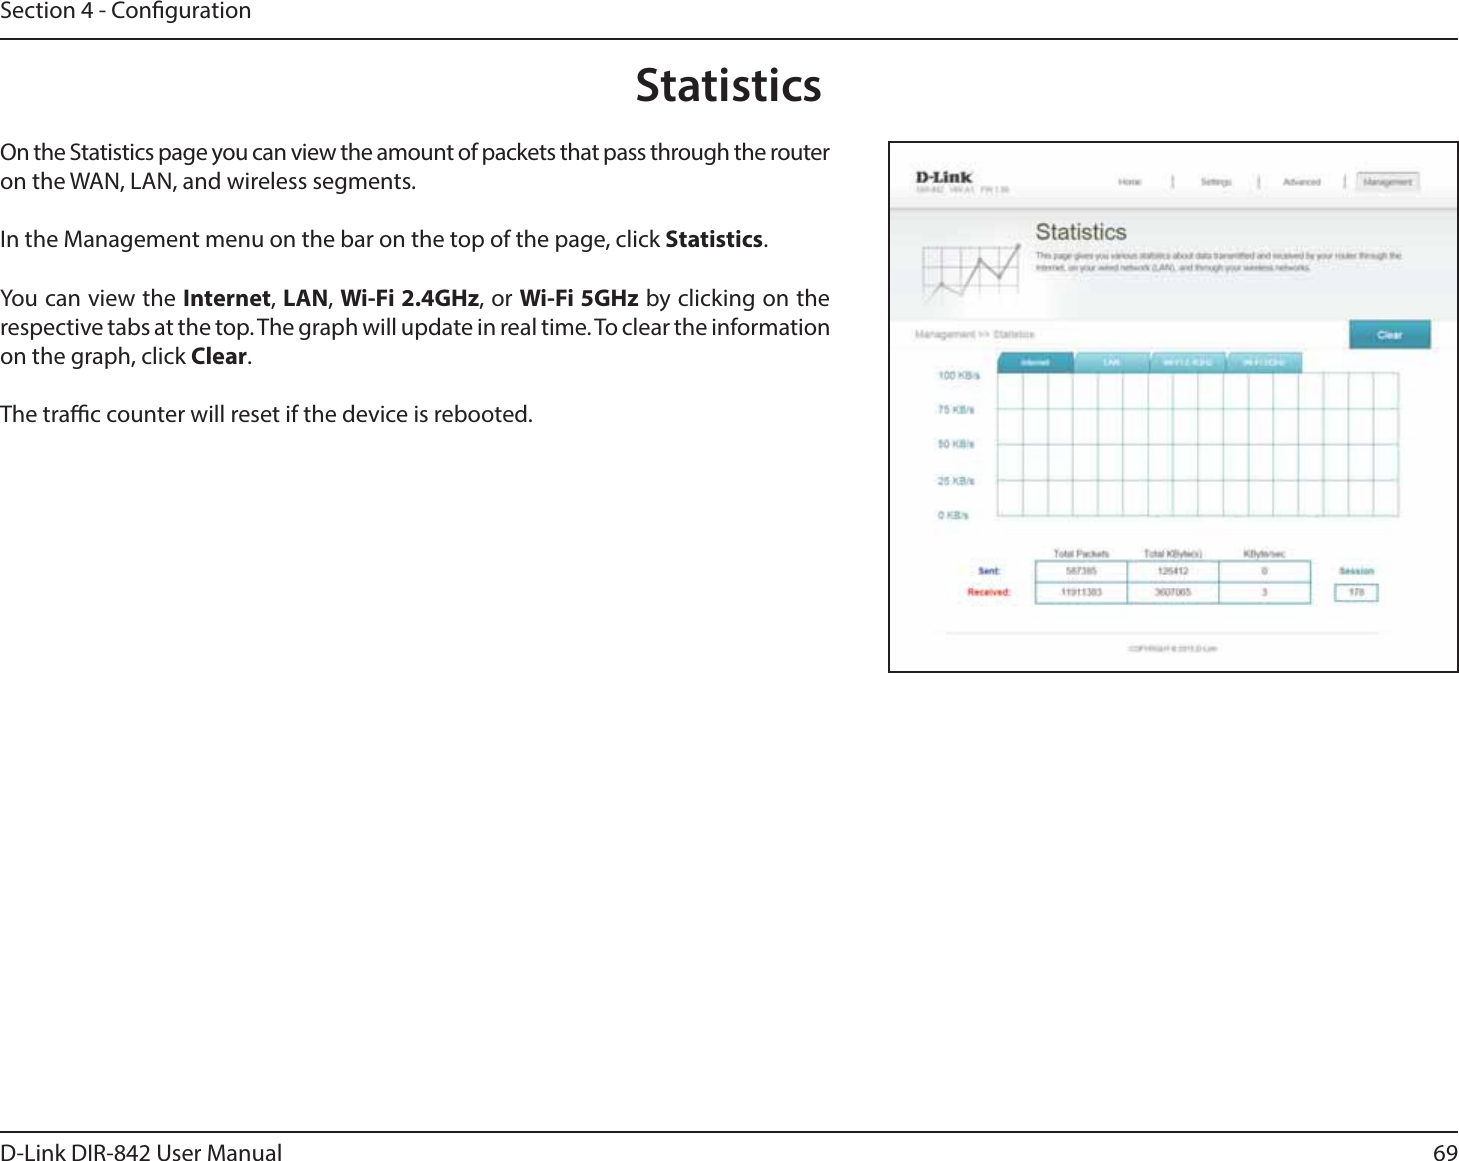
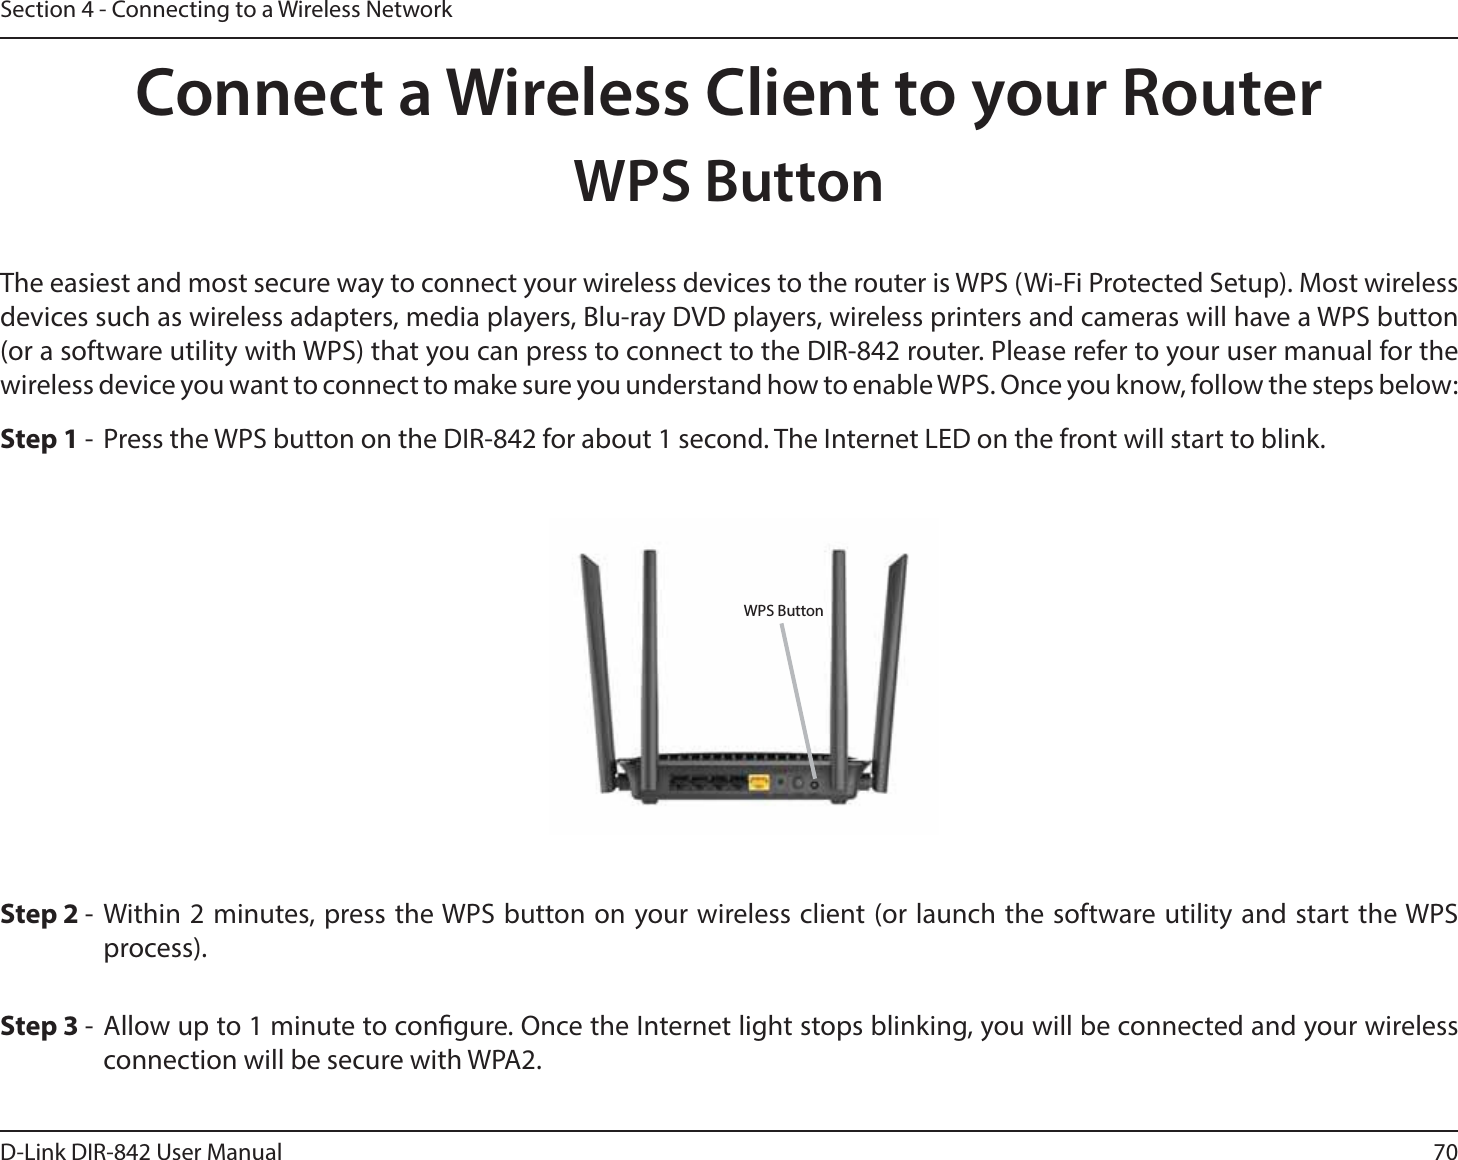
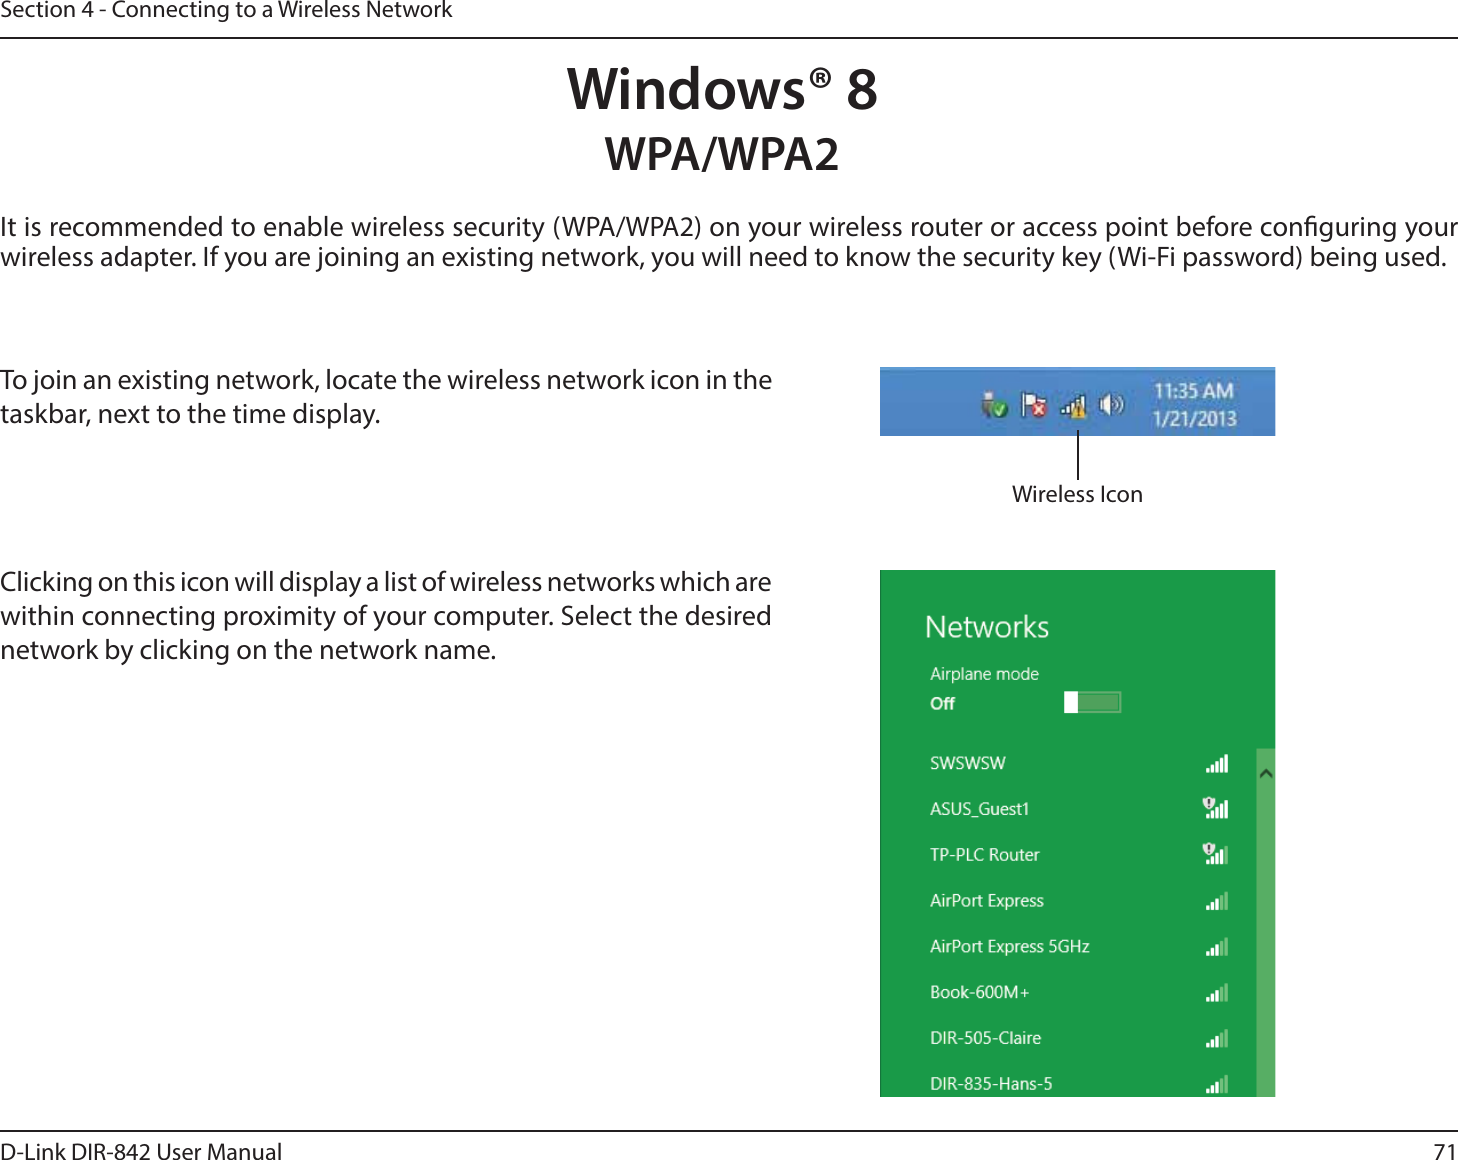
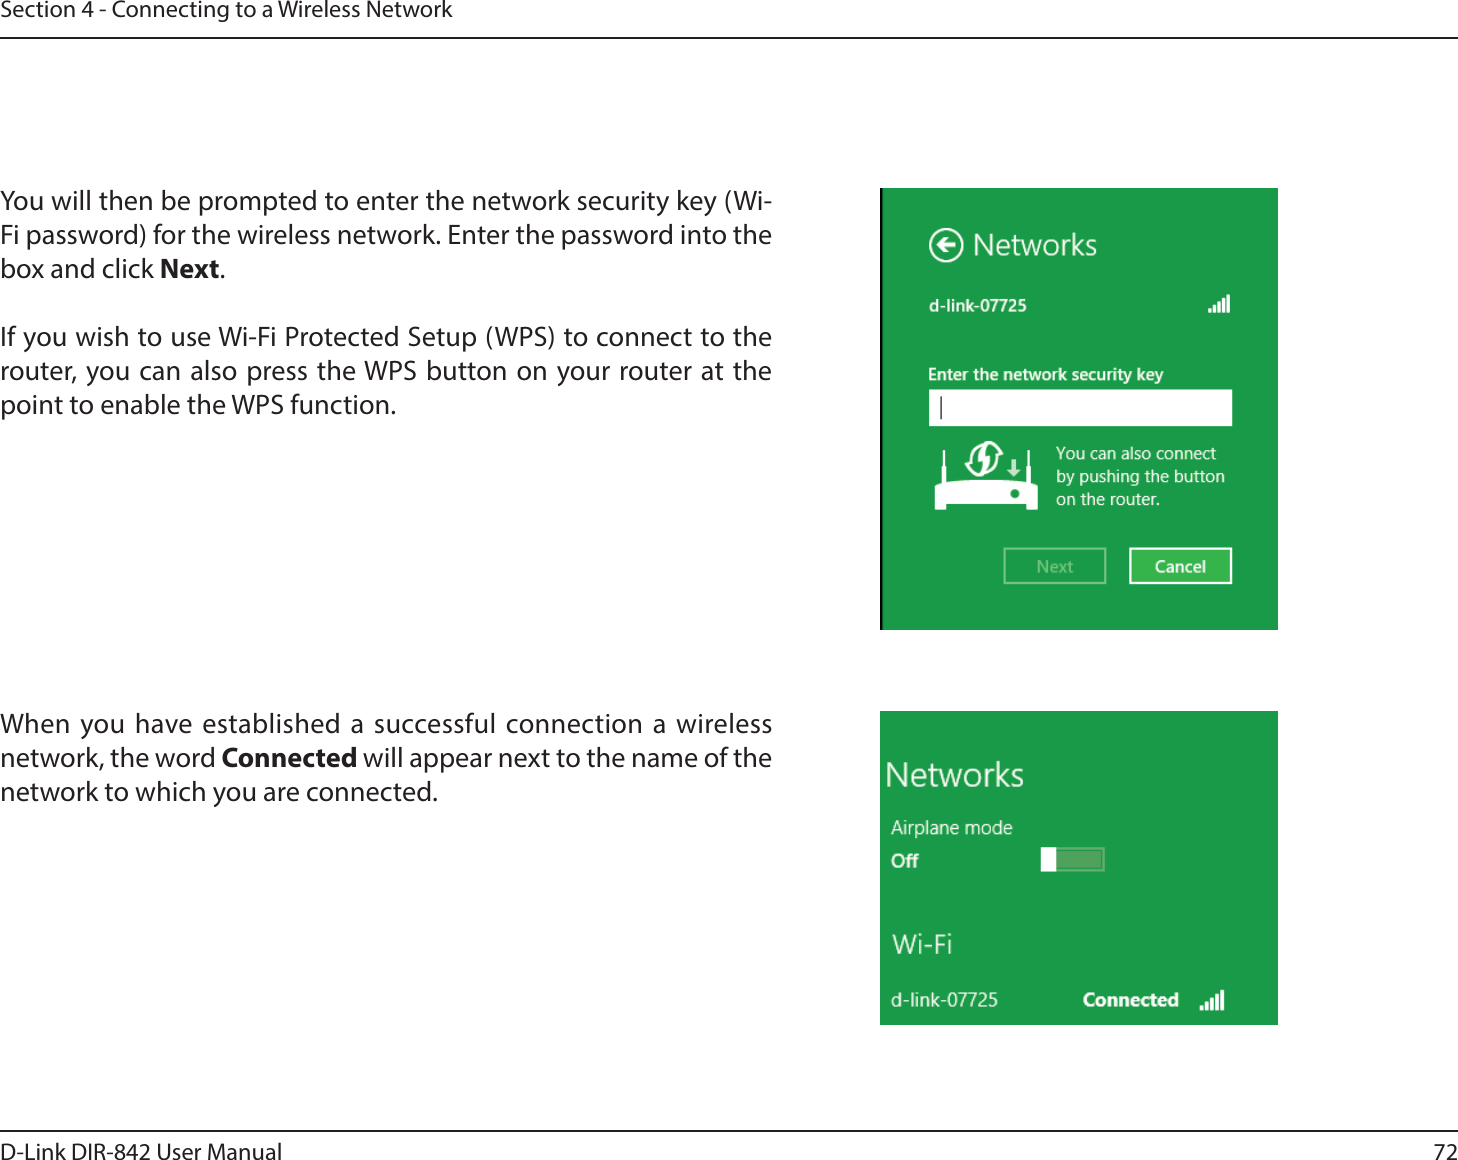
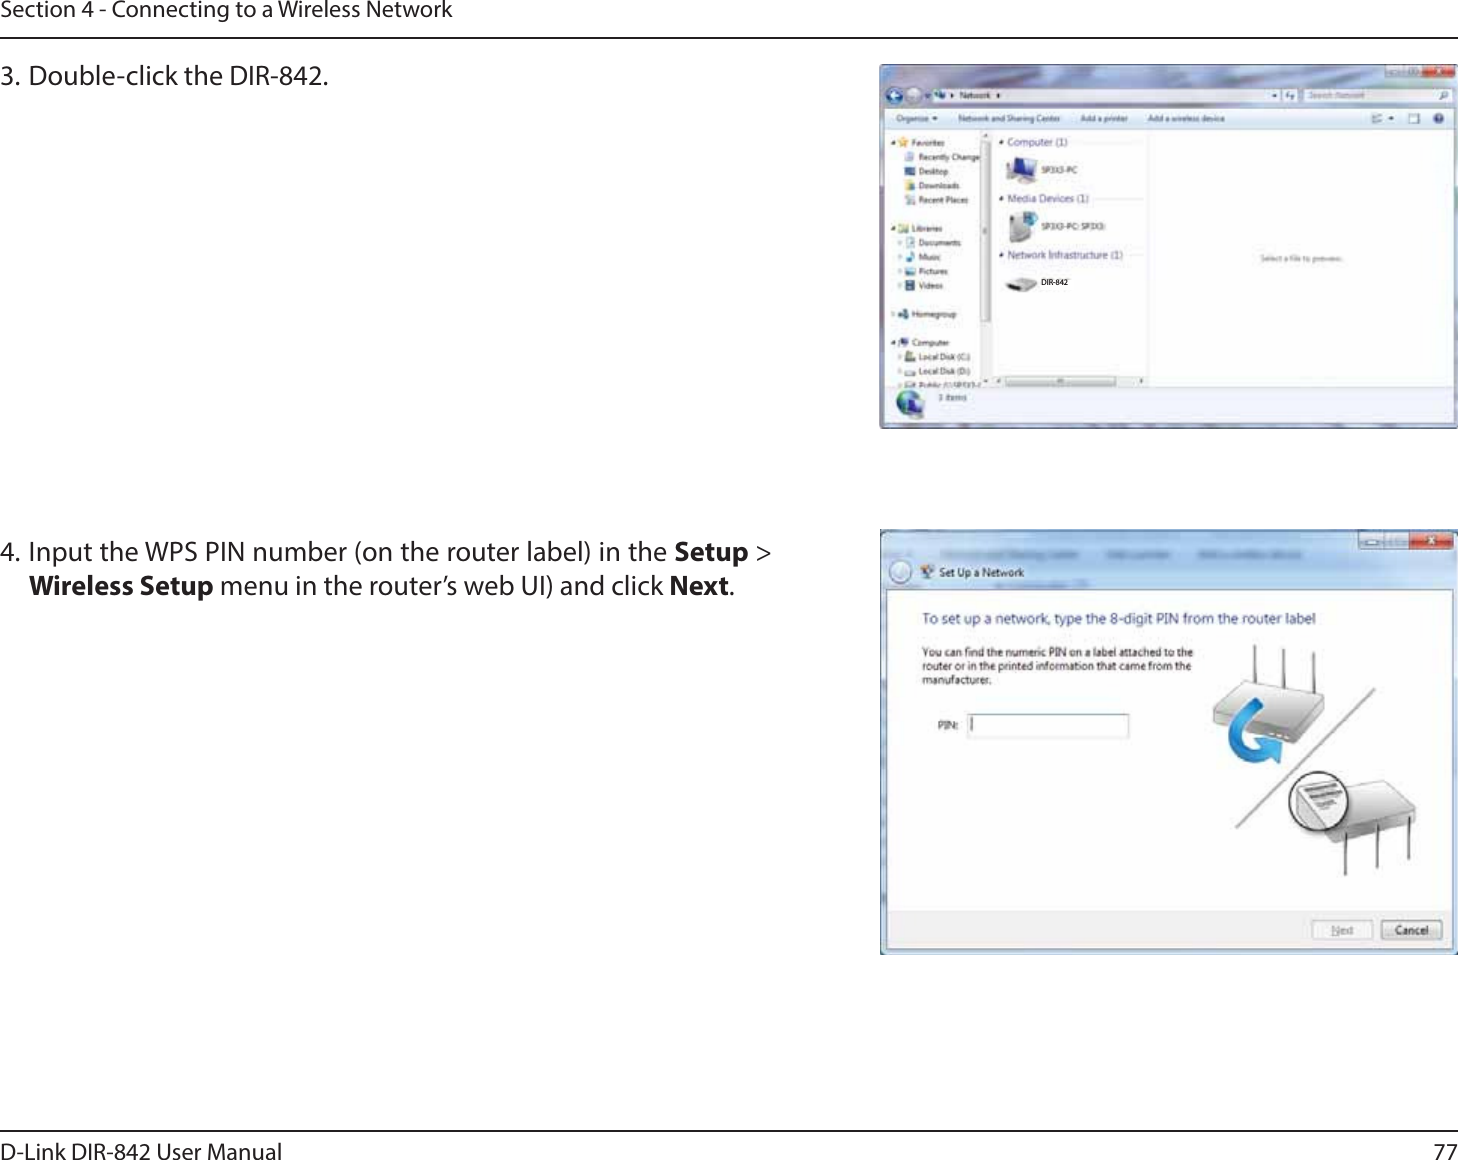
![89D-Link DIR-842 User ManualSection 5 - Troubleshooting3. Why can’t I connect to certain sites or send and receive emails when connecting through my router? If you are having a problem sending or receiving email, or connecting to secure sites such as eBay, banking sites, and Hotmail, XFTVHHFTUMPXFSJOHUIF.56JOJODSFNFOUTPGUFO&YFUDTo nd the proper MTU Size, you’ll have to do a special ping of the destination you’re trying to go to. A destination could be another computer, or a URL. t$MJDLPOStart and then click Run. t8JOEPXT¥BOE.FVTFSTUZQFJOcommand8JOEPXT¥/5917JTUB¥BOEVTFSTUZQFJOcmdBOEpress Enter PSDMJDL0,t0ODFUIFXJOEPXPQFOTZPVMMOFFEUPEPBTQFDJBMQJOH6TFUIFGPMMPXJOHTZOUBY ping [url] [-f] [-l] [MTU value] Example: QJOHZBIPPDPNGM](https://usermanual.wiki/D-Link/IR842A1/User-Guide-2692654-Page-93.png)