D Link IR868LA1 Wireless AC1750 Dual Band Gigabit Cloud Router USB 3.0 User Manual Part 1
D Link Corporation Wireless AC1750 Dual Band Gigabit Cloud Router USB 3.0 Part 1
D Link >
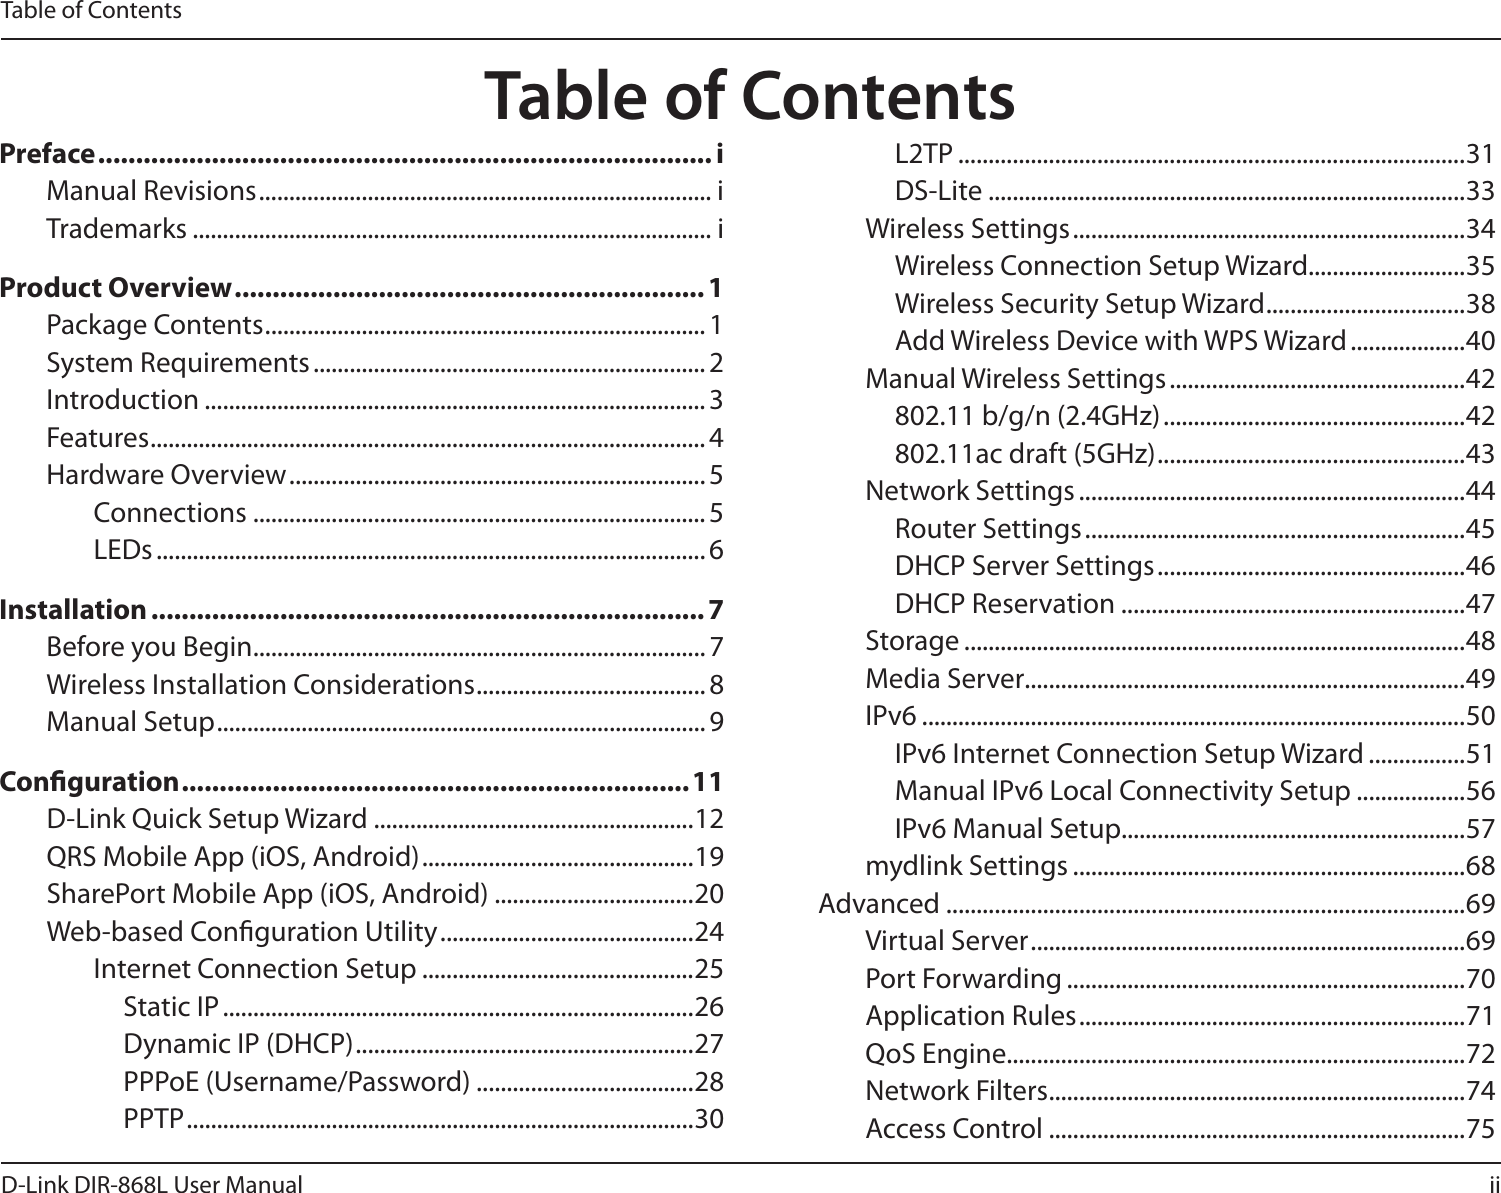
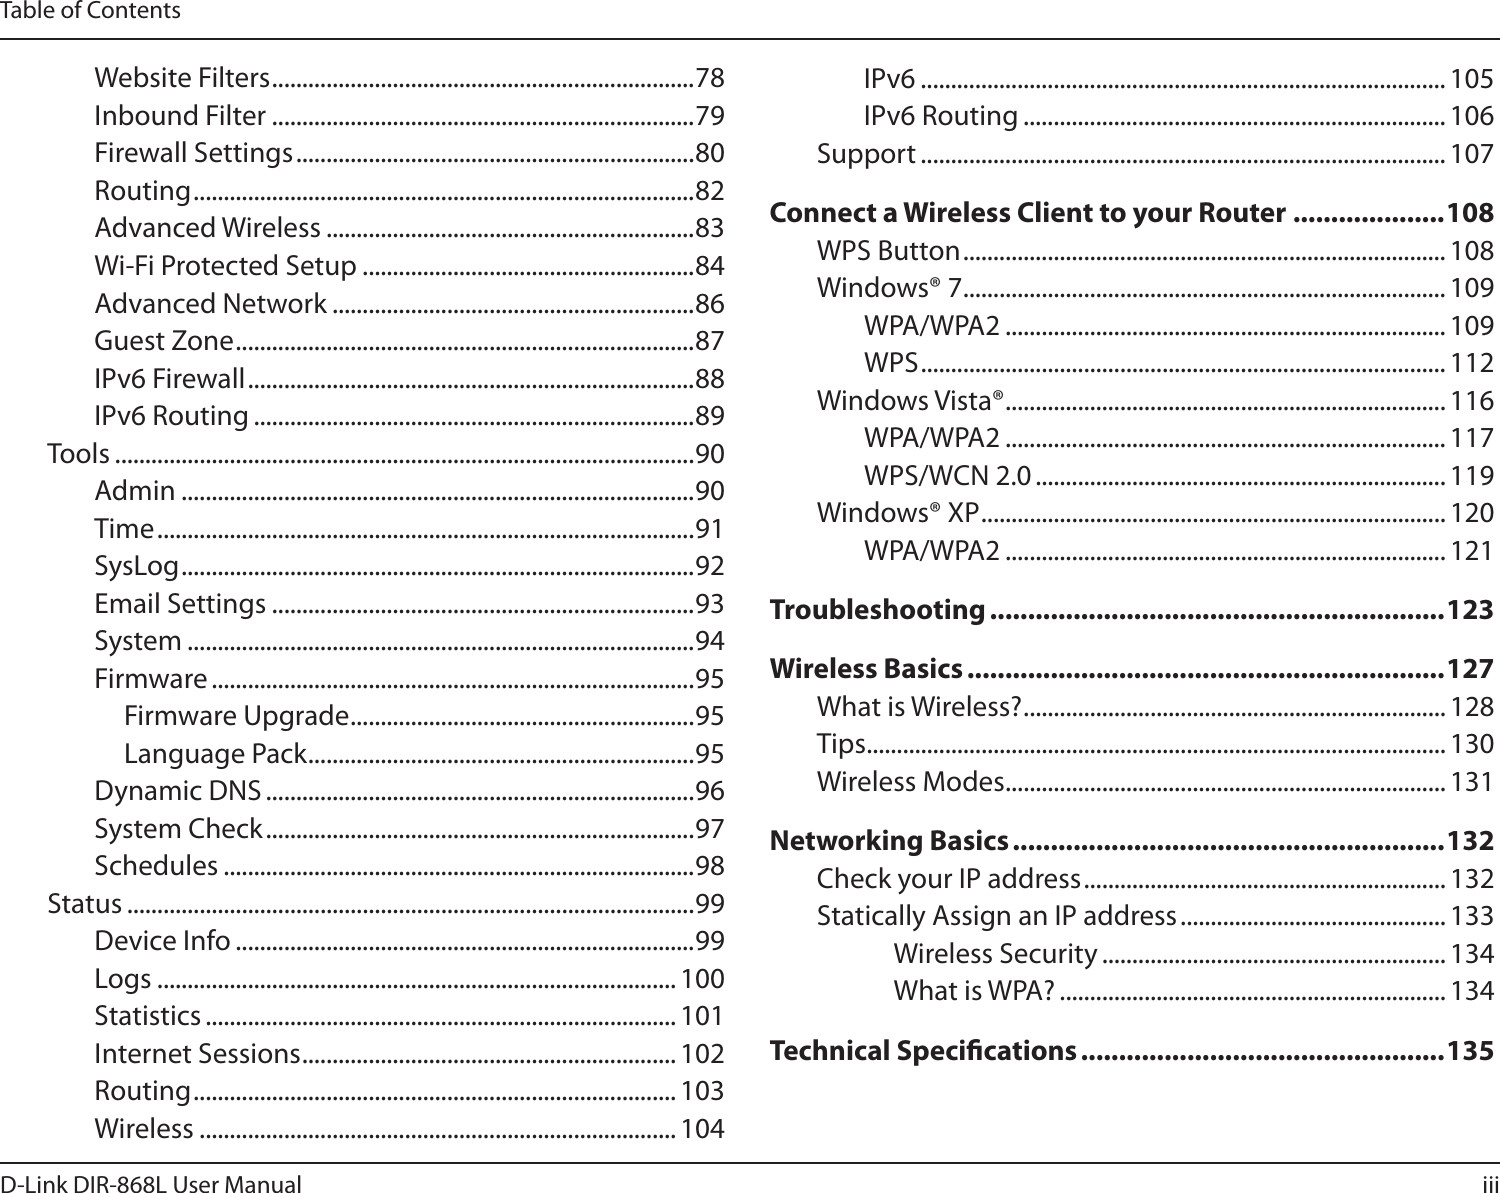
Contents
- 1. User Manual Part 1
- 2. User Manual Part 2
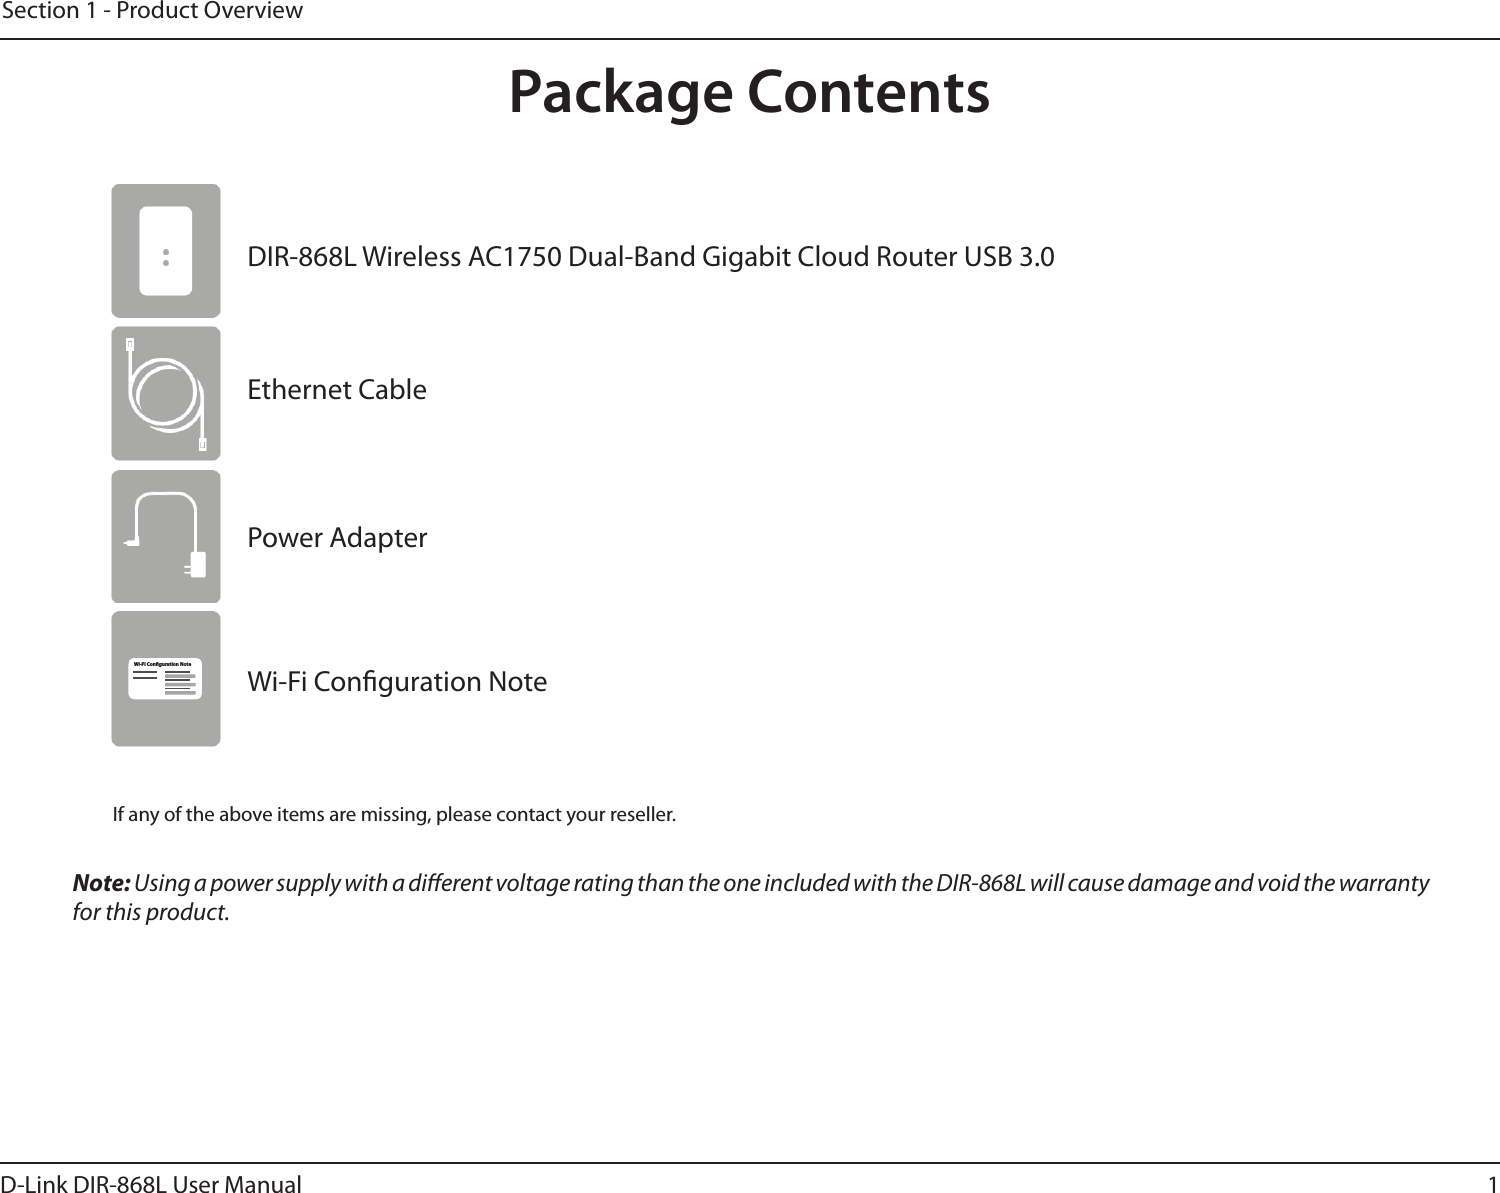
User Manual Part 1