D Link IR868LA1 Wireless AC1750 Dual Band Gigabit Cloud Router USB 3.0 User Manual Part 2
D Link Corporation Wireless AC1750 Dual Band Gigabit Cloud Router USB 3.0 Part 2
D Link >
Contents
- 1. User Manual Part 1
- 2. User Manual Part 2
User Manual Part 2


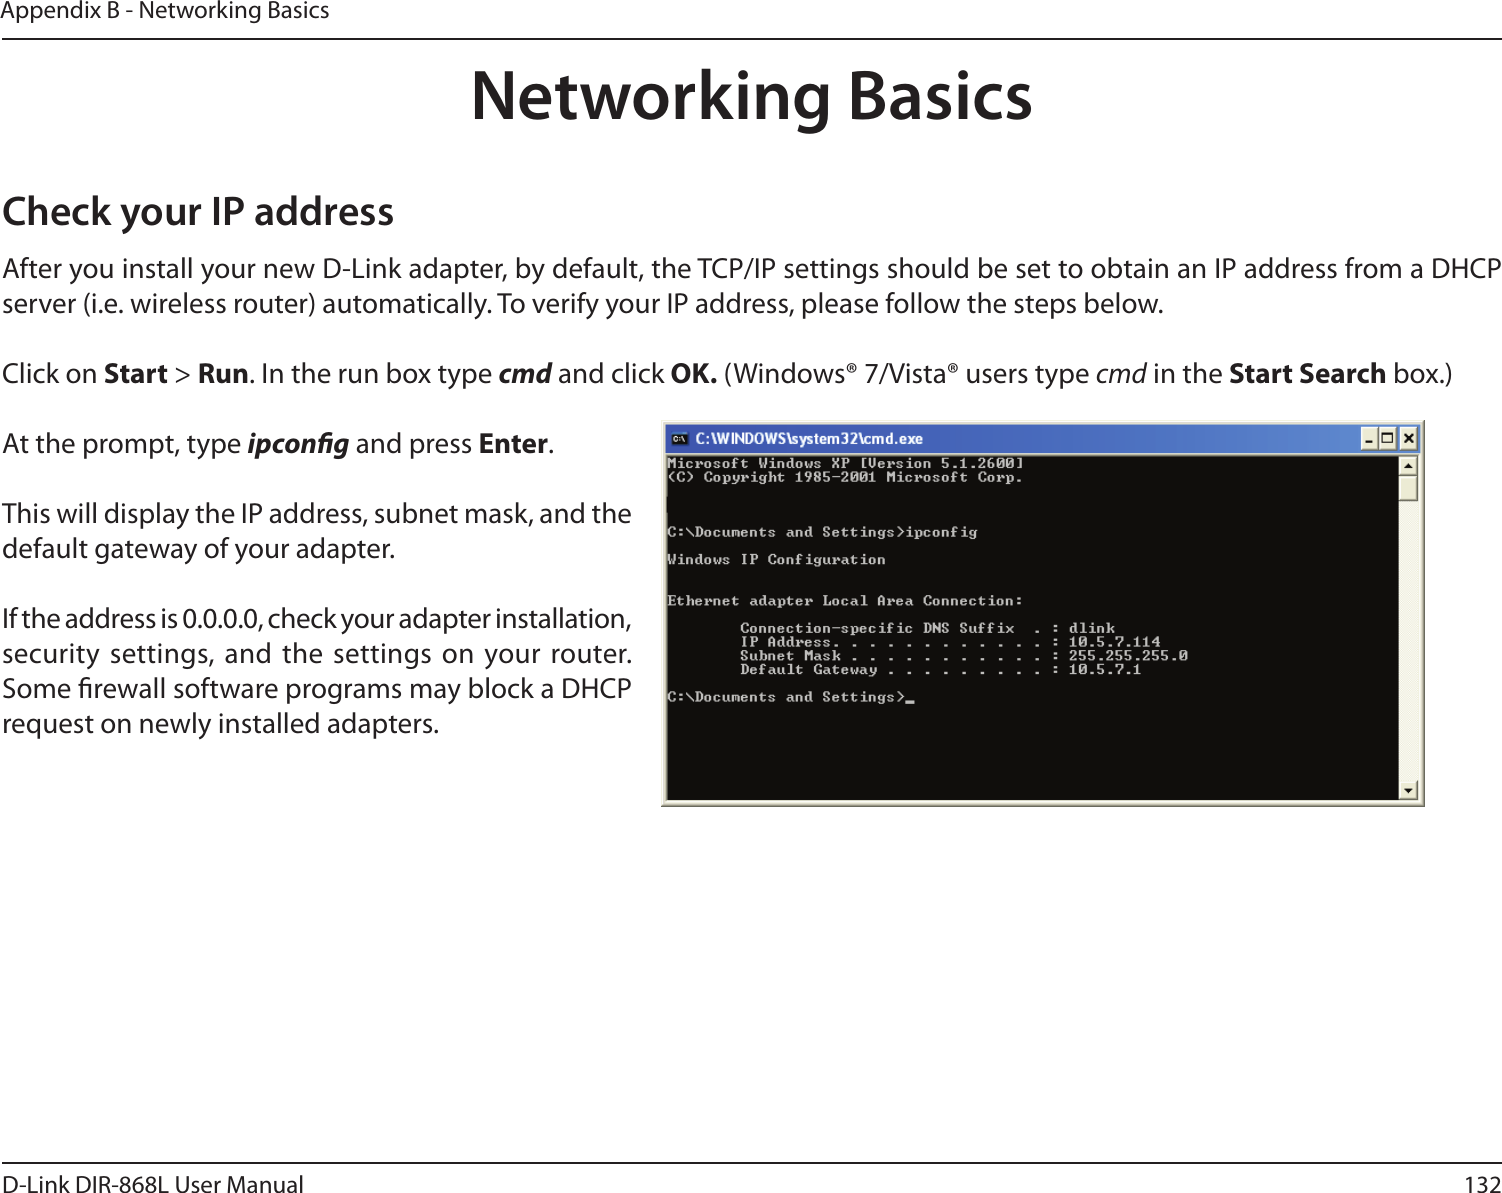
![125D-Link DIR-868L User ManualSection 6 - Troubleshooting3. Why can’t I connect to certain sites or send and receive emails when connecting through my router? If you are having a problem sending or receiving email, or connecting to secure sites such as eBay, banking sites, and Hotmail, we suggest lowering the MTU in increments of ten (Ex. 1492, 1482, 1472, etc). To nd the proper MTU Size, you’ll have to do a special ping of the destination you’re trying to go to. A destination could be another computer, or a URL. • Click on Start and then click Run. • Windows® 95, 98, and Me users type in command (Windows® NT, 2000, XP, Vista®, and 7 users type in cmd) and press Enter (or click OK). • Once the window opens, you’ll need to do a special ping. Use the following syntax: ping [url] [-f] [-l] [MTU value] Example: ping yahoo.com -f -l 1472](https://usermanual.wiki/D-Link/IR868LA1.User-Manual-Part-2/User-Guide-1896246-Page-49.png)
![Radiation Exposure Statement: This equipment complies with FCC radiation exposure limits set forth for an uncontrolled environment. This equipment should be installed and operated with minimum distance 20cm between the radiator & your body. Industry Canada statement: This device complies with RSS-210 of the Industry Canada Rules. Operation is subject to the following two conditions: (1) This device may not cause harmful interference, and (2) this device must accept any interference received, including interference that may cause undesired operation. Ce dispositif est conforme à la norme CNR-210 d'Industrie Canada applicable aux appareils radio exempts de licence. Son fonctionnement est sujet aux deux conditions suivantes: (1) le dispositif ne doit pas produire de brouillage préjudiciable, et (2) ce dispositif doit accepter tout brouillage reçu, y compris un brouillage susceptible de provoquer un fonctionnement indésirable. Radiation Exposure Statement: This equipment complies with IC radiation exposure limits set forth for an uncontrolled environment. This equipment should be installed and operated with minimum distance 20cm between the radiator & your body. Déclaration d'exposition aux radiations: Cet équipement est conforme aux limites d'exposition aux rayonnements IC établies pour un environnement non contrôlé. Cet équipement doit être installé et utilisé avec un minimum de 20 cm de distance entre la source de rayonnement et votre corps. DETACHABLE ANTENNA USAGE This device has been designed to operate with an antenna having a maximum gain of [4] dBi. Antenna having a higher gain is strictly prohibited per regulations of Industry Canada. The required antenna impedance is 50 ohms. Under Industry Canada regulations, this radio transmitter may only operate using an antenna of a type and maximum (or lesser) gain approved for the transmitter by Industry Canada. To reduce potential radio interference to other users, the antenna type and its gain should be so chosen that the equivalent isotropically radiated power](https://usermanual.wiki/D-Link/IR868LA1.User-Manual-Part-2/User-Guide-1896246-Page-61.png)
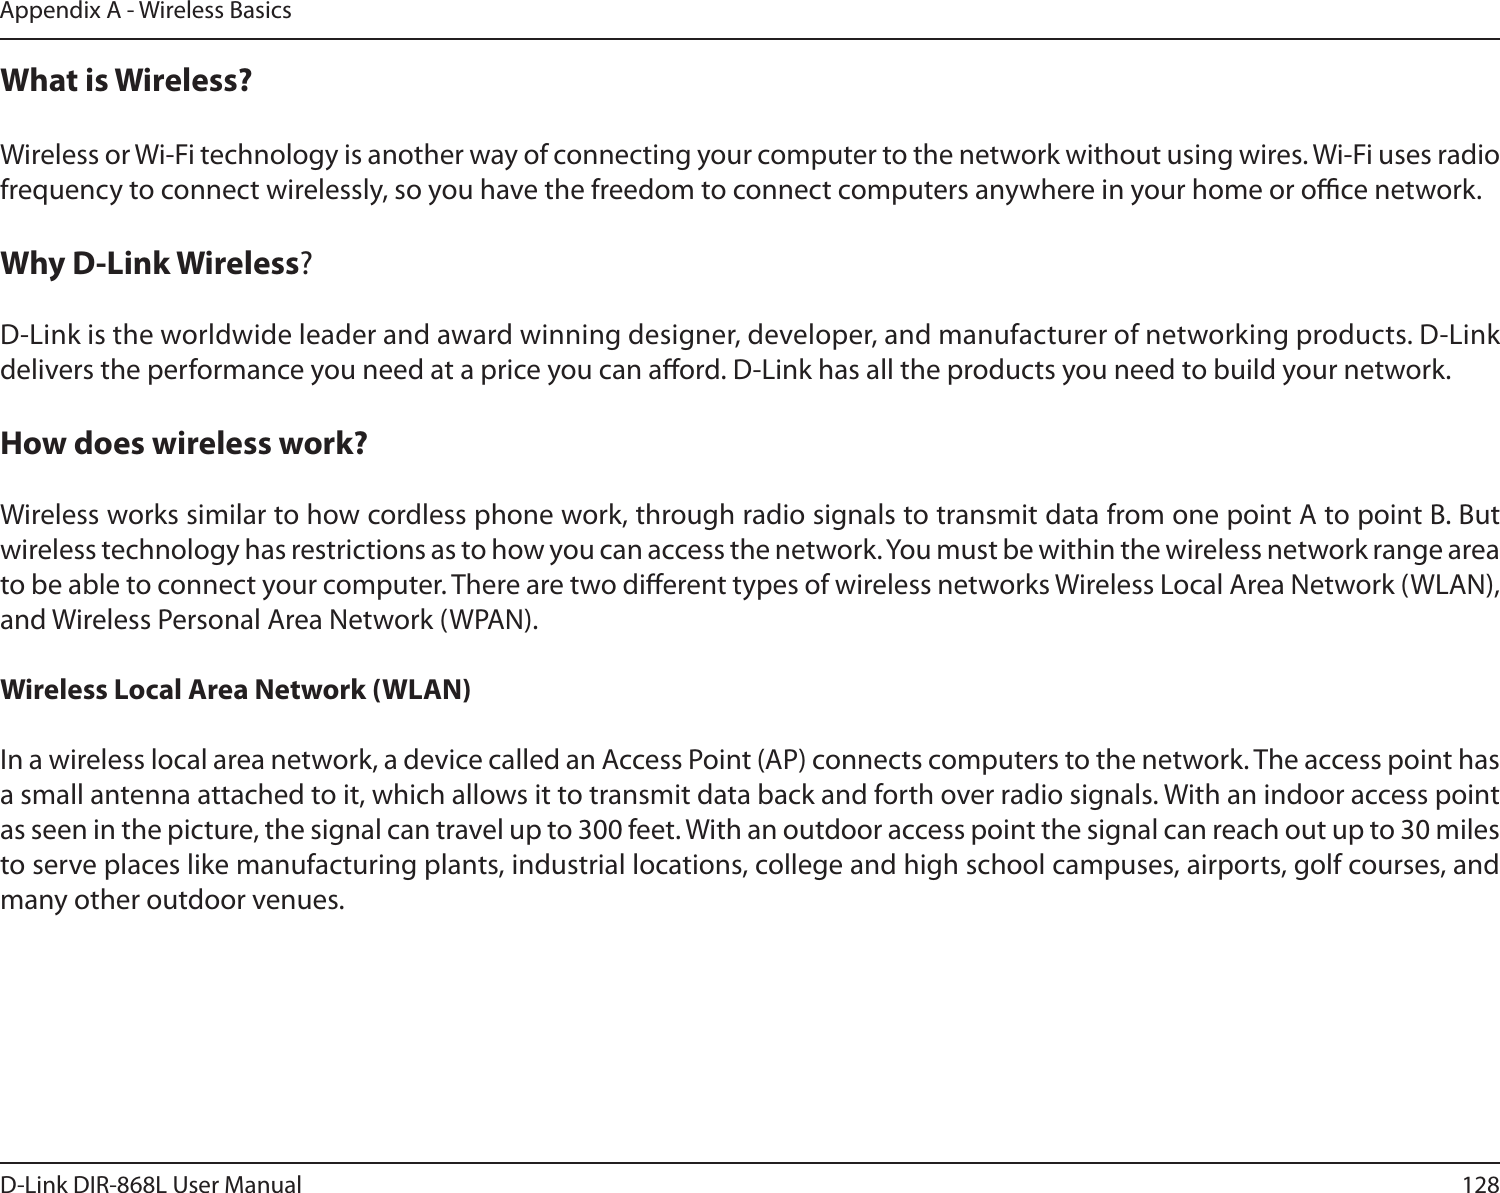
![(e.i.r.p.) is not more than that necessary for successful communication. This radio transmitter (IC: 4216A-IR868LA1 / Model: DIR-868LA1) has been approved by Industry Canada to operate with the antenna types listed below with the maximum permissible gain and required antenna impedance for each antenna type indicated. Antenna types not included in this list, having a gain greater than the maximum gain indicated for that type, are strictly prohibited for use with this device. Ce dispositif a été conçu pour fonctionner avec une antenne ayant un gain maximal de dBi [4]. Une antenne à gain plus élevé est strictement interdite par les règlements d'Industrie Canada. L'impédance d'antenne requise est de 50 ohms. Conformément à la réglementation d'Industrie Canada, le présent émetteur radio peutfonctionner avec une antenne d'un type et d'un gain maximal (ou inférieur) approuvé pourl'émetteur par Industrie Canada. Dans le but de réduire les risques de brouillage radioélectriqueà l'intention des autres utilisateurs, il faut choisir le type d'antenne et son gain de sorte que lapuissance isotrope rayonnée équivalente (p.i.r.e.) ne dépasse pas l'intensité nécessaire àl'établissement d'une communication satisfaisante. Le présent émetteur radio (IC: 4216A-IR868LA1 / Model: DIR-868LA1) a été approuvé par Industrie Canada pour fonctionner avec les types d'antenne énumérés ci-dessous et ayant un gain admissible maximal et l'impédance requise pour chaque type d'antenne. Les types d'antenne non inclus dans cette liste, ou dont le gain est supérieur au gain maximal indiqué, sont strictement interdits pour l'exploitation de l'émetteur. Approved antenna(s) list Ant. Model Gain (dBi) Exclude cable loss Antenna Type Frequency range (MHz to MHz) Cable Loss(dB) Cable Lenth A C037-511228-A 2.5 PCB 2400~2500 0.468 130mm B C037-511233-A 2 PCB 2400~2500 0.36 100mm C C037-511234-A 4 PCB 2400~2500 0.396 110mm D C037-511225-A 4 PCB 4900~5825 0.572 110mm E C037-511226-A 4 PCB 4900~5825 0.416 80mm](https://usermanual.wiki/D-Link/IR868LA1.User-Manual-Part-2/User-Guide-1896246-Page-62.png)