D Link PR1040A1 1USB2.0 port MFP Print Server User Manual 1 of 2
D Link Corporation 1USB2.0 port MFP Print Server 1 of 2
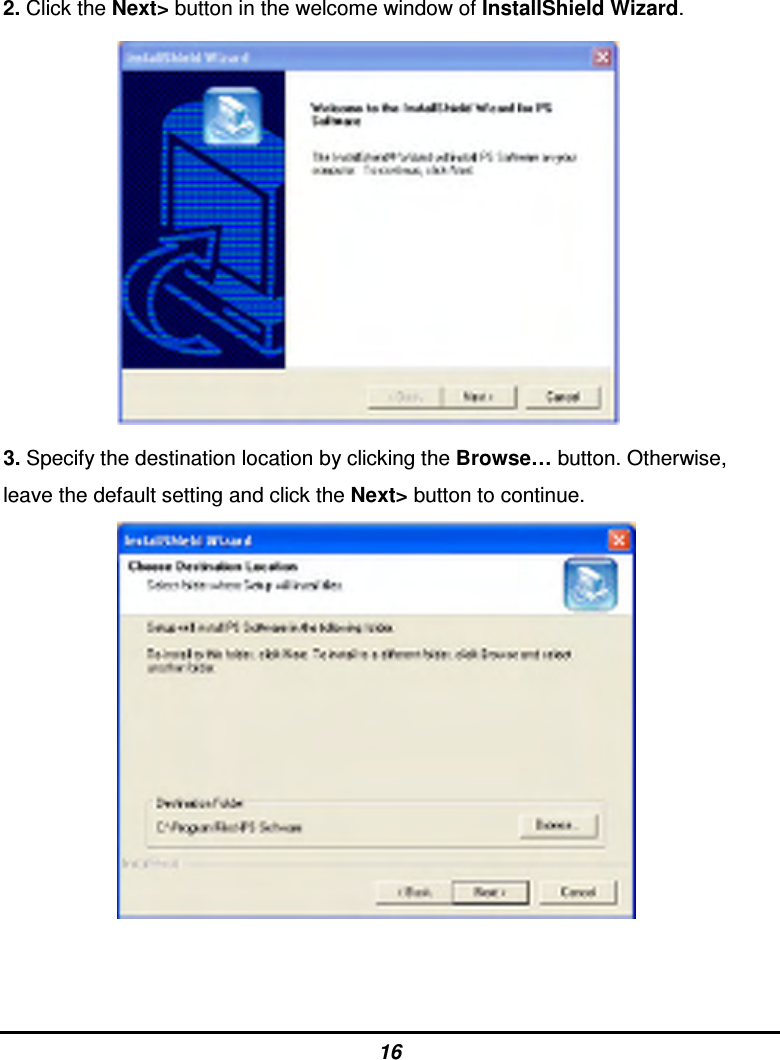
UserManual.wiki
>
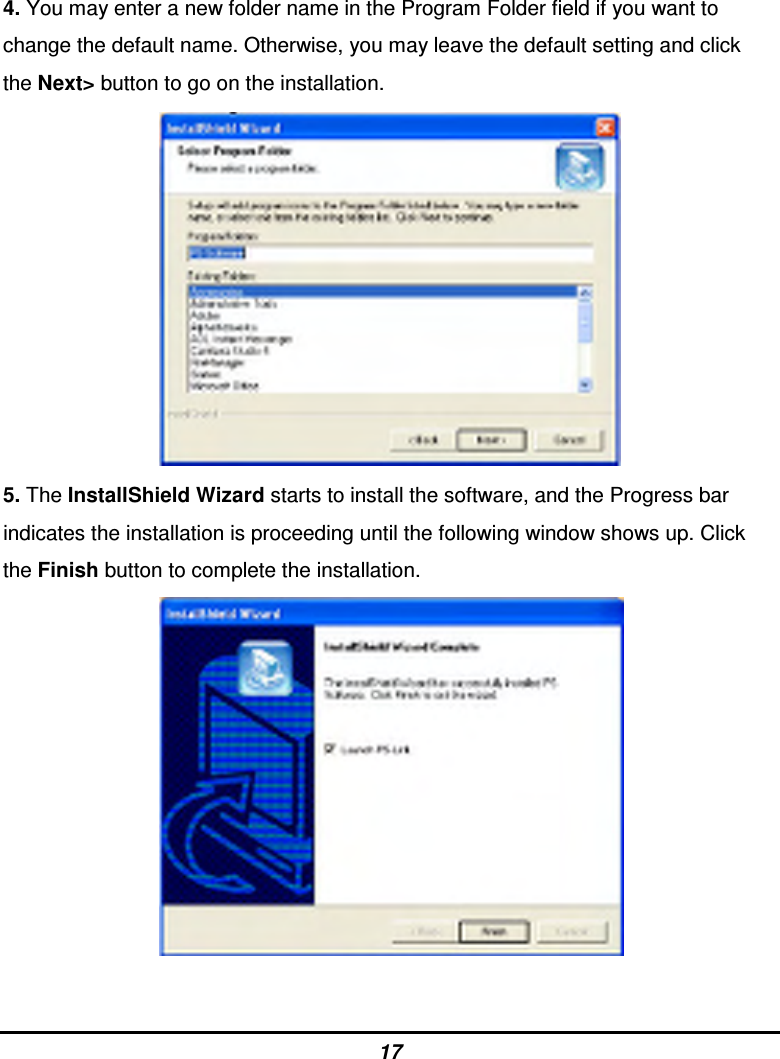
D Link
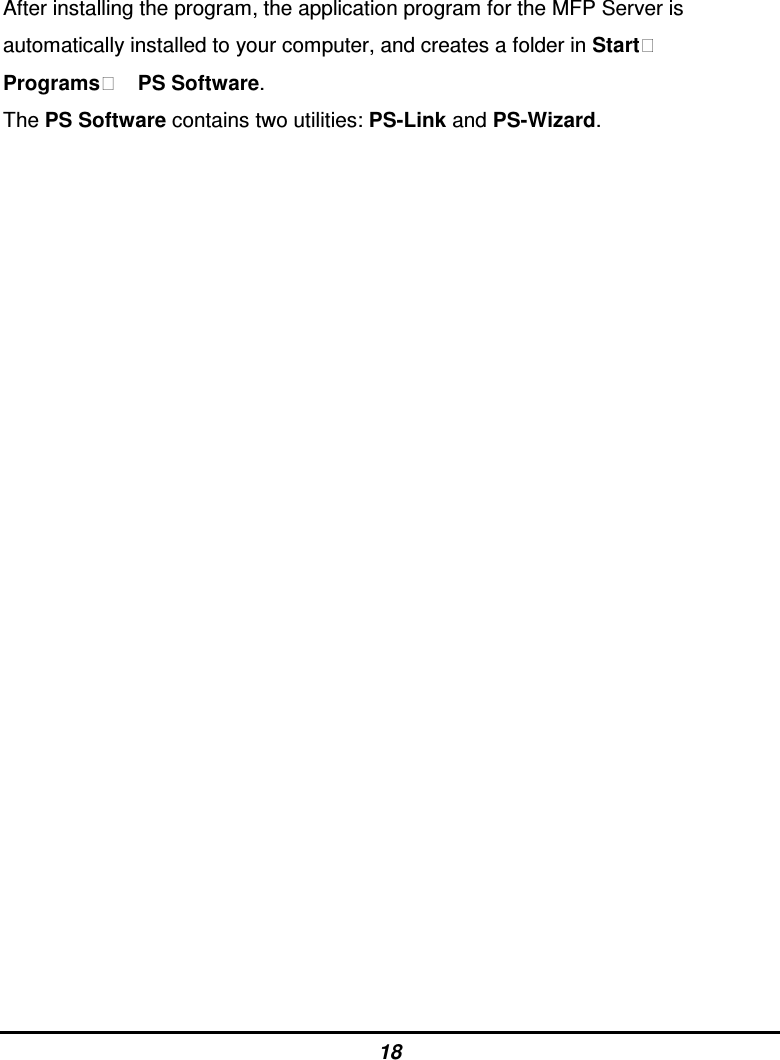
>
PR1040A1 User Manual
>
User manual 1 of 2
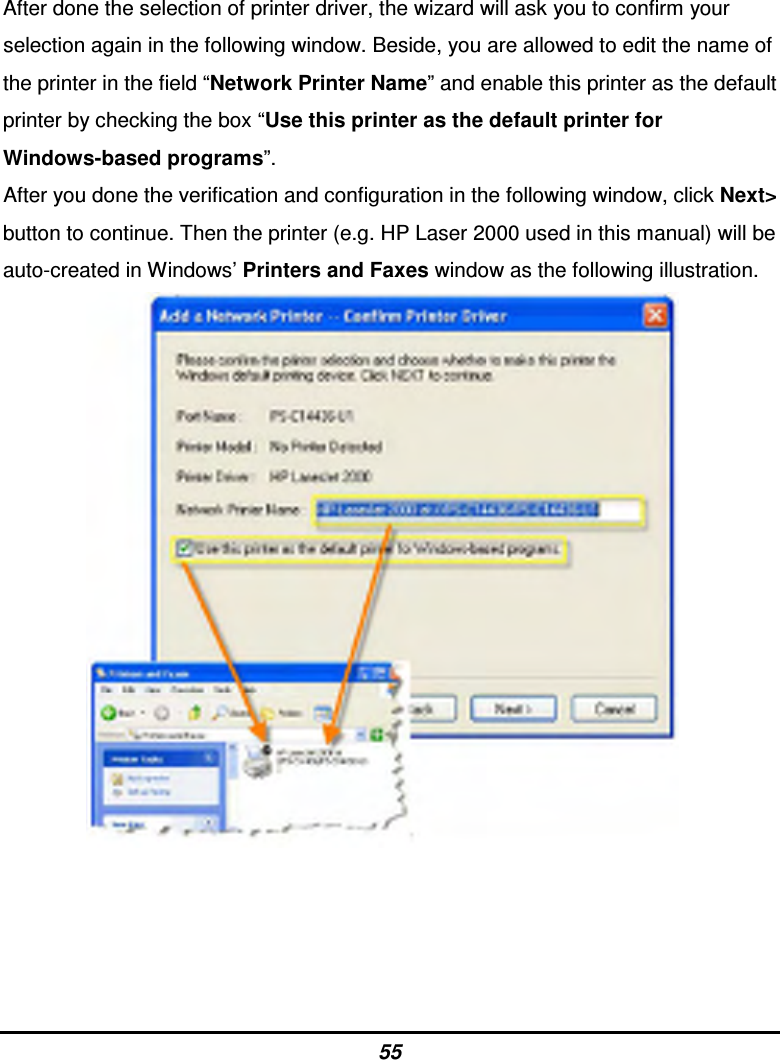
Contents
1.
User manual 1 of 2
2.
User manual 2 of 2
User manual 1 of 2
Navigation menu
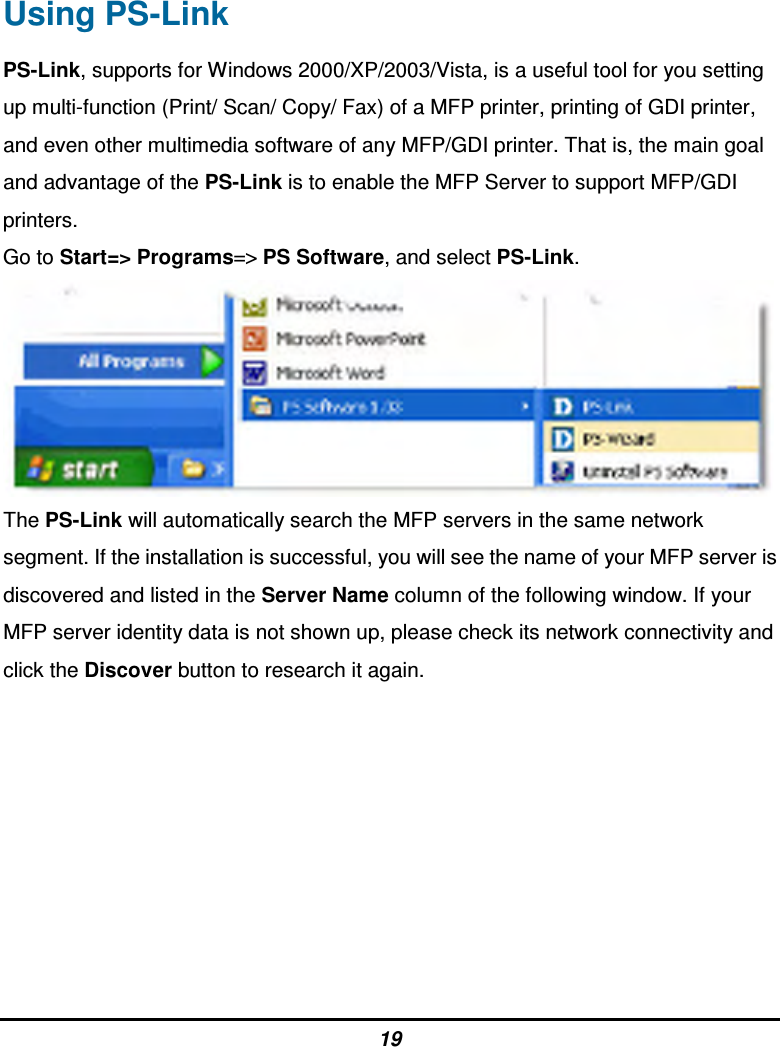
Upload a User Manual
Namespaces
Wiki Guide
HTML
PDF
Info
Views
User Manual
Discussion / Help
Navigation

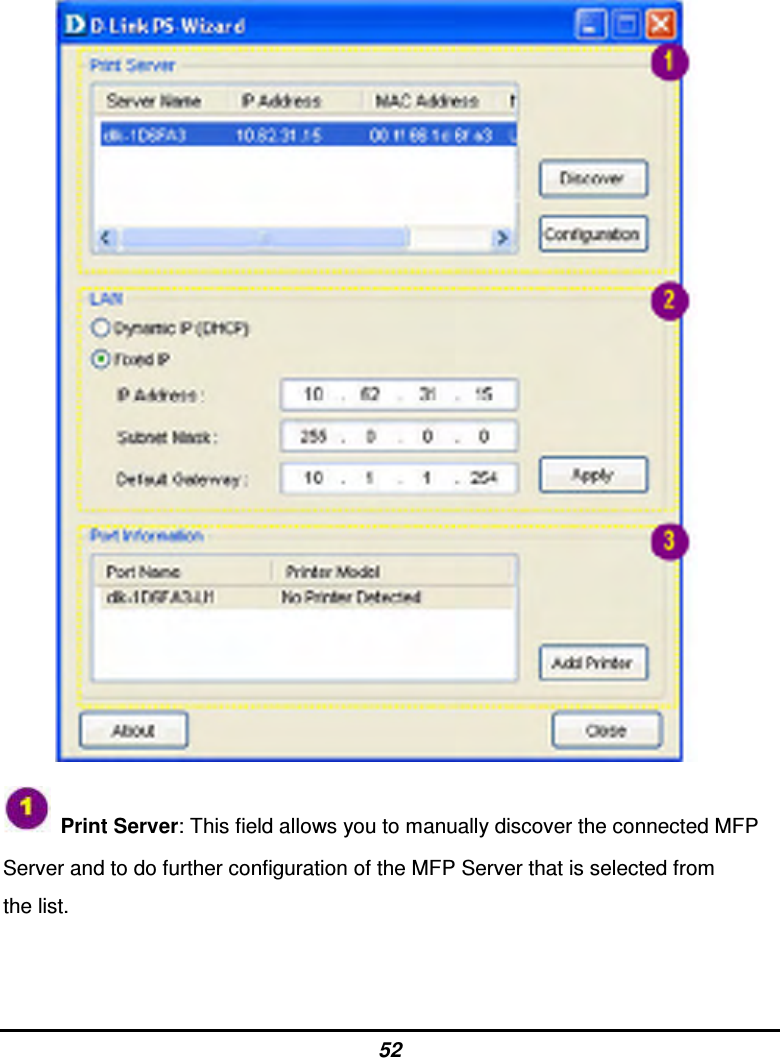
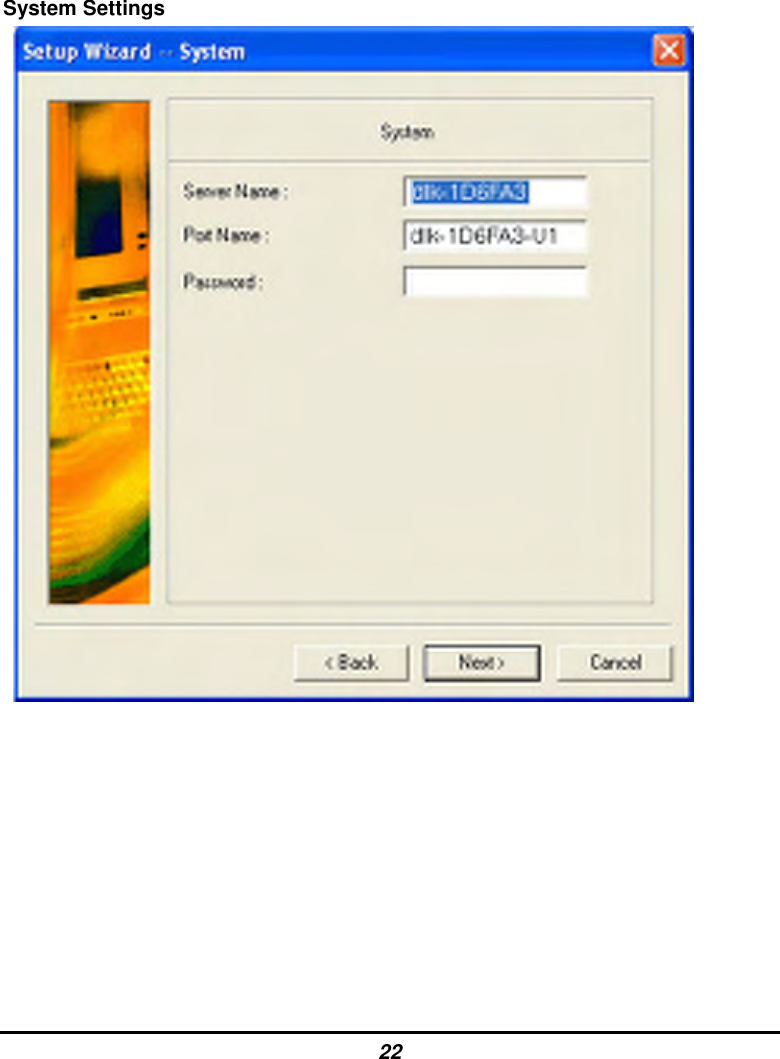
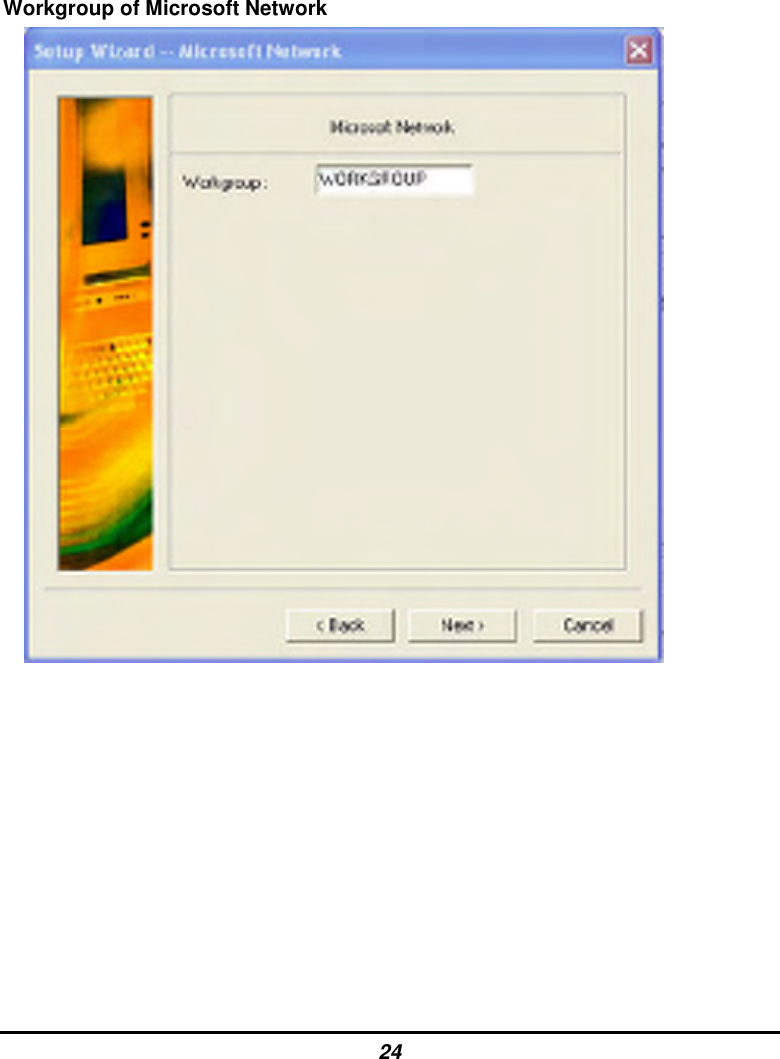
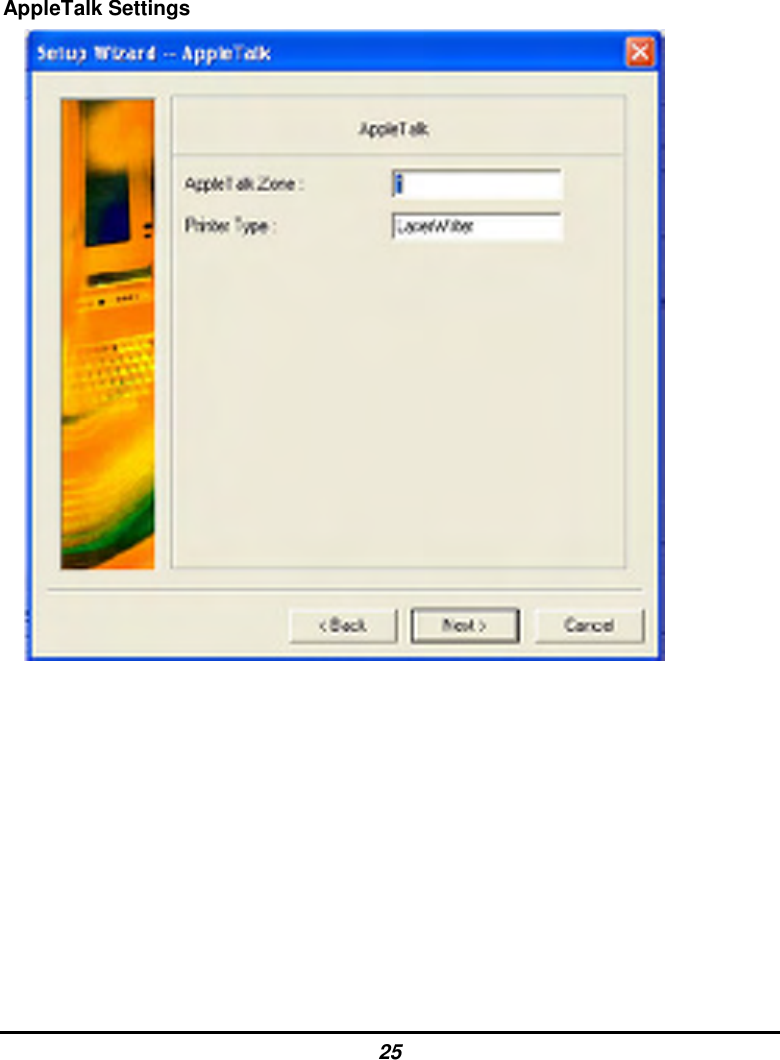
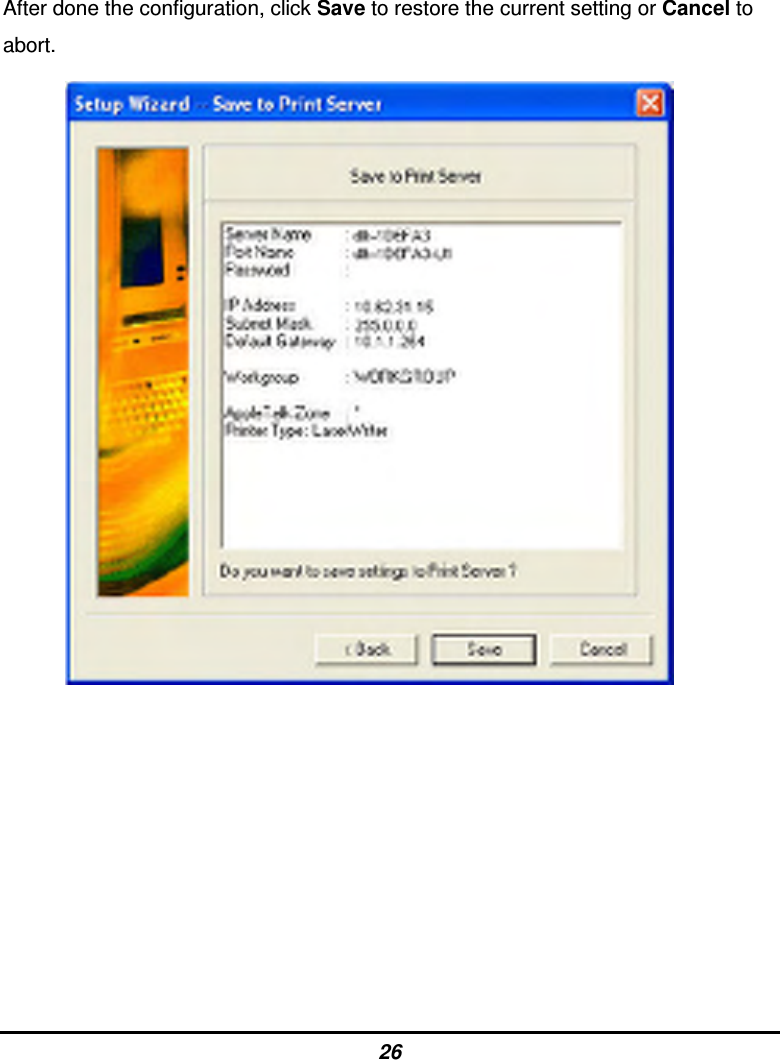
![21 [Setup Wizard] – Setup Wizard is a step-by-step setup interface, which correspond with the Configuration of the Web-based Configuration Utility, allowing user to do basic setup easily. When this button is clicked, a welcome window will show up as the following. The Setup Wizard allows you to do a series of configuration of the MFP Server, including:](https://usermanual.wiki/D-Link/PR1040A1.User-manual-1-of-2/User-Guide-1028789-Page-21.png)
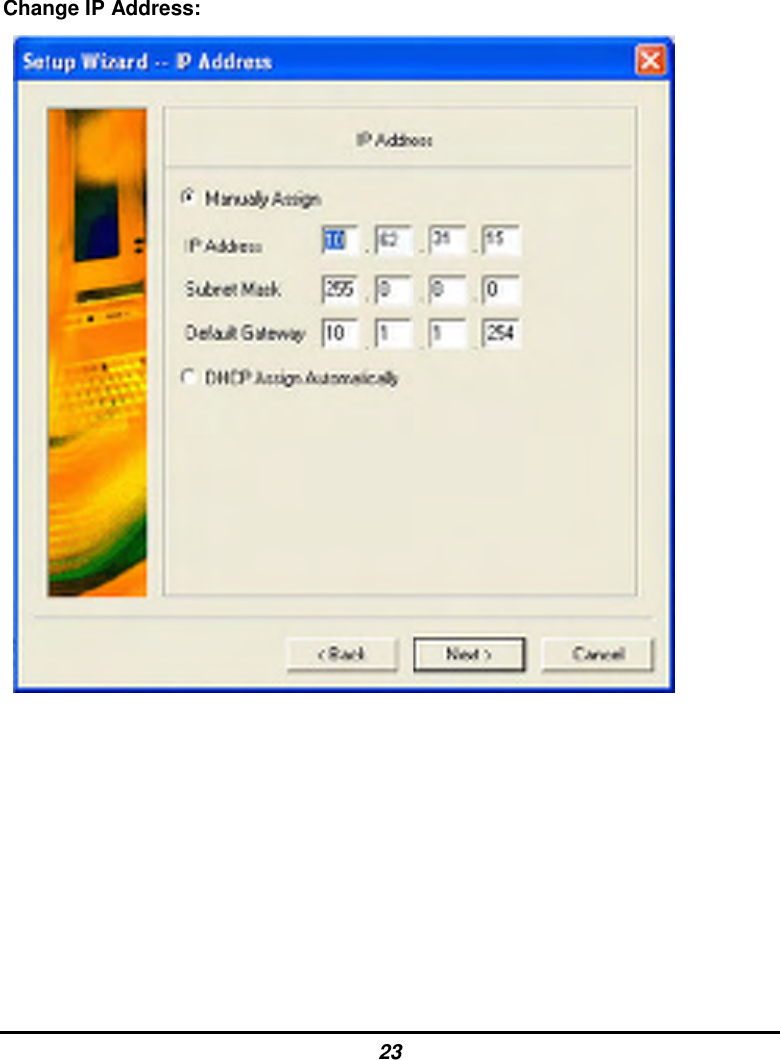
![27 [Change IP Address] - Click this button to bring up the following pop-up window, which allows you to change the IP Address of the MFP Server in two methods: Manually Assign or DHCP Assign Automatically. When done the setting, click OK button or Cancel button to abort.](https://usermanual.wiki/D-Link/PR1040A1.User-manual-1-of-2/User-Guide-1028789-Page-27.png)
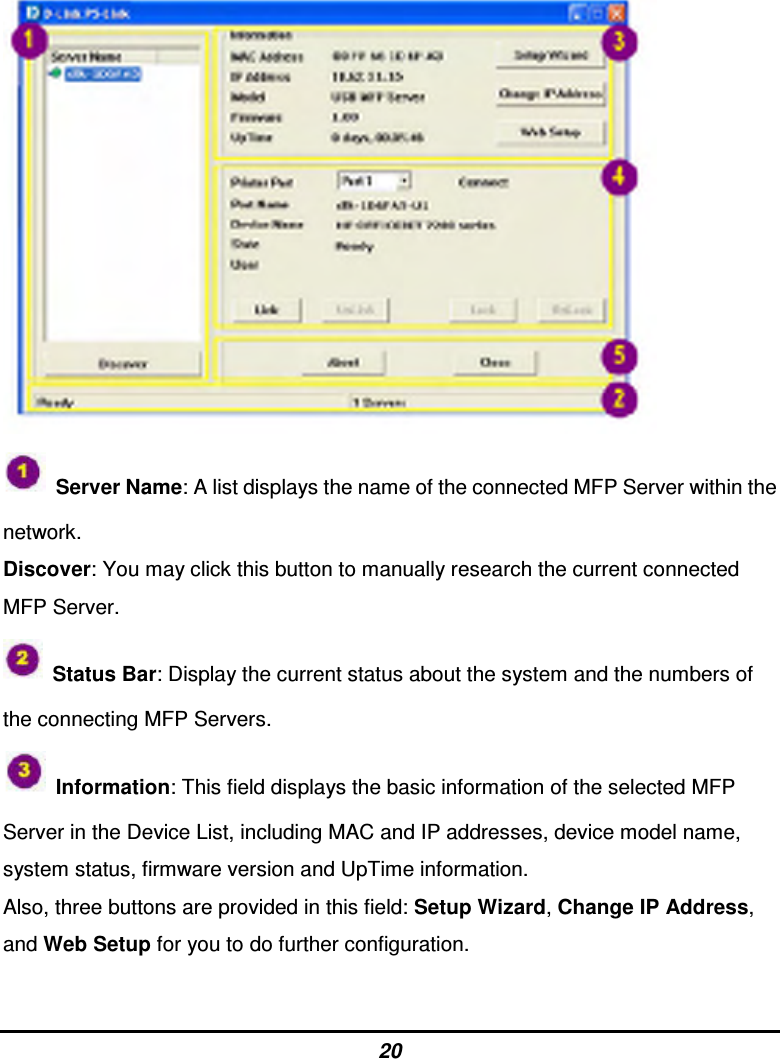
![28 [Web Setup] – When this button is clicked, your Web browser and the MFP Server’s Web Configuration Utility will be auto-launched. Alternately, you may double click the MFP Server in the Server Name to launch the Web Configuration Utility. Printer Port: This field not only displays the basic information and current status of the connected printer, but also allows you to do further configuration in the use of the four control buttons (Link, UnLink, Lock, UnLock). [Link] – The function of this button is to simulate the physical connection between a USB cable of the printer and your computer, That is, you can easily set up a link between a printer and your computer only by clicking this button without physically attaching the printer’s USB cable to your computer.](https://usermanual.wiki/D-Link/PR1040A1.User-manual-1-of-2/User-Guide-1028789-Page-28.png)
![29 [UnLink] – Contrary to the Link button, the UnLink button is used to off link between the printer and your computer without physically disconnecting the two devices. [Lock] – Since the operation mode of the MFP can be set as Single User Mode (i.e. only single specific computer can do printing) or Shared Mode (the default setting). Clicking the Lock button, you may enable the Single User Mode. [UnLock] – Clicking this button to enable the MFP as Shared Mode (i.e. End up the Single User Mode of the MFP). About: You may click this button to bring up a pop-up window as below to verify the basic information about the PS-Link. Click OK button to close this window. Close: To exit PS-Link, click this button.](https://usermanual.wiki/D-Link/PR1040A1.User-manual-1-of-2/User-Guide-1028789-Page-29.png)
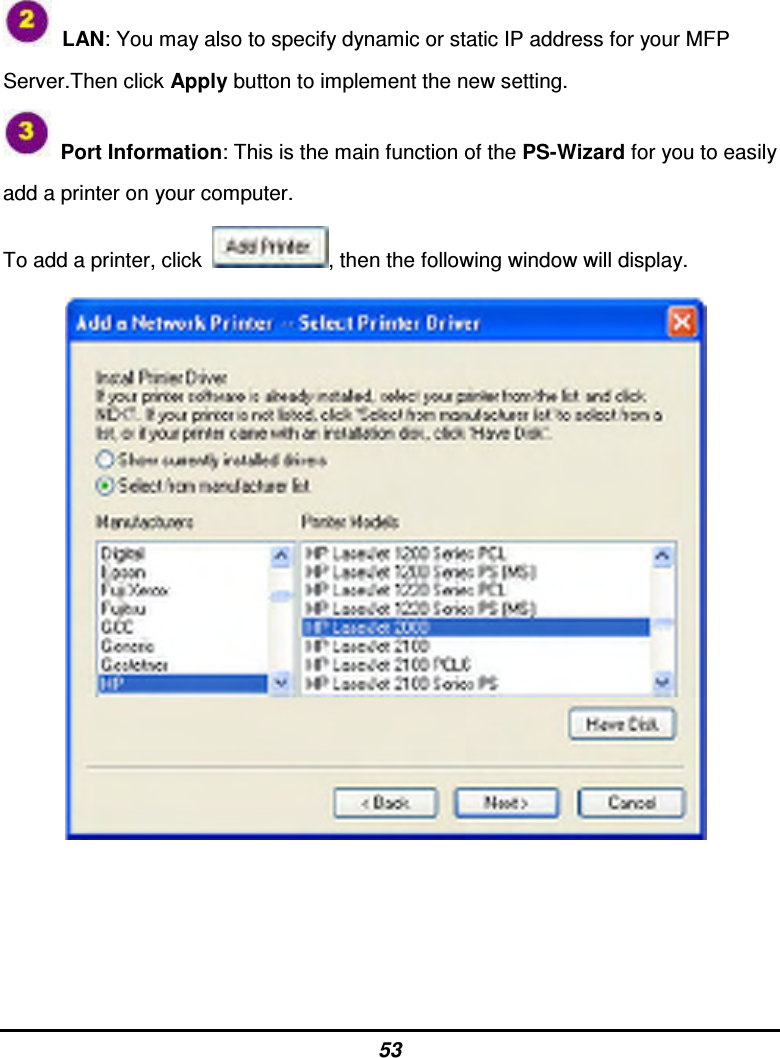
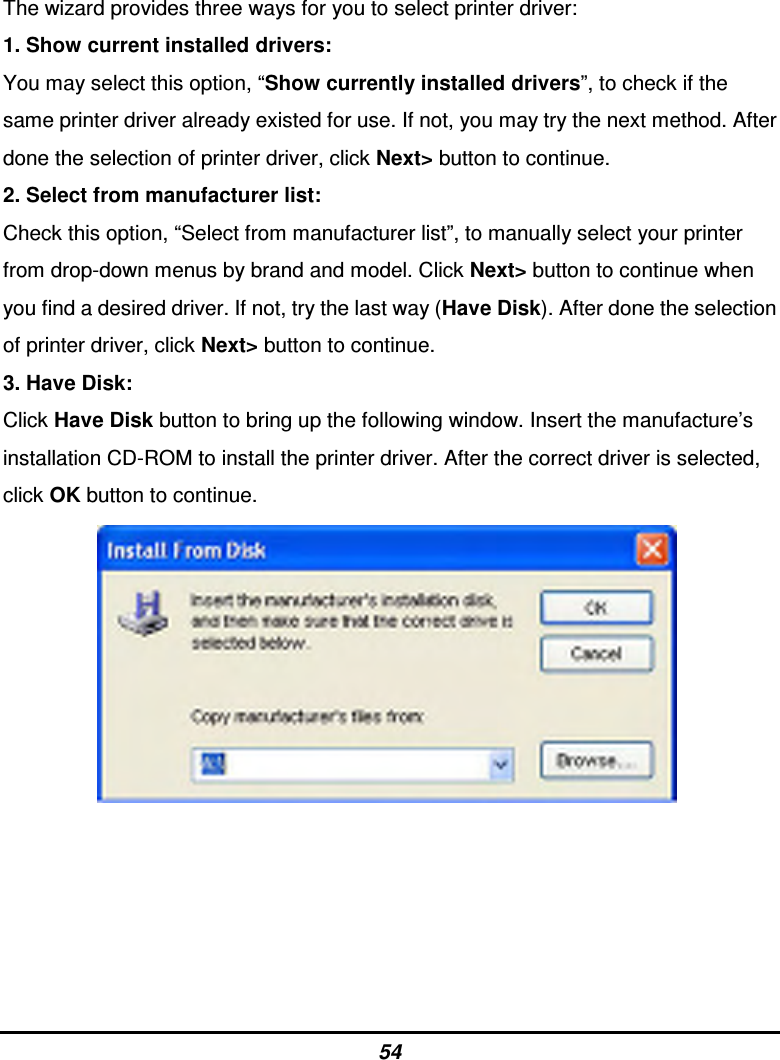
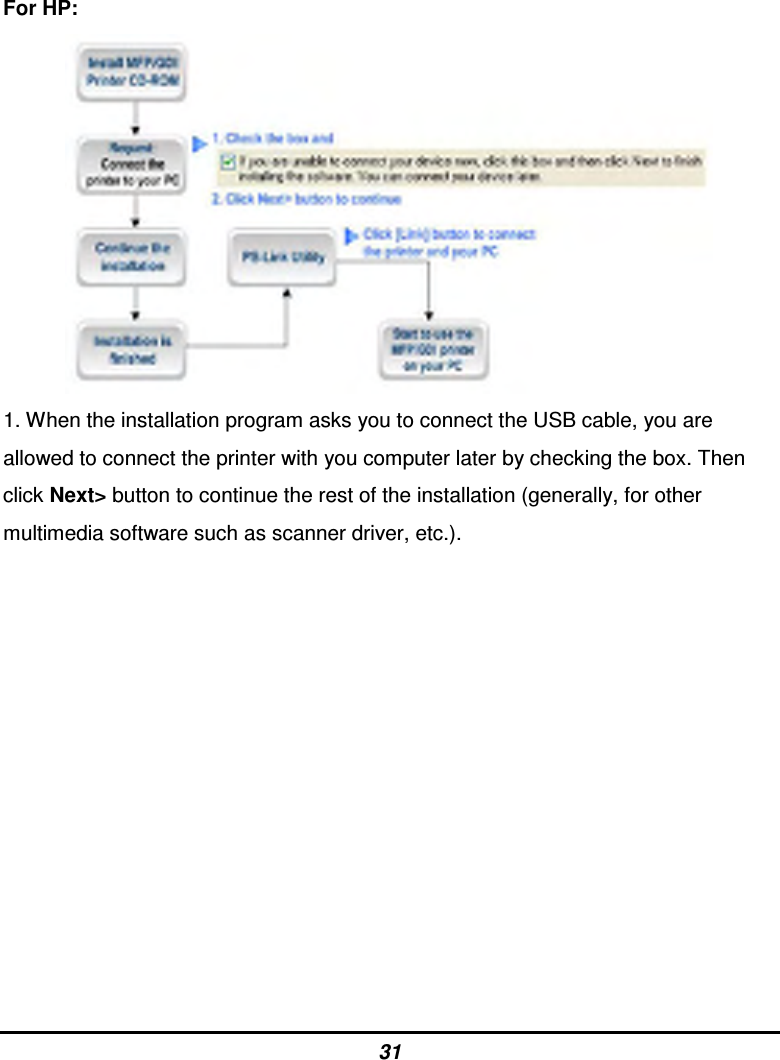
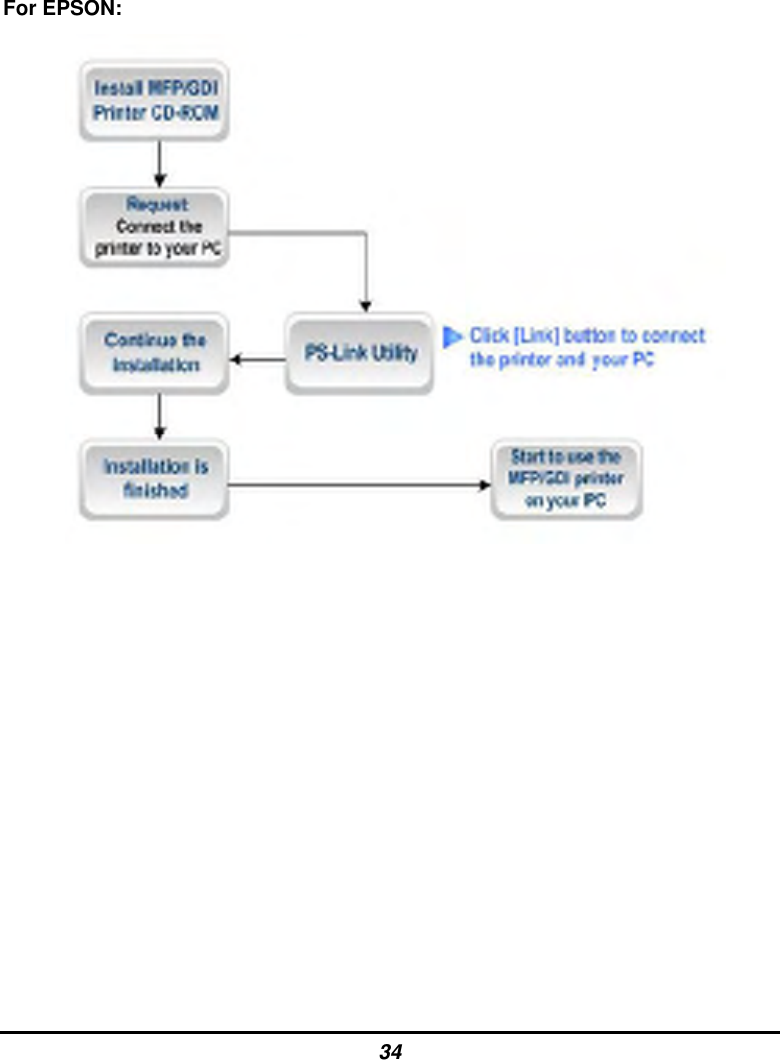
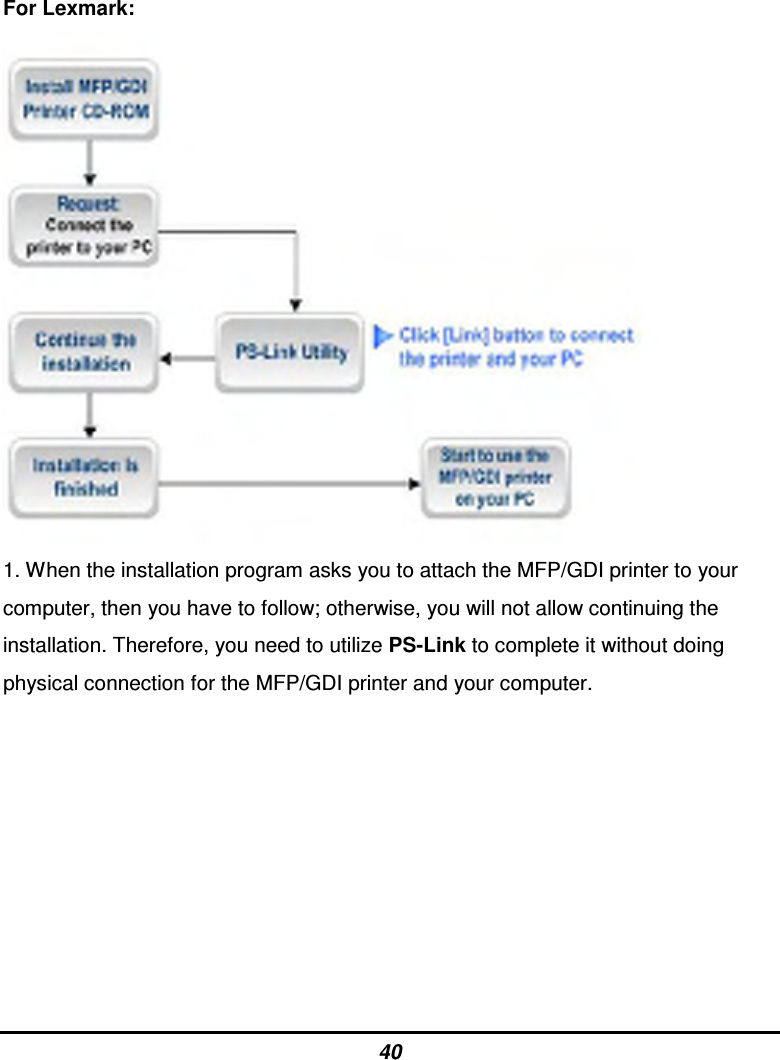
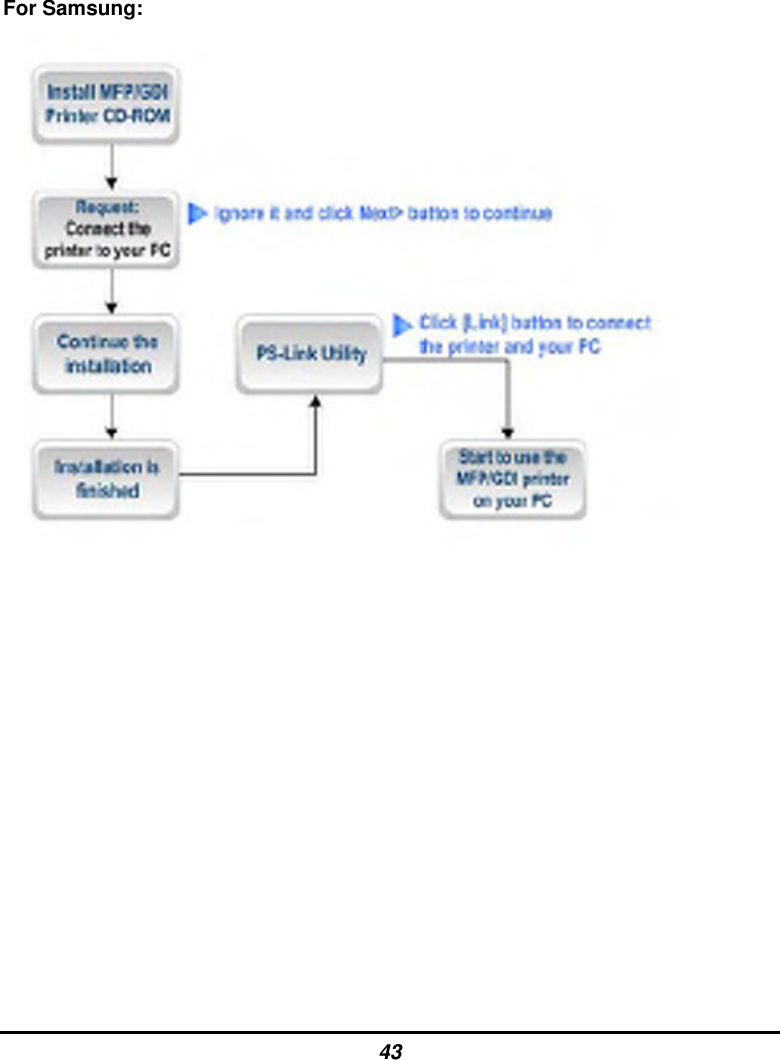
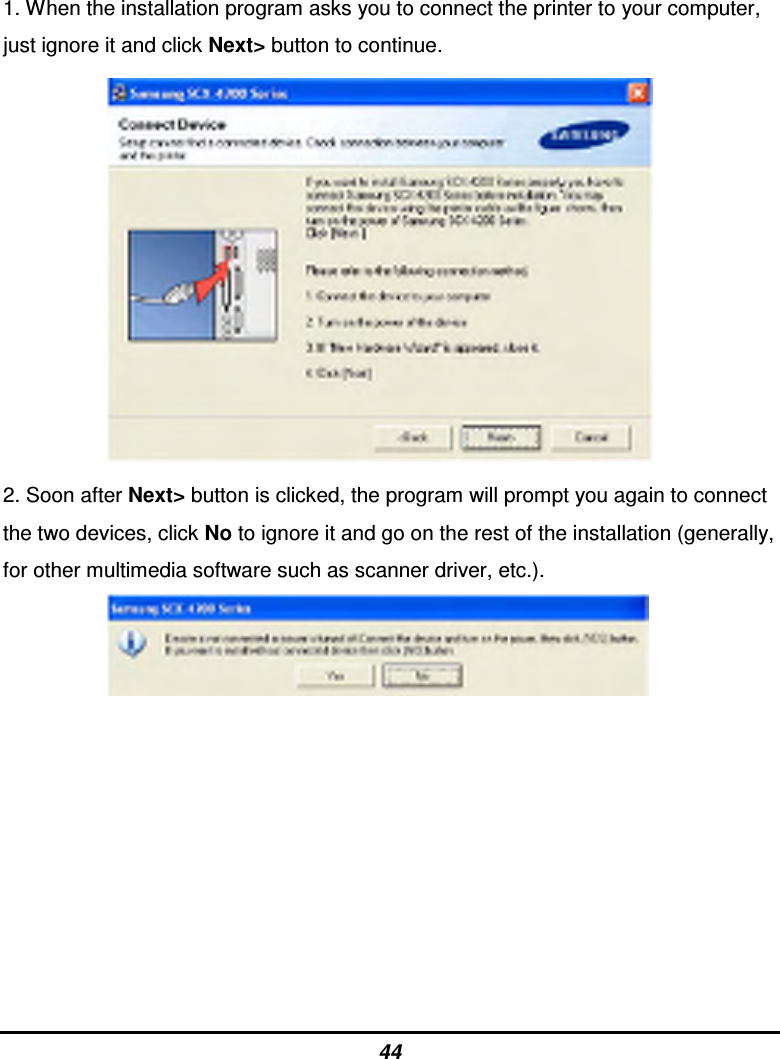
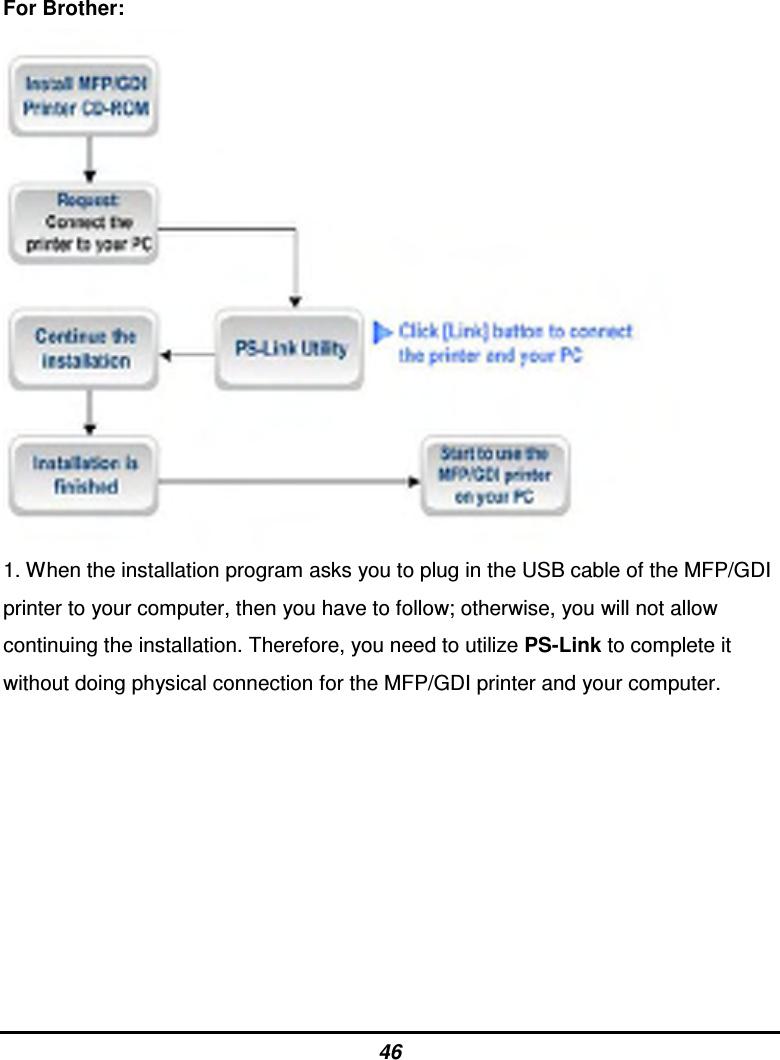
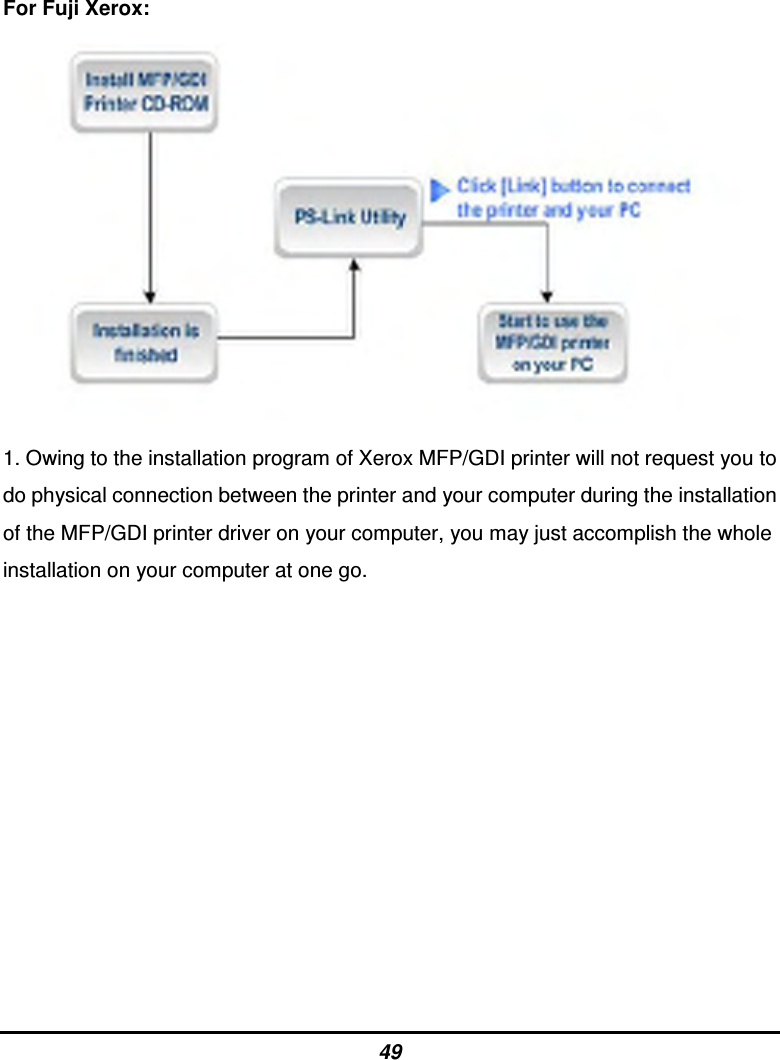
![30 Installing and Using MFP/GDI Printer This section will introduce you how to start the initial installation of various MFP/GDI printer in the use of the printer manufacturer’s CD-ROM. Likewise, how to use MFP/GDI printer through the PS-Link utility of the MFP Server after the printer manufacturer’s driver is installed on your computer. For PC with the MFP/GDI printer driver installed: If your computer was already installed with the MFP/ GDI printer driver, you can just click [Link] button of PS-Link to complete the connection between the printer and your computer. For PC without the MFP/GDI printer driver installed: If your computer never had initial installation of the MFP/GDI printer driver, you may follow the following procedure to achieve it. 1. Insert the manufacturer’s CD-ROM into your computer’s CD-ROM driver to initiate Auto-Run program. 2. Following the instructions of the manufacturer’s CD-ROM to install MFP driver and other media software until you are requested to attach the printer’s USB cable to your computer. 3. When you are requested to do physical connection between the printer and your computer, the following installation steps will be different depending on the manufacturer brand. Here lists illustrations for several printers of major manufacturers:](https://usermanual.wiki/D-Link/PR1040A1.User-manual-1-of-2/User-Guide-1028789-Page-30.png)
![32 2. When the installation of all drivers of the MFP/GDI printer CD-ROM on your computer is done, you may use PS-Link to complete the physical connection between the MFP/GDI printer and your computer by clicking [Link] button.](https://usermanual.wiki/D-Link/PR1040A1.User-manual-1-of-2/User-Guide-1028789-Page-32.png)
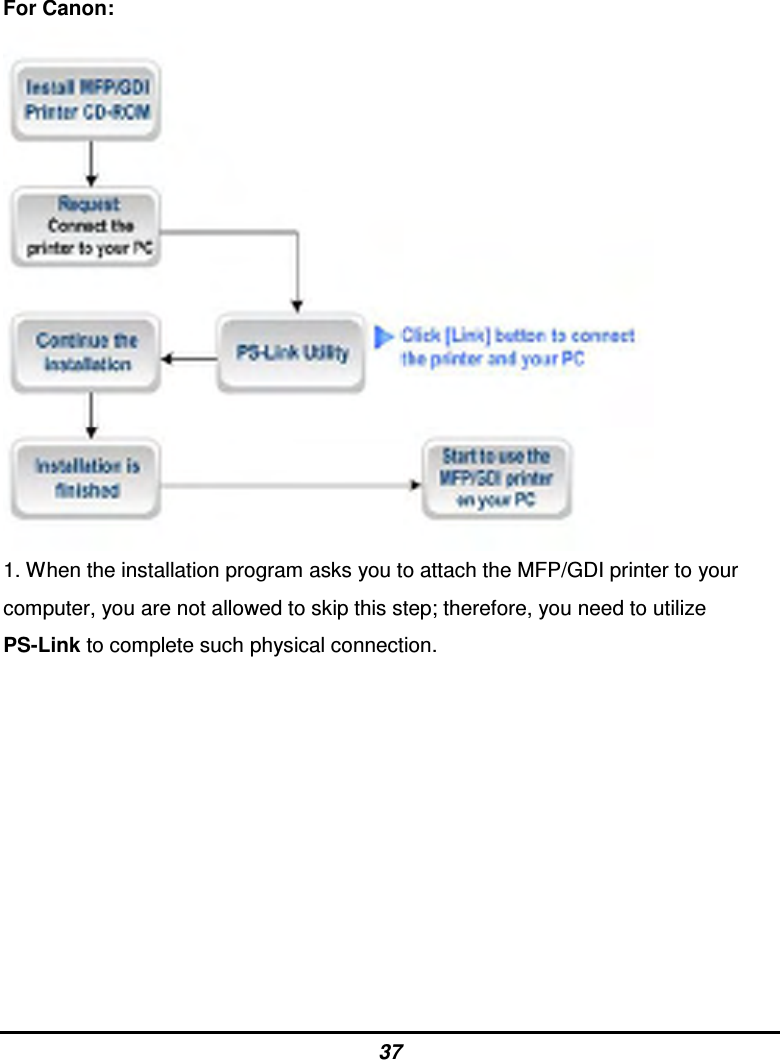
![35 1. When the installation program asks you to connect the USB cable of the MFP/GDI printer to your computer, you are not allowed to ignore it; therefore, you need to utilize PS-Link to complete it. 2. Launch the PS-Link utility and click the [Link] button.](https://usermanual.wiki/D-Link/PR1040A1.User-manual-1-of-2/User-Guide-1028789-Page-35.png)
![38 2. Launch the PS-Link utility and click the [Link] button.](https://usermanual.wiki/D-Link/PR1040A1.User-manual-1-of-2/User-Guide-1028789-Page-38.png)
![41 2. Launch the PS-Link utility and click the [Link] button.](https://usermanual.wiki/D-Link/PR1040A1.User-manual-1-of-2/User-Guide-1028789-Page-41.png)
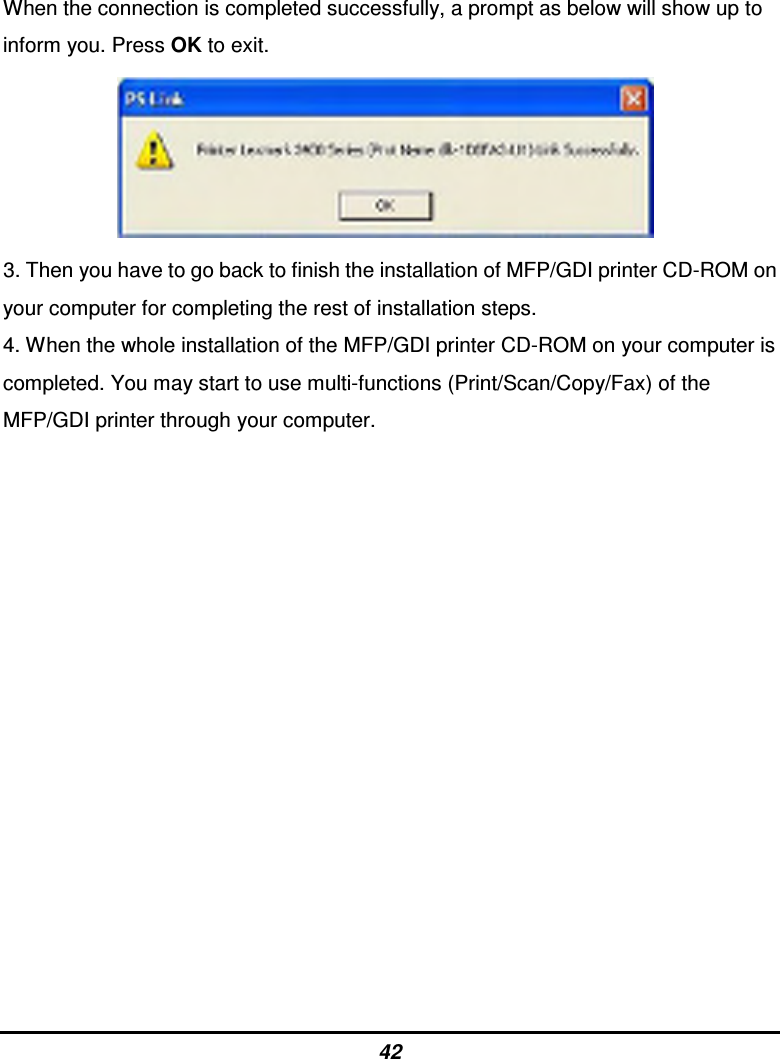
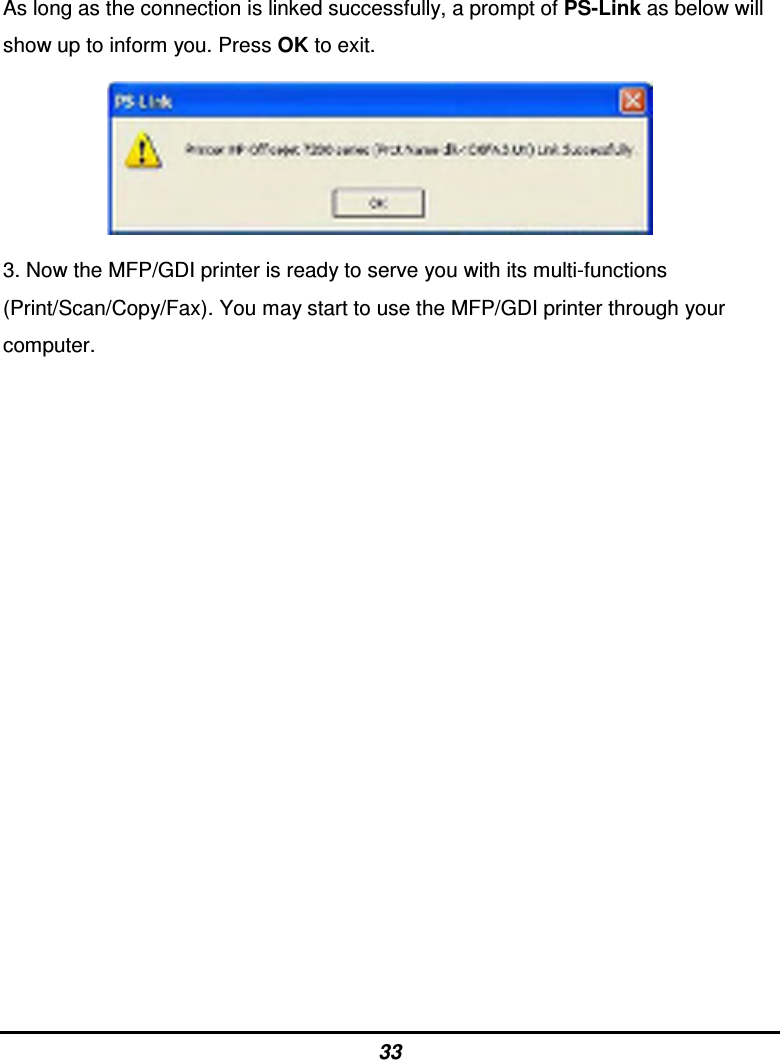
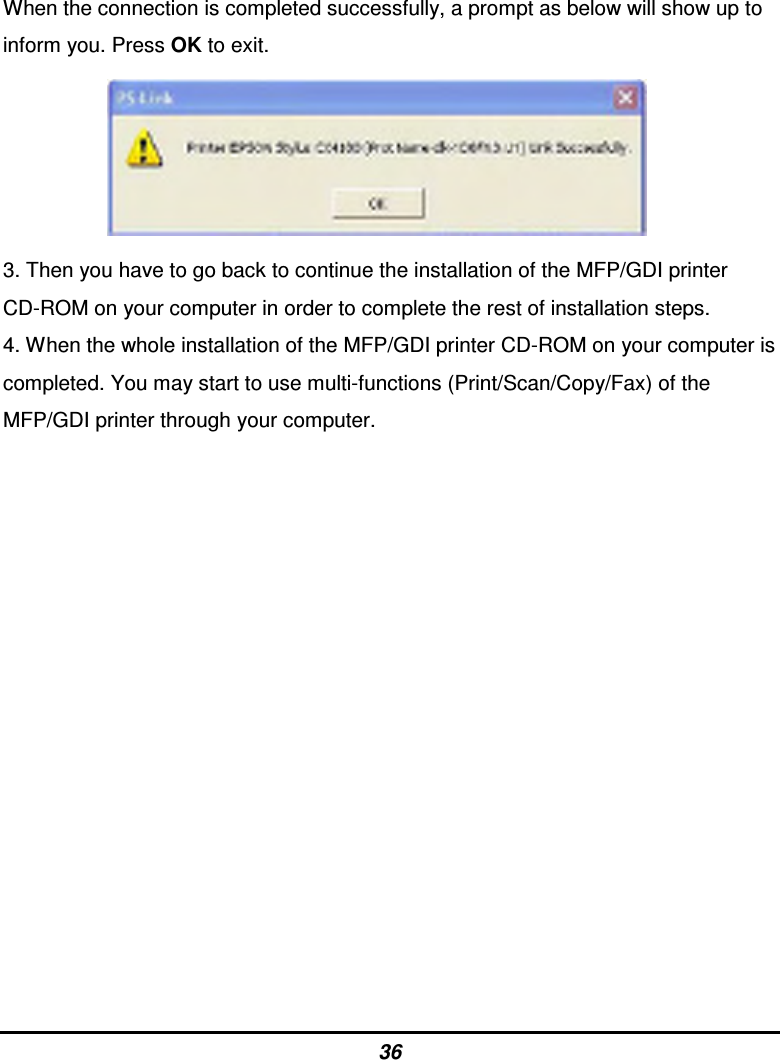
![45 3. After the installation of the MFP/GID CD-ROM is finished, you may start to utilize PS-Link to complete the physical connection between the MFP/GDI printer and your computer. Click the [Link] button of the PS-Link window as below. When the connection is done successfully, a prompt of PS-Link window as below will show up to inform you. Press OK to exit. 4. Now the MFP/GDI printer is ready to serve you with its multi-functions (Print/Scan/Copy/Fax). You may start to use the MFP/GDI printer through your compute.](https://usermanual.wiki/D-Link/PR1040A1.User-manual-1-of-2/User-Guide-1028789-Page-45.png)
![47 2. Launch the PS-Link utility and click the [Link] button.](https://usermanual.wiki/D-Link/PR1040A1.User-manual-1-of-2/User-Guide-1028789-Page-47.png)
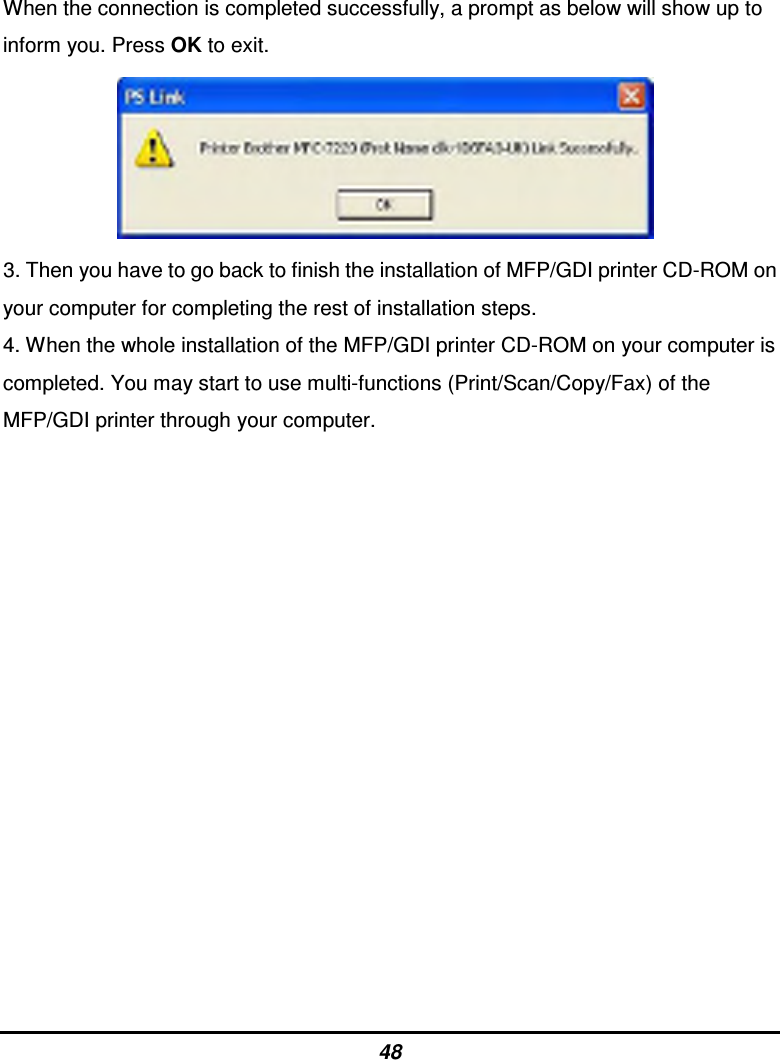
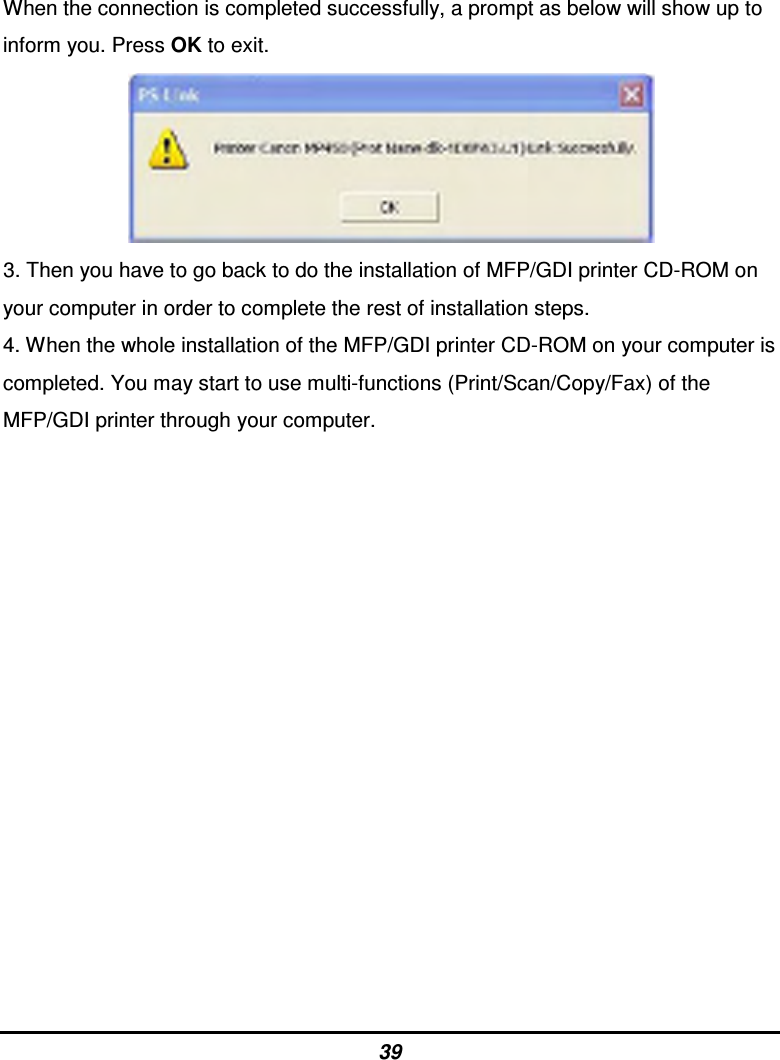
![50 2. While after the installation is finished, you have to link the connection between the MFP/GDI printer and your computer in order to use the MFP/GDI printer on your computer. Thus, you need to utilize PS-Link to link the two devices. Launch the PS-Link utility and click the [Link] button. When the connection is completed successfully, a prompt as below will show up to inform you. Press OK to exit. 3. Now the MFP/GDI printer is ready to serve you with its multi-functions (Print/Scan/Copy/Fax). You may start to use the MFP/GDI printer through your computer.](https://usermanual.wiki/D-Link/PR1040A1.User-manual-1-of-2/User-Guide-1028789-Page-50.png)