DAQRI DQR001001 AR Smart Helmet with WLAN and Bluetooth User Manual Getting Started Guide
DAQRI LLC AR Smart Helmet with WLAN and Bluetooth Getting Started Guide
UserManual.wiki
>
DAQRI
>
DQR001001 User Manual
>
Getting Started Guide
Contents
1.
User manual1
2.
User manual
3.
User manual part1
4.
User manual part2
5.
User manual part3
6.
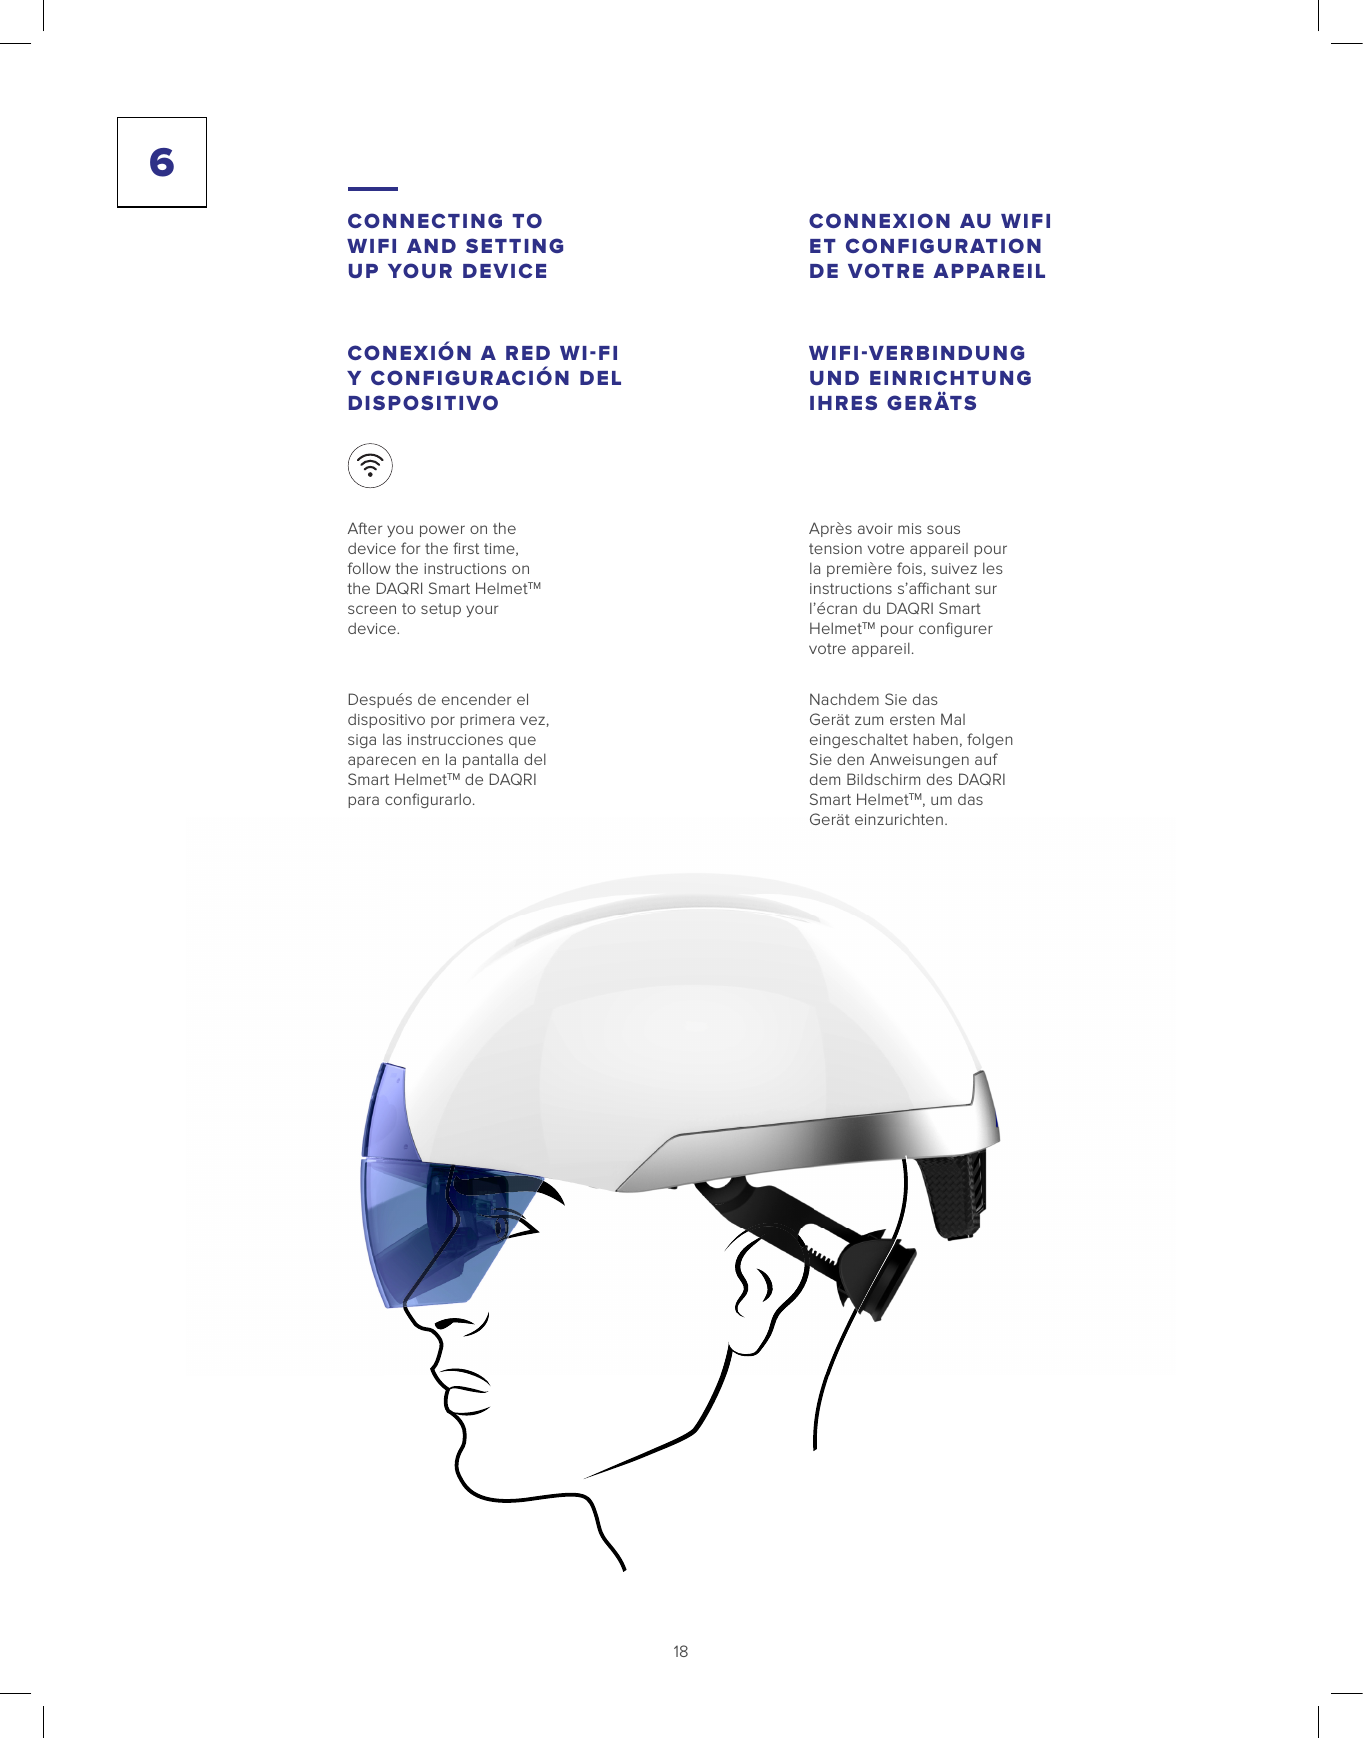
Getting Started Guide
7.
Welcome letter
8.
Getting started guide
Getting Started Guide
Navigation menu
Upload a User Manual
Namespaces
Wiki Guide
HTML
PDF
Info
Views
User Manual
Discussion / Help
Navigation