DATECS DATECSBT301 Bluetooth Module User Manual Tab 4
DATECS LTD. Bluetooth Module Tab 4
UserManual.wiki
>
DATECS
>
DATECSBT301 User Manual
>
User Manual Tab 4
Contents
1.
User Manual-Infinea TAB Mini UM
2.
User Manual-InfineaTAB4 UM
3.
User Manual - LineaPro5 UM v4
4.
User Manual Tab Mini
5.
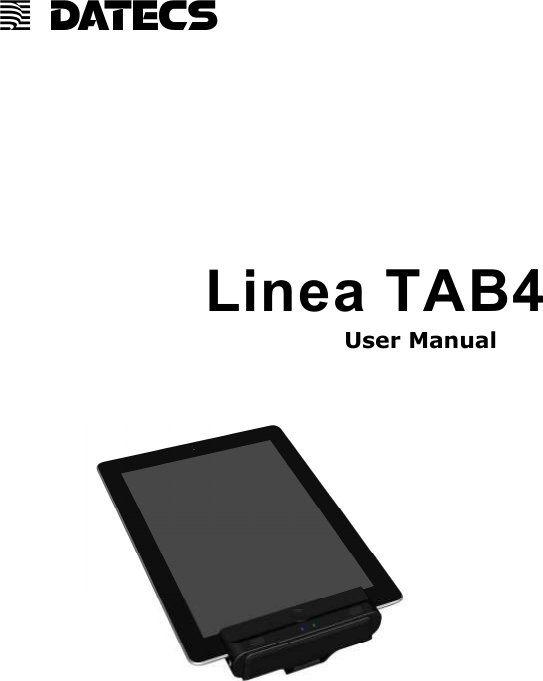
User Manual Tab 4
6.
User Manual Linear Pro5
7.
BLUEPAD-500 User Manual v4.1
8.
UM
User Manual Tab 4
Navigation menu
Upload a User Manual
Namespaces
Wiki Guide
HTML
PDF
Info
Views
User Manual
Discussion / Help
Navigation