DREAMUS H10 MULTI-CODE JUKE BOX User Manual USERS MANUAL 4
IRIVER LIMITED MULTI-CODE JUKE BOX USERS MANUAL 4
UserManual.wiki
>
DREAMUS
>
H10 User Manual
>
USERS MANUAL 4
Contents
1.
USERS MANUAL 1
2.
USERS MANUAL 2
3.
USERS MANUAL 3
4.
USERS MANUAL 4
USERS MANUAL 4
Navigation menu
Upload a User Manual
Namespaces
Wiki Guide
HTML
PDF
Info
Views
User Manual
Discussion / Help
Navigation
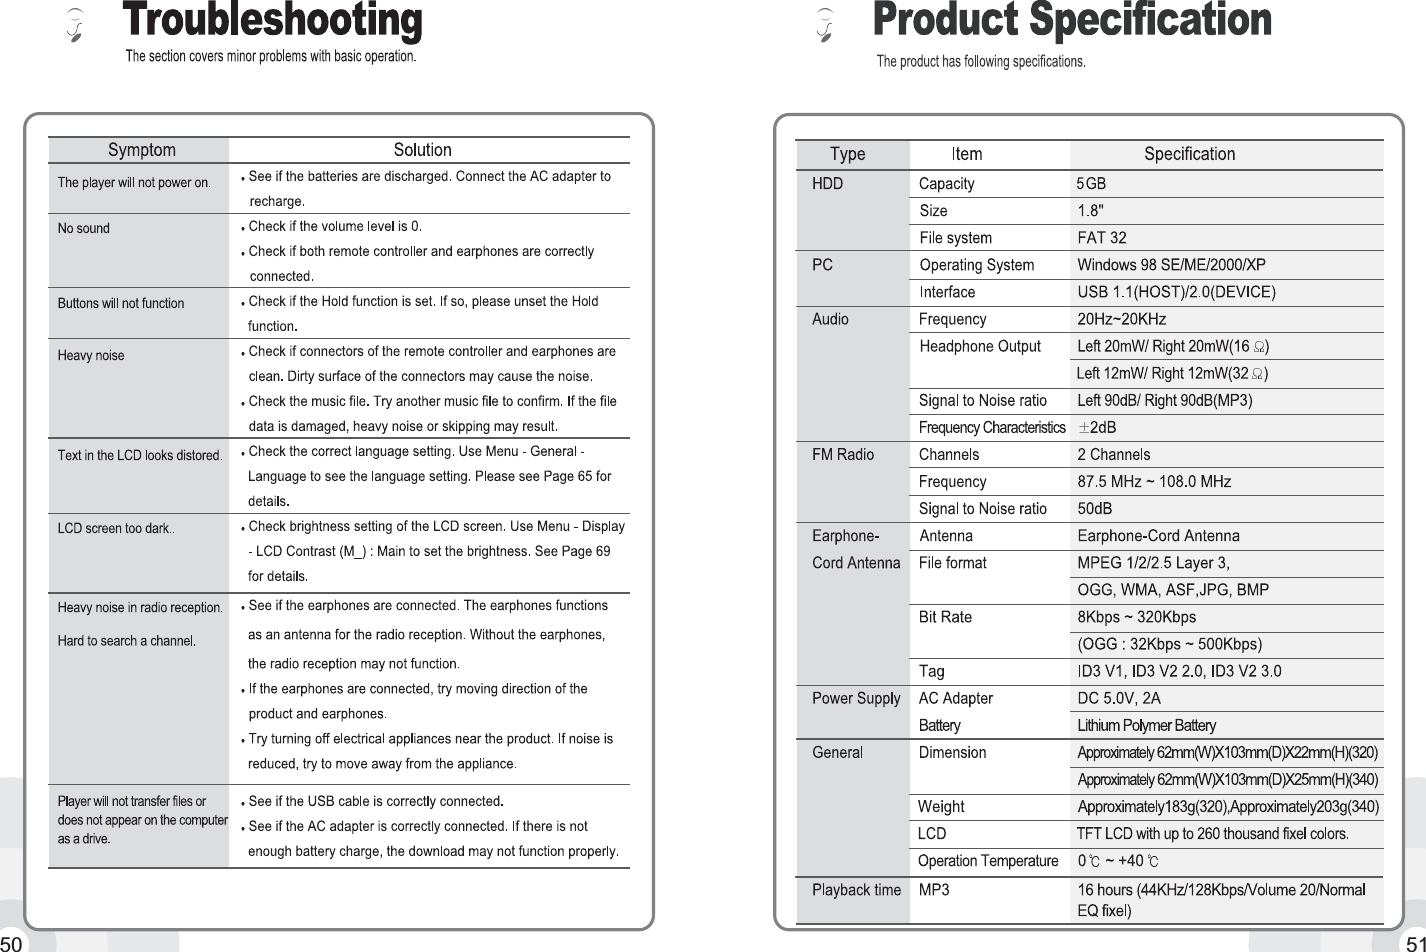
![4544Press and hold the button to openthe functions menu.RecordingRecordingUse the buttons to select the Record iconthen press the button to open the recordstandby screen.Press the button in the record standby screen to open the Record Settingscreen.Press and hold the buttons in the RecordSetting screen to select the Source item. Settingthe Source option will change Bit rate, InputVolume, and Output Volume accordingly.The option (Bitrate/Input Volume/Output Volume) value for each source for therecording is saved. It is also possible to change the preset options for each Source option for recording.Source TypesLINE IN: Analog signal from an external deviceINT. MIC: Voice using the internal microphoneEXT. MIC: Voice using an external microphoneTUNER: Record FM radioBitrateQuality of the recording. (40~320Kbps, ).Input Volume(0~20)Volume of the recording. High Input Volume increases the volume of the recording file. But can also cause distortion in the recording.Output Volume(0~40)The product supports monitoring of the recording sound. This option changes the monitoring volume and does not affect the recording file.[Note]Use the buttons to select an option and use the buttons tochange the Bit rate, Input Volume, or Output Volume. Press the buttonto return to the Recording Standby display from the Record Setting display.Volume control is not available while recordingFor best results, experiment with various volume settings and microphone distances in each setting you record in.[Note]Press the button to start the MP3 recording.20](https://usermanual.wiki/DREAMUS/H10.USERS-MANUAL-4/User-Guide-489221-Page-1.png)
![46 47Press the button in recording standbymode to play the recorded filePlaying the recorded fileThe recorded file is saved in the following location, depending on the Source.LINE IN : RECORD\AUDIO\AUDIOXXX.MP3TUNER: RECORD\AUDIO\TUNERXXX.MP3INT/EXT MIC : RECORD\VOICE\VOICEXXX.MP3Press the button to pause the playback. To resume playback, press thebutton again.[Note]Press the button to finish the recording. The recording standby screen isdisplayed.Press the button again in standby mode to record into a new file.Press the button while recording to pause the recording. Resuming therecording will not create a new file.The recording will automatically stop in the following conditions:- Not enough space is available for the recording.- Recorded MP3 file is over 200MB in size.- Over 5 hours have been recorded - Insufficient battery[Note]Connect the product to a PC using the USB cable. An icon is displayed inthe PC tray if connection is successful. Please see Page 24 for details.Click Start -> Programs -> Accessories -> Windows Explorer.Use Windows Explorer to create a folder named TEXT in the H300drive.Store .txt files to the TEXT folder.Store txt files to the TEXT folderAny text can be entered into a text file, including useful features such as booksections or addresses and phone numbers.Using the text function](https://usermanual.wiki/DREAMUS/H10.USERS-MANUAL-4/User-Guide-489221-Page-2.png)
![4948Only Wan-Sung type Korean text files are supported. To use a Jo-Hap type Korean text file, please convert it to a Wan-Sung type before using it.[Note]Press the button to exit the text function.The maximum number of characters that can be displayed in the screen is:English: 26 characters per line, 10 lines.Text is not displayed in the LCD remote controller (sold separately).The text reading feature is supported while playing an MP3 file.Press the REC button while reading text to switch to the music mode (Hot key.)[Note]Press and hold the button in playbackstandby mode or in the radio screen to openthe function menu.Viewing textUse the buttons to select the Text iconthen press the button to open the Textscreen. Check the tree structured file listing.Use the buttons to select the desiredfolder or file and press the button to select.See the text file displayed in the LCD.Normal BrowsingText BrowsingPress the buttons to browse to the Previous/Next line whilereading a text file.Press the buttons to browse to the Previous/Next page whilereading a text file.Press the button to go to a desired location while reading a text fileUse the buttons to select adesired location.Press the buttons to select a desired numberPress the button to go to the new location.GO TO BrowsingThe numbers are in Kbyte unit.[Note]](https://usermanual.wiki/DREAMUS/H10.USERS-MANUAL-4/User-Guide-489221-Page-3.png)