DREAMUS PPS11 SR15 User Manual Part I
IRIVER LIMITED SR15 Part I
UserManual.wiki
>
DREAMUS
>
PPS11 User Manual
>
User Manual Part I
Contents
1.
User Manual Part I
2.
User Manual Part II
3.
User Manual Part III
User Manual Part I
Navigation menu
Upload a User Manual
Namespaces
Wiki Guide
HTML
PDF
Info
Views
User Manual
Discussion / Help
Navigation
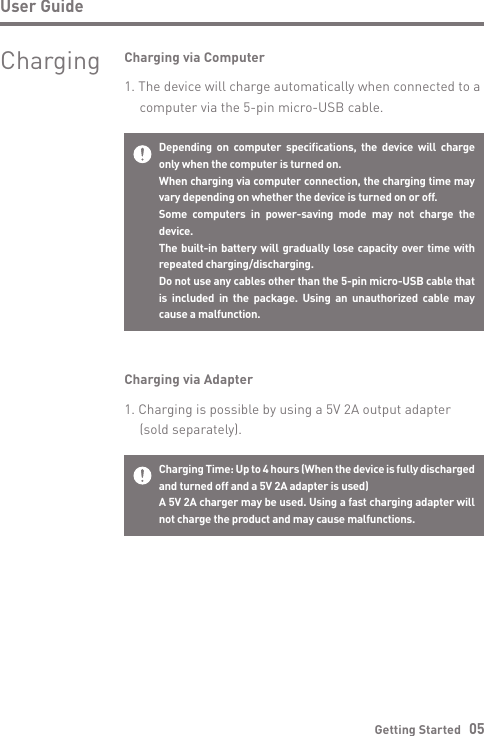
![User GuideContents may be changed without prior notice to improve the performance or quality of the product.Package ContentsGetting Started 025-Pin Micro-USB Cable: Connects the product to a computer or utilize to charge the product.Quick Start Guide: Basic overview of using the product.Warranty Card: This card is required for customer service and technical support. Please keep this card.User Guide: The User Guide can be downloaded from the Activo website: [http://www.activostyle.com].Quick Start Guide & Warranty Card5-Pin Micro-USB CablePPS11](https://usermanual.wiki/DREAMUS/PPS11.User-Manual-Part-I/User-Guide-3869467-Page-3.png)
![User GuideGetting Started 04Resetting the device will not affect the stored data or time setting.Do not use the reset function while the product is in use. Doing so may corrupt the data on the device.Reset Function1. In cases of unexpected device failure or if the device becomes unresponsive, press [Power] for 7 seconds to force a shutdown. The device can be restarted after the shutdown is complete.This device has an automatic screen timeout feature to reduce battery consumption. The screen will turn off when there is no user input during the period defined in [Menu - Settings - Power - Screen Off]. (See Page 34.)Turning on/off the Screen1. While the screen is on, short-press the [Power] button to turn off the screen.2. Short-press [Power] button again to turn it on.This device has an automatic power saving function to conserve battery power. The device will turn off if there is no user input during the period defined in [Menu - Settings - Power - Automatic Shutdown]. (See Page 34.)Turning on/off Power1. Long-press the [Power] button of the device to turn it ON.2. While the device is on, long-press the [Power] button to shut down the device. A confirmation message will appear.3. Press [OK] to turn off the device.Power Manage-ment](https://usermanual.wiki/DREAMUS/PPS11.User-Manual-Part-I/User-Guide-3869467-Page-5.png)
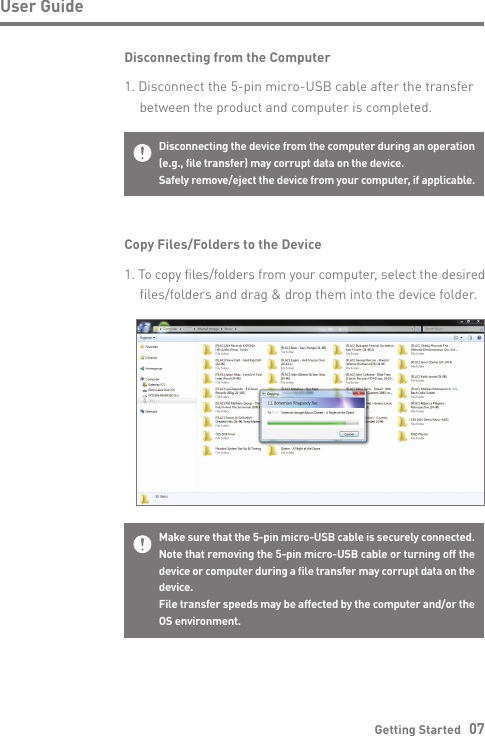
![User GuideGetting Started 06Connec-tionsConnecting to a 3.5mm Unbalance Port1. Connect earphones or headphones to the 3.5mm unbalanced port.ORConnecting to a Computer1. Turn on the device and your computer.2. Connect the product to the computer with the 5-pin micro -USB cable to transfer media files.For an optimal connection, quit any unnecessary programs before connecting the device to the computer.Do not use any 5-pin micro-USB cable other than the one supplied with the device. Using an unauthorized cable may cause a malfunction.Mac users need to download and install the MTP program from the Activo website in order for the device to pair with a Mac OS. [http://www.activostyle.com]Both Windows and Mac, the device is only compatible with USB 2.0.](https://usermanual.wiki/DREAMUS/PPS11.User-Manual-Part-I/User-Guide-3869467-Page-7.png)
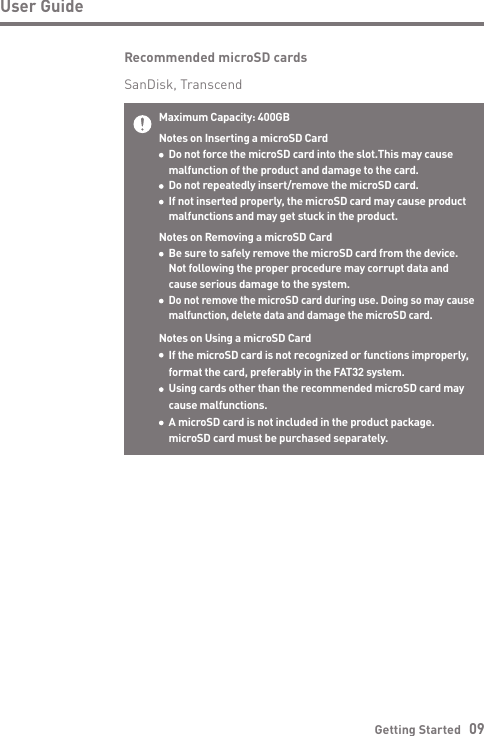
![Getting Started 08User GuideDelete Files (or Folders) from the Device via Computer1. Right-click the desired file/folder and then select [Delete].2. Select [Yes] in the [Confirm File/Folder Deletion] window to delete the selected files/folders.Insert/Remove a microSD Card1. Refer to the diagram and gently insert a microSD card into the microSD card slot.2. To safely remove a microSD card, on the Home Screen, select [Safely remove SD card] from the Notification Panel or select [Unmount SD card] from [Menu - Settings - System Information].3. Gently press in the microSD card to release it from the slot.](https://usermanual.wiki/DREAMUS/PPS11.User-Manual-Part-I/User-Guide-3869467-Page-9.png)
![Getting Started 10User GuideFor Wi-Fi connections, see Page 36.The firmware update may not be successful if the battery level is too low. (A minimum battery level of 20% is required.)Do not disconnect from the wireless network while downloading the firmware update. Doing so may cause data corruption and/or damage to the system.If an error occurs or the notice in the Notification Panel disappears during an update, download the Firmware update can be initiated again through [Menu - Settings - Update - System].Wi-Fi Update / OTA (Over-the-Air)1. Connect to a wireless network.2. When a new firmware version is available, the screen will display a Firmware Update Guide window.3. Select [Update] and choose the items for update.4. Follow the on-screen directions to update the firmware.Updating Firmware](https://usermanual.wiki/DREAMUS/PPS11.User-Manual-Part-I/User-Guide-3869467-Page-11.png)
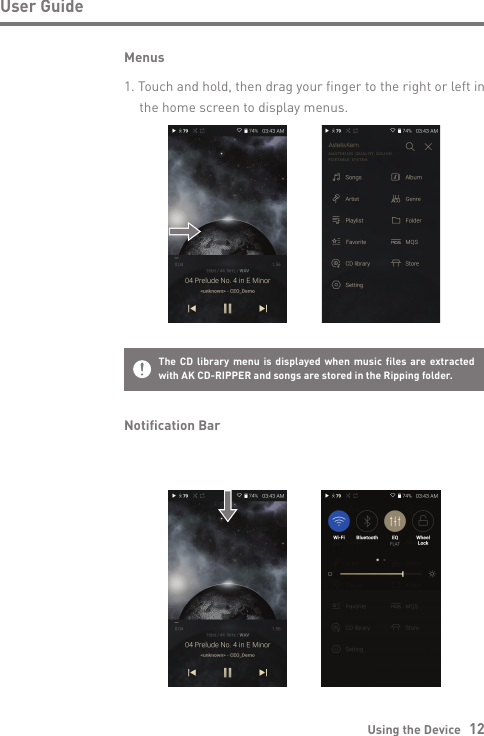
![Using the Device 11User GuideBasic Opera-tionsLCD Touchscreen1. This device features a LCD touchscreen that allows you to perform operations by touch. Interact with the device by touching the screen to access various features.To prevent damage to the screen, do not use a sharp object or excessive force.Return to the Home ScreenHome Screen1. Press [ ] to go to the Home Screen.](https://usermanual.wiki/DREAMUS/PPS11.User-Manual-Part-I/User-Guide-3869467-Page-12.png)