Delta Electronics orporated 017CF2 NovoConnect Wireless collaboration System User Manual ViviServer Project
Delta Electronics Incorporated NovoConnect Wireless collaboration System ViviServer Project
Contents
- 1. User manual part 1
- 2. User manual part 2
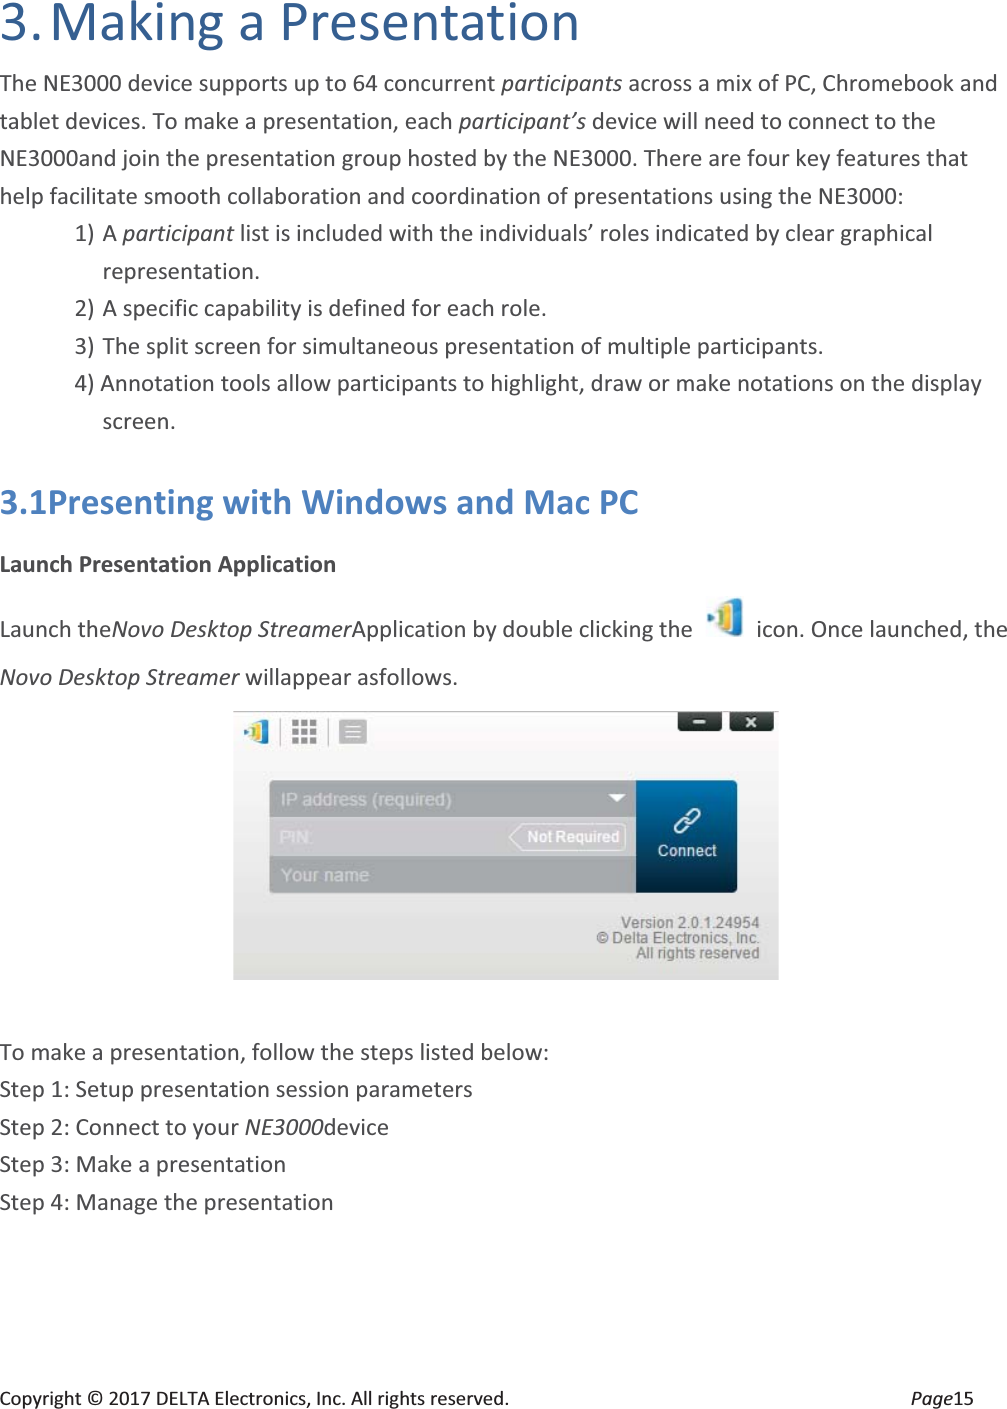
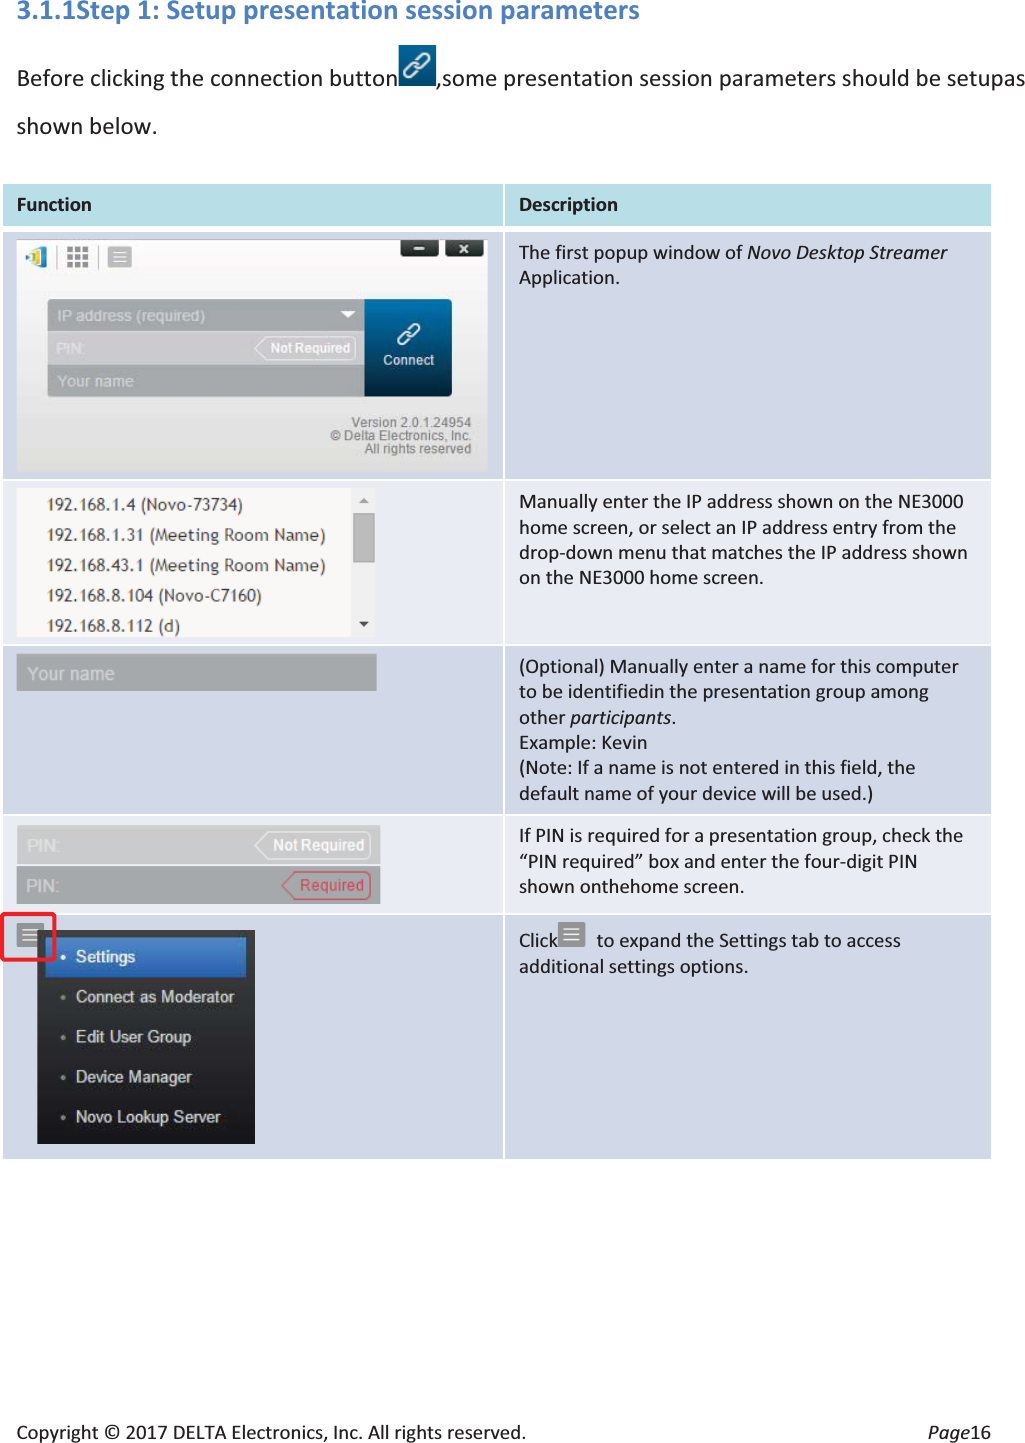
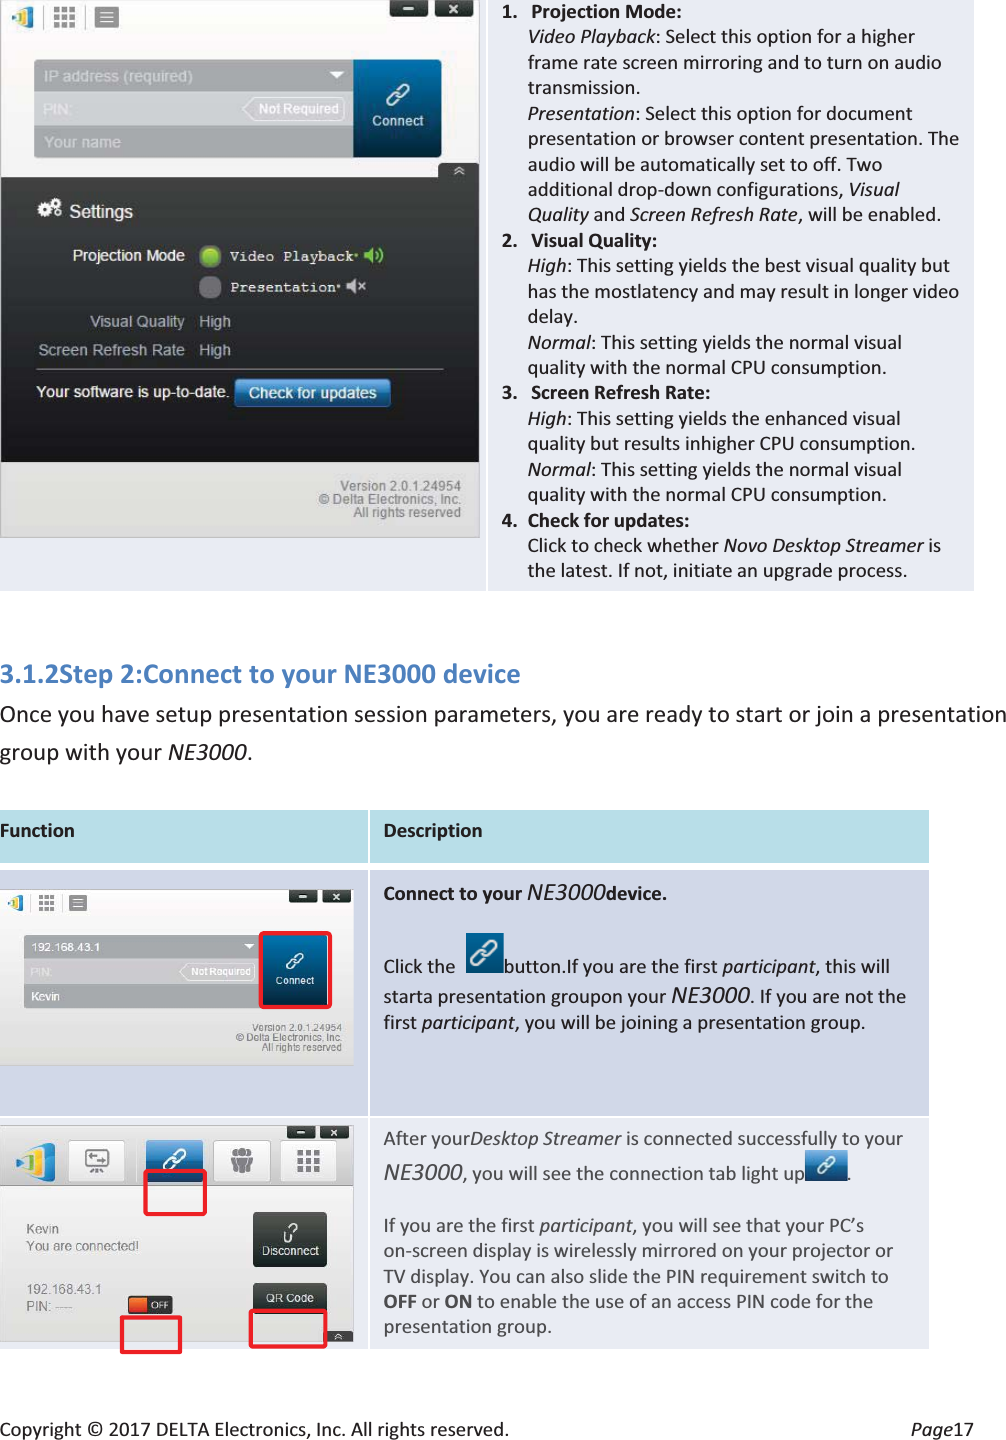
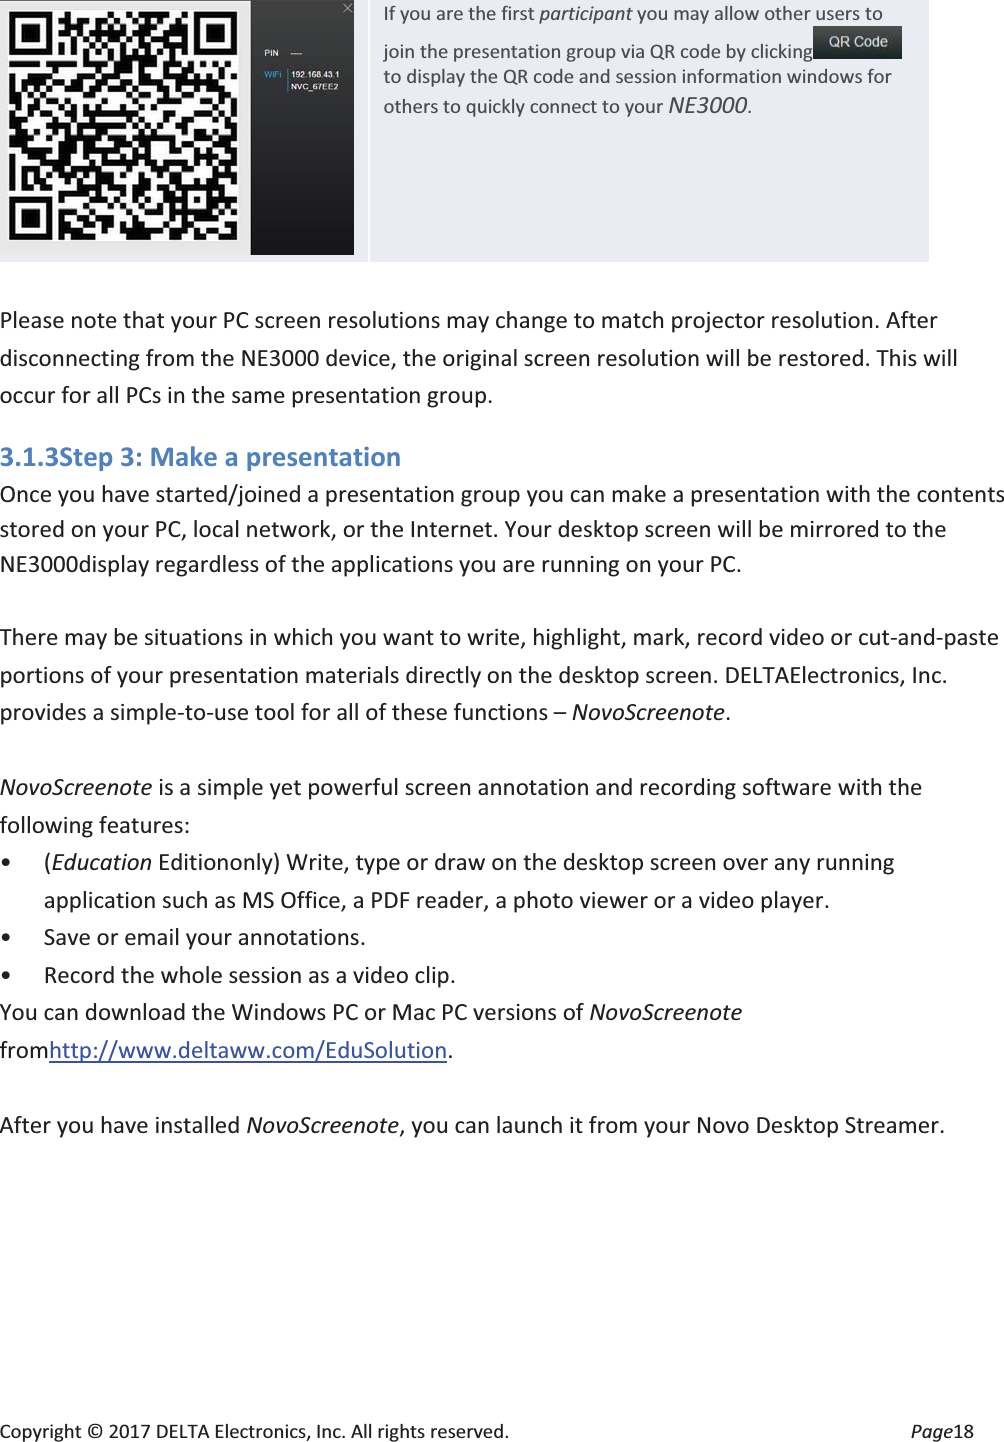
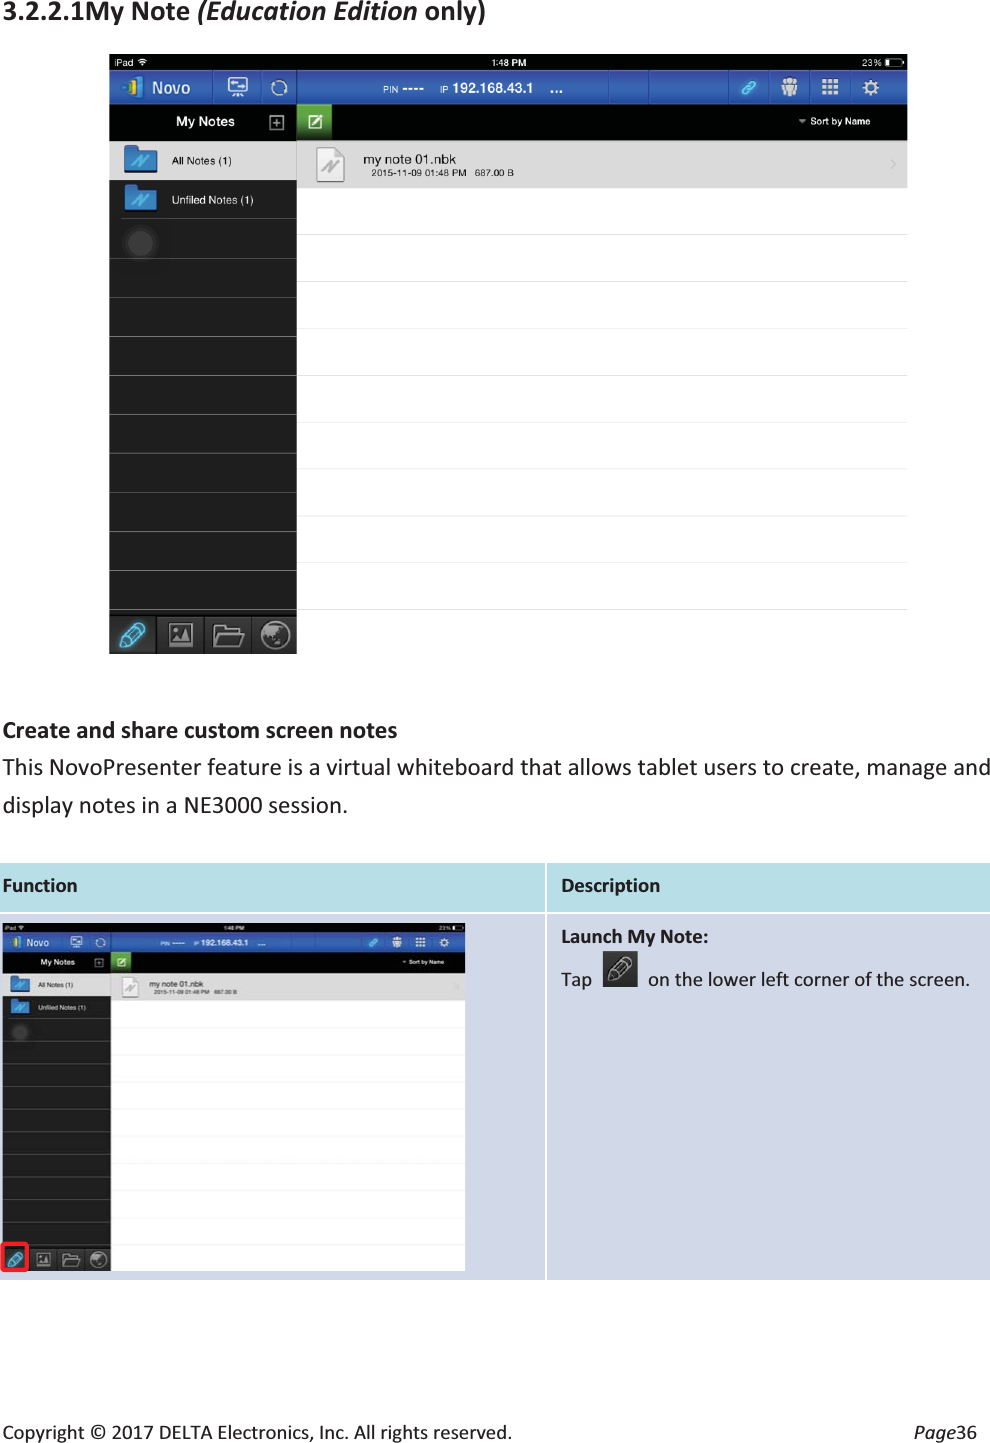
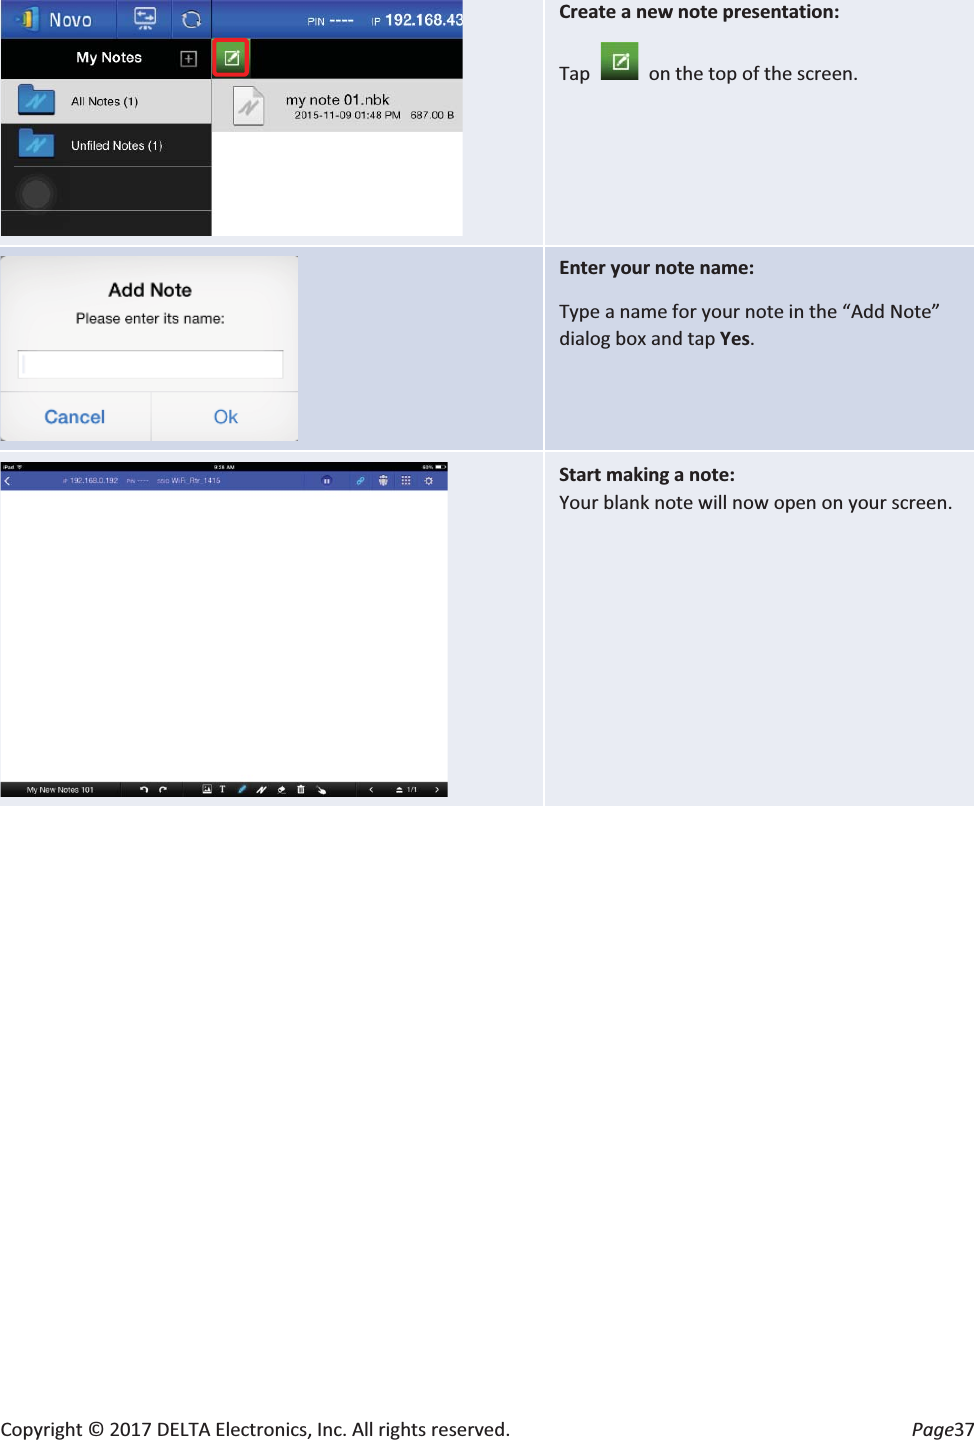
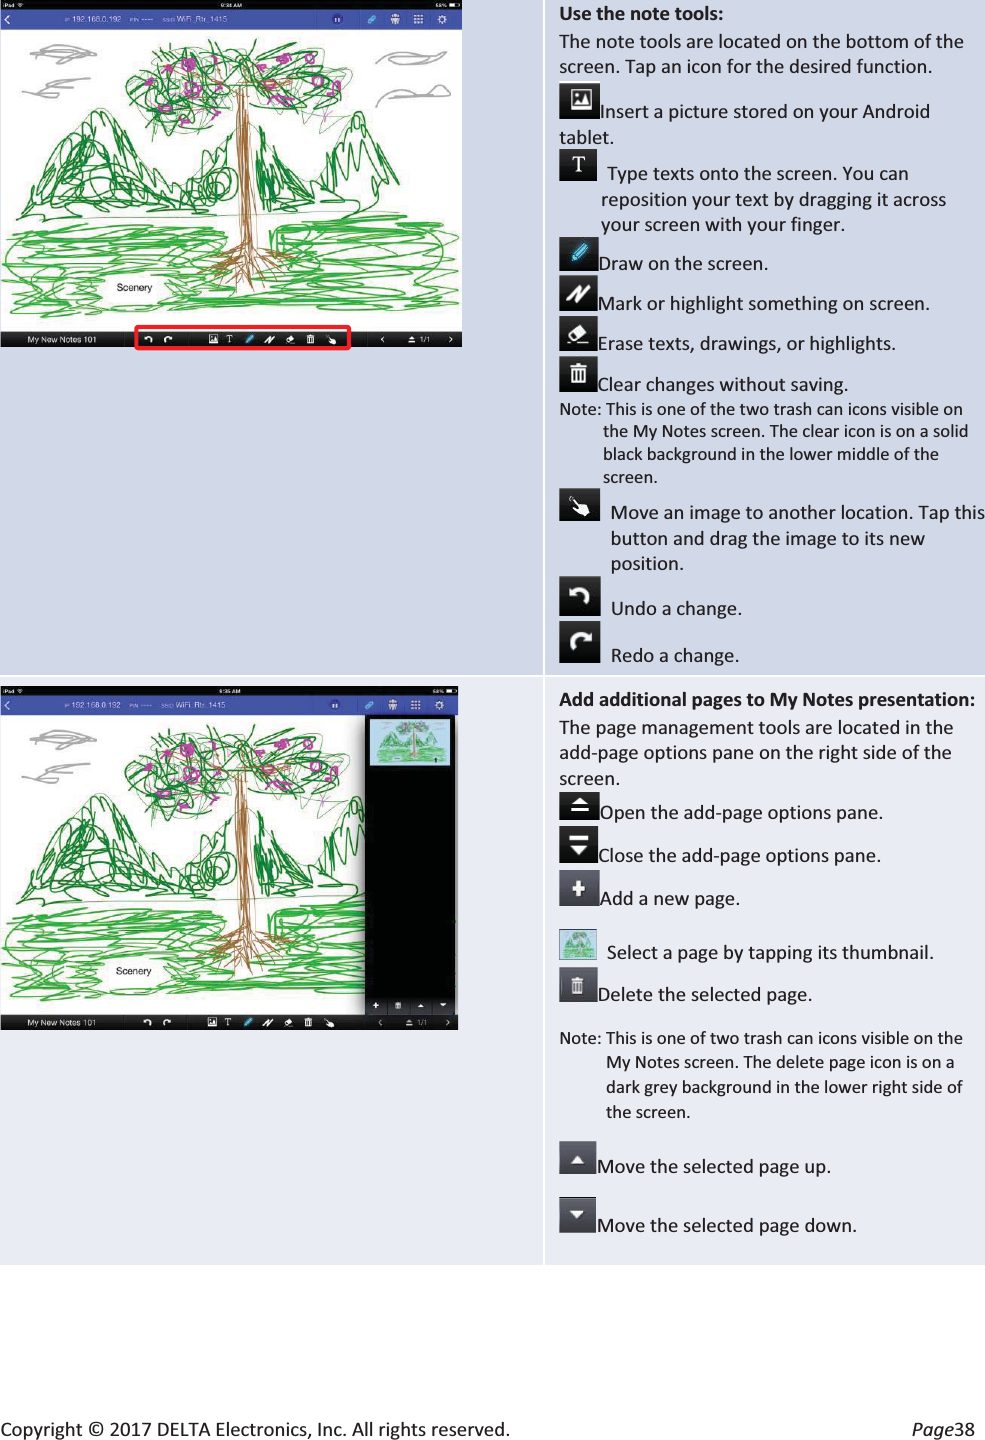
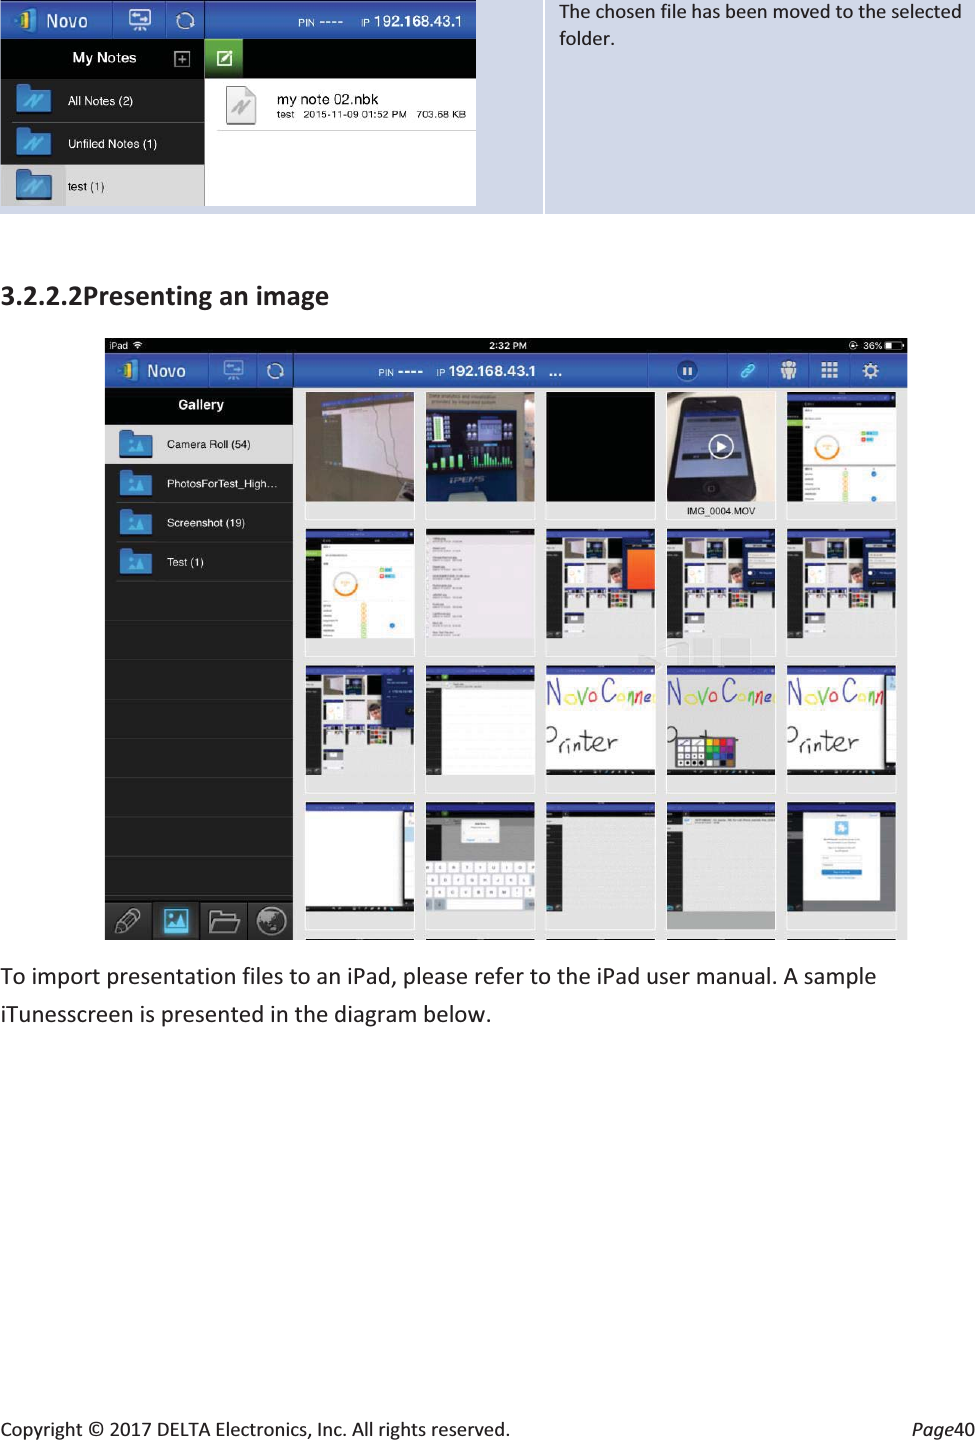
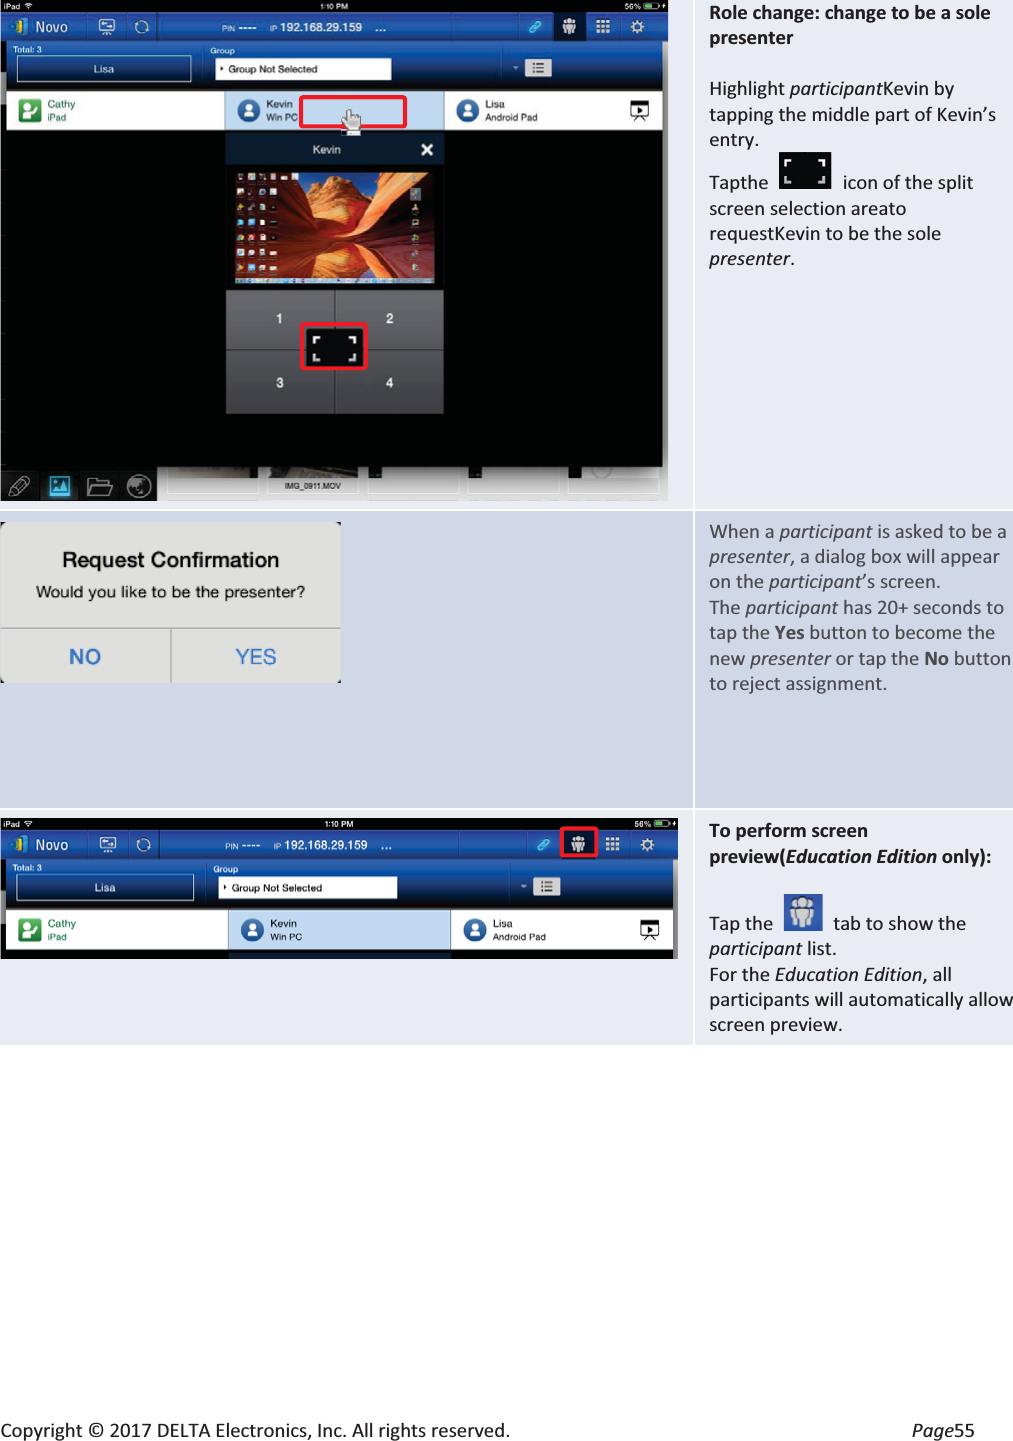
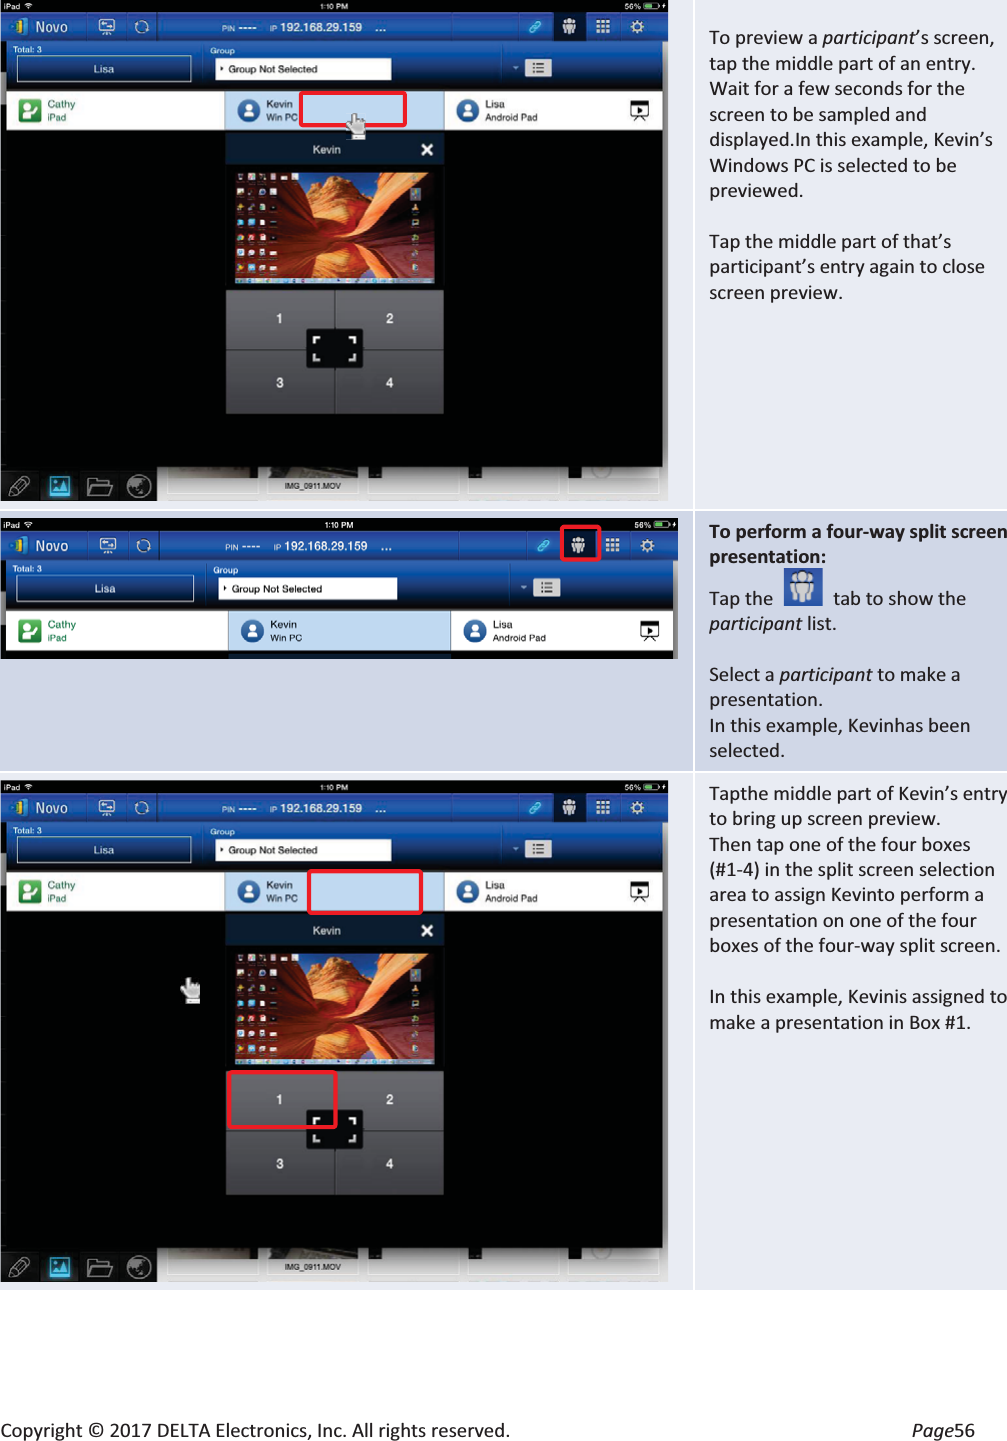
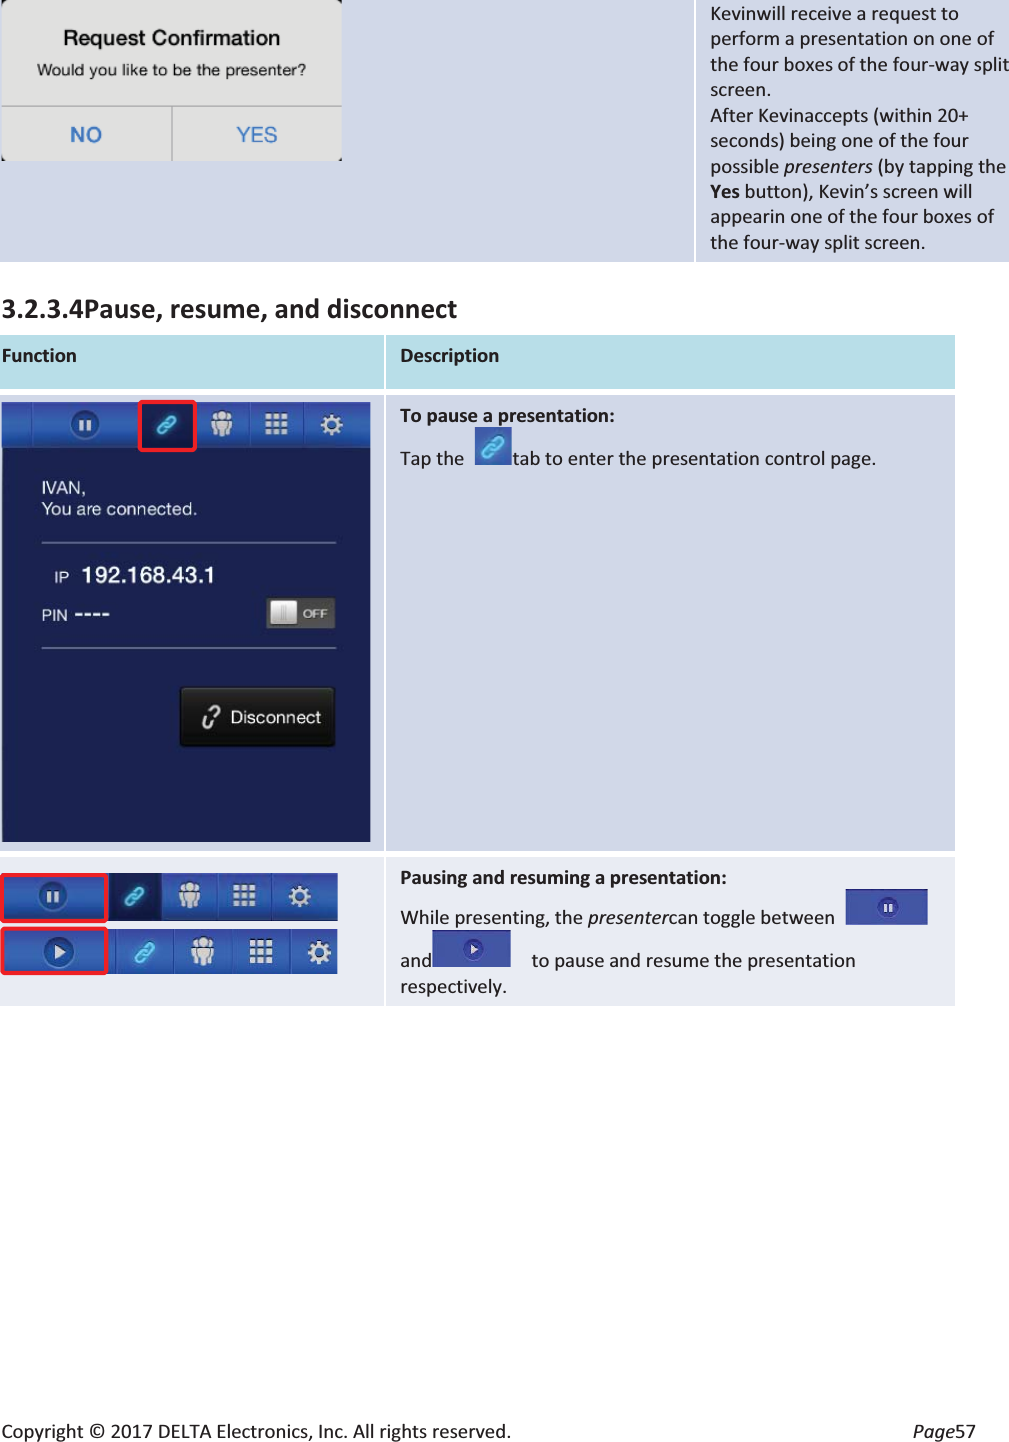
User manual part 1


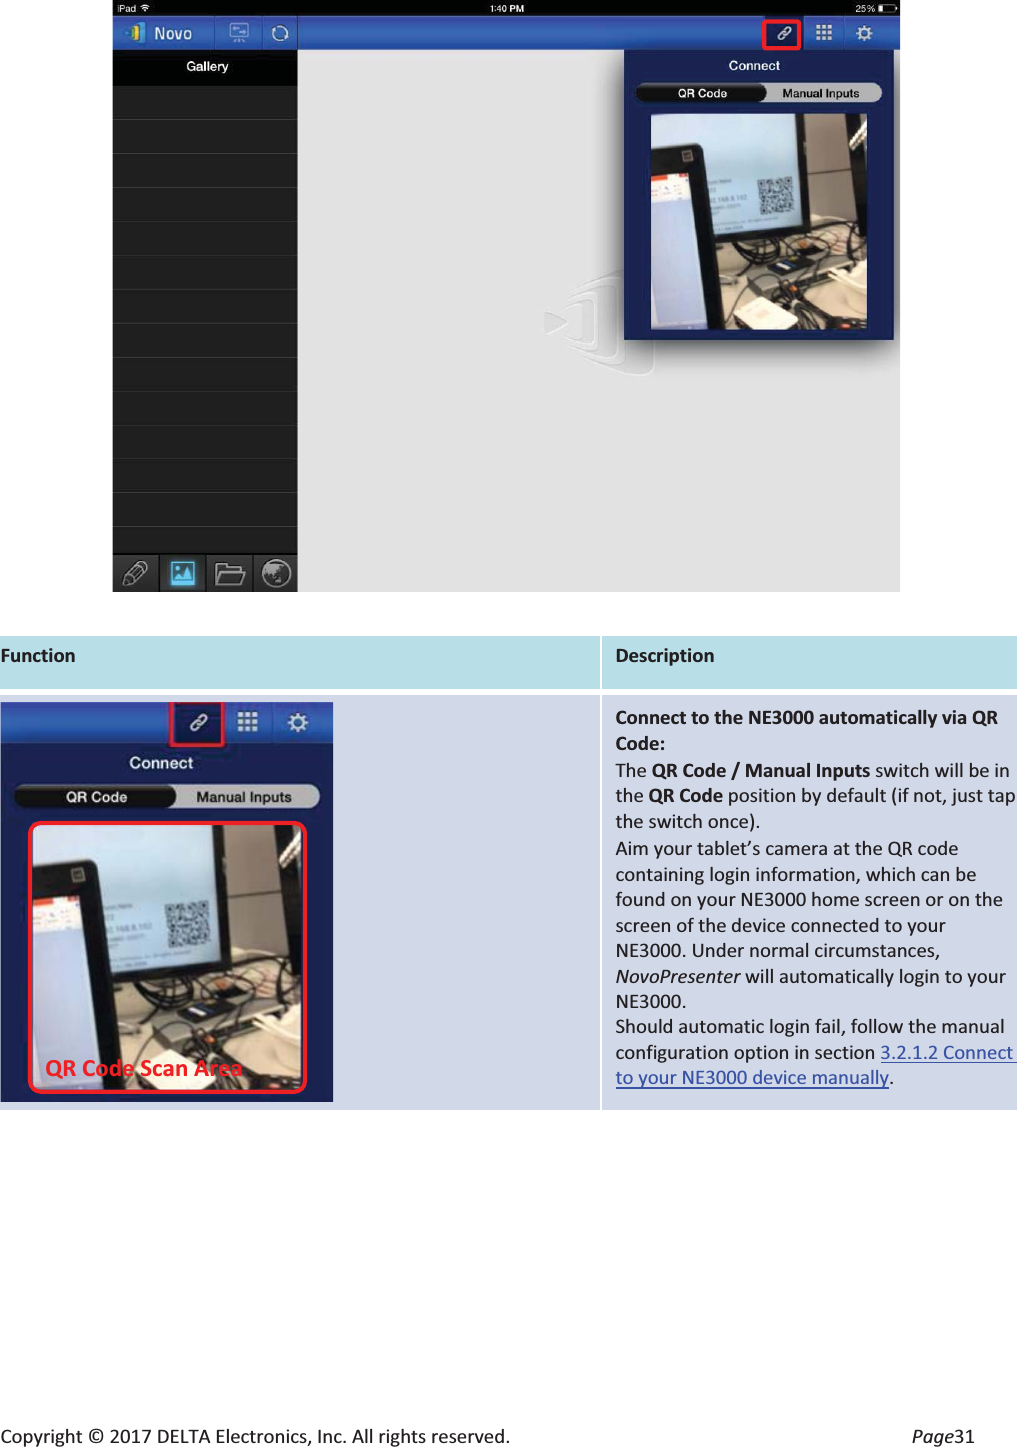

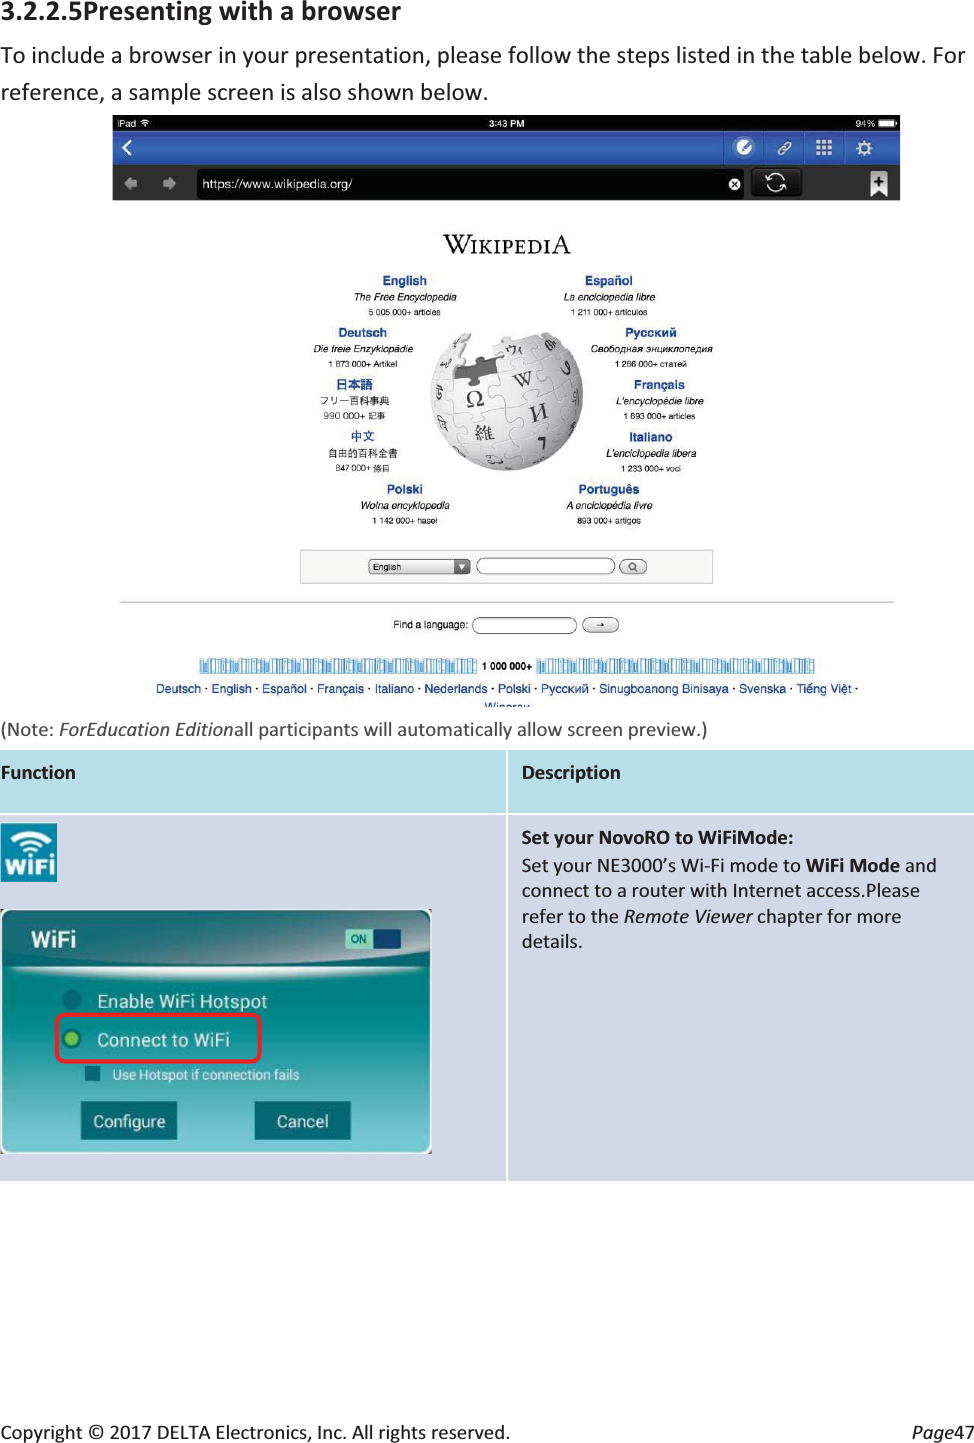
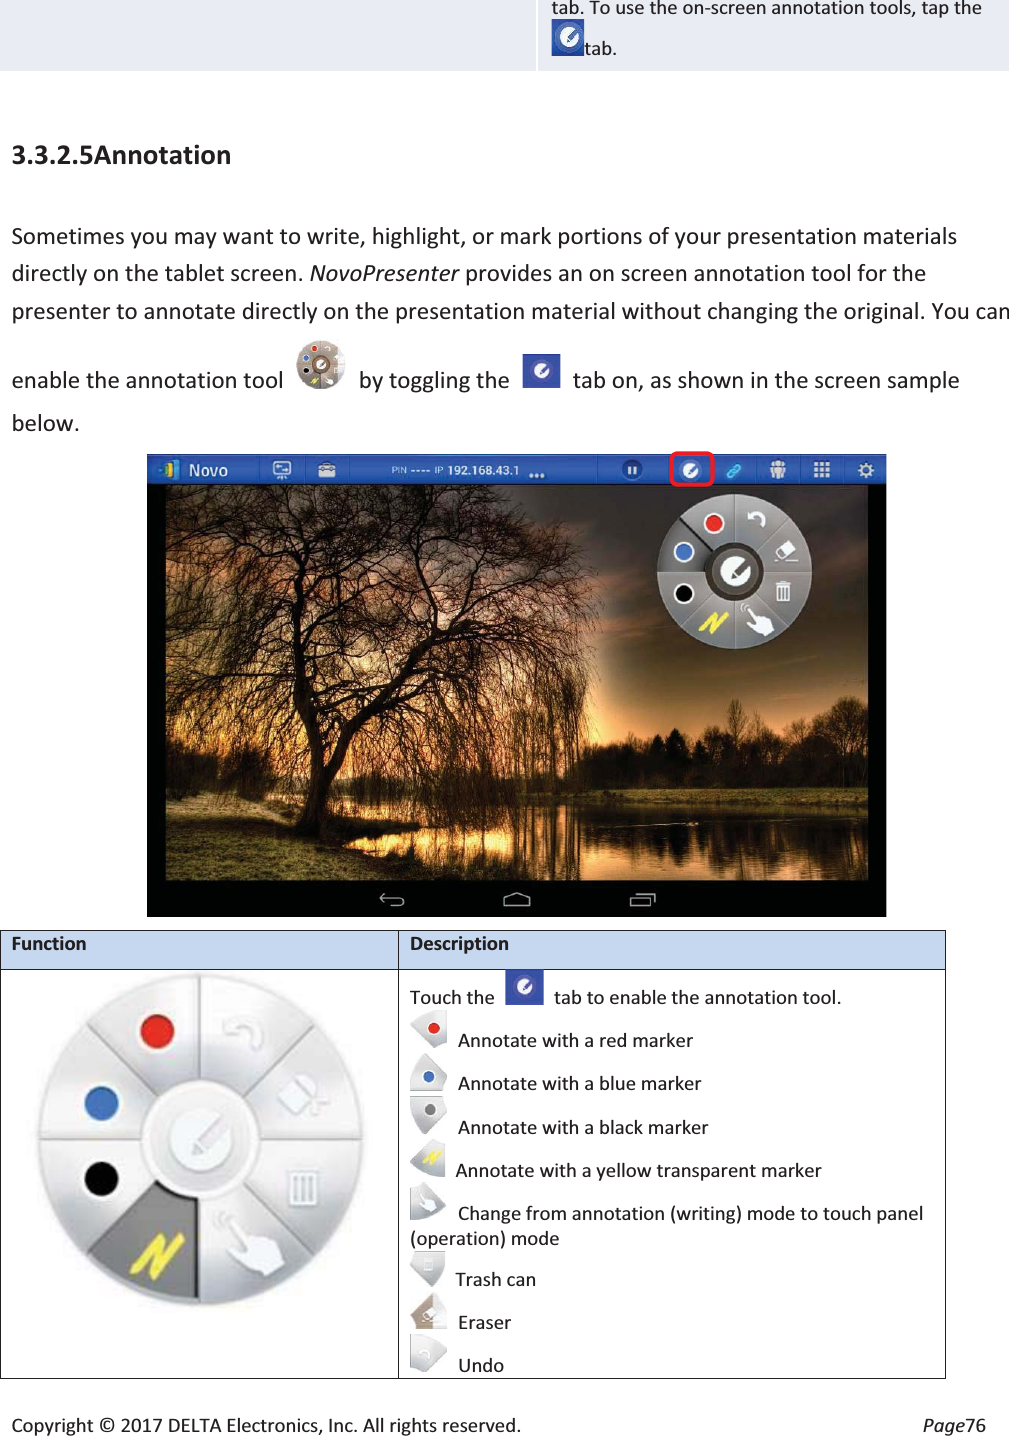
![Copyright © 2017 DELTA Electronics, Inc. All rights reserved. Page48 Start browsing for a Web page: Tap the internet tab . It will light up blue. Select one of the three options to access a Web page: - Go to… (enter URL address[default]) - Snap a QR Code - Browse My Bookmarks (Web site bookmarks) Go to…: Tap the Go to…tab. Enter the Web page URL and tap Go. Example: Enter the URL www.wikipedia.org and tap Go (the pre-fix http:// can be omitted). Snap QR code: Tap the SnapQR Code tab. Aim your iPad’s camera at a QR code containing Web page information. NovoPresenter will detect the URL and access the corresponding Web page.](https://usermanual.wiki/Delta-Electronics-orporated/017CF2.User-manual-part-1/User-Guide-3498987-Page-48.png)
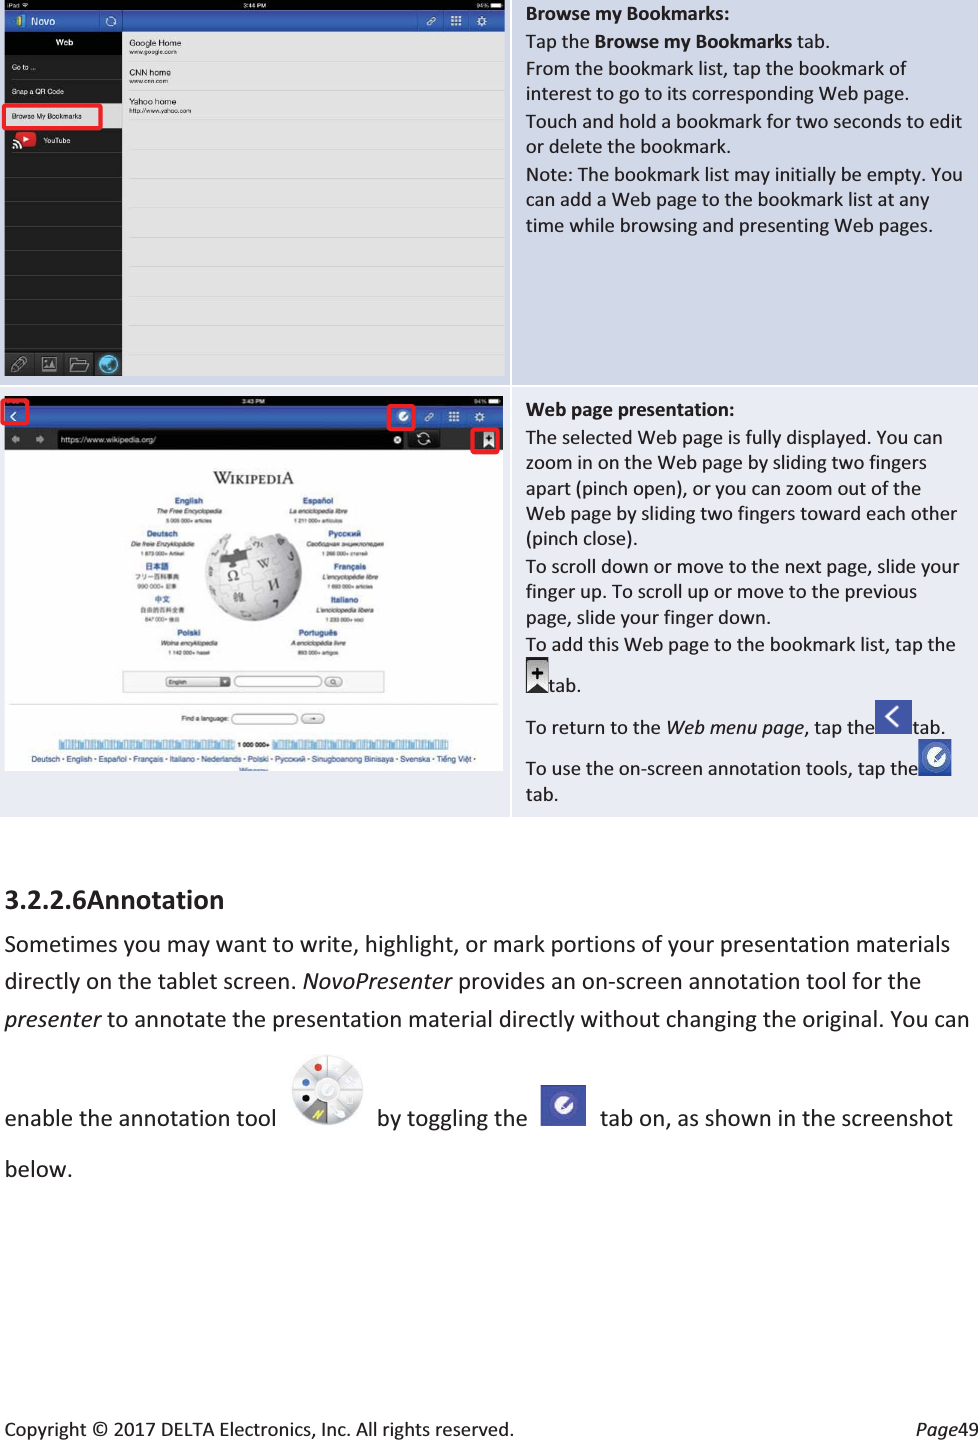


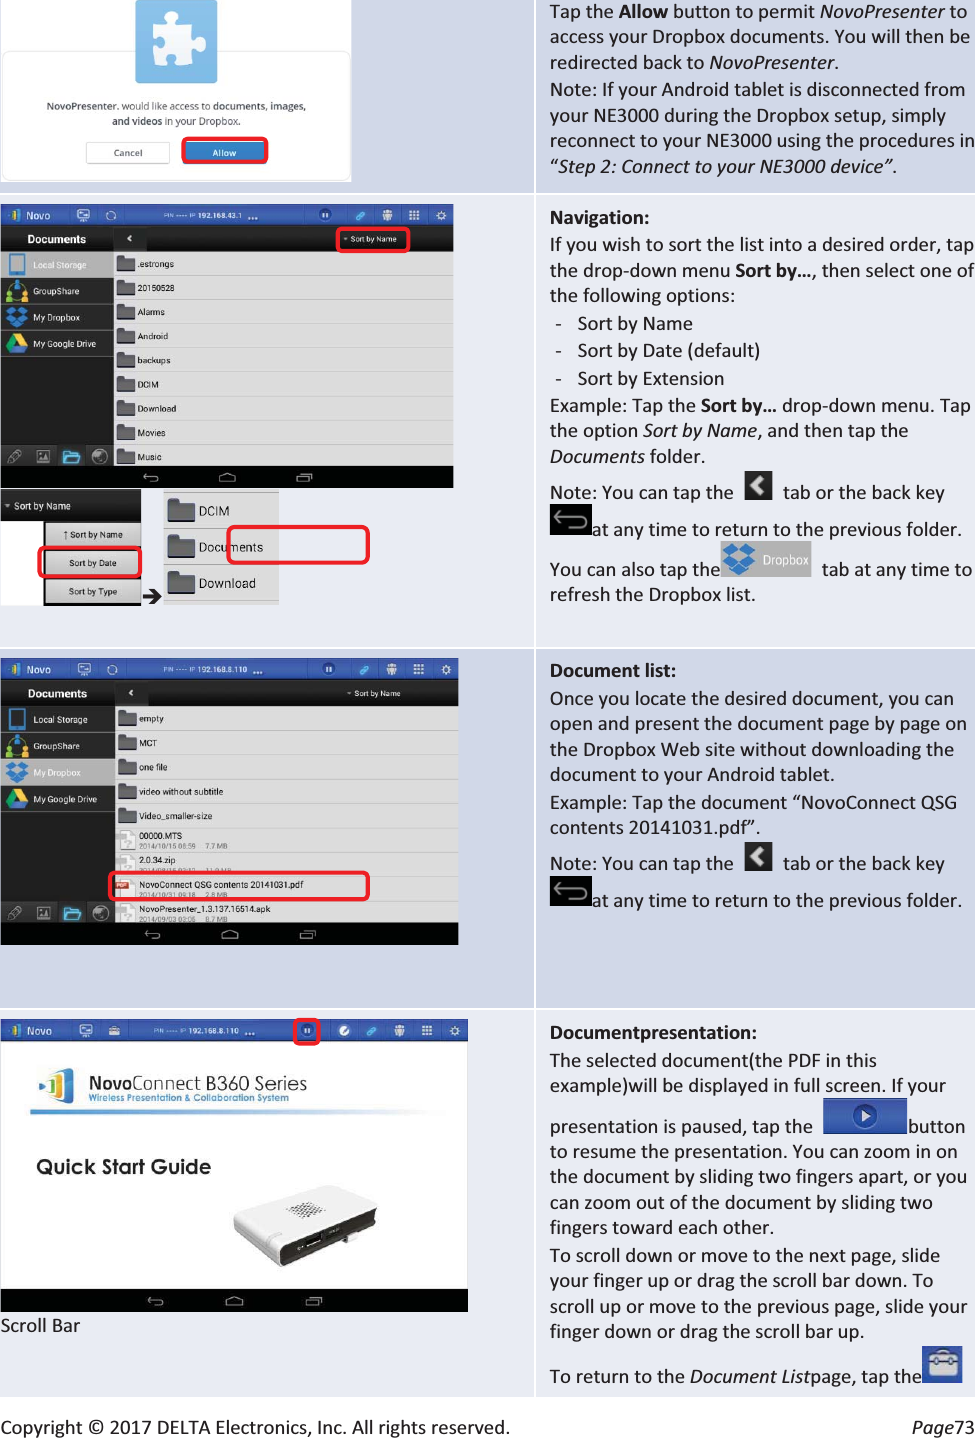
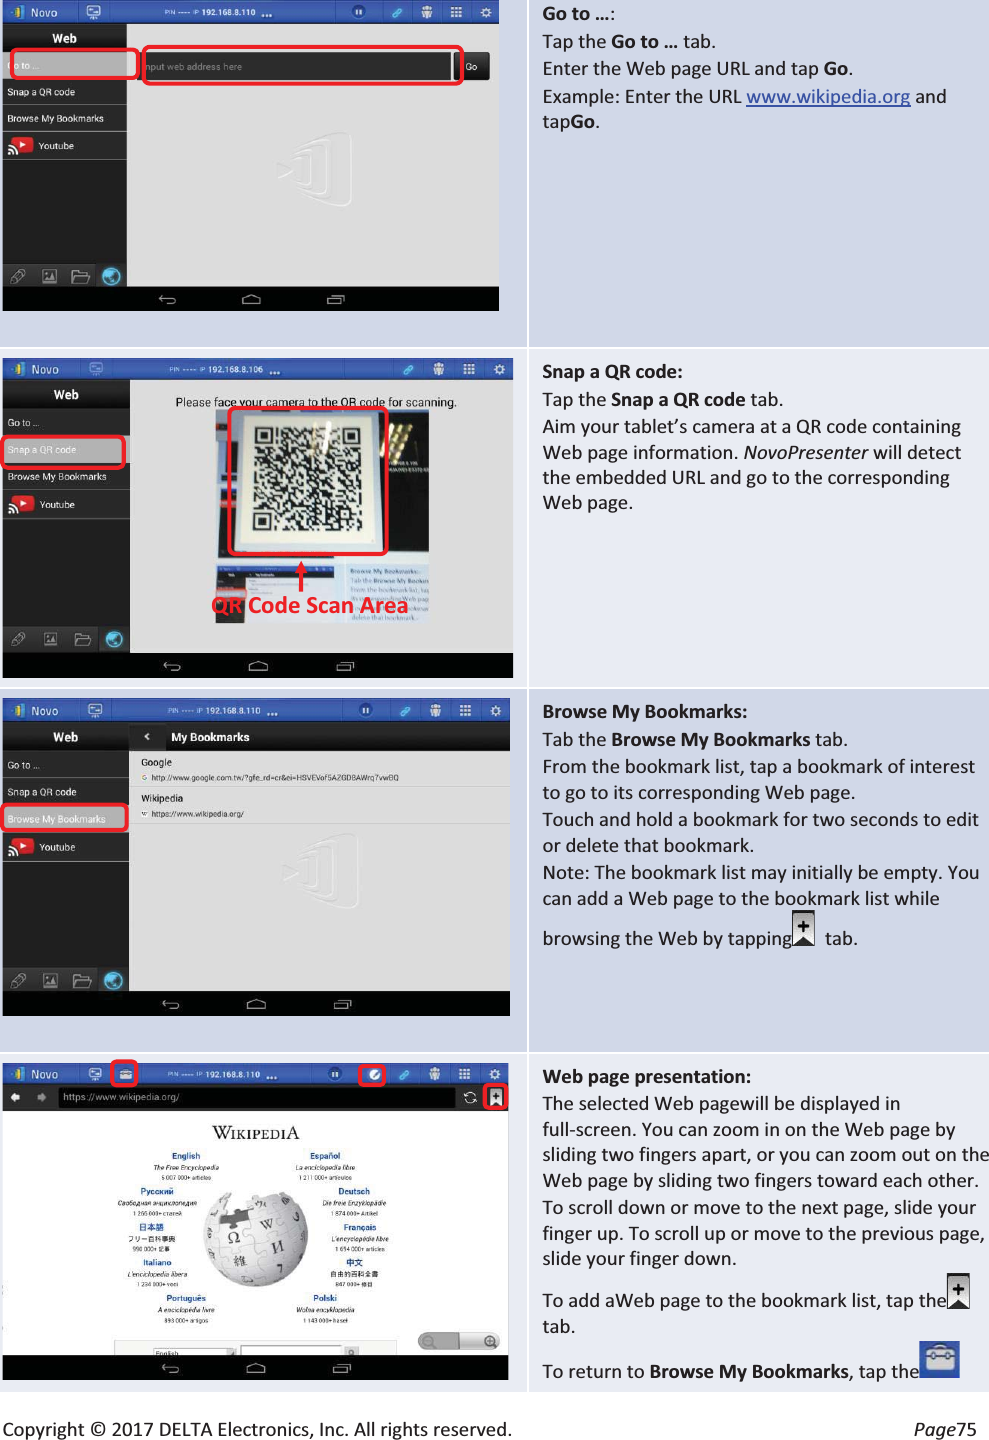
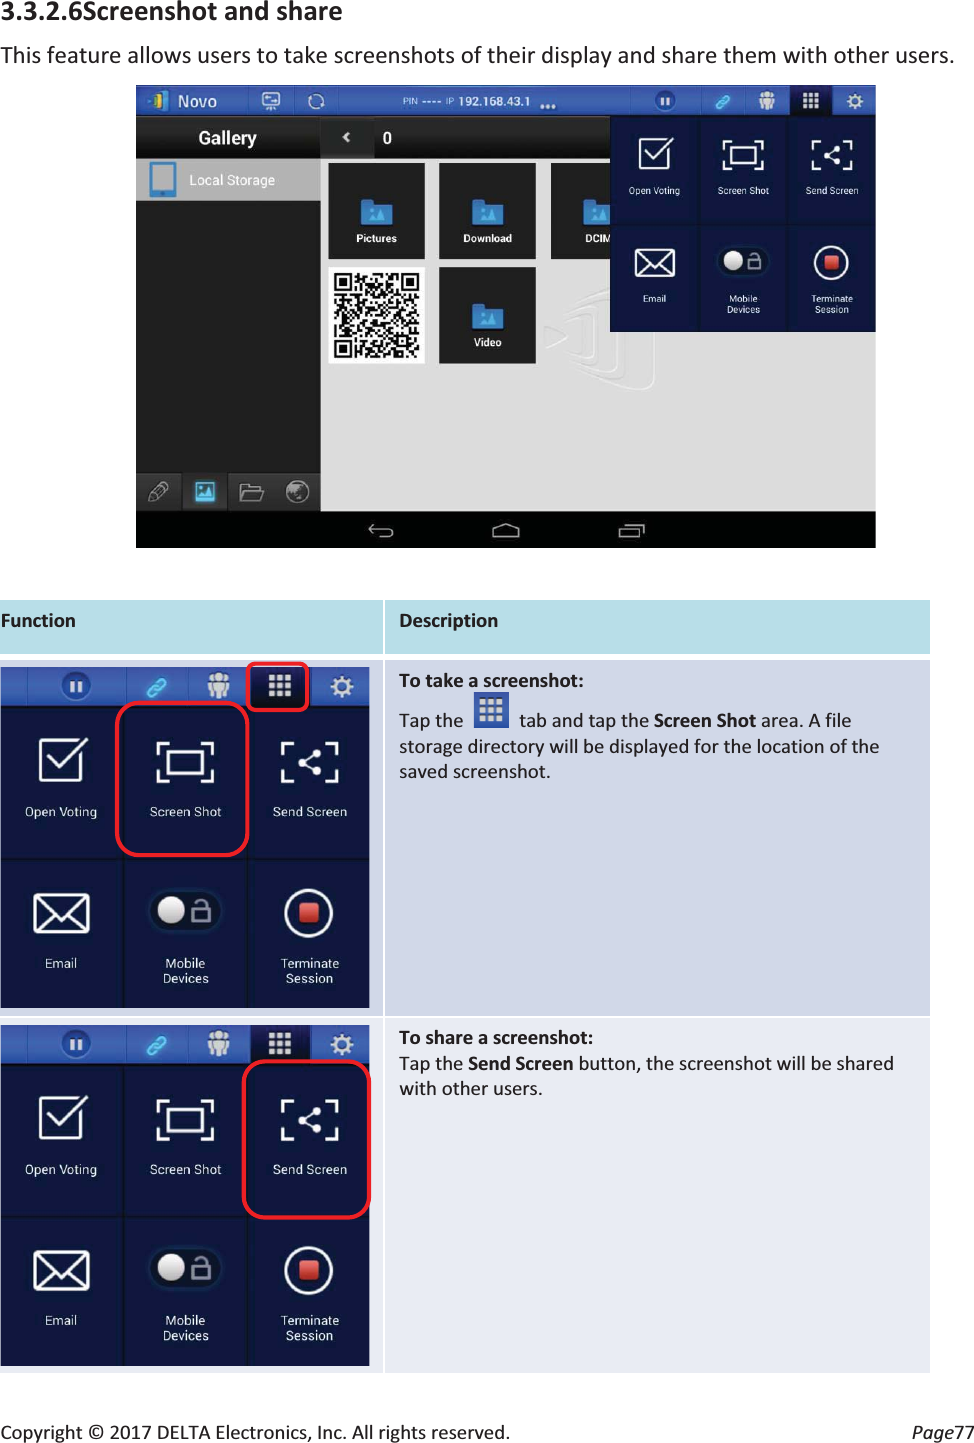
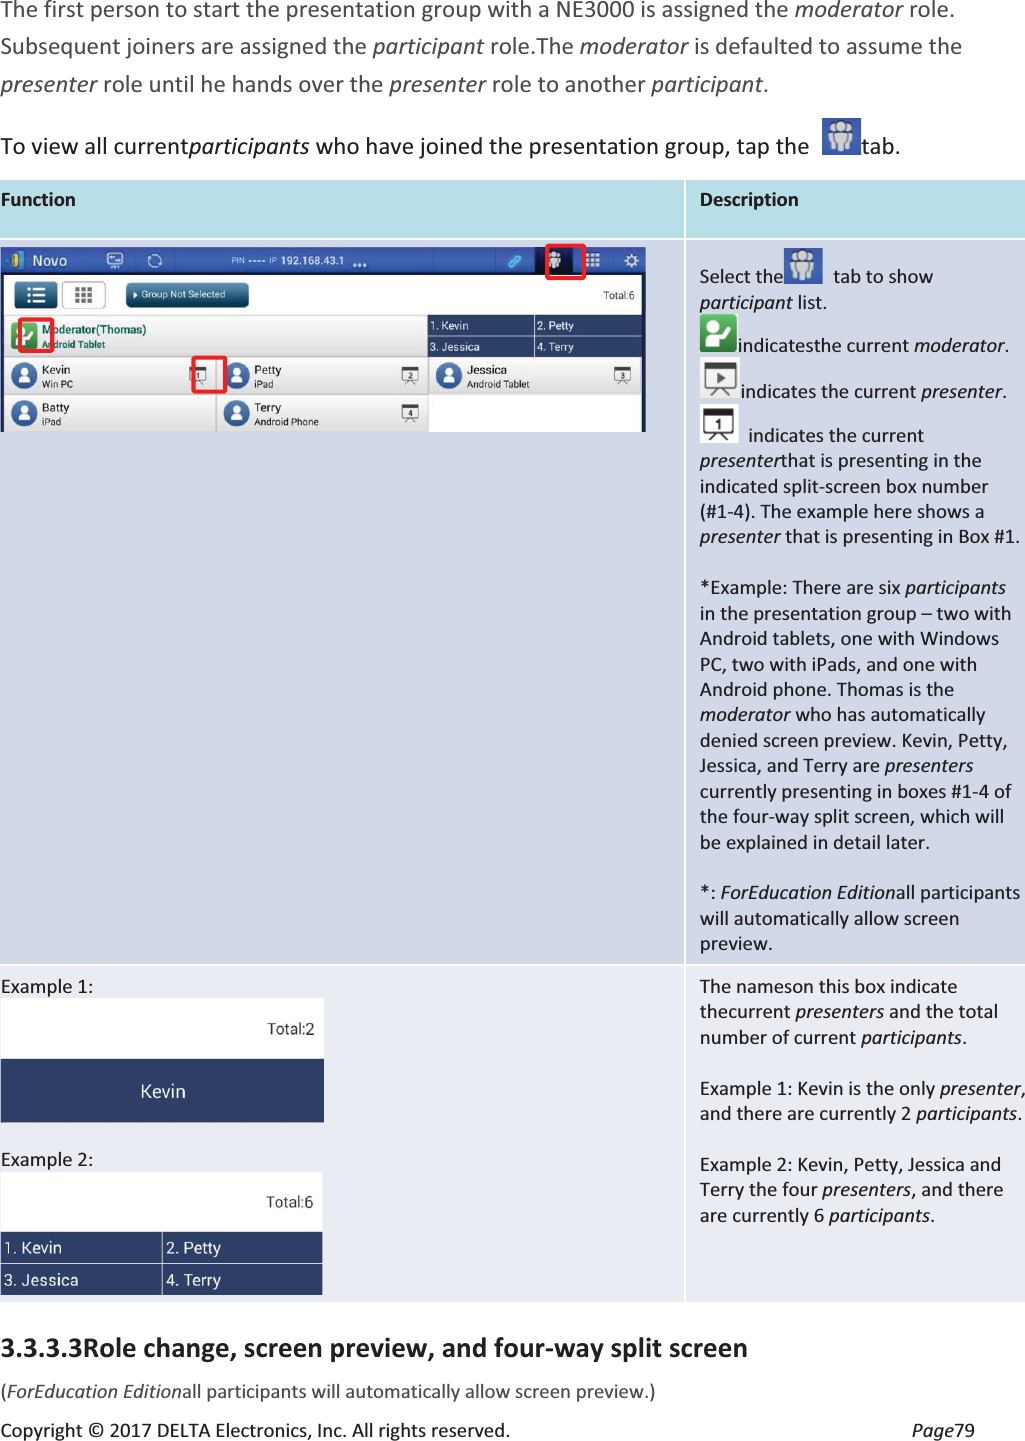
![Copyright © 2017 DELTA Electronics, Inc. All rights reserved. Page74 tab. To use the on-screen annotation tools, tap the tab. Unlink device from Dropboxor Google Drive: If you need to unlink the NovoPresenter app from your Dropbox& Google Drive account, tap the tab and tapUnlink device from Dropbox or Unlink device from Google Drive. When the “Are you sure?” confirmation dialog box appears, tapYes to proceed. 3.3.2.4Presenting with a browser (Note: ForEducation Editionall participants will automatically allow screen preview.) Function Description Set Your NE3000 to Client Mode: Set your NE3000’s Wi-Fi mode to WiFiMode and connect to a router with Internet access.Please refer to the Remote Viewer chapter for more details. Start browsing for a Web page: Tapthe Internet tab . It will light up blue. Select one of the three options to access a Web page: - Go to… (enter URL address [default]) - Snap a QR code - Browse My Bookmarks (Website bookmarks)](https://usermanual.wiki/Delta-Electronics-orporated/017CF2.User-manual-part-1/User-Guide-3498987-Page-74.png)