Diasonic Technology Co DDR3KR Digital Voice Recorder User Manual
Diasonic Technology Co Ltd Digital Voice Recorder
UserManual.wiki
>
Diasonic Technology Co
>
DDR3KR User Manual
User Manual
Navigation menu
Upload a User Manual
Namespaces
Wiki Guide
HTML
PDF
Info
Views
User Manual
Discussion / Help
Navigation
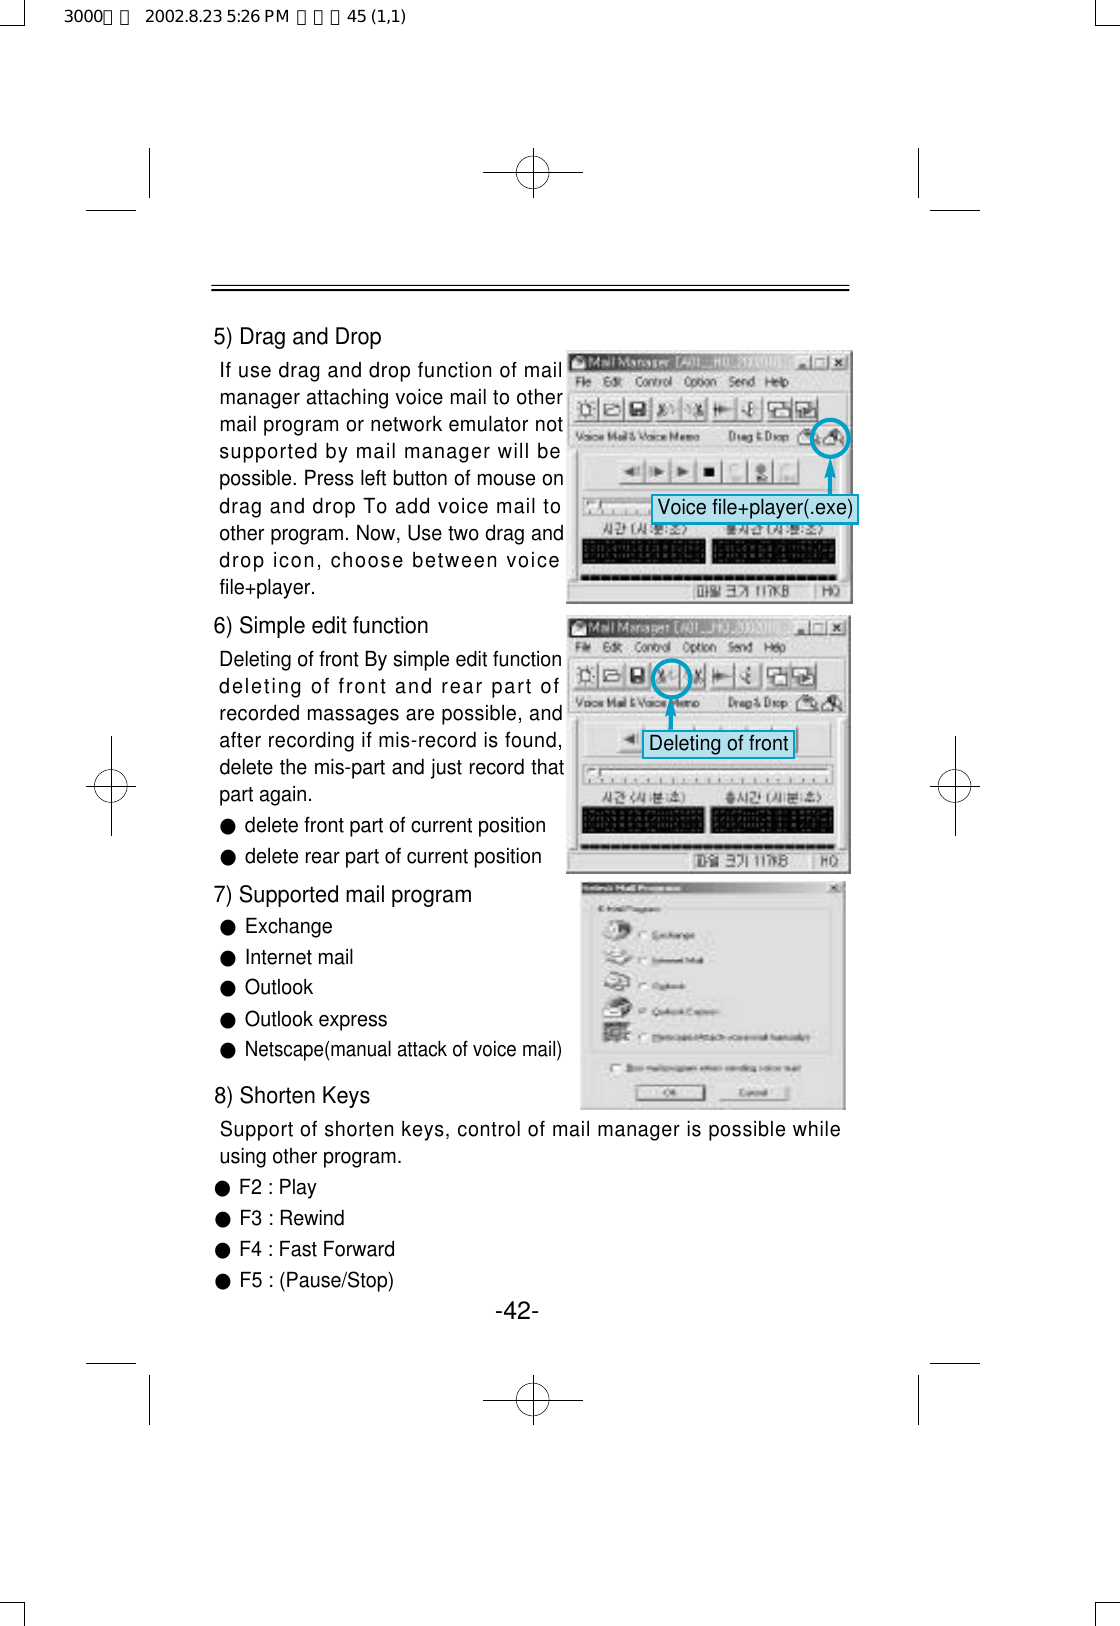
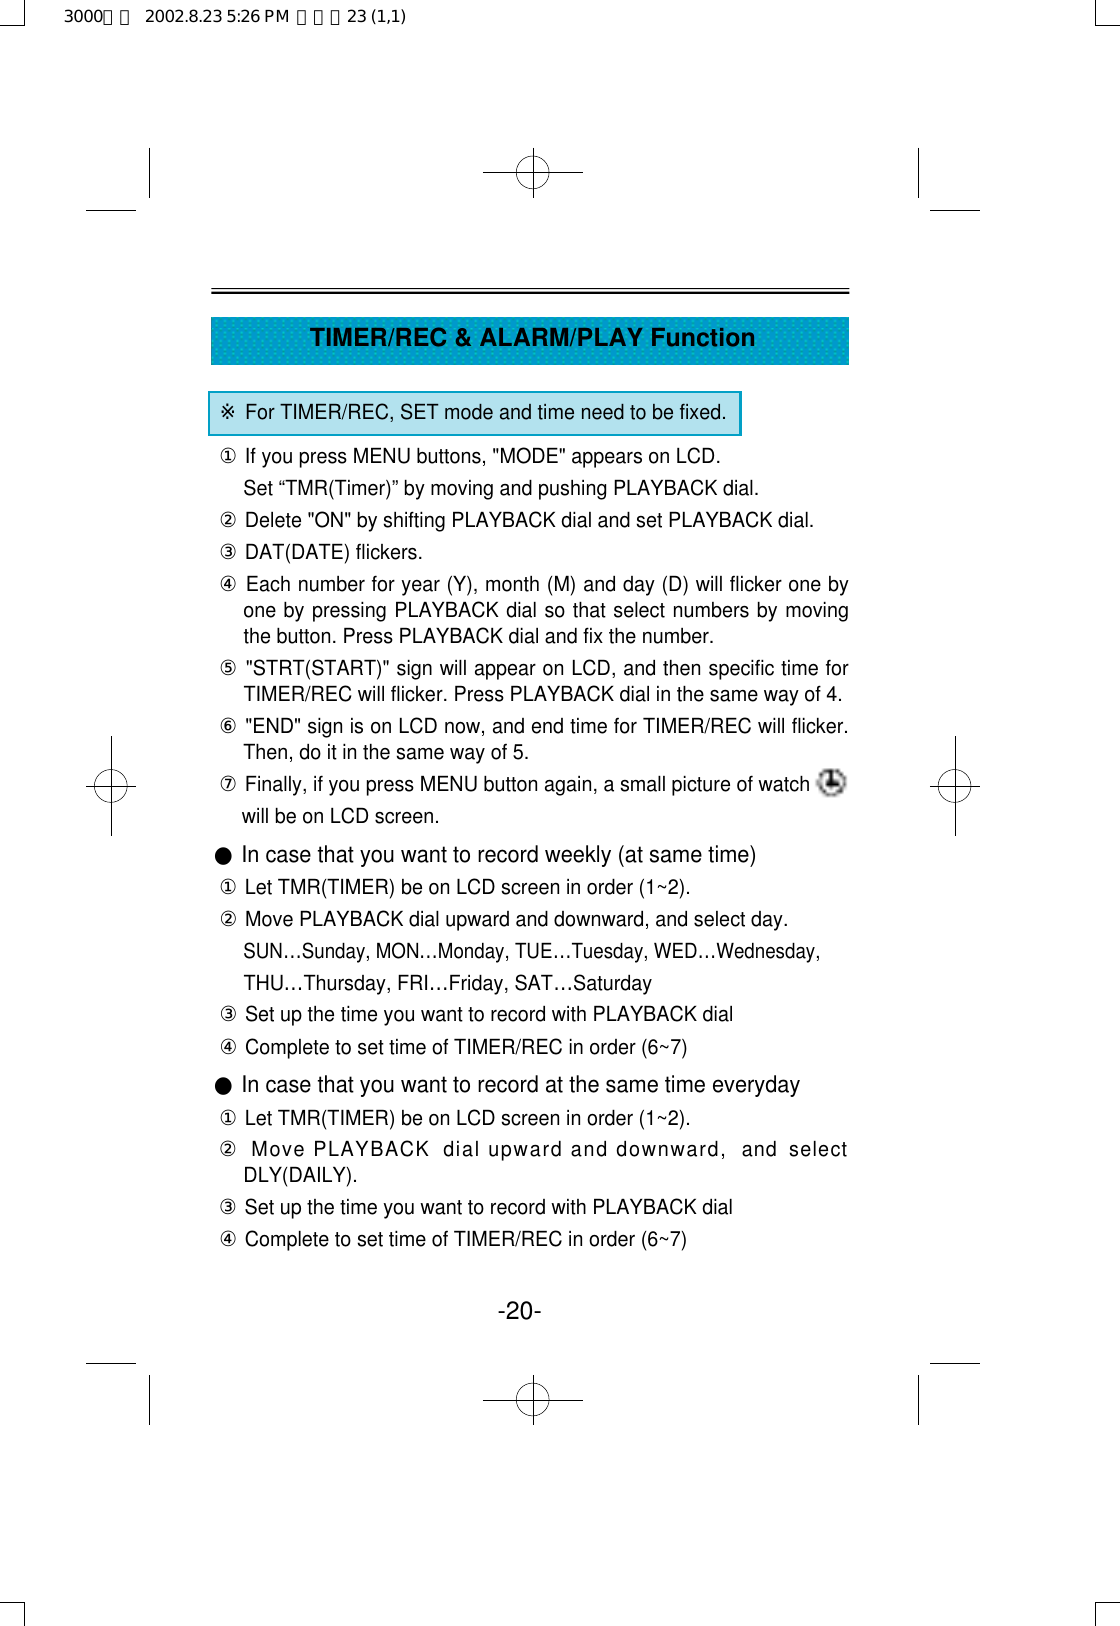
![-1-Suggestions for users●Do not drop or shock the device. It can cause technical trouble.●Please try to avoid such places.- The place of high temperature(above 60℃)- Direct rays of sunlight or right next to a heating apparatus- Inside of tightly-shut car(especially in summers)- Humid places(bathrooms)●Overpressure can cause damage on liquid crystal display(LCD), andit can also provoke malfunction because of its own features.●If you put credit cards or commuter passes next to speakers, it willchange the magnetic attraction so that you cannot use your cardsany more.●DIASONIC TECHNOLOGY Co. cannot be held responsible for anykind of damage by the use of this product or reparation for injury by athird party [or individuals].●DIASONIC TECHNOLOGY Co. does not have any responsibility forthe loss of data in a memory except the one that happens whilerepairing and mending technical faults of the product.●Users should not repair, remodel or take the product apart bythemselves.●Do not use the device on such places where the use of electricalmachines is prohibited.●While operating one function of the product, do not try other functions.●Applying heat to the body of the product or to batteries isinappropriate.●While using the product, do not adhere main device closely to the partfor insertion of support appliances.●If a customer or a third party [or individuals] uses the device in aninappropriate way, or if main device get shocked, data in a memorycan be changed or lost without warning.Save important data in other ways.3000영문 2002.8.23 5:26 PM 페이지4 (1,1)](https://usermanual.wiki/Diasonic-Technology-Co/DDR3KR/User-Guide-271399-Page-4.png)


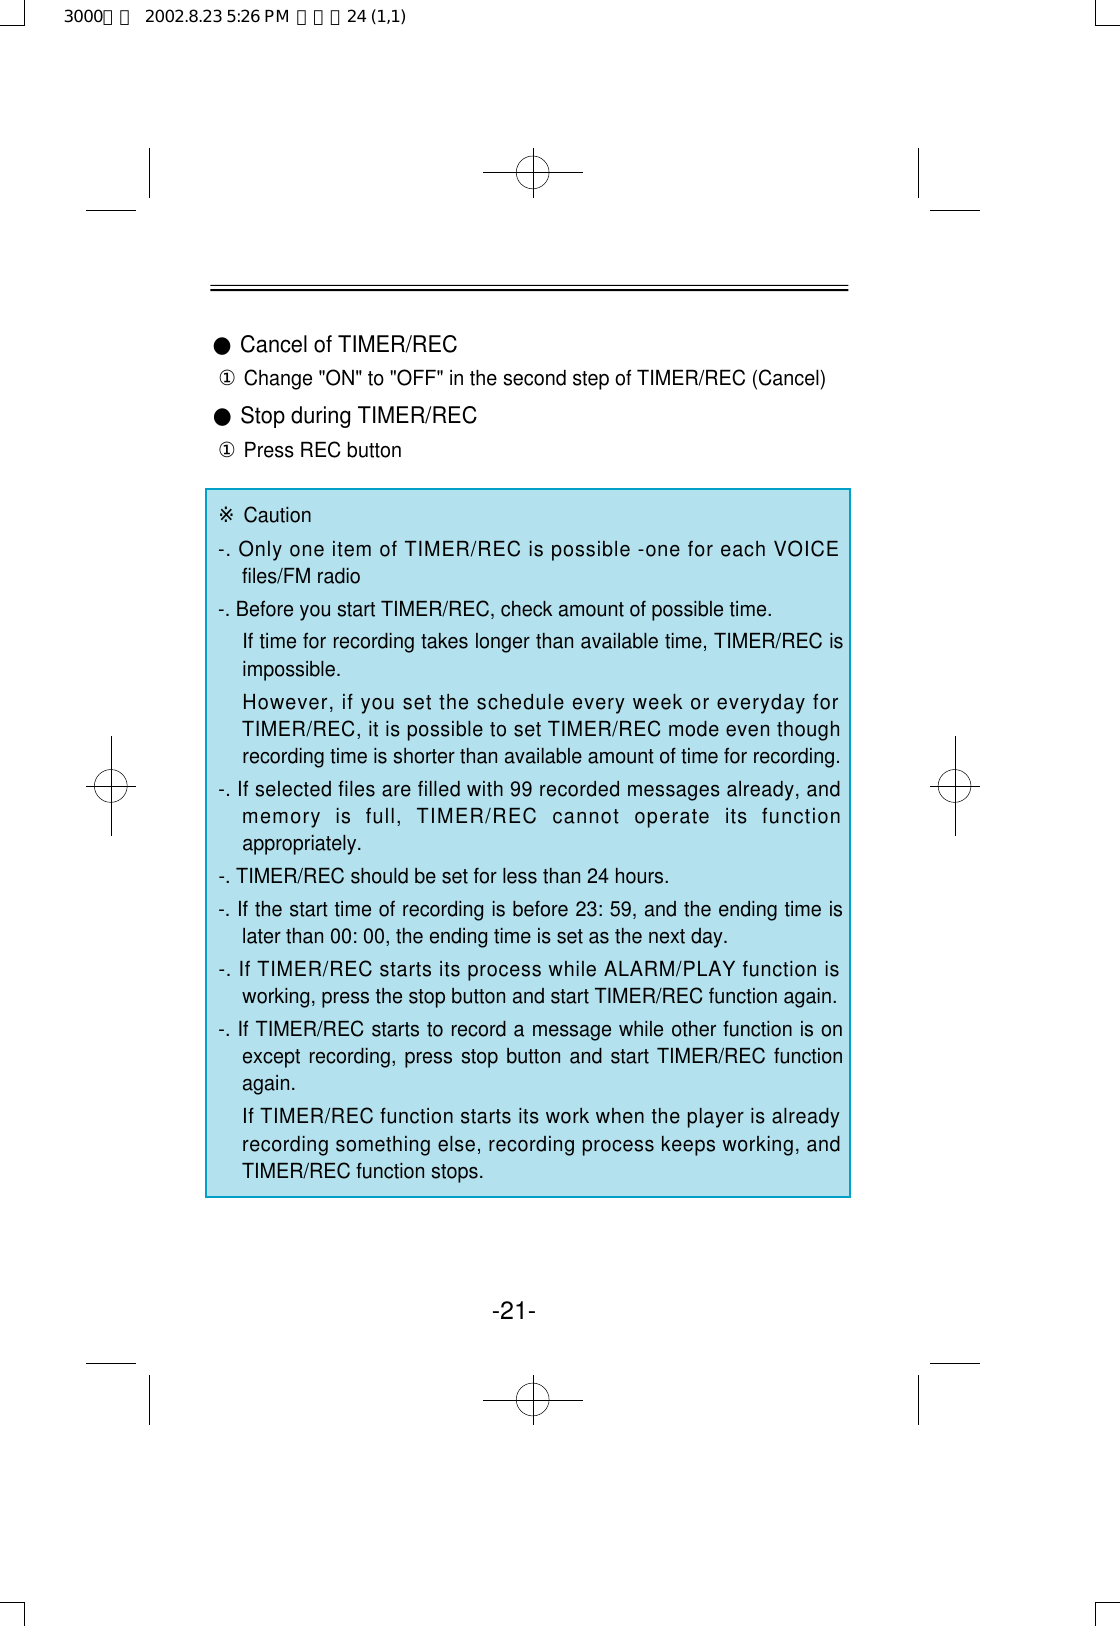

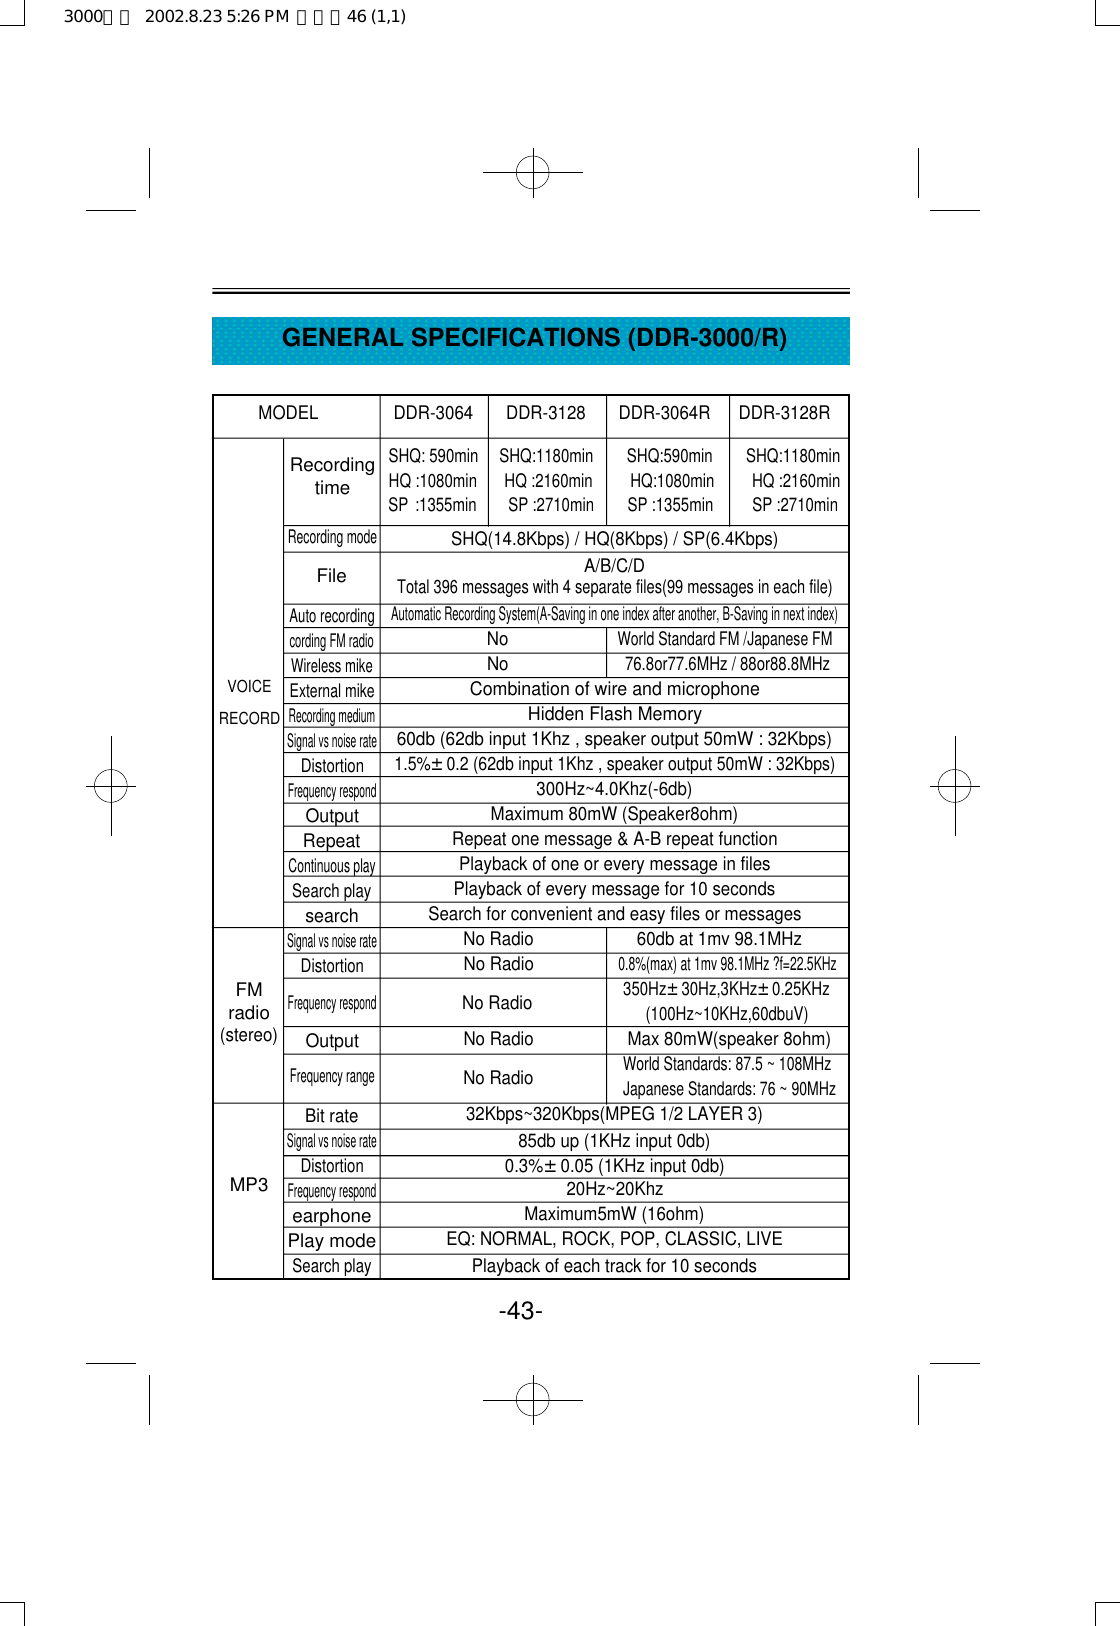
![1) Voice RecorderHas Voice mail, Voice memo function, record and play ofcompressed feature of high sound quality DVF file.●Play●Pause/Stop●Record (Half way insertion record possible)●Move forward●Move Backward2) Convenient use methodAuto-append of voice mail to mail program.●Press 'record'button●Say the message●Press 'Stop' button●Finally press 'send' button and mail window with voice mail attached will apppear.Proper volume level is required for record and play. Adjust wavevolume from [control volume] of window to set play volume, andadjust [option]→[ p r o p e r t i e s ]→[record] from volume adjust windowselect [microphone] for microphone record volume.3) Production of self play function●Creates little size of executable file combined with voice file and player.●If self player formed mail is sent receivercan listen to it even without mail manager.●From 'save as' save in 'voice mail+player' from and it will create self player with executable file(.exe)4) 16Digital voice effectChange recorded voice to various voices.16Digital voice effect -41-Sending: voice file+player(EXE)(In case, the receiver doesn'thave MailManager)3000영문 2002.8.23 5:26 PM 페이지44 (1,1)](https://usermanual.wiki/Diasonic-Technology-Co/DDR3KR/User-Guide-271399-Page-44.png)