Dowtelecom DTP-800 Cellular CDMA WLL Phone User Manual DTP800 1900 user manual
Dowtelecom Inc. Cellular CDMA WLL Phone DTP800 1900 user manual
User Manual
DTP-800/DTP-1900 Operating Manual
1
1. Introduction
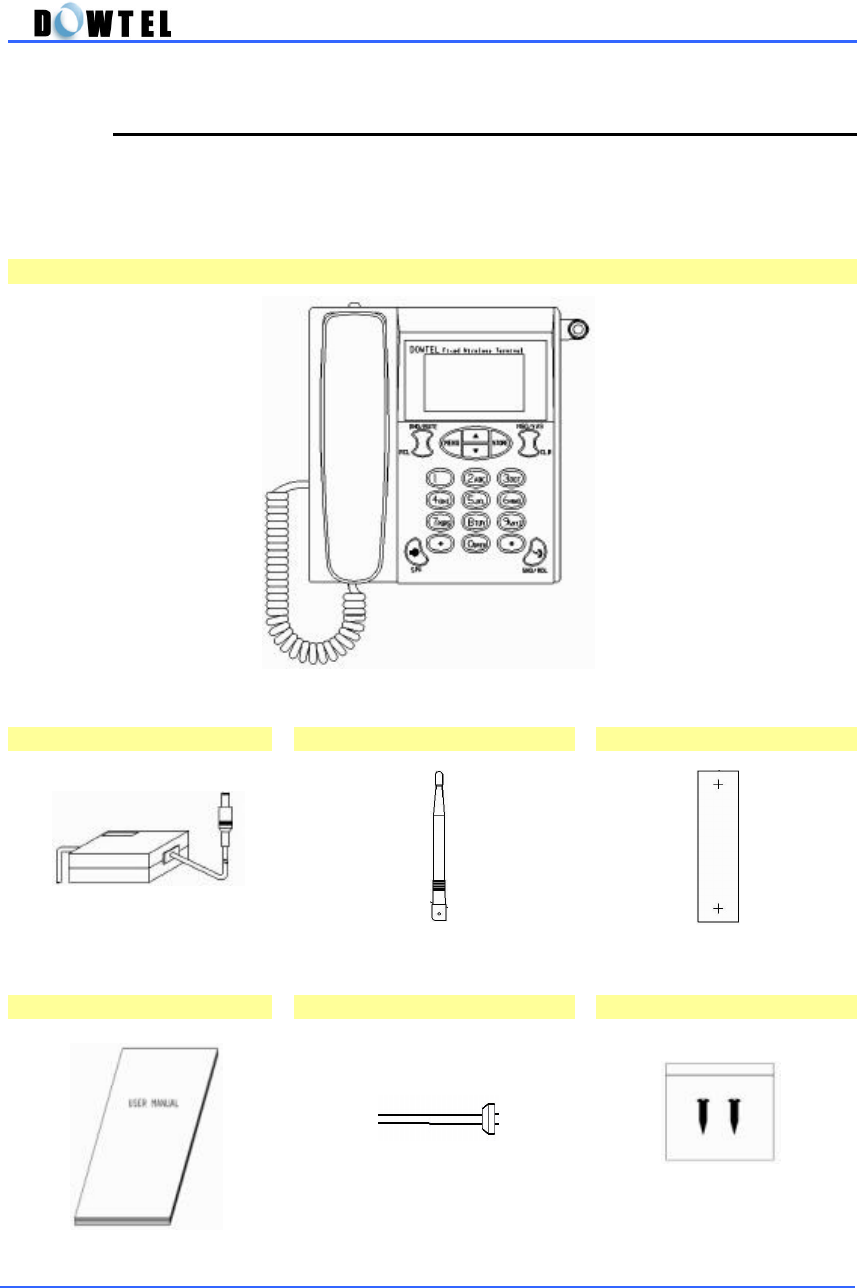
Thank you for purchasing this product. Please check whether the product
package contains the following items. If there are missing items, please
call the service center.
1. Phone
2. Power Supply(SMPS) 3. Antenna 4. Installation Panel
5. User’s Manual 6. Power Cord 7. Screws
DTP-800/DTP-1900 Operating Manual
2
1.1 Installation Procedure
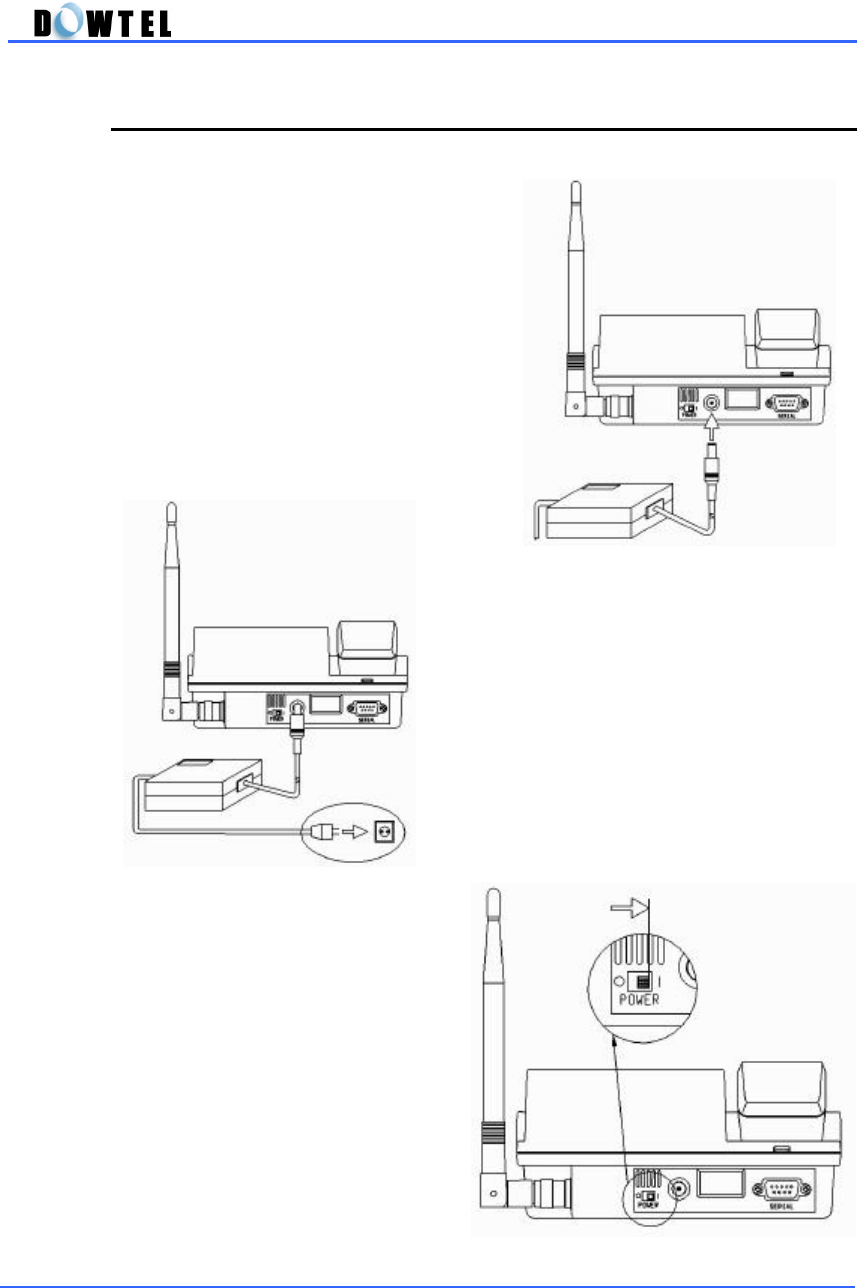
①
Connect the DC jack to the back
panel of phone as shown in the
figure below.
②
Connect the plug of the SMPS to a
power outlet and to SMPS for the phone.
③
Turn power on by moving the
switch button to the right as
shown following figure, and
then the phone is initialized
with power-up sound.
DTP-800/DTP-1900 Operating Manual
3
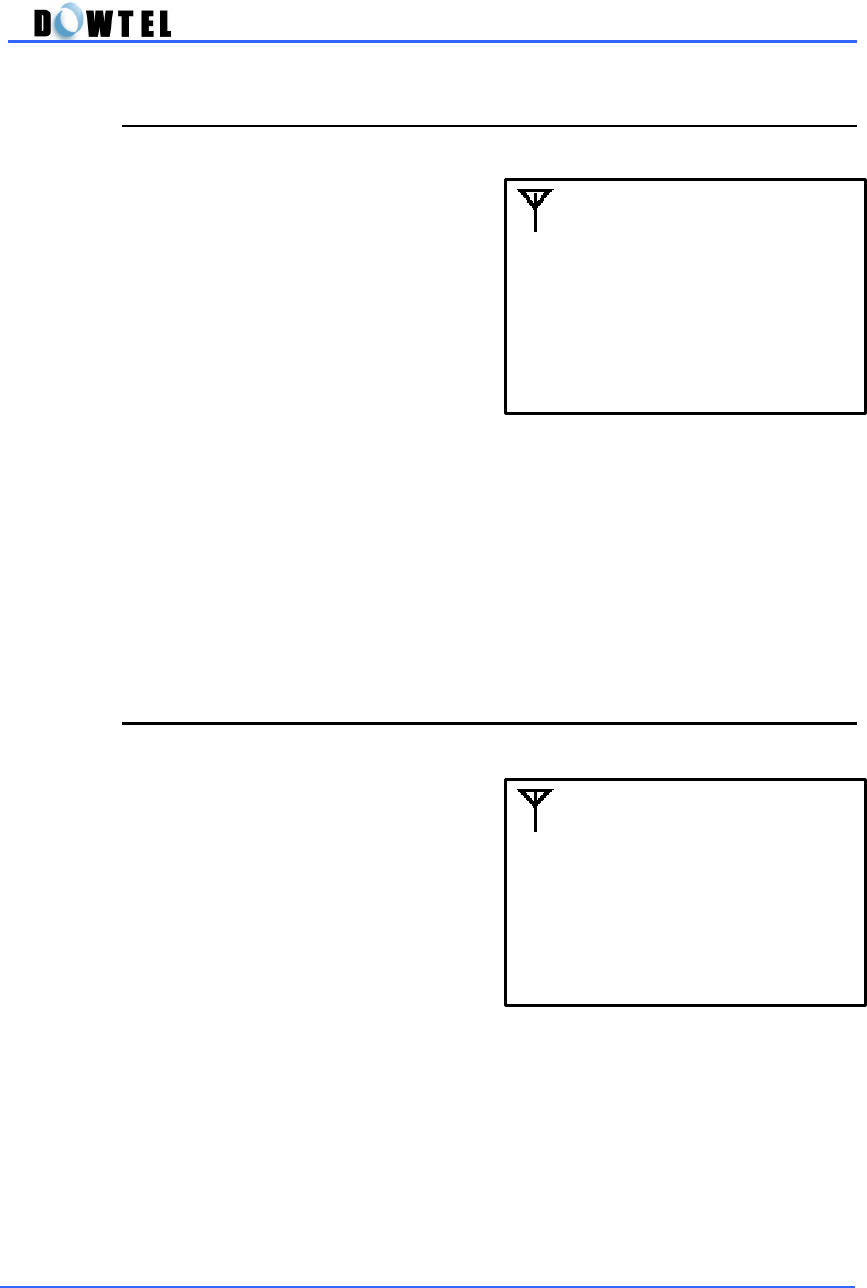
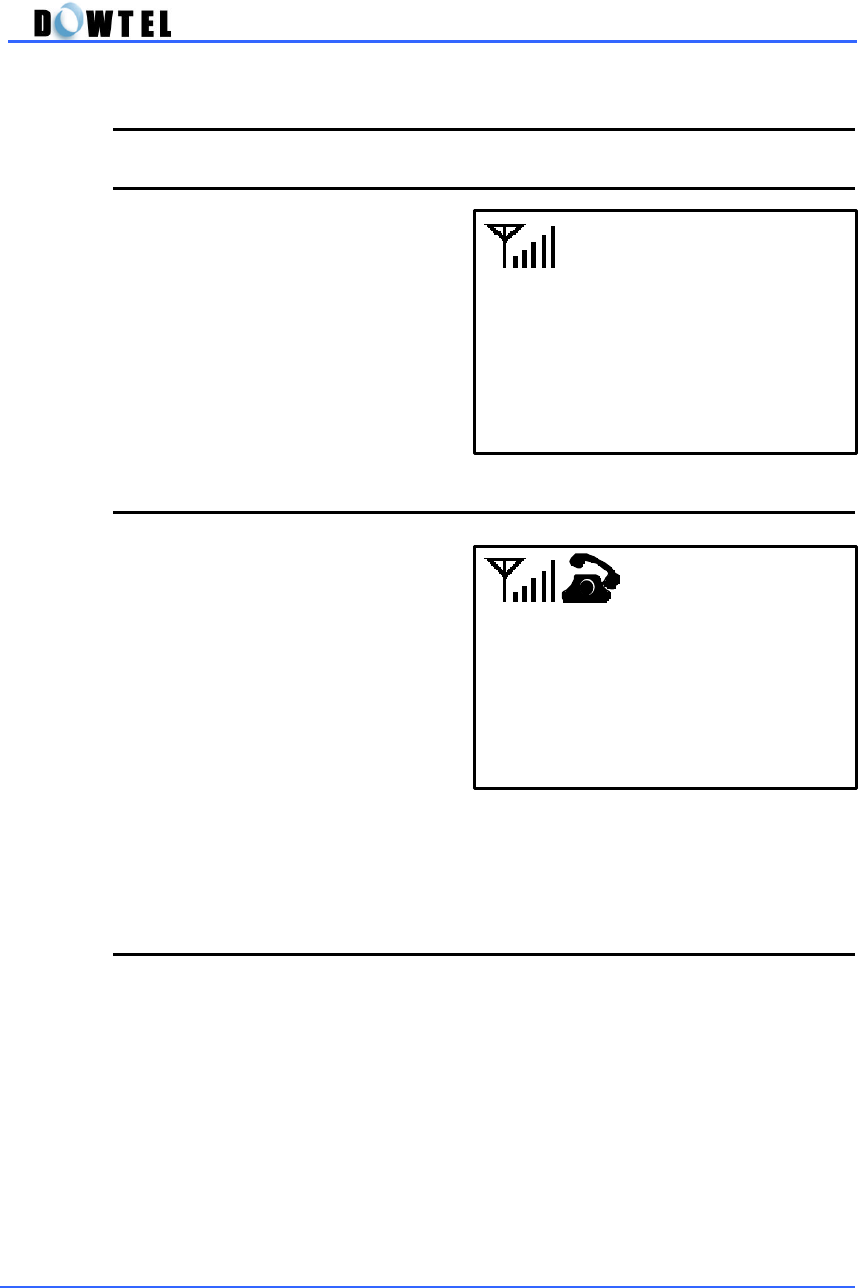
④
Adjust the antenna direction until the maximum Antenna power sign is
displayed on the LCD screen.
(Each bar indicates the received signal strength. The more bars
mean the higher signal strength, the better service condition.)
☞
See 2.1 Power-Up / Power-Down
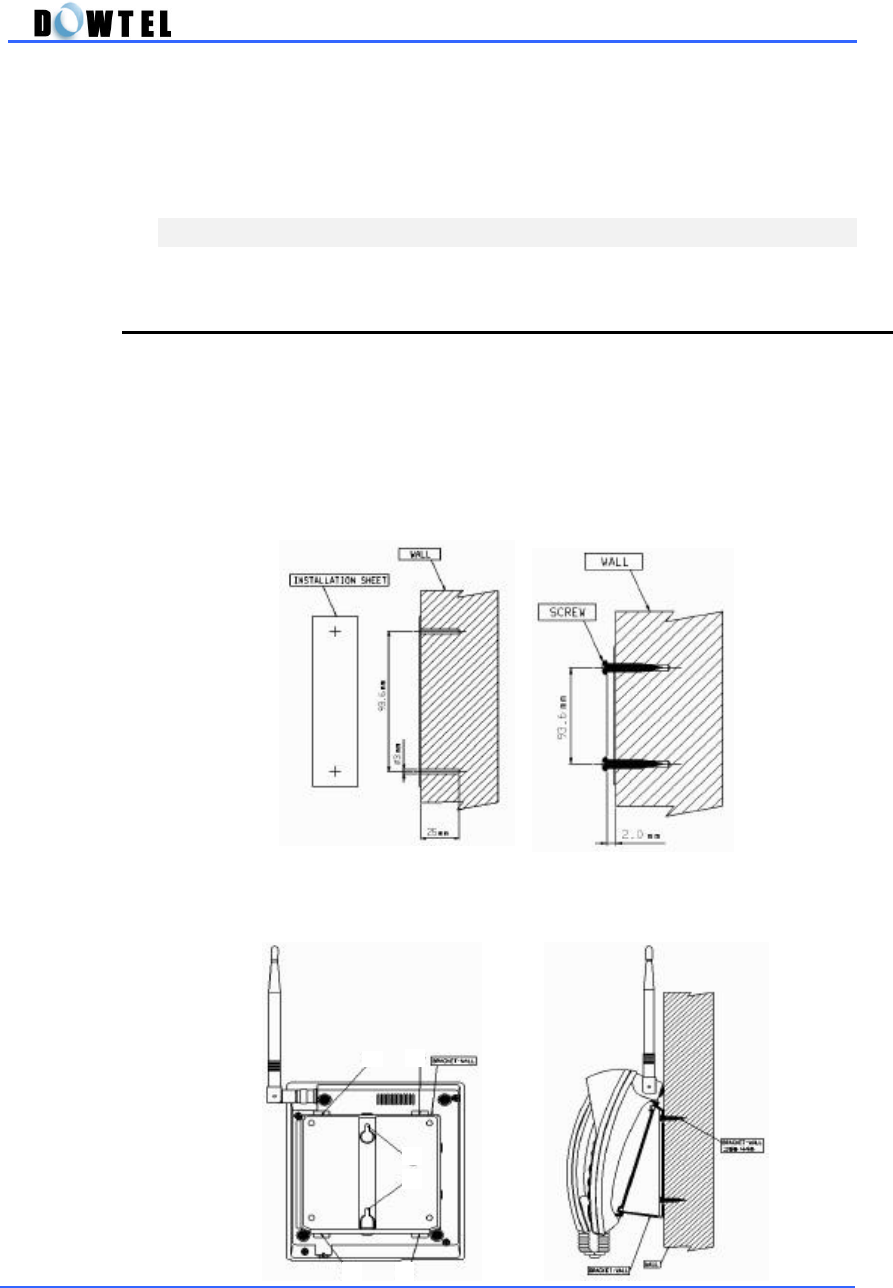
1.2 Installation of the Wall Bracket
Before finalizing the precise location of the phone, please perform the signal
strength test to find the best location after the unit is assembled.
①
In case of the concrete wall, make 3mm holes with a drill at the marked
location and attach the Installation Panel. When install mounting screws,
do not screw in all the way. Leave 2mm space between the screw head
and the installed panel.
②
On the bottom of the phone, please find the wall mounting slots(A1 ~A4).
Install A1 and A2 onto the top screws. And then push the wall mounting
slots A3 and A4 onto the bottom screws so that the phone is finally
seated.
A1
A2
A4
A3
B2
B1
DTP-800/DTP-1900 Operating Manual
4
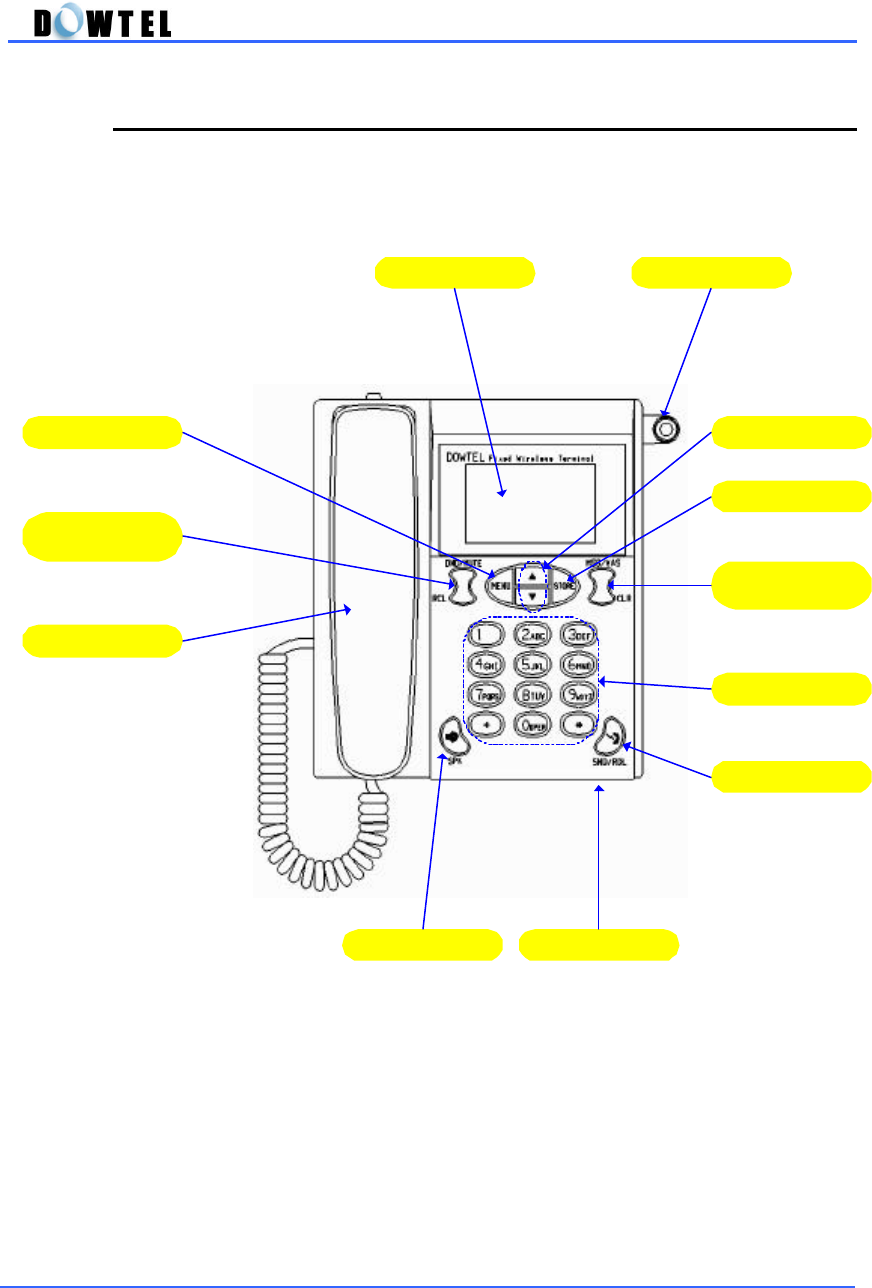
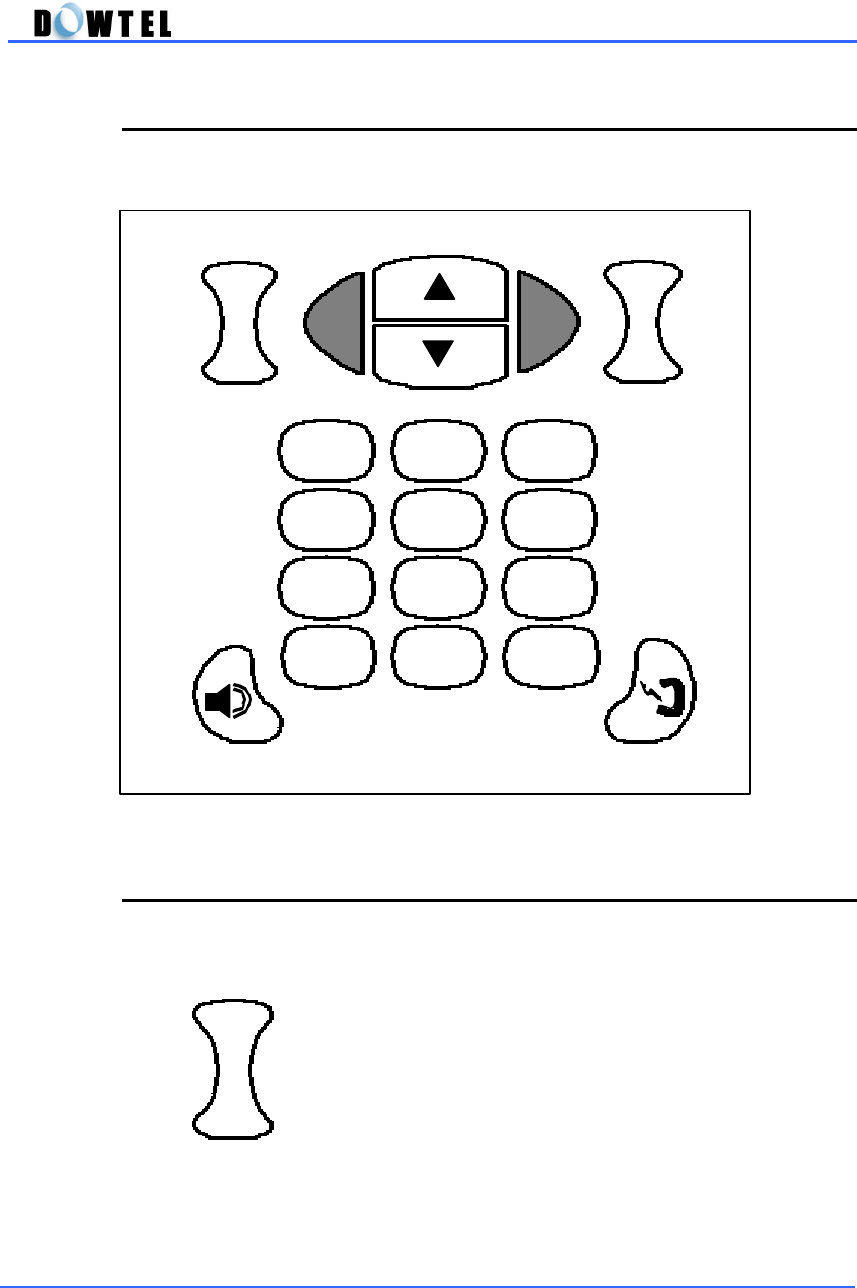
1.3 Panel Overview
LCD Antenna
Up/Down Button
STORE Button
MSG/VAS &
Clear Button
Dial Button
SND/RDL Button
MicrophoneSpeaker Button
Earpiece
DND/MUTE &
RCL Button
Menu Button
Figure: 1.2 - 1

DTP-800/DTP-1900 Operating Manual
5
Antenna
RF Connector Power Switch DC Power Jack Serial Port
Figure : 1.2 - 2

DTP-800/DTP-1900 Operating Manual
6
1.4 Safety Instructions
Basic safety precautions should always be followed to reduce the risk
when using this unit.
· Read and follow all instructions marked on the product.
· Do not disassemble this unit to reduce the risk of electric shock. When
the unit is subsequently used, incorrect reassembly can cause electric
shock. When service is required take the unit to an authorized service
center.
· Do not hold or contact the antenna while a call.
· Do not overload the wall outlets and the extension cord.
· Do not use this product near the water and never spill any liquid on the unit.
This may result in the risk of fire or electric shock.
· Do not place this product on unstable location (cart, stand or table). This
may result in the risk of serious damage if this product may fall.
· Do not cover slots and openings on the unit. This product is provided for
ventilation and protection against overheating. Do not place this product
near the heater or radiator where proper ventilation is not provided.
· This product should be operated from the type of power source marked on
the product. If you are not sure of the type of power available, consult
with your dealer or local power company.
· Never push objects of any kind into this product, since this may result
serious voltage short. It can result in the risk of fire or electric shock.
· During thunderstorms, avoid using this product. There may be a remote
risk of an electric shock from lighting.
· Unplug this product from the wall outlets and refer servicing to an
authorized service center under the following conditions:
- When the power supply plug is damaged or frayed.
- If liquid has been spilled into this product.
- If this product has been exposed to water or rain.
- If this product does not work properly when the operating instruction
are followed.
- If this product has been dropped or damaged.
- If this product exhibits a distinct change in performance.
DTP-800/DTP-1900 Operating Manual
7
2. Before Using
2.1 Power-Up / Power-Down
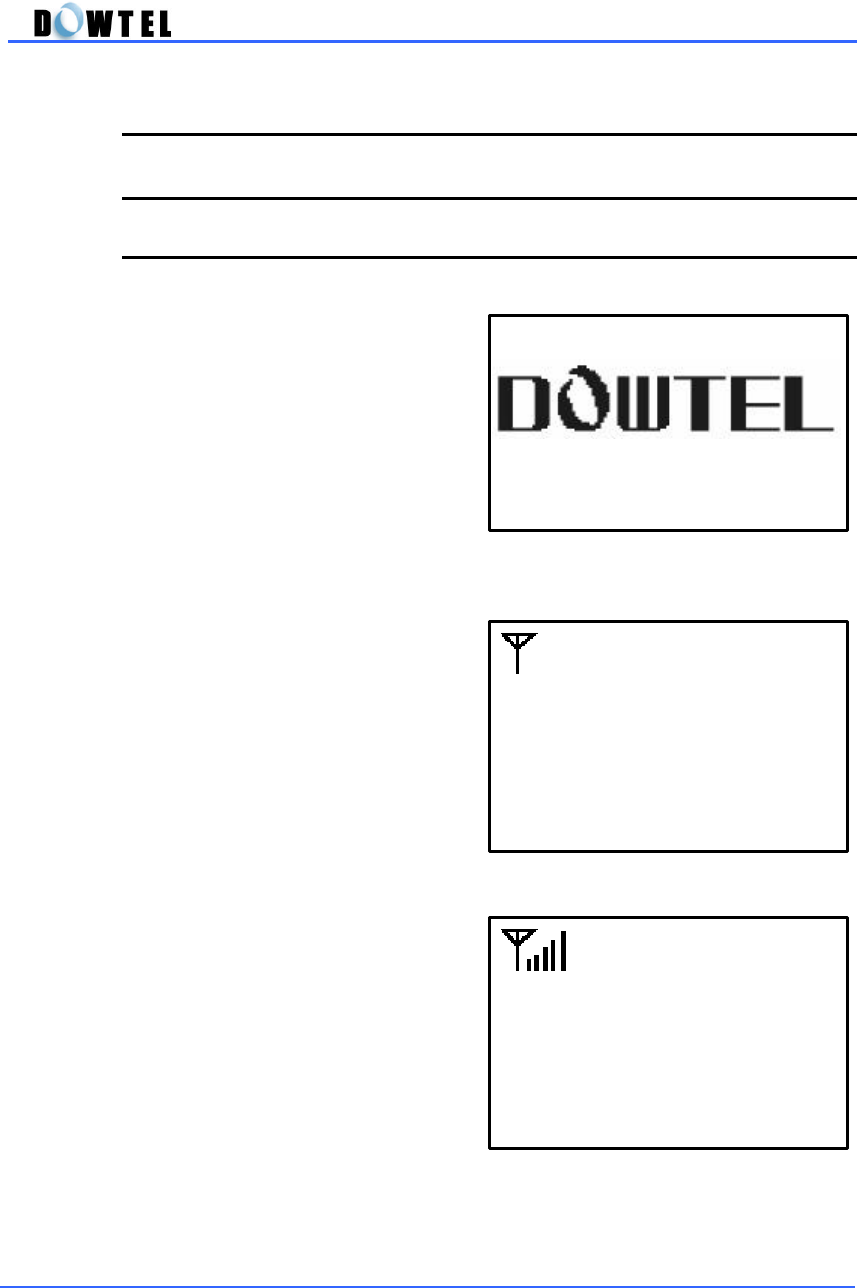
2.1.1 General Power-Up
①
Manufacturer’s logo will be
displayed for 1 second when
the power is turned on.
②
The screen (figure 2.1.1-2) will
be displayed with the power-up
sound.
③
If the phone receives the signal
from the Service Provider, the
screen displays the default date
and time set by factory. (figure
2.1.1-3)
Figure : 2.1.1-3
11:11 am
Nov 11 (Sun)
Figure : 2.1.1-1
Figure : 2.1.1-2
DOWTEL
WIRELESS PHONE
DTP-800/DTP-1900 Operating Manual
8
2.1.2 No Service
If “No Service” message is appeared
like the figure 2.1.2, the location
where the phone is installed may be
the area of which the signal from the
Service Provider is not delivered to
the phone.
If the number of bar beside the Ant.
symbol on the screen in figure 2,1,1-
3 is small, it means the received
signal strength is weak. < Reference
2.3.1 RSSI Icon>
In this case, adjust the direction of antenna until the number of bar is
displayed as many as possible.
If the condition like figure 2.1.2 is continued or the number of bar is
small despite of changing the direction of antenna, please ask the
service center.
2.1.3 Registration Required
If “Registration Required” message
is appeared like figure 2.1.3, it
means this phone cannot be
registered to the Service Provider.
In this case, report to the Service
Provider immediately.
Figure : 2.1.2
No Service
Figure : 2.1.3
Required
Registration

DTP-800/DTP-1900 Operating Manual
9
2.1.4 Power
Two types power is used in this phone.
- AC power : 100 ~ 270 V
- Internal Battery
If the AC power is suddenly disconnected to the phone by a power failure or
any reason, the power source is automatically changed from AC power to
internal battery. When the status of power switch of the phone is turned on,
the phone normally works as long as you disconnect the AC power.
If you don’t want the power entirely, you must turn off the power switch.
DTP-800/DTP-1900 Operating Manual
10
2.2 Keypad
As shown in the figure below, there are 12-Dial Button and 10-Function
Button in this phone.
Figure : 2.2.1
2.2.1 DND/MUTE & RCL
DND/MUTE
- Use this button to set on/off the [DND(Do Not
Disturb)] function if you don’
t want to answer
the incoming call in idle-state. (Reference 3.8)
- Use this button to set on/off the [MUTE]
function if you don’t want to send sound to the
calling party through the handset or
microphone during the conversation.
RCL
Use this button to find the last dialed phone
number and to search the stored number in the
Phone Book.
STORE
MENU
CLR
RCL
DND/MUTE
MSG/VAS
SPK
SND/RDL
3
DEF
6MNO 5JKL
8TUV 7PQRS
9
WXYZ
1
0
OPER
*
#
4GHI
2
ABC
RCL
DND/MUTE
DTP-800/DTP-1900 Operating Manual
11
<Note>
DND/MUTE & RCL and MSG/VAS & CLR buttons are designed as an
one -button as shown in figure 2.2.1. But these buttons separately
operate the upper side and bottom side of the button to work their own
function.
2.2.2 MENU
Use this button to set the [MENU] mode or return
to Idle-state.
2.2.3 UP / DOWN
Use this button to set the [MENU] mode, adjust
the ringer and voice volume, and store/find the
phone number in the Phone Book.
2.2.4 STORE
Use this button to store the Phone Numbers and
setting-value under the [MENU] mode.
MENU
STORE
DTP-800/DTP-1900 Operating Manual
12
2.2.5 MSG/VAS & CLR (Clear & Recall)
MSG/VAS
- Use this button if you want to retrieve the text
message of SMS(Short Message Service)
transmitted and received during the idle-state.
- Use this button to make a call to VMC(Voice
Message Center) direct to retrieve the voice
mail after picking up the handset or setting the
speakerphone on.
CLR
Use this button to erase the number when you
dialed incorrectly or when you stored the number
in the Phone Book incorrectly.
2.2.6 SPEAKER [SPK]
Use this button to make a call or receive a call by
using speaker phone.
2.2.7 SEND & REDIAL [SND/RDL]
Use this button to send the dialed number when
you make a call and redial the last number dialed.
CLR
MSG/VAS
DTP-800/DTP-1900 Operating Manual
13
2.2.8 Dial Button(0~9, * , # )
- Use this button to store the phone number
- There are small alphabets beside the numeric number on the each Dial
Button. It is used to store the name related with the phone number
when you want to store the phone number.
<Example for use>
If you want to store “DOWTEL3”, follow below procedure.
As shown in the example above, the output alphabet character is serially
displayed on the LCD screen when you press the button repeatedly.
<Note>
You can store the name with only uppercase character.
3→6→6→6→9→8→3→3→5→5→5→3→3→3→3 → [STORE]
D O W T E L 3
DTP-800/DTP-1900 Operating Manual
14
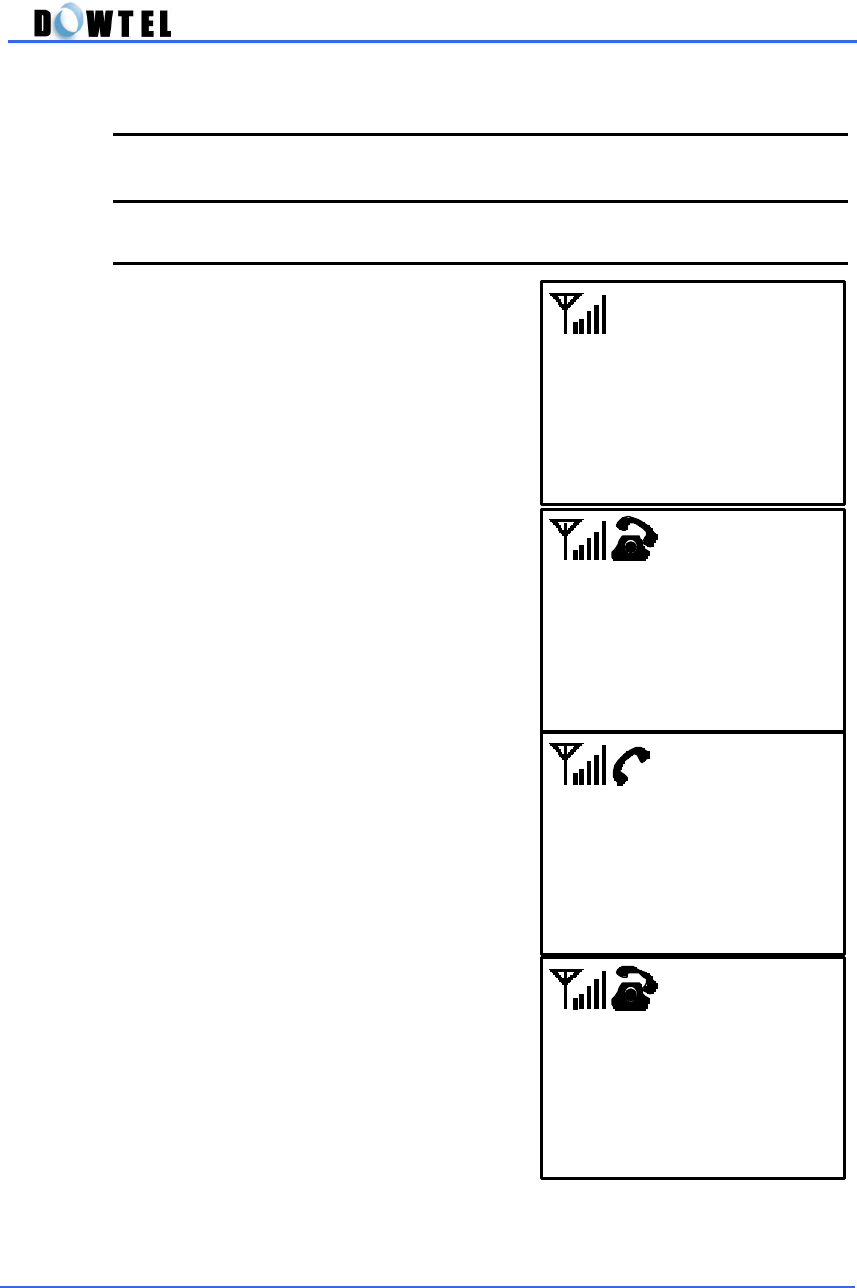
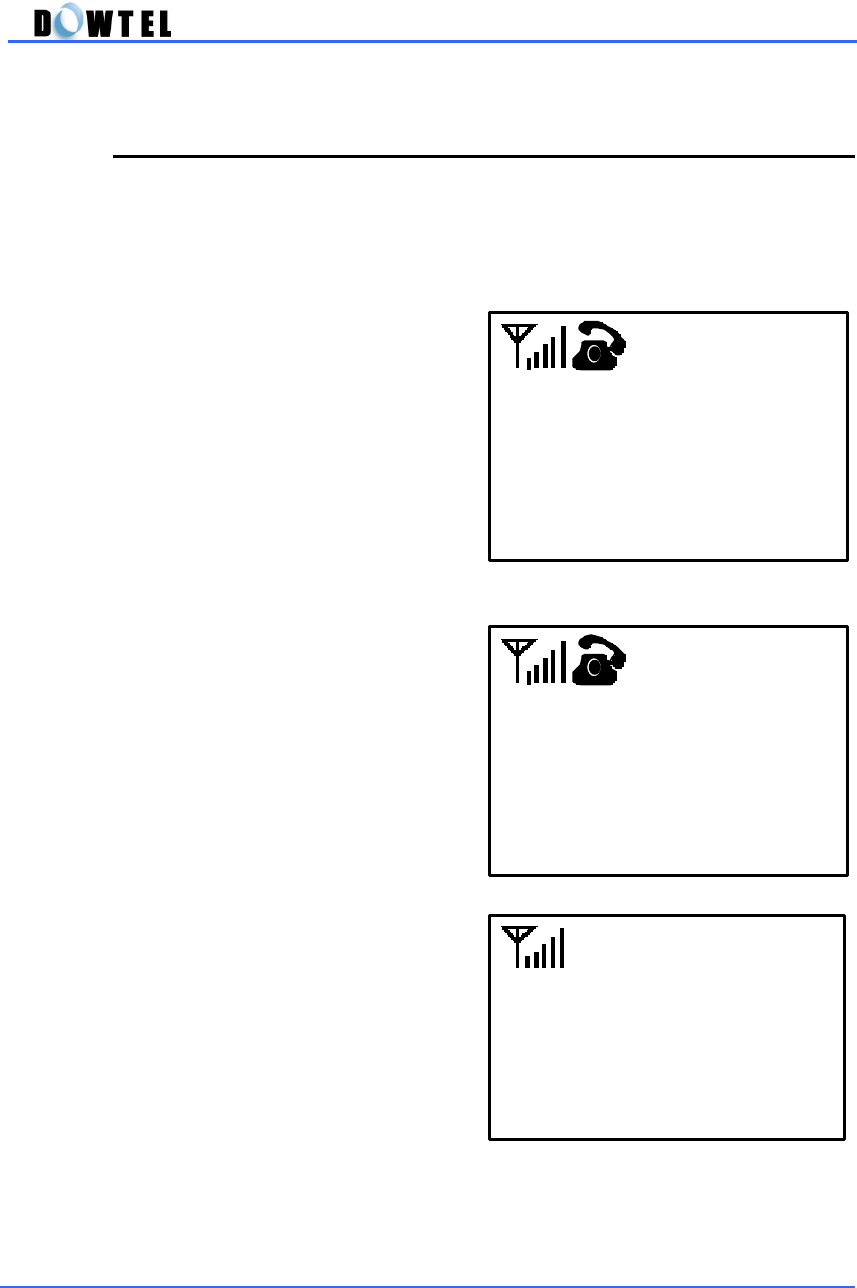
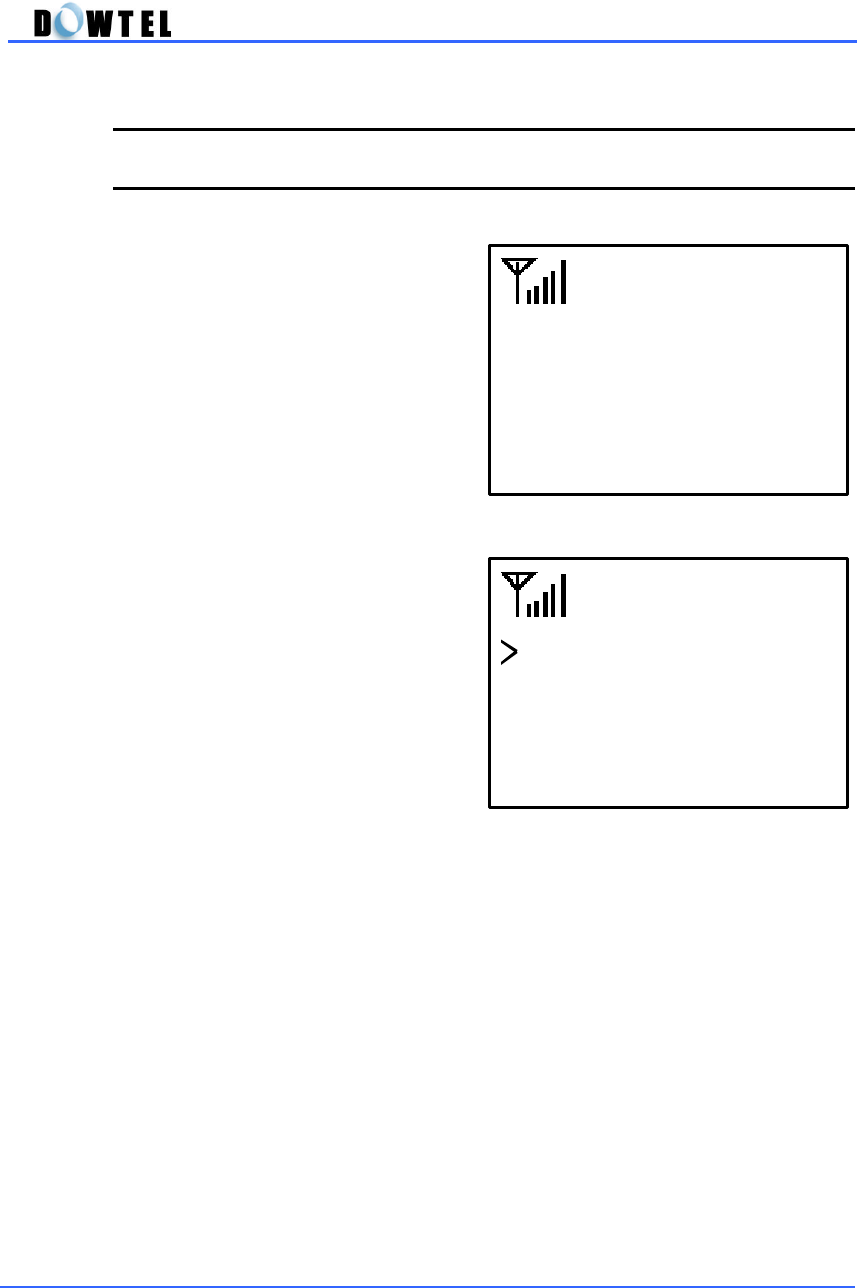
2.3 ICON
The various icons are displayed in the first line on the LCD screen to indicate
the setting-status and operating-status of the phone.
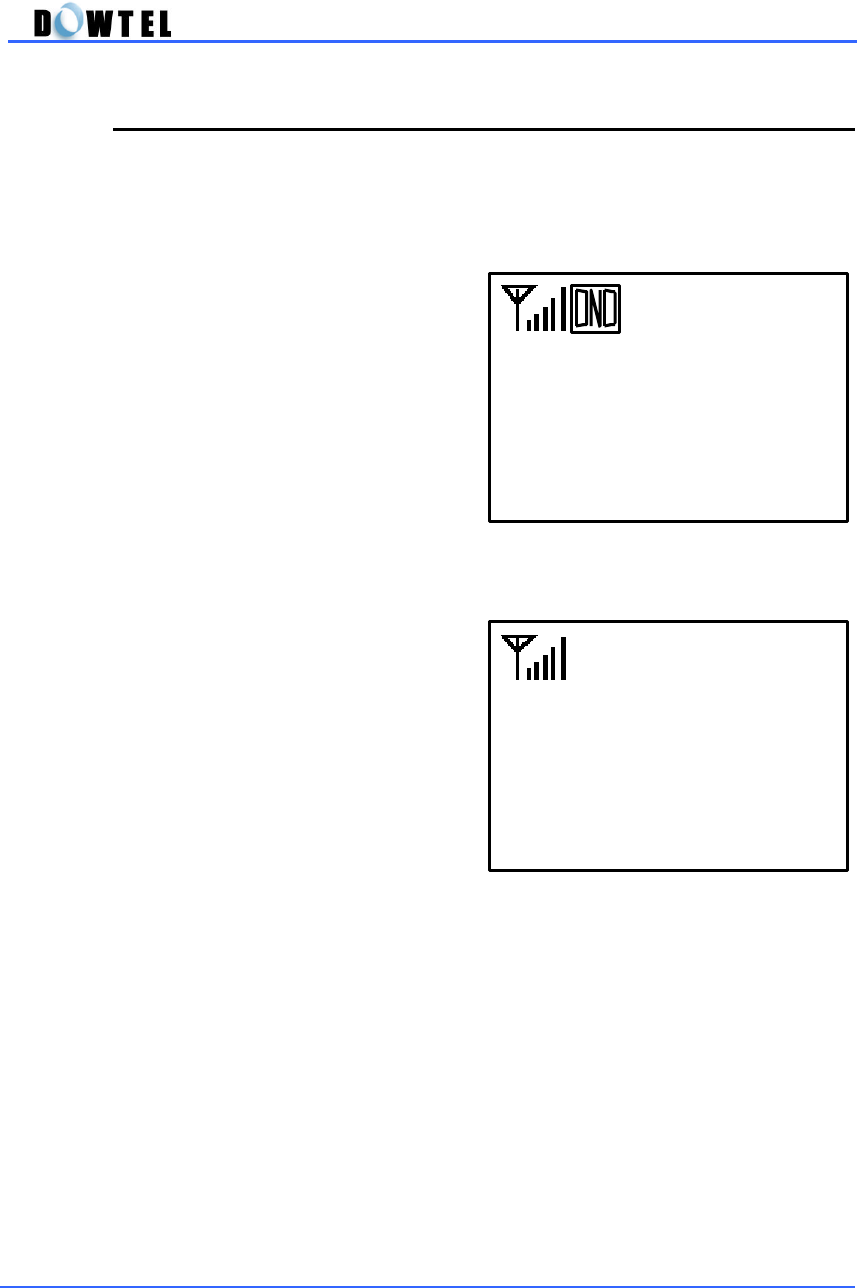
2.3.1 RSSI Icon
- Indicate the strength of received signal. It is closely
related with the quality of service.
- There are 5 bars with different length. It is the best
condition if all bars are displayed beside the Antenna.
symbol.
- When there is only 1-bar on the screen, it means poor
service condition. With flashing icon, the phone is
capable of only marginally dependable phone operation,
means phone can be disconnected.
- When there is no bar on the screen, you cannot make a
call because there is no received signal from the service
provider in your area.
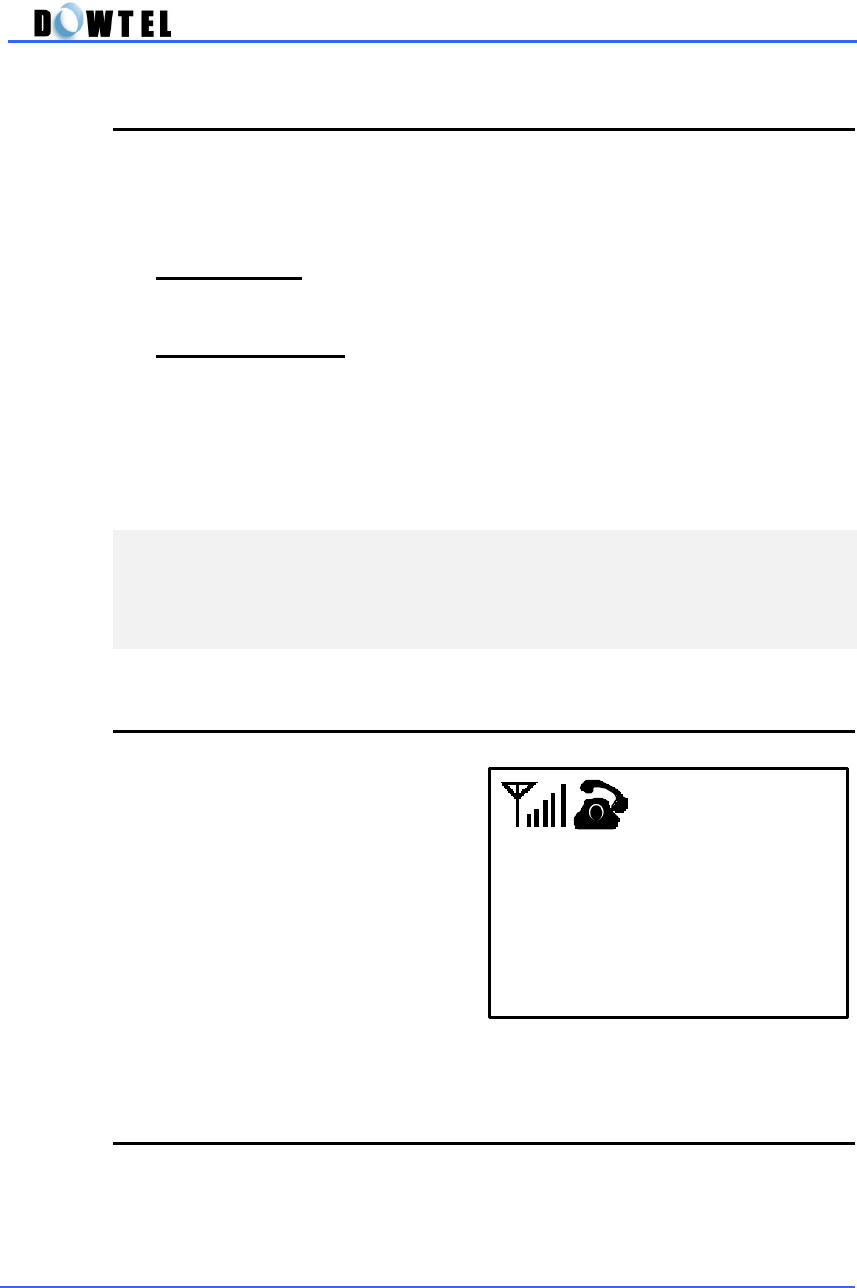
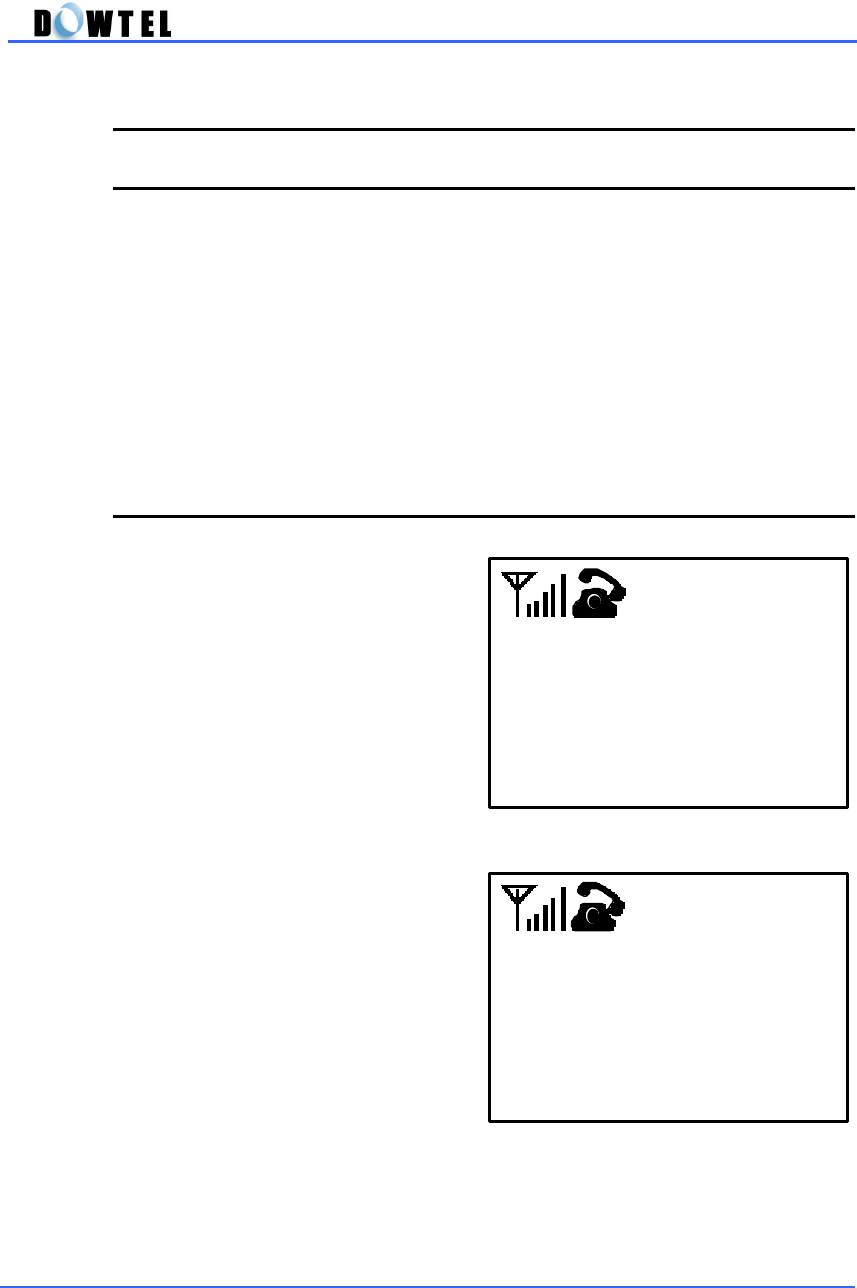
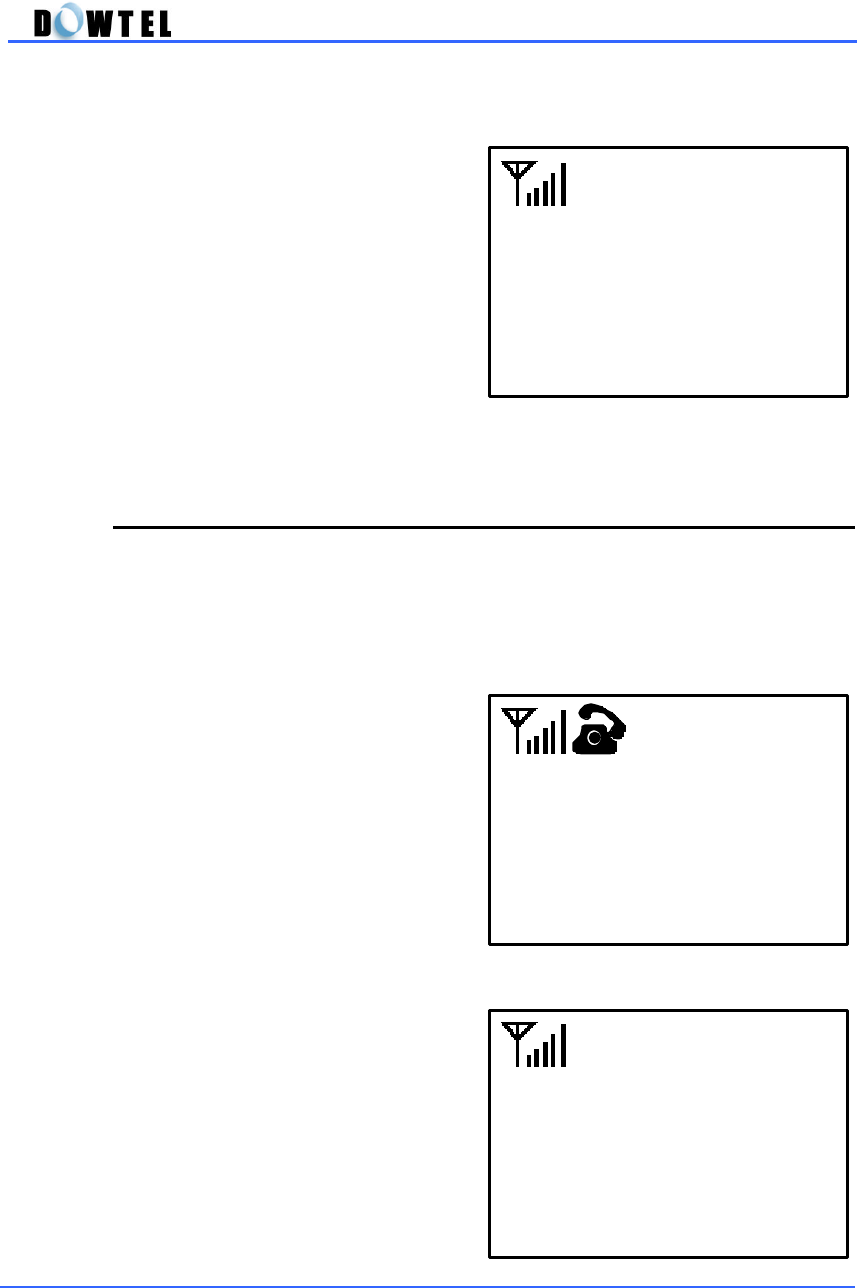
2.3.2 Connecting Icon
- Indicate the phone is processing a call when you press
the [SND/RDL] button to make a call.
- This icon is displayed with the “Connecting…” message.
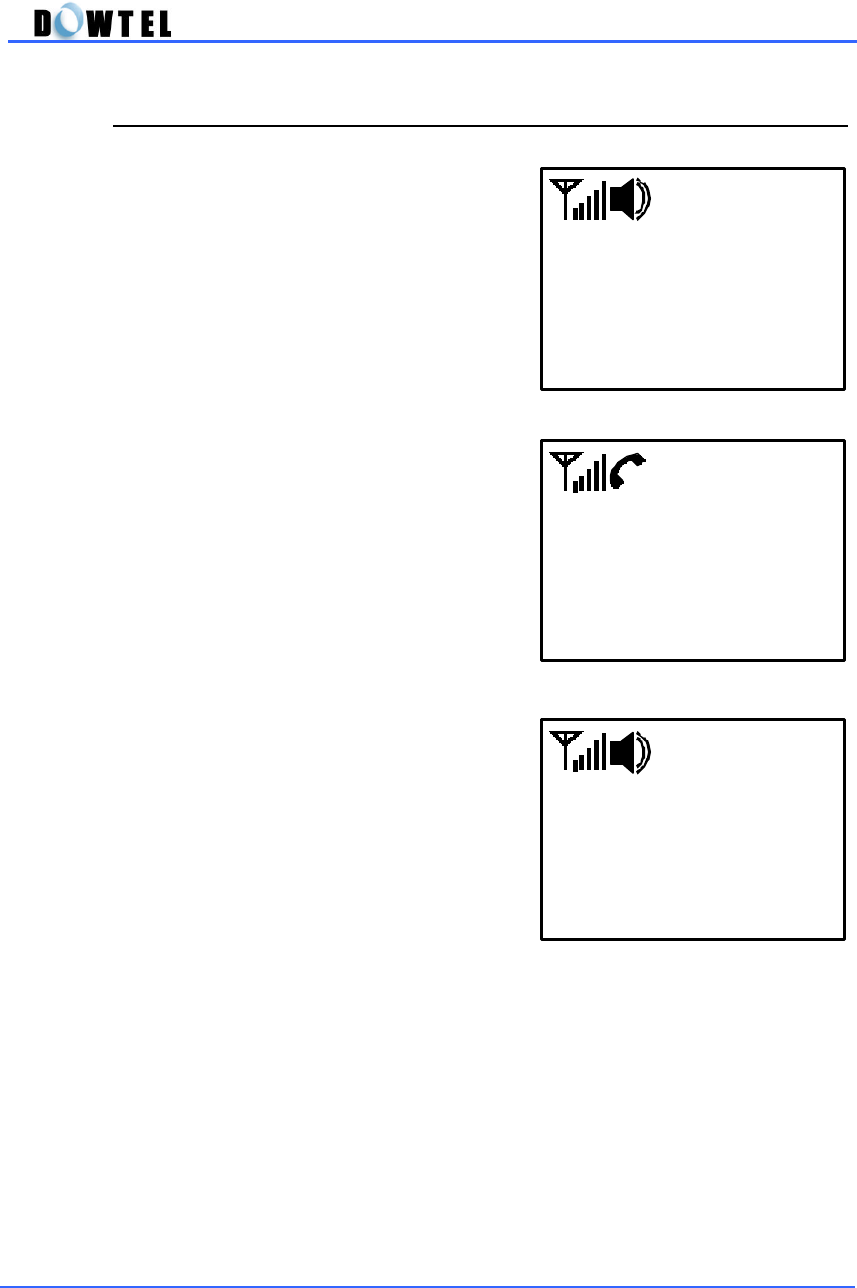
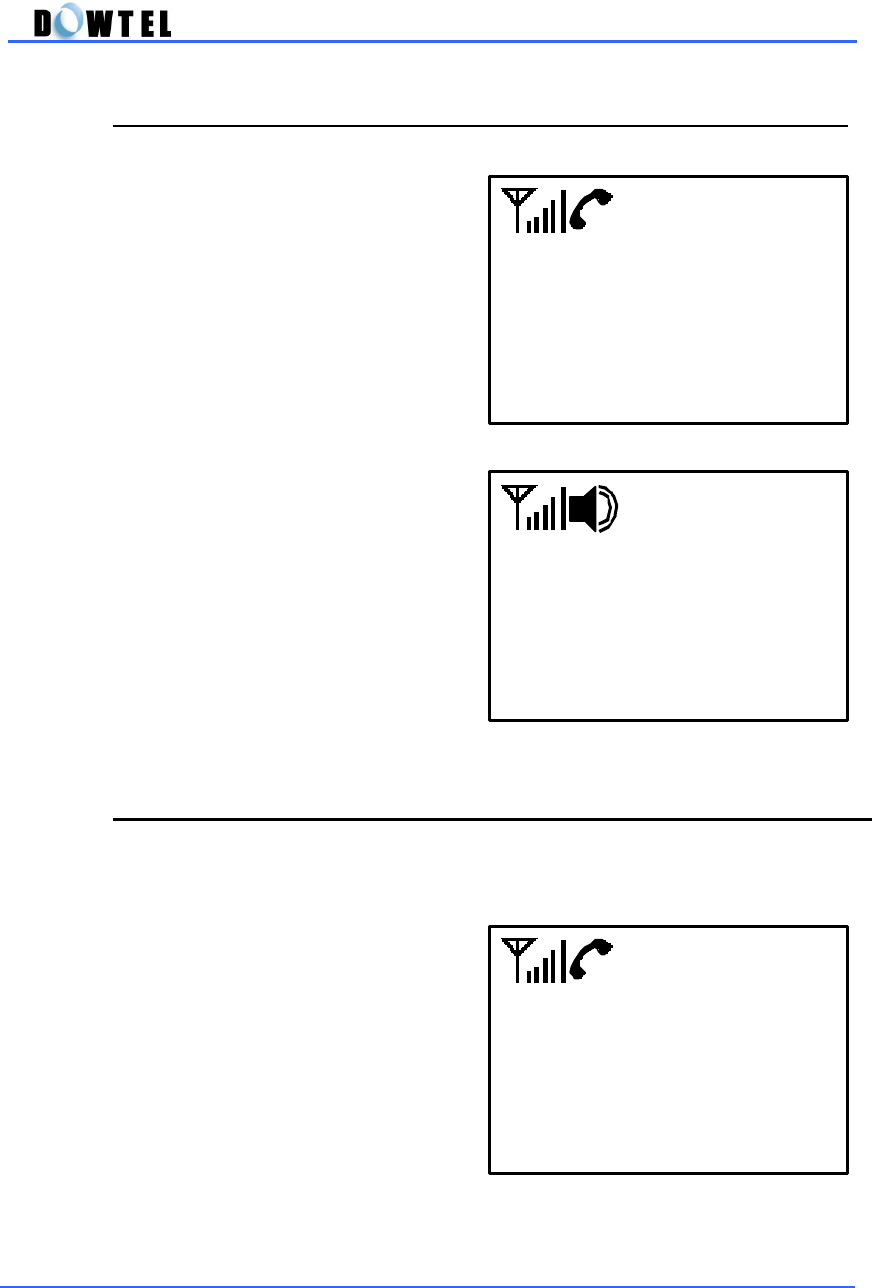
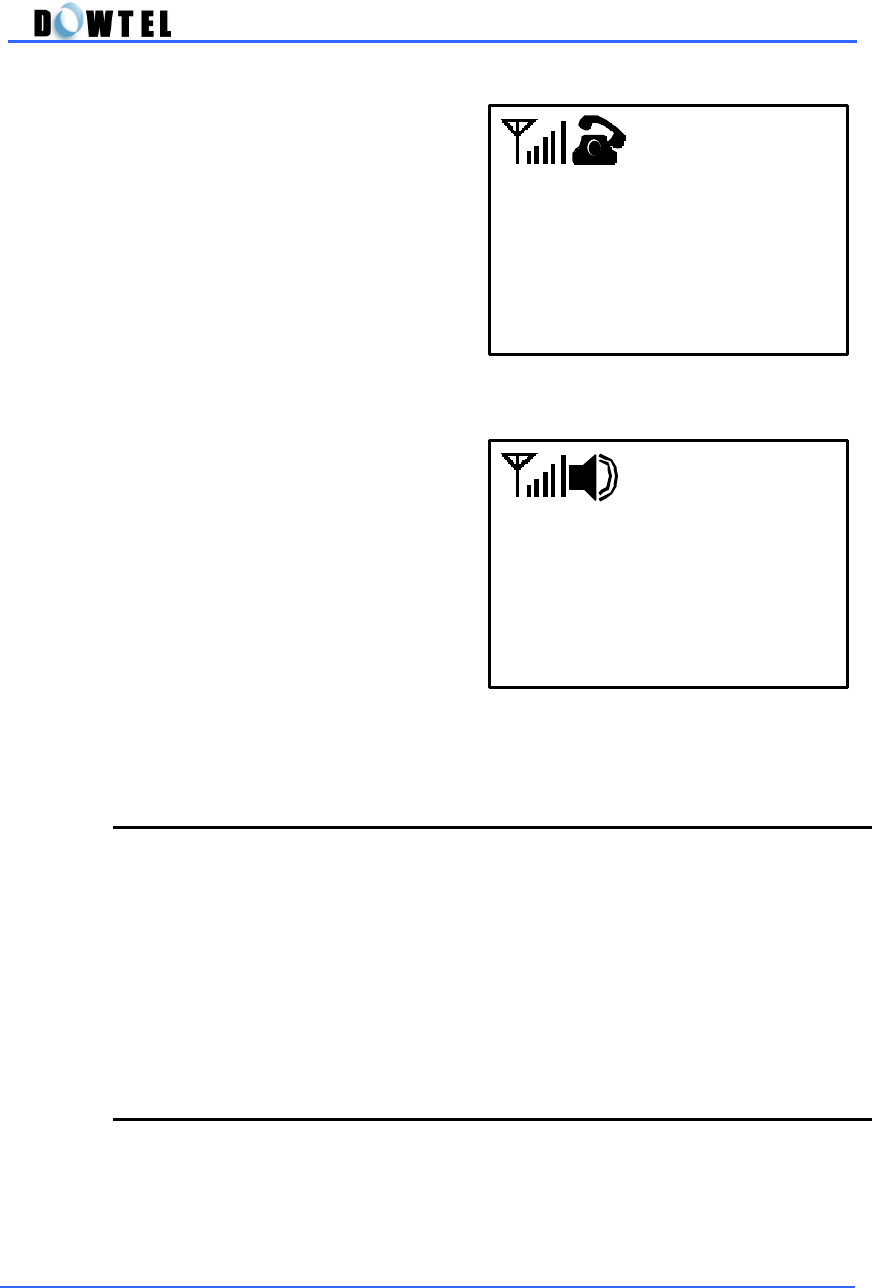
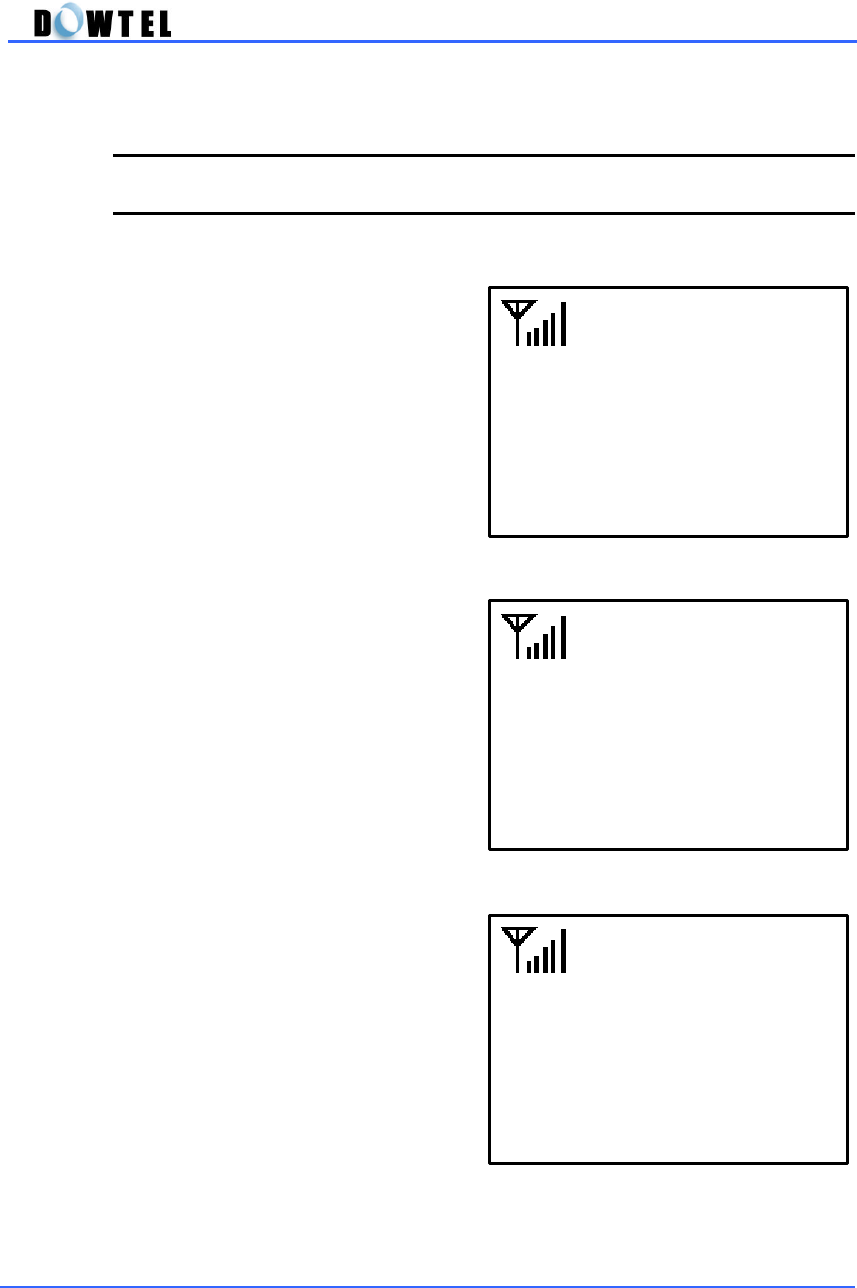
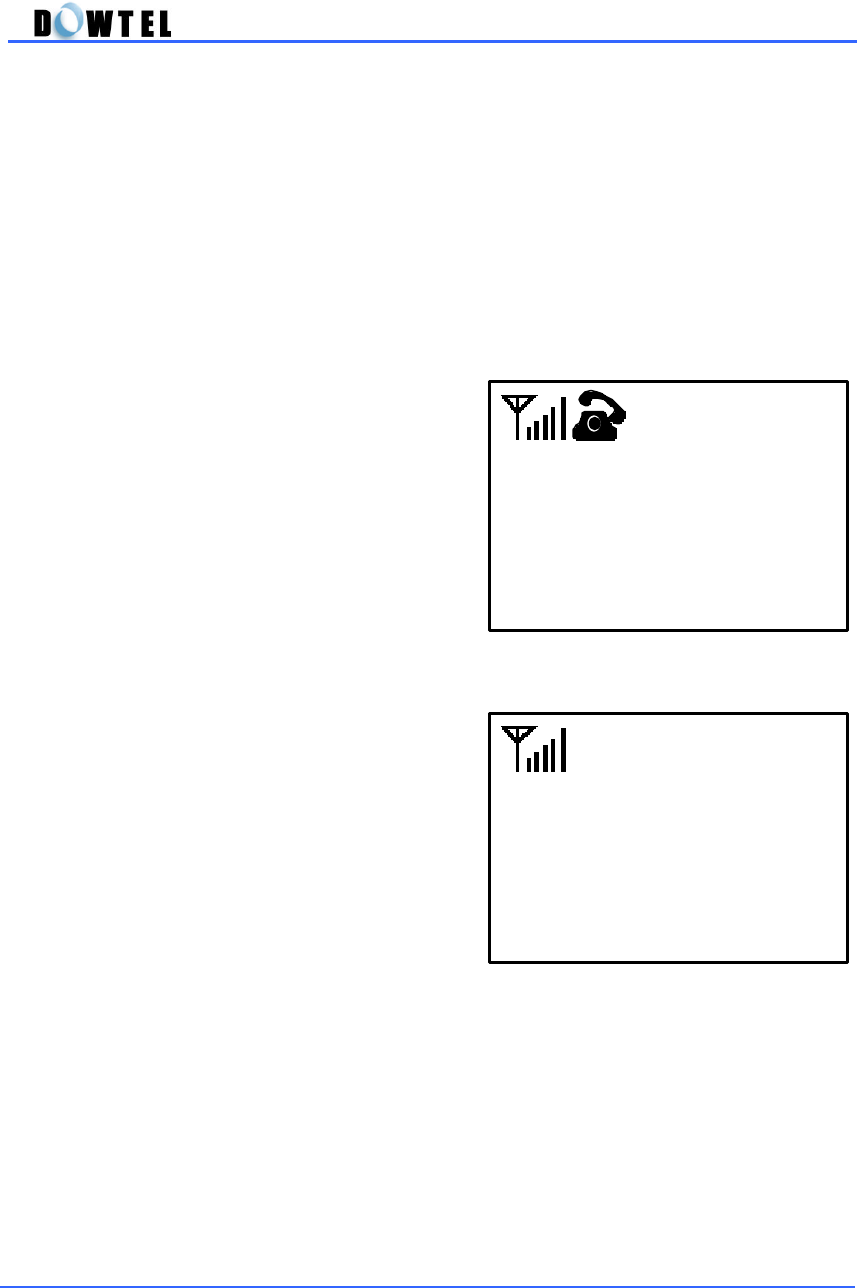
2.3.3 Off-Hook Icon
- Indicate the Hook Switch Mode of the phone.
- It is displayed when the handset is picked up from the
phone.

DTP-800/DTP-1900 Operating Manual
15
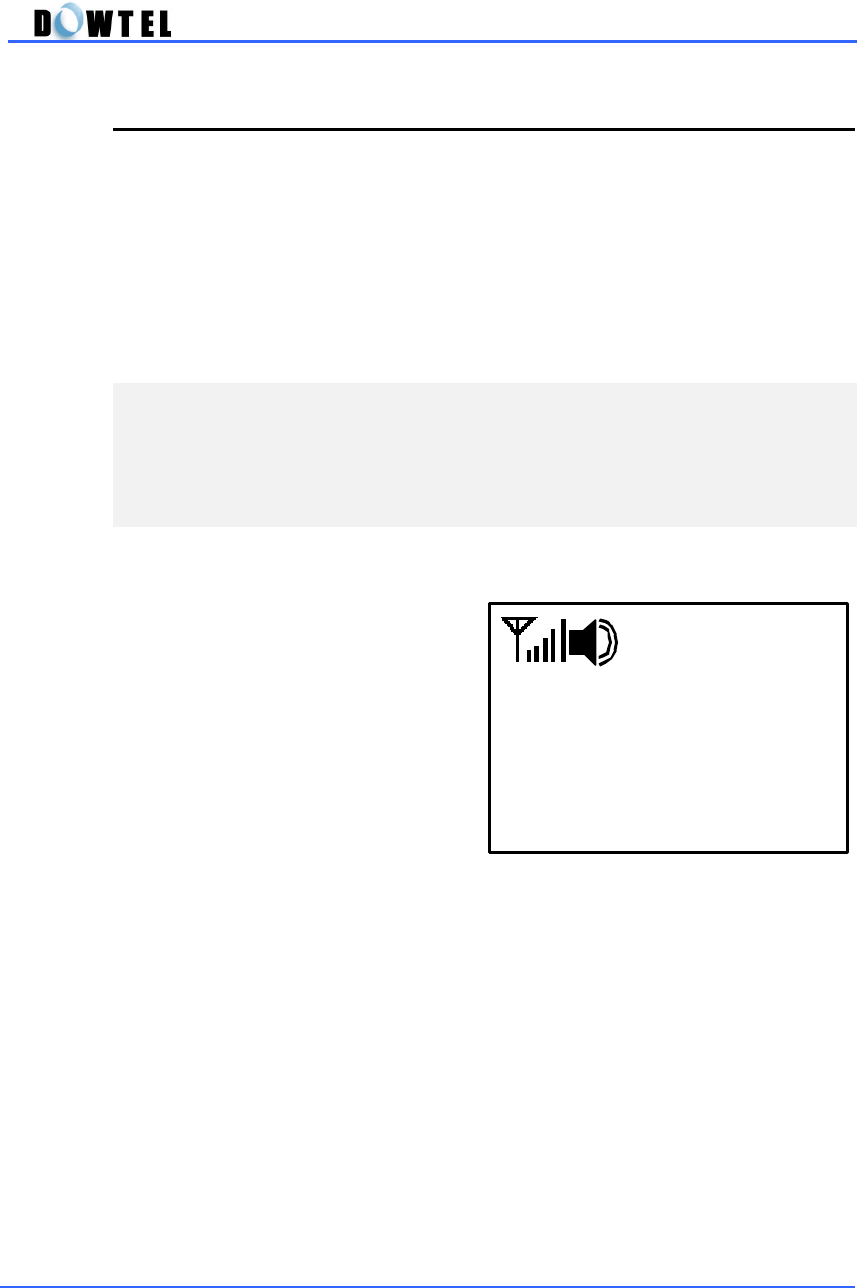
2.3.4 Speaker Phone Icon
- Indicate the phone is in Speaker Phone Mode.
- It is displayed when you attempt to make a call using
the speaker and microphone.
2.3.5 Voice Mute Icon
- Indicate the status that the user’s voice, any
surrounding sounds, and keypad tone are not
transmitted to the calling party.
- When you set this function on during a conversation, No
sound will be transmitted.
2.3.6 PC Fax Receiving Mode Icon
- Indicate the status that the phone is set in PC Fax
Received Mode to receive the fax using data service.
- “Fax Rcv Mode” message is displayed in the bottom line
on the screen with this icon.
- If a call is received, the Fax Utility connected with the
phone in the PC is automatically answered and received
the fax. And you cannot speak through the handset or
speakerphone.
- You can make a call while in this mode.
2.3.7 Modem Receiving Mode Icon
- Indicate the status that the phone is set in Modem
Received Mode to transmit/receive the file using data
service.
- “Modem Rcv Mode” message is displayed in the bottom
line on the screen with this icon.
- If a call is received, the Communication Utility
connected with the phone in the PC is automatically
answered and received the file. And you cannot speak
through the handset or speakerphone.
- You can make a call while in this mode.
DTP-800/DTP-1900 Operating Manual
16
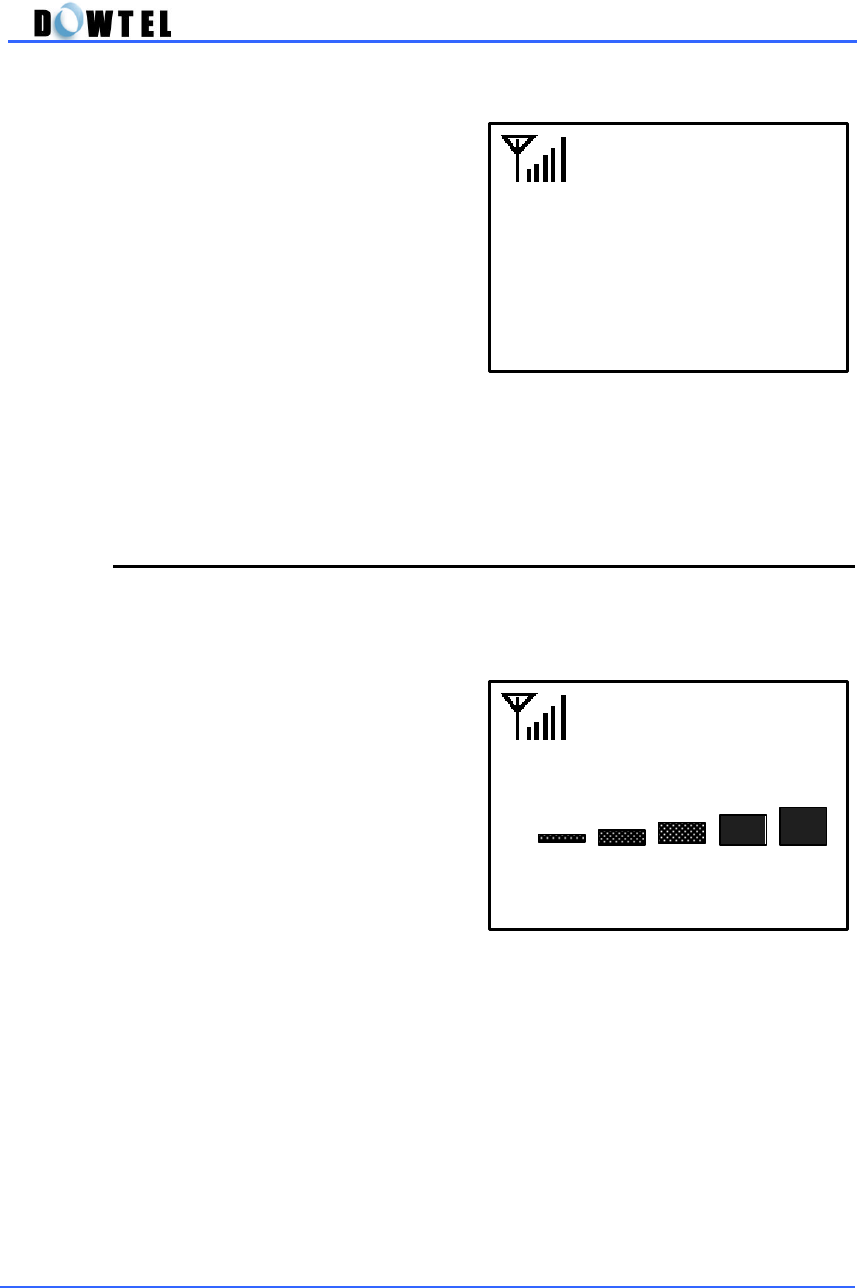
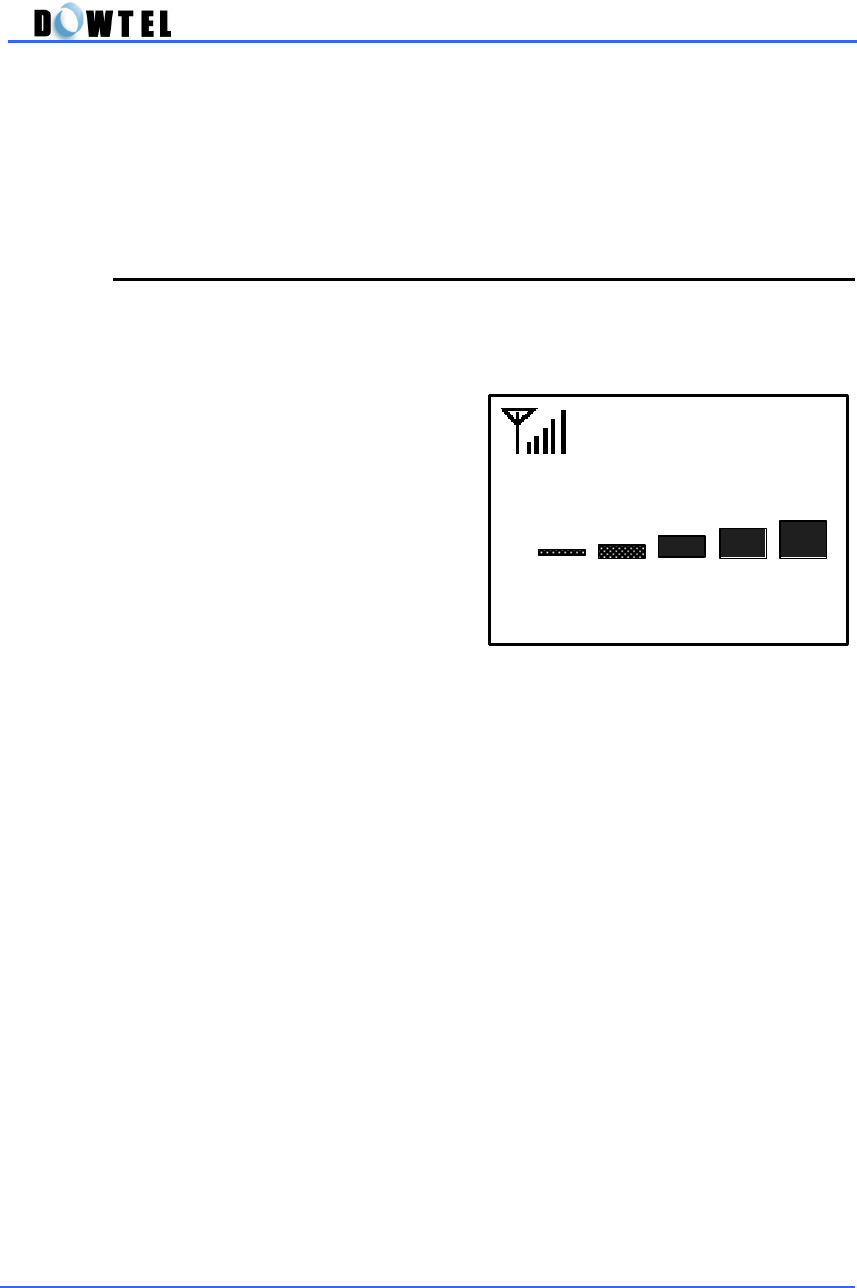
2.3.8 Battery Icon
- Indicate the strength of the battery installed inside the
phone
- The battery strength is displayed 5-step.
- When the battery strength is weakening, the phone
beeps to request the recharge of the battery.
2.3.9 DND (Do Not Disturb) Icon
- Indicate the status that user set DND function on to
deny the incoming call when user don’t want to answer
the incoming call.
- During this icon is flashing, the phone doesn’t answer to
the incoming call.
2.3.10 Message Icon
- Indicate the status that the phone is received the Text
Message and/or Voice Message.
- When the message is received, this icon is displayed on
the screen with the indicate-tone.
- You can read the received message and retrieve the
voice mail through the Voice Mail Center (VMC) in the
system using the [MSG/VAS] button.

DTP-800/DTP-1900 Operating Manual
17
2.4 Sound & Tone
2.4.1 Power-up Sound
When you turn on the power of the phone, The phone starts with the beep-
sound.
2.4.2 Dial Tone
This sound indicates that the phone is able to connect with the system and
you can make or receive a call
2.4.3 Warning Tone
When the phone is unable to connect with the system or the handset is
incorrectly placed on the phone, it beeps through the handset or speaker.
2.4.4 Howler Tone
It beeps for 30 seconds through the speaker when same situation is
continued even though the warning tone is stopped.
2.4.5 Keypad Tone
When you push the keypad, it beeps through the speaker or handset.
2.4.6 Ring Sound
When a call is being received, it beeps through the speaker.
2.4.7 Alert Beep per 1 min
When you make a call, it beeps every 1minute during the conversation.
2.4.8 Low Battery Warning Tone
When you use the phone using the internal battery, it beeps through the
speaker when the battery strength is weak.

DTP-800/DTP-1900 Operating Manual
18
2.4.9 SMS/VMS notification tone
It beeps through the speaker when the phone is received the SMS or VMS
message.
2.4.10 Error Beep Tone
It beeps when the user push the keypad incorrectly. In this case, the
incorrect operating is ignored.
DTP-800/DTP-1900 Operating Manual
19
3. Basic Function
3.1 Making Calls
3.1.1 Using the Handset
▶ Pick up the handset and dial the
phone number you want to make a
call.
▶ Press the [SND/RDL] button
.
▶ The call is connected.
11:11 am
Nov 11 (Sun)
1001234
1001234
Connecting…
1001234
00:01
DTP-800/DTP-1900 Operating Manual
20
3.1.2 Using the Speaker Phone
▶ Press the [SPK] button and dial the
phone number you want to make a
call.
▶ Press the [SND/RDL] button.
▶ The call is connected.
1001234
Connecting…
1001234
00:01
1001234
DTP-800/DTP-1900 Operating Manual
21
3.1.3 On-Hook Dialing
▶ Dial the phone number, and then
press the [SND/RDL] button.
▶ The speaker phone operates
automatically, and then the call is
connected.
3.1.4 Redial the Last Number called
<Method 1>
▶ Pick up the handset or press the
[SPK] button, and then press
[SND/RDL] button.
(figure 3.1.3-1)
1001234
Connecting…
(Figure 3.1.4-1)
1001234
Connecting…
(Figure 3.1.3-2)
1001234
00:01
DTP-800/DTP-1900 Operating Manual
22
▶ The last number dialed is
connected automatically.
<Method 2>
▶ Press the [SND/RDL] button, and
then the speaker Phone operates
automatically.
▶ The last number dialed is
connected.
3.1.5 Speed Dial
You can store up to 99 phone numbers in this phone using 2-digit addresses
(01~99). The stored numbers in the Phone Book allow you to make a call
simply by just press these addresses.
And you can search and edit the number in the Phone Book. The method
of store/search/edit of the phone number is explained next chapter.
3.1.5.1 One-Touch Dialing
This function allows you to simply make a call just pressing the memory
station number ([0] ~ [9]).
(Figure 3.1.4-2)
1001234
00:01
(Figure 3.1.4-3)
1001234
00:01
DTP-800/DTP-1900 Operating Manual
23
<Method 1>
▶ Pick up the handset or press the
[SPK] button.
▶ Press the memory station
number stored in the address [1] ~
[9] for over 2 seconds then the
stored number dialed, or press the
memory station number shortly,
and then press the [SND/RDL]
button.
(Example)
When you want to make a call to the number stored in address [1], press
the [SND/RDL] button after press [1] button shortly or press [1] button for
over 2 seconds.
▶ The number in the Phone Book
is connected.
<Method 2>
▶ Press the button of the phone
number stored in the address [1] ~
[9], and then press the [SND/RDL]
button.
(Figure 3.1.5.1-3)
Memory 1
Speed Dialing
(Figure 3.1.5.1-1)
Memory 1
Speed Dialing
(Figure 3.1.5.1-2)
1001234
Connecting…
DTP-800/DTP-1900 Operating Manual
24
▶ The speaker phone operates
automatically and the phone number
stored in the Phone Book is
connected.
3.1.5.2 Two-Touch Dialing
This function allows you to simply make a call using the phone numbers
stored in addresses 10 through 99.
<Method 1>
▶ Pick up the handset or press the
[SPK] button.
▶ Press the first number shortly, and
then press the second number over
2 seconds of the phone number
stored in any of address [10] ~ [99].
(Example)
When you want to make a call to the number stored in address [12], press
the [1] button shortly and press the [2] button for over 2 seconds or press
the two buttons, and then press the [SND/RDL] button.
(Figure 3.1.5.2-1)
Memory 12
Speed Dialing
(Figure 3.1.5.1-4)
1001234
Connecting…
DTP-800/DTP-1900 Operating Manual
25
▶ The number in the Phone Book
is connected.
<Method 2>
▶ Press the button of the phone
number stored in any of Address
[10] ~ [99], and then press the
[SND/RDL] button.
▶ The speaker phone operates
automatically and the phone number
stored in the Phone Book is
connected.
(Figure 3.1.5.2-2)
1001234
Connecting…
(Figure 3.1.5.2-4)
1001234
Connecting…
(Figure 3.1.5.2-3)
Memory 12
Speed Dialing
DTP-800/DTP-1900 Operating Manual
26
3.2 Answering Calls
3.2.1 On-Hook State
▶ When a call is being received, the
phone rings.
▶ If you subscribe a caller ID service,
the calling party information will be
displayed in the third line on the
screen. And the information will be
displayed in the fourth line on the
screen if the calling party number is
stored in your Phone Book.
<Note>
The calling party information is not displayed unless the service
provider provides the Caller ID service.
▶ Pick up the handset or press the
[SPK] button, and then the call is
connected.
(Figure 3.2.1-2)
1001234
00:01
(Figure 3.2.1-1)
1001234
03:DOWTEL
Ringing…
DTP-800/DTP-1900 Operating Manual
27
3.2.2 Off-Hook State
▶ If a call is being received when the
handset is picked up or the speaker is
on, click the Hook Switch or press
[SPK] button, and then the call is
connected.,
(Figure 3.2.2-1)
1001234
Ringing…
(Figure 3.2.2-2)
1001234
00:01
DTP-800/DTP-1900 Operating Manual
28
3.3 Disconnecting Calls
3.3.1 Using the Handset
▶ Hang up the handset when the
call is finished.
▶ If the calling party hang up the
phone before you do that, the
warning-tone sound is supplied
through the earpiece until you hang
up the phone.
3.3.2 Using the Speaker Phone
▶ Press the [SPK] button when the
call is finished.
▶ If the calling party hangs up the
phone before you do that, the [SPK]
lamp is turned off automatically and
the speaker phone does n’t operate.
(Figure 3.3.1)
11:11 am
Nov 11 (Sun)
(Figure 3.3.2)
11:11 am
Nov 11 (Sun)
DTP-800/DTP-1900 Operating Manual
29
3.4 Transfer between Handset & Speaker Phone
3.4.1 Transfer to Speaker Phone in Off-Hook State
▶ When you press the [SPK] button
under the Off-Hook state, the [SPK]
lamp is turned on and voice is out
through the speaker.
3.4.2 Transfer to Handset in Speaker ON State
▶ If you pick up the handset when
the [SPK] lamp is on, the [SPK] lamp
is turned off and voice is out through
the earpiece.
(Figure 3.4.1)
1001234
00:01
(Figure 3.4.2)
1001234
00:01
DTP-800/DTP-1900 Operating Manual
30
3.5 Volume Control
You can adjust the volume from low to high in 5 different levels.
3.5.1 Keypad Tone Control
▶ The Keypad Tone can be
changed by pressing [▲] or [▼]
button when the handset is on the
phone and the [SPK] button is off.
3.5.2 Ear Volume Control
▶ The Ear Volume can be
changed by pressing [▲] or [▼]
button after you pick up the handset.
[Note]
The Keypad Beep Tone is not
changed even though you adjust the
earpiece volume.
3.5.3 Speaker Volume Control
▶ The Speaker Volume can be
changed by pressing [▲] or [▼]
button after you turn the [SPK]
button on.
(Figure 3.5.1)
☞
Keypad Volume
(Figure 3.5.2)
☞
Earpiece Volume
(Figure 3.5.3-1)
☞
Speaker Volume

DTP-800/DTP-1900 Operating Manual
31
3.5.4 Ringer Volume Control
▶ The Ringer Volume can be
changed by pressing [▲] or [▼]
button when the phone is ringing.
(Figure 3.5.4-1)
☞
Ringer Volume
DTP-800/DTP-1900 Operating Manual
32
3.6 Hot Line
This function is useful when you want to make an automatic call to the
designated number without dialing or pressing the [SND/RDL] button.
Hot Line operates in 2 modes.
▶ Timed Hot Line : This will make a call to the designated number without
dialing or pressing the [SND/RDL] button within the Sending Time(4 ~ 8
seconds) after you pick up the handset.
▶ Immediate Hot Line : This function will automatically make a call to the
designated number as soon as you pick up the handset.
The Hot Line number can be registered at address 99 in the Phone Book
using the Phone Book function. (Reference 4.4 Using the Phone Book)
You can set up the Hot Line function (ON/OFF) and the Sending Time using
the Menu Mode. (Reference 5.4.3 Hotline Call)
<Note>
This function only operates when the Hot Line function is on and the
Hot Line number must be registered at address 99 in the Phone Book.
3.6.1 Timed Hot Line
▶ Pick up the handset or press the
[SPK] button.
▶ The call is connected
automatically when you don’t dial or
press the [SND/RDL] button during
the sending time(4 ~ 8 seconds.
(Default value is 6 seconds).
▶ The hot Line function is canceled
if you dial or press the [SND/RDL]
button within the sending time.
3.6.2 Immediate Hot Line
As soon as you pick up the handset or press the [SPK] button, the hot Line
is connected.
(Figure 3.6.1)
Hotline Dialing
DTP-800/DTP-1900 Operating Manual
33
3.7 Emergency Call Hold
This function is used in the emergency situation and once the call is
connected, it won’t be disconnected as long as the receiver does not hang
up.
You can store up to three emergency call hold numbers at address 01 ~ 03
in the Phone Book. (Reference 4.4 Phone Book Function)
You can set the ON/OFF of the Emergency Call Hold function using the
Menu Mode. (Reference 5.4.2 Emergency Call)
<Note>
This function can be operated only when the Emergency Call Hold
function is on and the Emergency Call Hold number must be registered
at address 01 ~ 03 in the Phone Book.
▶ Press the emergency call hold
number in address 01 ~ 03 for over
2 seconds or shortly, and then press
the [SND/RDL] button.
▶ The stored number is
connected.
[Note]
- In this case, the [SPK] lamp is
not turned on and you cannot hear the any voice through the
speaker. The voice or sound of yours is only transmitted to the
called party because only the Mic of the phone is on.
- When the handset is on the phone, confirm that the speaker is off
and the Mic is on.
- when you pick up the handset, confirm that there is a dial tone.
- In the state of the Emergency Call Hold, the line will remain be
connected with the receiving party as long as the called party
doesn’t hang up. If the called party hangs up the call, the call will
be disconnected automatically.
(Figure 3.7)
No. 1
Emergency Call
DTP-800/DTP-1900 Operating Manual
34
3.8 Do Not Disturb (DND)
When you don’t want to answer the incoming call, use this function.
[Setting ON]
▶ Press the [DND/MUTE] button
when the handset is on the phone
and the [SPK] lamp is off.
▶ The phone doesn’t answer to the
incoming call and the DND icon is
flashing simultaneously.
[Setting OFF]
▶ Press the [DND/MUTE] button
when the handset is on the phone
and the [SPK] lamp is off.
▶ The DND icon is disappeared
and the phone is returned to the
normal condition.
(Figure 3.8-1)
11:11 am
Nov 11 (Sun)
(Figure 3.8-2)
11:11 am
Nov 11 (Sun)
DTP-800/DTP-1900 Operating Manual
35
3.9 Voice Mute
3.9.1 Functions
During the conversation, if you don’t want to transmit your voice or sound to
the called party, use this function.
You can use this function the following case.
- When you input the memo in the phone Book using the keypad.
- When you need to control the Menu to change the Voice Privacy function
during the conversation.
- When you use the Memo Storing function during the conversation.
3.9.2 Using Function
▶ Press the [DND/MUTE] button
when you want to use the Voice
Mute function during the
conversation.
▶ Select the [Mute] menu instead
of the [Unmute] menu using [▲] or
[▼] button, and then press the
[STORE] button.
(Figure 3.9.2-1)
0192548962
00:36
(Figure 3.9.2-2)
[Unmute]
Voice Mute

DTP-800/DTP-1900 Operating Manual
36
▶ When the setting is done, the
Voice Mute Icon is appeared on
the screen and any voice or sound
will not be transmitted to the other
party.
▶ If you want to release this
function, select the <Unmute> in
figure 3.9.2-2 and press the
[STORE] button.
<Note>
This function is valid in each call. Even though you finish the call with
[Mute] status, the phone is returned to [Unmute] status automatically.
(Figure 3.9.2-3)
00:36

DTP-800/DTP-1900 Operating Manual
37
4. Additional Functions
4.1 Short Message Service (SMS)
You can transmit/receive the simple text or voice message using this phone.
▶ When the phone received the text message, the sign like the figure 4.1-1
is appeared on the screen with the SMS/VMS notification tone.
▶ To retrieve the text message,
① Press the [CLR] button to return to the idle-state.
② Press the [MSG/VAS] button, and then press the [2] button.
③ Retrieve the received message.
▶ When the phone is received the voice message, the sign like the figure
4.1-2 is appeared on the screen with the beep-sound.
▶ To retrieve the voice message.
① Press the [CLR] button to return to the idle-state.
② Press the [MSG/VAS] button, and then press the [1] button.
③ The phone number of the calling party and the number of stored message
is scrolled and [VMC] menu is appeared on the bottom of the screen. At
this time, press the [STORE] button, and then [Send] button one by one.
④ The Message Center is connected.
4/10 11:45am
MESSAGE !
(Figure 4.1-1)
4/10 11:45am
VOICE MAIL
(Figure 4.1-2)

DTP-800/DTP-1900 Operating Manual
38
▶ To send the text message.
① Press the [MSG/VAS] button in the idle-state, and then press the
[MENU] button.
② Press the [1] button to input the receiver’s name, and then press the
[STORE] button.
③ Press the [2] button again to input the message, and then press the
[STORE] button.
④ Press the [3] button to input the calling party’s name, and then press the
[STORE] button.
⑤ Press the [4] button, and then the text message is transmitted to the
called party.

DTP-800/DTP-1900 Operating Manual
39
4.2 Alarm Reminder
This phone has Time Alarm function. You can set the alarm time under
the 12-hour system.
- The phone has a Two-type mode (Onetime Mode and an Always Mode).
The Alarm time can be set and edit under the 12-hour system.
- Onetime Mode;
The alarm rings at the specified time, and then the setting mode is
released automatically. But the stored time will be remained.
- Always Mode;
The alarm rings at the specified time every day until the setting value is
released. The method of set/edit of this function will be explained the
next chapter.
When the alarm rings :
① Pick up the handset or press [SPK/RDL] button when the alarm rings,
and then the ring will be stopped. The phone is returned in the normal
state.
② If you don’t take any action during the alarm rings, the ring will be
stopped after 30 seconds automatically.
DTP-800/DTP-1900 Operating Manual
40
(그림 4.3.1)
Standard
Voice Privacy
4.3 Voice Privacy (System Dependent)
4.3.1 On-hook State
▶ Press [MENU]à3à4 in order
and Select <Enhanced> mode or
<Standard> mode by using [▲] or
[▼] button, and then press the
[STORE] button.
4.3.2 During a Conversation
▶ Press [MENU] button during a
conversation and press <1>.
▶ Select <Enhanced> mode or
<Standard> mode by using [▲] or
[▼] button, and then press the
[STORE] button.
4.4 Authentication (System Dependant)
The phone has its own authentication key function. This will prohibit any
illegal use of the phone. Your service provider will register your phone using
this authentication function.
(그림 4.3.2)
2. Memo Dialing
1. Voice Privacy
DTP-800/DTP-1900 Operating Manual
41
4.5 Using the Phone Book
4.5.1 Store the Phone Number in idle-state
▶ When the state of the phone is in
idle-state,
▶ Enter the phone number using
the dial button, and then press the
[STORE] button.
▶ The figure 4.5.1-3 is displayed on
the screen.
▶ Type the name using the dial
button, and then press the [STORE]
button.
▶ If you don’t need name
information, skip above, and then
press the [STORE] button directly.
(Figure 4.5.1-1)
11:11 am
Nov 11 (Sun)
(Figure 4.5.1-2)
1001234
(Figure 4.5.1-3)
DOWTEL_
<<Name Reg>>
DTP-800/DTP-1900 Operating Manual
42
(Figure 4.5.2-2)
1001234
Want to store?
▶ The figure 4.5.1-4 is displayed on
the screen.
▶ Press the memory location
number you want to store the phone
number, and then press the
[STORE] button.
▶ If you just press the [STORE]
button, the number is stored at
memory location number [03].
4.5.2 Storing the Caller/Receiver Number
When you make a call or answer to the incoming call, the number of caller
and receiver is displayed on the LCD screen. You can store this number in
the Phone Book when the call is finished.
[Incoming Call]
▶ The number of caller is displayed
on the screen if the caller ID service
is supplied by the service provider.
▶ When you finish the call, the
number will be shown for 3 seconds
on the screen as shown in figure
4.5.2-1.
▶ At this time, press the [STORE]
button.
(Reference 4.5.1)
(Figure 4.5.1-4)
User Define [??]
Auto [03]
<<Address Reg>>
(Figure 4.5.2-1)
1001234
00:01
DTP-800/DTP-1900 Operating Manual
43
(Figure 4.5.2-4)
1001234
Want to store?
[Note]
The incoming call’s number is displayed in the left side on the screen
and the making call’s number is displayed in the right side on the
screen to separate between the incoming call and making call.
[Making Call]
▶ The number of called party is
displayed on the screen when you
dial the number.
▶ When you finished a call, the
number is shown for 3 seconds on
the screen.
▶ At this time, press the [STORE]
button.
(Reference 4.5.1)
(Figure 4.5.2-3)
1001234
00:01
DTP-800/DTP-1900 Operating Manual
44
4.5.3 Storing the Memo during a conversation
During a conversation, you can enter the number using the dial button and
store the number in the Phone Book or make a call after the call is finished.
▶ Press the [MENU] button during
a conversation.
▶ Press the [2] button, and then
enter the phone number during a
conversation using keypad.
▶ Even though you press the dial
button, the keypad tone is not
transmitted and the number is just
displayed on the screen.
▶ Even after the call is finished,
the number is remained on the
screen until you pick up the
handset or press the other button.
▶ If you want to store the number
to the Phone Book, press the
[STORE] button. (Reference 4.5.1)
▶ if you want to call that number,
just press the [SND/RDL] button.
(Figure 4.5.3-1)
2. Memo Dialing
1. Voice Privacy
(Figure 4.5.3-2)
0192548962
01:05
0192548962
(Figure 4.5.3-3)
DTP-800/DTP-1900 Operating Manual
45
4.5.4 Search the Stored Number
▶ When the phone is in idle-state,
the screen(Figure 4.5.4-1) is
displayed if you press the [RCL]
button.
▶ When you press the [1] button,
the screen(Figure 4.5.4-2) is
displayed.
▶ Enter the memory location
number using the dial button.
▶ The name and number is
displayed on the screen as shown in
figure 4.5.4-3.
(Figure 4.5.4-3)
1001234
[Menu] for EDIT
01:DOWTEL
(Figure 4.5.4-1)
2.Name Search
3.Last 10 Dialed
1.Address Search
(Figure 4.5.4-2)
User Define [??]
<<Address Reg>>
DTP-800/DTP-1900 Operating Manual
46
▶ If you press the [UP]/[Down]
button in the figure 4.5.4-3, you can
search other number.
▶ Select the address you want, and
then press the [STORE] button.
The phone displays the number of
the stored address.
▶ When you pick up the phone or
press the [SND/RDL] button, the
phone make a call the selected
number.
▶ If you press the [2] button in the
figure 4.5.4-1, the screen(figure
4.5.4-5) is displayed on the screen.
▶ Enter the name you want to
search using the dial button, and
then press the [STORE] button.
▶ All stored name is displayed in
the screen as shown in figure 4.5.4-
6.
▶ Select the address using the
[UP]/[DOWN] button, and then press
the [STORE] button. The phone
displays the number of the stored
address.
▶ Press the [SND/RDL] button or
pick up the phone, and then the
phone will make a call.
(Figure 4.5.4-5)
DO_
<<Recall Name>>
(Figure 4.5.4-4)
02:TOM
08:JERRY
01:DOWTEL
(Figure 4.5.4-6)
11:FERNANDO
27:DONALD
01:DOWTEL
DTP-800/DTP-1900 Operating Manual
47
▶ If you press the [3] button in the
figure 4.5.4-1, the screen(figure
4.5.4-7) is displayed.
▶ Select the number using the
[UP]/[DOWN] button, and then press
the [STORE] button. The phone
displays the number of the stored
number.
▶ Press the [SND/RDL] button or
pick up the phone, and then the
phone will make a call.
4.5.5 Edit the Stored Number
▶ When you search the number
using the stored address or name,
the screen(figure 4.5.5-1) is
displayed.
▶ Press the [Menu] button in the
figure 4.5.5-1, and then the screen is
changed to the figure 4.5.5-2.
(Figure 4.5.4-7)
02:0166121601
03:9176203899
01:0172890085
(Figure 4.5.5-1)
1001234
[Menu] for EDIT
01:DOWTEL
(Figure 4.5.5-2)
1. EDIT
2.DELET
E
01:DOWTEL
DTP-800/DTP-1900 Operating Manual
48
▶ Select the [1] button in the figure
4.5.5-1, and then you can change
the number using the [CLR] and dial
button.
▶ After changing the number in the
figure 4.5.5-3, press the [STORE]
button.
▶ The screen is changed
automatically as shown in the figure
4.5.5-3, and then you can change
the name using the [CLR] and dial
button.
▶ If you want to store the original
address or enter the other address
among the address 01 ~99, press
the [STORE] button, and then it’s
stored.
(Figure 4.5.5-3)
1001234
(Figure 4.5.5-3)
DOWTEL
1001234
<<Name Reg>>
(Figure 4.5.5-4)
User Define
Original
<<Adress Reg>>
DTP-800/DTP-1900 Operating Manual
49
▶ When the address that you enter
in the figure 4.5.5-4 is already
existed on the phone book, the
phone will ask you to replace the
address or not.
▶ If you select the “Yes”, the
address will be replaced.
▶ If you select the “No”, the original
number will remain at that address
and you should store new address
as shown on the figure 4.5.5-4.
▶ When all procedure is finished,
the stored address and name will be
displayed on the screen.
▶ And then the phone is returned in
the idle-state automatically a few
seconds later.
4.5.6 Erase the Stored Number
▶ Search the number using the
address or name, the screen(figure
4.5.6-1) is displayed. (Reference
4.5.4)
(Figure 4.5.5-5)
1.
2. NO
< Overwrite? >
(Figure 4.5.5-6)
Address 01
of Phonebook
Dowtel
(Figure 4.5.6-1)
1001234
[Menu] for EDIT
01:DOWTEL
DTP-800/DTP-1900 Operating Manual
50
▶ Press the [Menu] button in the
figure 4.5.6-1, the screen is changed
in the edit state.
▶ If you select the [2] button in the
figure 4.5.6-2, the screen will be
changed like the figure 4.5.6-3.
▶ If you select the “Yes”, the
address will be erased.
▶ If you select the “No”, the
address will not be erased and the
screen will be changed to the figure
4.5.6-1.
▶ In the figure 4.5.6-3, the erasing
procedure is processing if you select
the “Yes”
▶ A few seconds later, the phone is
returned to idle-state automatically.
(Figure 4.5.6-2)
1. EDIT
2. DELETE
01:DOWTEL
(Figure 4.5.6-3)
[1]YES
[2]NO
100123
4
DELETE #01
(Figure 4.5.6-4)
Deleting
…
DTP-800/DTP-1900 Operating Manual
51
4.6 List of the Dialed Number
4.6.1 Last 10 Called Number
▶ Press the [RCL] button when the
phone is in the idle-state.
▶ The screen (figure 4.6.1-1) is
displayed.
▶ In the figure 4.6.1-1, you can see
the dialed list up to 10 numbers
when you press the [3] button.
(Figure 4.6.1-1)
2.Name Search
3.Last 10 Calls
1.Address Search
(Figure 4.6.1.-2)
02:0166121601
03:9176203899
01:0192548962

DTP-800/DTP-1900 Operating Manual
52
4.7 DATA Service
4.7.1 Definition
DTP-800/1900 provides the Data Service. You can transmit and receive the
data or fax data through the wireless path as connecting the Notebook (or
Desktop PC) with DTP-800/1900.
The following service is available.
①
Async Data Service
- File transmit and receive
- PC communication
②
PC Fax Service
- Wireless Fax transmit/receive using the Winfax or Hotfax
③
Packet Data Service
- FTP, Internet, Intranet, LAN, E-Mail etc.
4.7.2 Using the Data Service
Reference the Appendix A. Data Service.
<Note>
You have to set the DTP-
800/1900 with the receive mode when you
receive the data using the Async Data Service and PC Fax Service.
(Reference 5.5.2 PC Fax & Modem and Table DS-1)
[Note]
① This phone provides both Async Data Service (14.4kbps) and Packet
Data Service.
② If you want to use the Packet Data Service, you need the Internet account
(free or charged) supplied by the service provider.
DTP-800/DTP-1900 Operating Manual
53
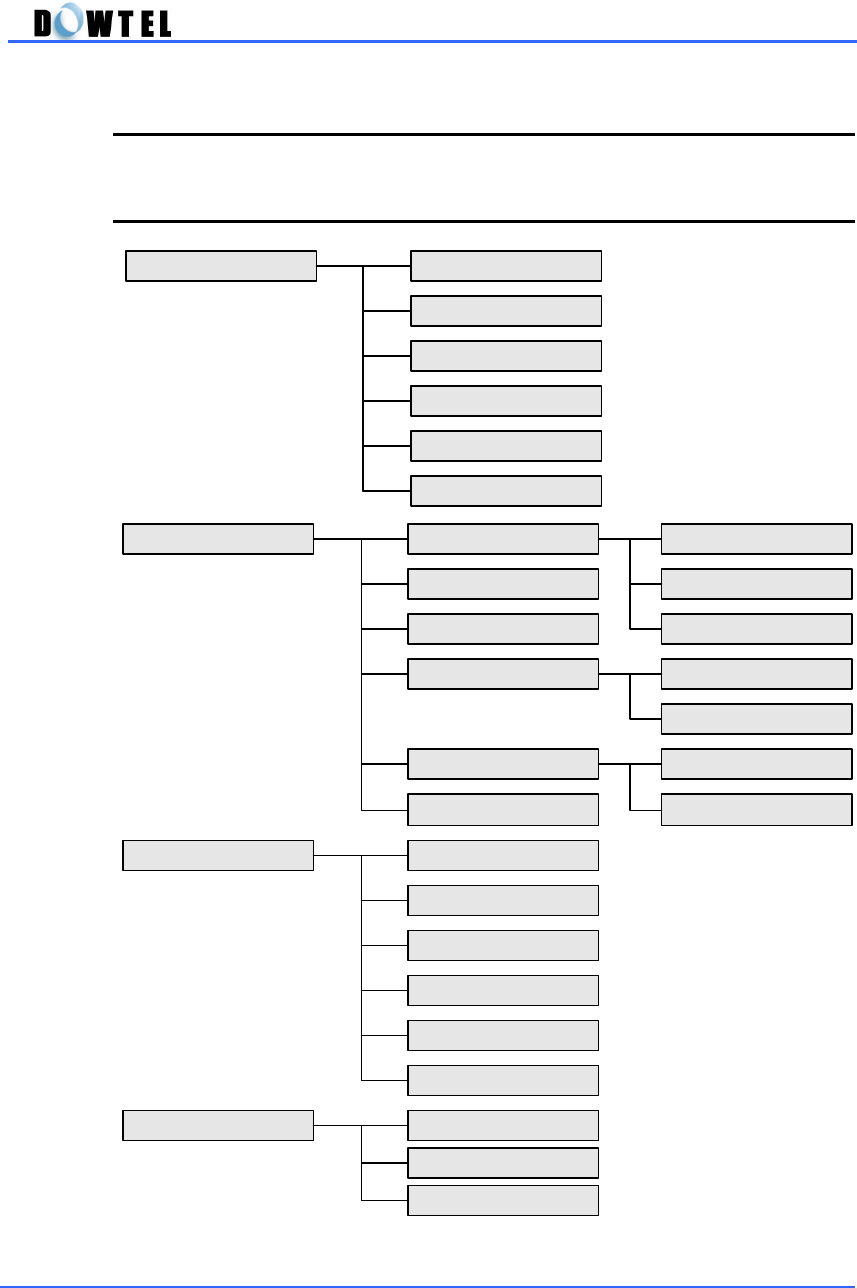
5. Menu
5.1 Menu Mode
1. Sound Control
2. Management
3. Call Functions
4. Additional
1. Ring Select
2. DTMF Tone Len
3. Keypad Volume
4. Ringer Volume
5. Ear Volume
6. Speaker Volume
1. Talk Time Info 1. Recent Call
2. Total Calls
3. Clr Info Above
2. Outgoing Lock
3. Lock Code
4. Phone Info 1. Phone Number
2. S/W Version
5. Clr Memory 1. Last 10 Calls
2. Phone Book6. Reset As Default
1. Speed Dial
2. Emergency Call
3. Hotline Call
4. Voice Privacy
5. Alert per 1 min
6. Automatic Dial
1. Alarm Setting
2. PC FAX & MODEM
3. Font Select
DTP-800/DTP-1900 Operating Manual
54
5.2 Sound Control
You can select the tone types, ring types and sound volume of this phone
using the Menu Mode.
5.2.1 Ring Select
You can select the ring types when the phone rings. There are 6 Bell-Type
and 4 Melody-Type in this phone.
▶ Press the button following sequence;
[MENU]
→
1
→
1
▶ The screen(figure 5.2.1) is
displayed with the current setting
ring sound.
▶ At this time, select the ring type
you want using the [▼] or [▲]
button, and then press the
[STORE] button to store the ring
type.
5.2.2 DTMF Tone Length
You can select the two-type mode of the DTMF Tone Length transmitted to
the service provider via air when you use the additional service during the
conversation or try to connect with ARS system.
You can select the <Short Mode> transmit the DTMF Tone during 0.2 second
when you press the dial button or the <Long Mode> which transmit the DTMF
Tone while you are pressing the dial button.
(Figure 5.2.1)
[STORE]
<Ring1>
playing
DTP-800/DTP-1900 Operating Manual
55
▶ Press the button as following
sequence;
[MENU]
→
1
→
2
▶ The screen(figure 5.2.2) is
displayed.
▶ At this time, select the DTMF
Mode you want using the [▼] or
[▲] button and then press the
[STORE] button to store.
5.2.3 Keypad Tone (Volume)
This menu is used to select the keypad tone. This function has <Silent>
mode and 5-volume level.
▶ Press the button as following
sequence;
[MENU]
→
1
→
3
▶ The current tone level is
displayed on the screen(figure 5.2.3).
▶ At this time, select the tone level
you want using the [▼] or [▲]
button and then press the
[STORE] button to store.
[Speed Menu]
You can select the tone level simply using the [▼] or [▲] button when the
handset is on the phone and [SPK] lamp is off.
(Figure 5.2.2)
→
Short
DTMF Tone Length
(Figure 5.2.3)
☞
Keypad Volume

DTP-800/DTP-1900 Operating Manual
56
5.2.4 Ringer Volume
This menu is to select the ringer volume. This function has from <Silent>
mode to 5-volume level.
▶ Press the button as following
sequence;
[MENU]
→
1
→
4
▶ The current volume level is
displayed on the screen(figure 5.2.4).
▶ At this time, select the volume
level you want using the [▼] or
[▲] button and then press the
[STORE] button to store the ringer
volume.
[Speed Menu]
You can select the volume level simply using the [▼] or [▲] button when
the phone is ringing.
5.2.5 Ear Volume
This menu is to select the earpiece volume. This function has 5-volume level.
▶ Press the button as following
sequence;
[MENU]
→
1
→
5
▶ The current volume level is
displayed on the screen(figure 5.2.5).
▶ At this time, select the volume
level you want using the [▼] or
[▲] button and then press the
[STORE] button to store.
(Figure 5.2.4)
☞
Ringer Volume
(Figure 5.2.5)
☞
Ear Volume
DTP-800/DTP-1900 Operating Manual
57
[Speed Menu]
You can select the volume level simply using the [▼] or [▲] button when
you pick up the handset.
5.2.6 Speaker Volume
This menu is used to select the speaker volume. This function has 5-volume
level.
▶ Press the button as following
sequence;
[MENU]
→
1
→
6
▶ The current volume level is
displayed on the screen(figure 5.2.6).
▶ At this time, select the volume
level you want using the [▼] or
[▲] button and then press the
[STORE] button to store.
[Speed Menu]
You can select the volume level simply using the [▼] or [▲] button when the
[SPK] lamp is on.
(Figure 5.2.6)
☞
Speaker Volume
DTP-800/DTP-1900 Operating Manual
58
5.3 Management
You can use this function to limit the phone use by others.
And also, memory management, editing Lock Code, Reset as default and
checking phone version are available.
▶ Press the button as following
sequence
[MENU]
→
2
▶ The phone ask you the user’s
password as in the figure 5.3-1.
The default password is “0000”.
▶ When you enter the user’s
password, the Management Menu is
displayed on the screen
(Figure 5.3-1)
0000
<Enter Password>
(Figure 5.3-3)
2.Clr Memory
3.ResetAsDefault
4.Phone Info
(Figure 5.3-2)
2.Outgoing Lock
3.Lock Code
1.Talk Time Inf
DTP-800/DTP-1900 Operating Manual
59
5.3.1 Talk Time Information
The phone records the call time when you make a call only. You can search
or erase the records using this menu.
▶ Press the button as following
sequence.
[MENU]
→
2
→
Password
→
1
[Note]
The item’
s number 1 and 2 in this menu is initialized automatically when you
turn the power of this phone off and then on again.
5.3.1.1 Recent Call
▶ The last number you dialed is
displayed on the screen when you
press the [1] button as the figure
5.3.1.
▶ The call time is displayed as
[Hour:Minute:Second]. (Figure
5.3.1-1)
(Figure 5.3.1)
2:Total Calls
3:Clr Info Above
1:Recent Call
(Figure 5.3.1-1)
00:02:05
Recent Call Time
DTP-800/DTP-1900 Operating Manual
60
5.3.1.2 Total Calls
▶ The total call time is displayed on
the screen when you press the [2]
button as the figure 5.3.1.
▶ The total call time is displayed as
[Hour:Minute:Second] & the
number of Calls.
5.3.1.3 Clr(clear) Info(rmation) above
The above items are initialized automatically when you turn the power off and
on again. And you can initialize these items using the menu as follows.
▶ The screen (figure 5.3.1-3) is
displayed when you press the [3]
button as the figure 5.3.1.
▶ Press the [1] button, and then the
records will be erased.
(Figure 5.3.1-2)
00:05:13
3 Calls
Total Calls
(figure 5.3.1-3)
Clear?
1.Yes
2.No
Clear Info Above
DTP-800/DTP-1900 Operating Manual
61
5.3.2 Outgoing (Call) Lock
This menu is to limit or permit to make a call.
▶ Press the button as following
sequence.
[MENU]
→
2
→
Password
→
2
▶ The <Yes>/<No> menu is
toggled in the bottom of the screen.
▶ When the <Yes> menu is
displayed, press the [STORE] button.
▶ No outgoing calls can be made.
5.3.3 Lock Code (Password Change)
This menu is used to change the user’s password.
▶ Press the button as following
sequence.
[MENU]
→
2
→
Password
→
3
▶ Enter the new password, and
then press the [STORE] button.
▶ The phone requires you to
reenter the new password to confirm
whether the new password is correct
or not.
▶ Enter the new password again,
and then press the [STORE] button.
(Figure 5.3.2)
Lock ?
→
Yes
Outgoing Call
(Figure 5.3.3-1)
0000
ENTER NEW PWD
(Figure 5.3.3-2)
0000
REENTER NEW PWD
DTP-800/DTP-1900 Operating Manual
62
▶ If the reentered new password is
not correct, the figure 5.3.3-3 is
displayed on the screen and the
phone is returned to the figure 5.3.3-
1.
5.3.4 Phone Information
This menu is to confirm the number of the phone and the software version.
▶ Press the button as following
sequence.
[MENU]
→
2
→
Password
→
4
▶ The figure 5.3.4 is displayed on
the screen.
5.3.4.1 Phone Number
▶ If you press the [1] button in the
figure 5.3.4, the number of the
phone is displayed on the screen.
(Figure 5.3.3-3)
Please Try Again
No Match!
(Figure 5.3.4)
2:S/W Version
1:Phone Number
(Figure 5.3.4.1)
011-313-1234
Phone Number
DTP-800/DTP-1900 Operating Manual
63
5.3.4.2 S/W Version
▶ If you press the [2] button in the
figure 5.3.4, the installed S/W
Version in the phone is displayed on
the screen.
5.3.5 Clear Memory
This menu is to erase the list of last-dialed number and the stored numbers in
the Phone Book.
▶ Press the button as following
sequence.
[MENU]
→
2
→
Password
→
5
▶ The figure 5.3.5 is displayed on
the screen.
5.3.5.1 (Clear) Last 10 Calls
▶ If you press the [1] button in the
figure 5.3.5, the figure 5.3.5-1 is
displayed on the screen.
▶ If you want to erase the records
of last 10 dialed, press the [STORE]
button when “Yes” menu is
appeared on the screen after press
the [▲] or [▼] button.
(Figure 5.3.4.2)
ST0PP0-04.07
S/W Version
(Figure 5.3.5)
2:Phone Book
1:Last 10 Calls
(Figure 5.3.5-1)
Clear ?
Yes
Last 10 Calls
DTP-800/DTP-1900 Operating Manual
64
5.3.5.2 (Clear) Phone Book
▶ If you press the [2] button in the
figure 5.3.5, the figure 5.3.5-2 is
displayed on the screen.
▶ If you want to erase the records
of the Phone Book, press the
[STORE] button when “Yes” menu is
appeared on the screen after press
the [▲] or [▼] button.
5.3.6 Reset as Default
This menu is used when you want to recover the changed functions to the
initial status.
▶ Press the button as following
sequence.
[MENU]
→
2
→
Password
→
6
▶ The figure 5.3.6 is displayed.
▶ If you press the [STORE] button
when the “Yes” menu is appeared
on the screen after you press the
[▲] or [▼] button, the phone will
start initializing process.
▶ At this time, the power of the phone is turned off and on automatically.
▶ If you press the [STORE] button when the “No” menu is appeared, the
phone is returned to the idle-state.
(Figure 5.3.5-2)
Clear ?
Yes
Phone Book
(Figure 5.3.6)
Default ?
Yes
Reset as

DTP-800/DTP-1900 Operating Manual
65
The Check Points when using the Reset As Default Function
When you re-initialize the phone using this function, only the following items
will be re-initialized to the default value.
No. Item Default Value Remark
1 Keypad Volume 3 Steps 5.2.3
2 Ringer Volume 3 Steps 5.2.4
3 Ear Volume 3 Steps 5.2.5
4 Speaker Volume 3 Steps 5.2.6
5 Outgoing Lock No 5.3.2
6 Speed Dial Enabled 5.4.1
7 Emergency Call Disabled 5.4.2
8 Hotline Call Disabled 5.4.3
9 Timed Hotline Call 6 seconds 5.4.3
10 Voice Privacy Standard 5.4.4
11 Alert per 1min Disabled 5.4.5
12 Automatic Dial Disabled 5.4.6
13 Delay Time for
Automatic Dial 6 seconds 5.4.6
14 Dial Time After 6 seconds 5.4.6
15 Alarm Setting Off 5.5.1
16 Alarm Time Hour 00:00 5.5.1
DTP-800/DTP-1900 Operating Manual
66
5.4 Call Functions
This menu is to set or release some useful function related with the calls.
▶ Press the button as following
sequence.
[MENU]
→
3
▶ The figure 5.4 is displayed on the
screen.
5.4.1 Speed Dial
▶ Press the button as following
sequence.
[MENU]
→
3
→
1
▶ The figure 5.4.1 is displayed on
the screen.
▶ If you press the [STORE] button
when the <Enabled> menu is
appeared after you press the [▲] or
[▼] button, this function is set on.
▶ If you press the [STORE] button when the <Disable> menu is appeared,
this function is released.
(Figure 5.4)
2.Emergency Call
3.Hotline Call
1.Speed Dial
(Figure 5.4.1)
Enabled
Speed Dial

DTP-800/DTP-1900 Operating Manual
67
5.4.2 Emergency Call
▶ Press the button as following
sequence.
[MENU]
→
3
→
2
▶ The figure 5.4.2 is displayed on
the screen.
▶ If you press the [STORE] button
when the <Enabled> menu is
appeared after you press the [▲] or
[▼] button, this function is set on.
▶ If you press the [STORE] button when the <Disable> menu is appeared,
this function is released.
5.4.3 Hot-Line Call
▶ Press the button as following
sequence.
[MENU]
→
3
→
3
▶ The figure 5.4.3-1 is displayed on
the screen.
▶ If you press the [▲] or [▼]
button after press the [STORE]
button, the figure 5.4.3-2 or 5.4.3-3
is displayed on the screen.
(Figure 5.4.2)
Enabled
Emergency Call
(Figure 5.4.3-1)
Enabled
Hotline Call
(Figure 5.4.3-2)
Immediate
Hotline Call
DTP-800/DTP-1900 Operating Manual
68
▶ If you press the [STORE] button
when the figure 5.4.3-3 is displayed
on the screen, the phone is in
“Timed Hotline” state.
▶ And then the screen will be
changed to the figure 5.4.3-4.
▶ When you press the [STORE]
button after you set the time using
the [▲] or [▼] button, the setting is
done.
▶ You can set the time between 4 ~
8 seconds.
5.4.4 Voice privacy
This menu is used to set or release the privacy function to protect from the
illegal wiretapping.
▶ In figure 5.4, if you press the [4]
button, the figure 5.4.4-1 is
displayed on the screen.
▶ At this time, the phone is in the
normal privacy mode after you press
the [STORE] button.
(Figure 5.4.3-3)
Timed
Hotline Call
(Figure 5.4.3-4)
6 seconds
Delay Time
(Figure 5.4.4-1)
Standard
Voice Privacy
DTP-800/DTP-1900 Operating Manual
69
▶ If you press [▲]/[▼] button,
the figure 5.4.4-2 is displayed on
the screen.
▶ And then, if you press the
[STORE] button, the phone is in the
enhanced privacy mode.
5.4.5 Alert per 1 min
This menu is used to set or release the alarm sound every 1-minute during
the call.
▶ Press the button as following
sequence.
[MENU]
→
3
→
5
▶ The figure 5.4.5 is displayed on
the screen.
▶ Select the “Yes” or “No” menu
using the [▲] or [▼] button, and then
press the [STORE] button.
5.4.6 Automatic Dialing
This menu is used to make an automatic call even if you don’t press the
[SND/RDL] button after you dialed the number within a set time..
▶ Press the button as following sequence.
[MENU]
→
3
→
6
▶ The figure 5.4.6-1 is displayed on the screen.
(Figure 5.4.4-2)
Enhanced
Voice Privacy
(Figure 5.4.5)
Enabled
Alert per 1 min

DTP-800/DTP-1900 Operating Manual
70
▶ Select the “Yes” or “No” menu
using the [▲] or [▼] button, and then
press the [STORE] button.
▶ When you select the “Yes” menu,
the figure 5.4.6-2 is displayed on the
screen.
▶ Select the time using the [▲] or
[▼] button, and then press the
[STORE] button.
5.5 Additional Functions
This menu is used to set the alarm function and the Data Receive Mode
when you use the data service using the PC or Fax.
▶ Press the button as following
sequence.
[MENU]
→
4
▶ The figure 5.5 is displayed on the
screen.
(Figure 5.4.6-1)
Enabled
Automatic Dialing
(Figure 5.4.6-2)
6 seconds
Delay Time
(Figure 5.5)
2:PC FAX & MODEM
1:Alarm Setting
DTP-800/DTP-1900 Operating Manual
71
5.5.1 Alarm Setting
This menu is used to set on/off the alarm function and the alarm time.
▶ Press the button as following
sequence.
[MENU]
→
4
→
1
▶ The figure 5.5.1-1 is displayed on
the screen.
▶ When you set the alarm time, the
screen will prompt you to enter the
time.
▶ Use the dial button when you enter the time.
▶ Use the [UP/DOWN] button when you select the AM/PM.
▶ And then, press the [STORE] button.
If you enter the time incorrectly, press the [CLR] button. The entered
time will be erased as inverse sequence.
▶ The figure 5.5.1-2 is displayed on
the screen.
▶ If you press the [STORE] button in
this stage, the entered time is stored.
But the alarm function is not on.
(Figure 5.5.1-1)
08:30 AM
Alarm Time
(Figure 5.5.1-2)
Off
Alarm Mode

DTP-800/DTP-1900 Operating Manual
72
▶ If you want to use the alarm for
only one time, select the figure
5.5.1-3 using the [▲] or [▼]
button in the figure 5.5.1 -2 and
then press the [STORE] button.
▶ If you want to use the alarm
always, select the figure 5.5.1-4
using the [▲] or [▼] button in the
figure 5.5.1-2 and then press the
[STORE] button.
5.5.2 PC FAX & MODEM
This menu is to set the phone to data receive mode when you use the Data
Service to receive the fax through PC or communicate through the modem in
the PC.
▶ Press the button as following
sequence.
[MENU]
→
4
→
2
▶ The figure 5.5.2-1 is displayed on
the screen.
▶ At this time, the phone is the
voice-call mode, when you press the
[STORE] button.
(Figure 5.5.1-3)
Only Once
Alarm Mode
(Figure 5.5.1-4)
Always
Alarm Mode
(Figure 5.5.2-1)
Receive Mode
OFF
PC Fax & Modem

DTP-800/DTP-1900 Operating Manual
73
▶ When you select the figure 5.5.2-
2 using the [▲] or [▼] button in the
figure 5.5.2-1, press the [STORE]
button.
▶ The phone stays at the Modem
Receive Mode.
▶ When you select the figure 5.5.2-
3 using the [▲] or [▼] button in the
figure 5.5.2-1, press the [STORE]
button.
▶ The phone works the Modem
Receive Mode only one time and
returns to the voice-call mode.
▶ When you select the figure 5.5.2-
4 using the [▲] or [▼] button in the
figure 5.5.2-1, press the [STORE]
button.
▶ The phone always stays at the
PC Fax Receive Mode.
▶ When you select the figure 5.5.2-
5 using the [▲] or [▼] button in the
figure 5.5.2-1, press the [STORE]
button.
▶ The phone works the PC Fax
Receive Mode only one time and
returns to the voice-call mode.
(Figure 5.5.2-2)
Receive Mode
Always
Modem
(Figure 5.5.2-4)
Receive Mode
Always
PC Fax
(Figure 5.5.2-5)
Receive Mode
One Time
PC Fax
(Figure 5.5.2-3)
Receive Mode
One Time
Modem

DTP-800/DTP-1900 Operating Manual
74
▶ When the phone is set in the PC Fax Receive Mode, the PC Fax Receive
Mode Icon is displayed on the screen.
▶ When the phone is set in the Modem receive Mode, the Modem receiving
mode Icon is also displayed on the screen.
5.5.3 Font Select
This model supplies 2 type text fonts.
This menu is used to select the text font for LCD display.
Default text font is <Font 1>.
▶ Press the button as following
sequence.
[MENU]
→
4
→
3
▶ Using the [▲] or [▼] button,
Select font. And then press the
[STORE] button.
▶ At this time, the phone will return
to the previous menu mode,
displaying with changed text font.
1:41pm
Apr 09 (Mon)
(Figure 5.5.3-1)
Font 1
Font Select