DynaScan Technology XBP202 Digital Transmission System User Manual DO552LR5 QSG ENG V1 00
DynaScan Technology Corp. Digital Transmission System DO552LR5 QSG ENG V1 00
Contents
- 1. User Manual
- 2. User Manual - host
- 3. User Manual-1
- 4. User Manual-2
- 5. Users Manual
User Manual - host
Please visit our website to view the Warranty Policy,
http://www.dynascandisplay.com/support/warranty/
DynaScan Technology, Inc.
www.dynascandisplay.com
Quick
Start
Guide
DI100ST2
>
>
Do not install near flammable material or any heat sources.
>
>
Do not defeat the safety purpose of the grounding-type plug.
Do not disassemble the display to avoid electrical shock or burn.
Normal operating condition considers installation at an altitude below 2000m;
some abnormalities may be experienced when installed at an altitude above 2000m.
Contents
>DI100ST2 Professional LCD x1 pc
> Remote control x1 pc
> Battery (1.5V / AAA) x2 pcs
>
Power cable x1 pc>
Quick Start Guide x1 pc
Confirm the items below are included with the display.If any item is missing, please contact your dealer.
NOTE: The color and shape of the accessories may vary by product.
CAUTION
> Please power off the LCD and the video source before plugging in the DVI, DP or HDMI cable.
> Please installed the display in well-ventilated place, do not install in a confined space.
> Suitable for mounting on concrete or other non-combustible surface only.
> If it gives off smoke, strange smell, or unusual noise, or when it gets too hot to touch,
immediately unplug the display and contact the dealer.
> Clean only with soft, dry cloth but not use chemical liquids, and unplug while cleaning.
> Do not use extreme force or any sharp or pointed objects to touch the display.
> Do not drop or allow any object to fall to the display.
> Do not operate the display with wet hands to avoid electric shock.
> Do not discard this product with general household waste. Please be sure to comply with the local waste regulations.
WARNING
> When a stationary or fixed image is displayed for a long time, the image may be permanently imprinted on
the display. This phenomenon is known as image burn-in and is not covered by the manufacturer's warranty.
> In order to avoid burn in, avoid prolonged display of static or fixed images on the screen.
Safety Precautions
IMAGE
Mounting the Display Powering on the Display
Connecting a Video Source Using & Aiming the Remote
● This device uses, generates and radiated radio frequency energy. The radio frequency energy produced by this device is
well below the maximum exposure allows by Federal Communications Commission (FCC).
FEDERAL COMMUNICATIONS COMMISSION INTERFERENCE STATEMENT
This equipment has been tested and found to comply with the limits for a Class B digital device, pursuant to part 15 of the FCC Rules.
These limits are designed to provide reasonable protection against harmful interference in a residential installation. This equipment generates, uses and can radiate radio frequency energy and,
if not installed and used in accordance with the instructions, may cause harmful interference to radio communications. However, there is no guarantee that interference will not occur in a particular
installation.
If this equipment does cause harmful interference to radio or television reception, which can be determined by turning the equipment off and on, the user is encouraged to try to correct the
interference by one or more of the following measures:
> Reorient or relocate the receiving antenna.
> Increase the separation between the equipment and receiver.
> Connect the equipment into an outlet on a circuit different from that to which the receiver is connected.
> Consult the dealer or an experienced radio/ TV technician for help.
CAUTION:
Any changes or modifications not expressly approved by the grantee of this device could void the user's authority to operate the equipment.
RF exposure warning
This equipment must be installed and operated in accordance with provided instructions and the antenna(s) used for this transmitter must be installed to provide a separation distance of at least
20 cm from all persons and must not be co-located or operating in conjunction with any other antenna or transmitter. End-users and installers must be provide with antenna installation instructions
and transmitter operating conditions for satisfying RF exposure compliance.
V1.00
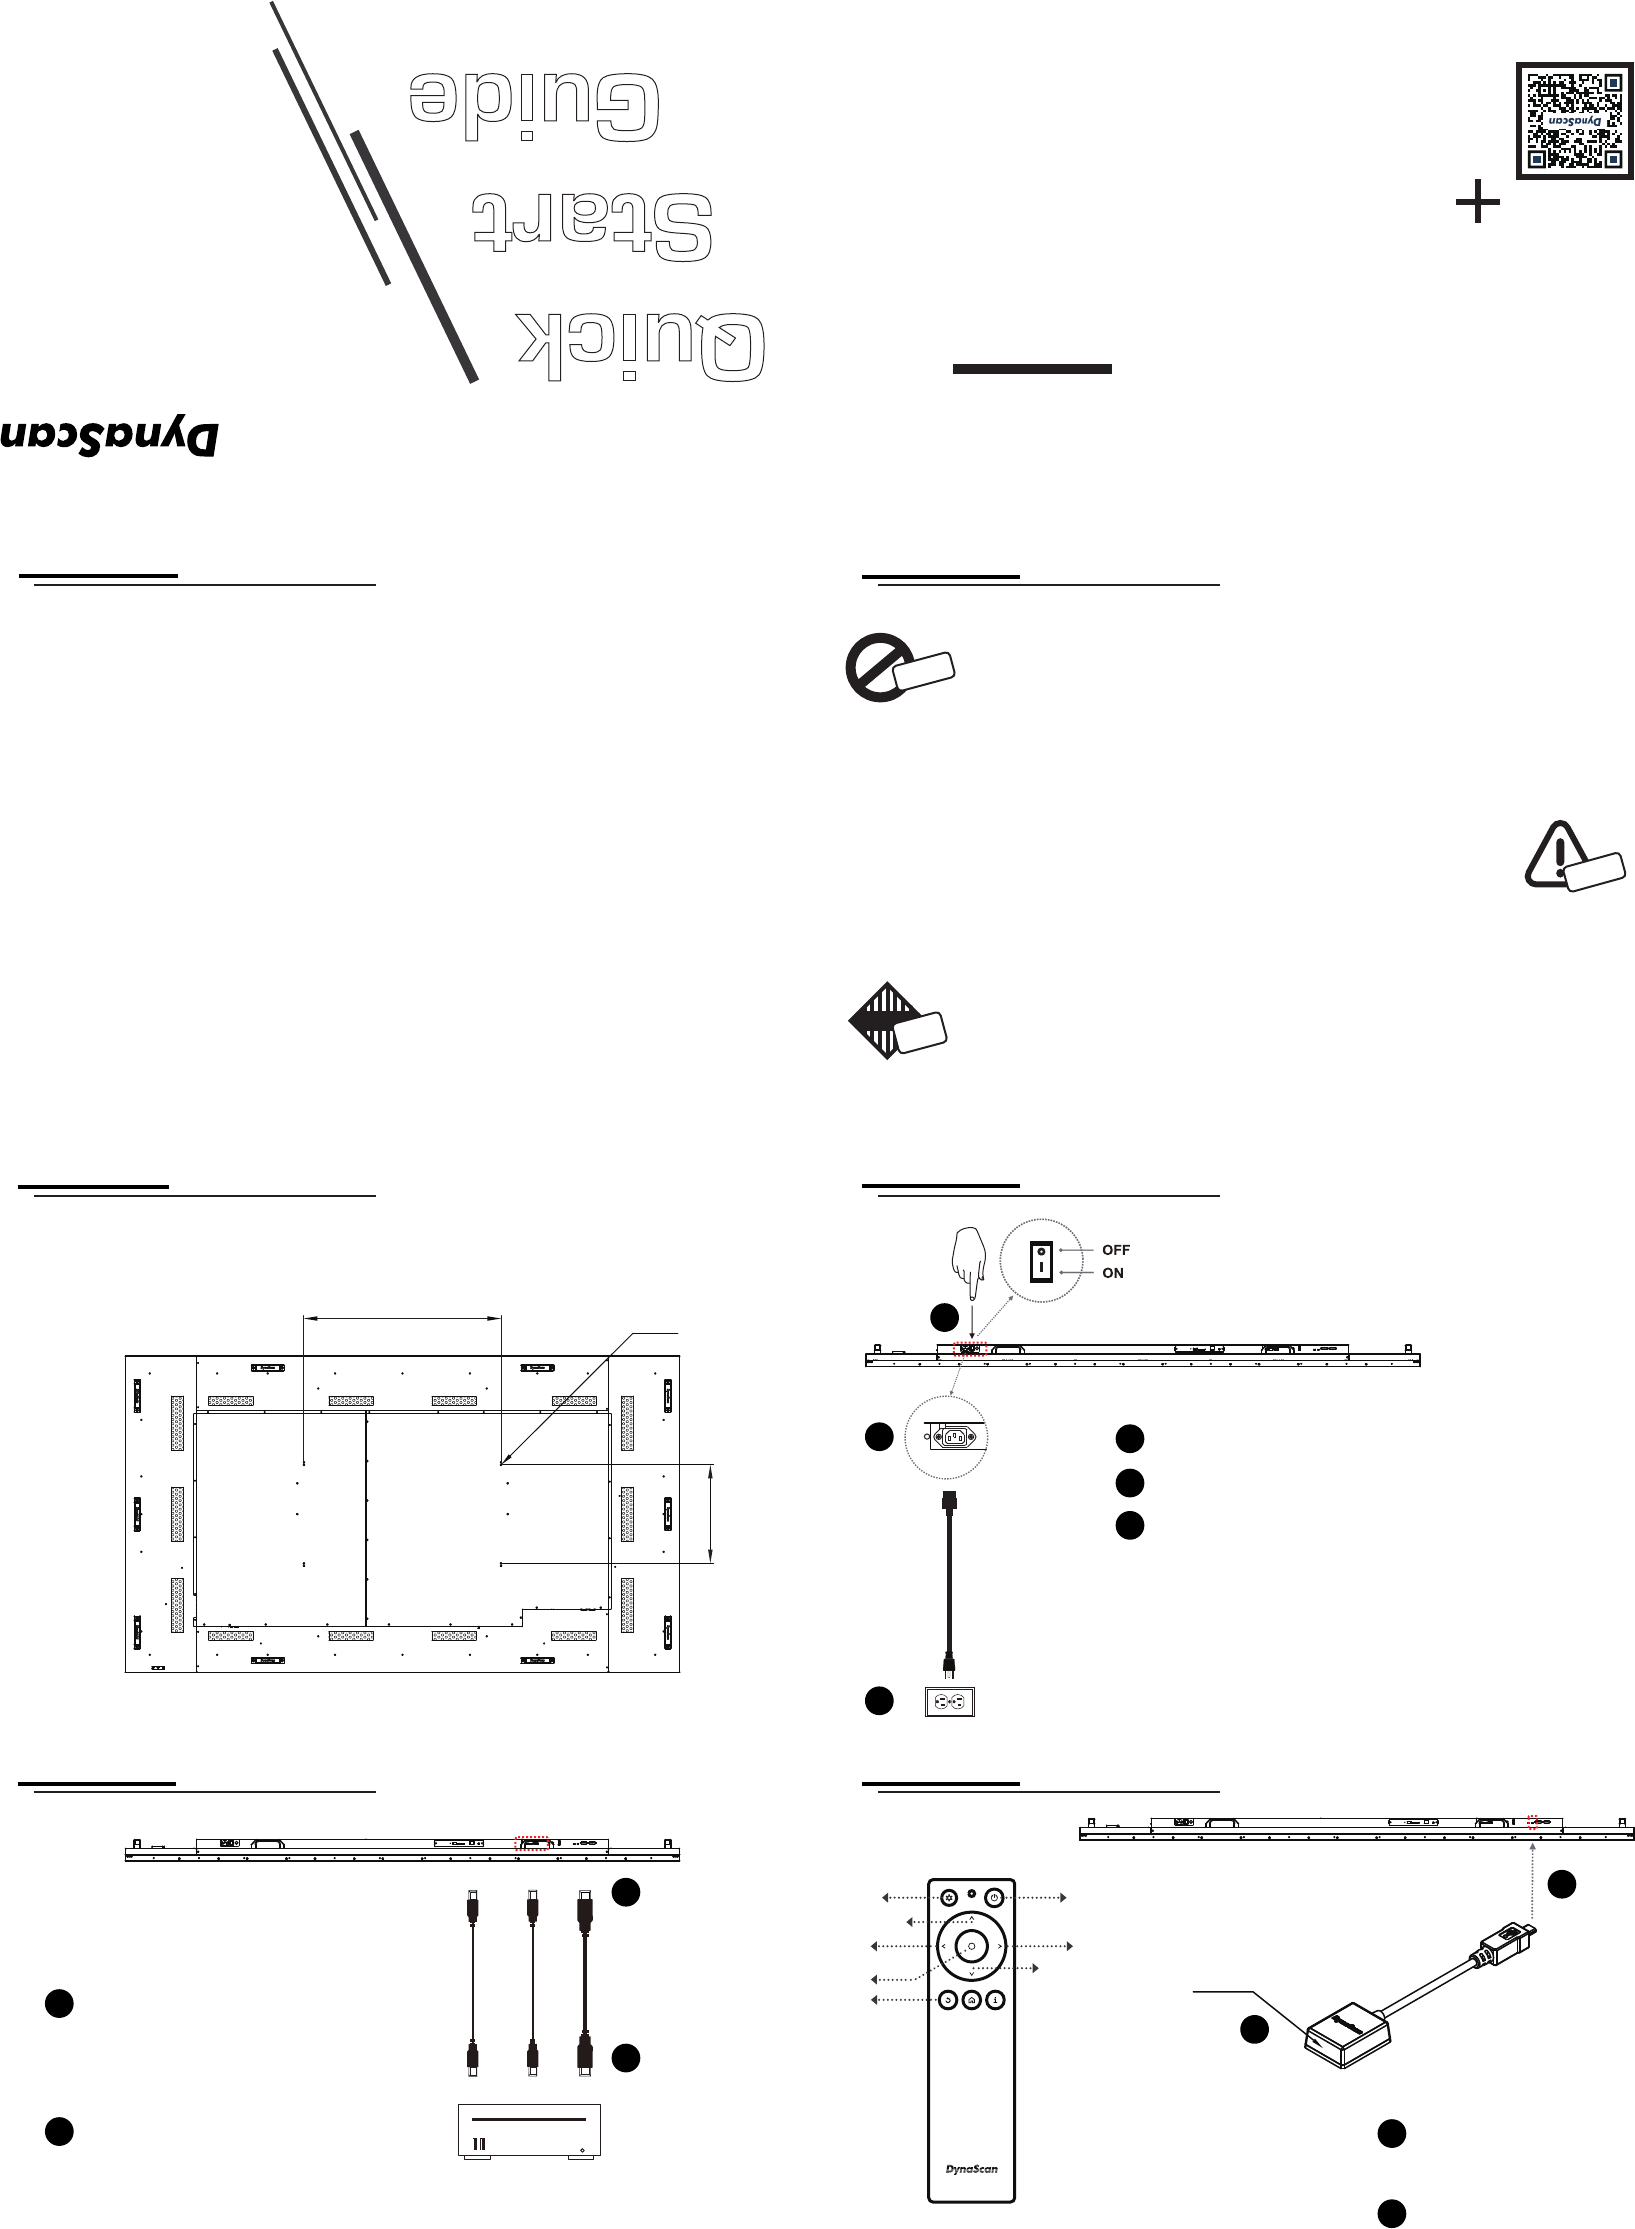
We recommend for at least two people to mount the display on the wall.
A standard VESA wall mount may be used to secure the display to wall (purchased seperately).
BURN-IN
400.0mm
800.0mm 4-M6
Connect the other end of the DP cable
(or HDMI cable) to the DP-OUT port
(or HDMI-OUT port) of your video source
decice.
1
2
Connect the DP cable (or HDMI cable) to the
DP-IN port (or HDMI 1-IN port, HDMI 2-IN
port) on the back of the display.
DP-IN
DP-OUT
HDMI 1-IN
HDMI-OUT
HDMI 2-IN
HDMI-OUT
1
2
Connect the power cable to the AC-IN of display.
1
Switch ON the power switch on back of display.
2
NOTE: The remote control only works when the mainswitch is in the ON position.
Connect other end to 110-220 VAC power outlet.
3
1
2
3
ESK302 x1 pc>
AB
E
F
C
D
A. POWER - Power On/ Off
B. Menu - OSD On/ Off
C. UP - Move up or setting the selected item.
D. LEFT - Exit the current selection.
E. RIGHT - Select the highlighted item.
F. DOWN - Move down or setting the
selected item.
G
H
G. OK - Enter. (for DSM365 only)
H. Back - Return to the last page.
(for DSM365 only)
Sensor
Connect the ESK302 cable to the
sensor port (mini USB port) on the
back of the display.
1
1
NOTE: Please power off the display and the video source before plugging in the DP or HDMI cable.
When using the remote control,
aim the remote at the IR receiver
on the ESK302.
2
2