Dynabook UPA3373WL 802.11 b/g Mini PCI Card User Manual Palao WLAG 1106 03
Toshiba Corporation 802.11 b/g Mini PCI Card Palao WLAG 1106 03
Dynabook >
Contents
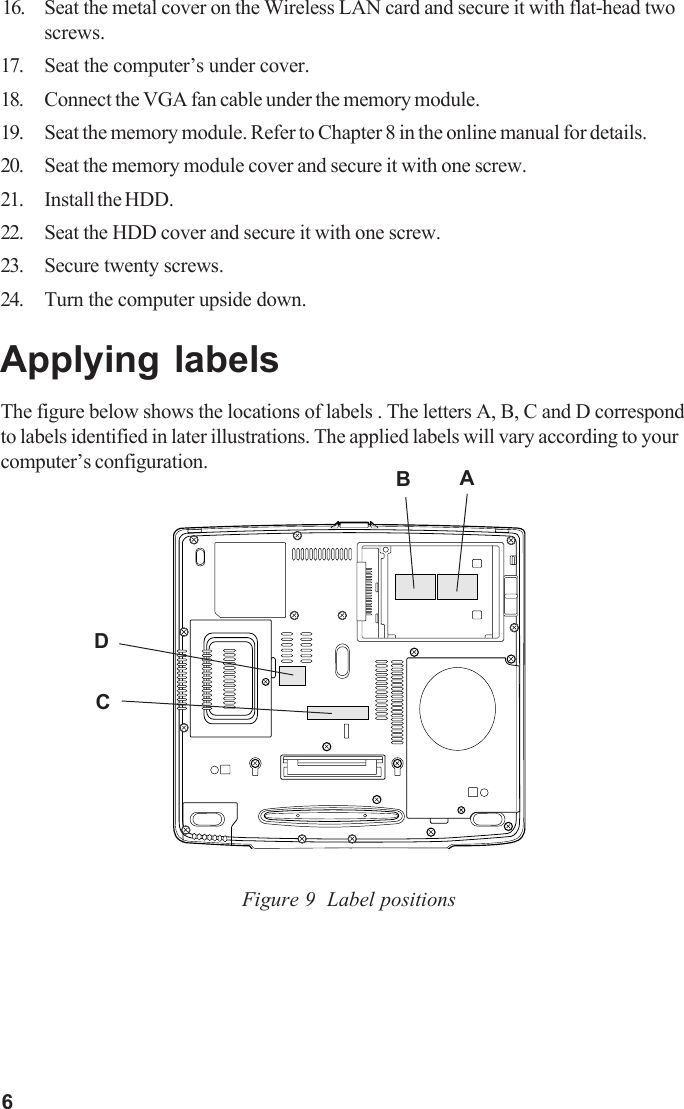
- 1. Instalation Guide
- 2. addendum
- 3. PotegeM200 User Manual
Instalation Guide