Dynabook UPA3501WL PCI Express 802.11 b/g transceiver User Manual PMAD00077012 TecraM7 06Aug12
Toshiba Corporation PCI Express 802.11 b/g transceiver PMAD00077012 TecraM7 06Aug12
UserManual.wiki
>
Dynabook
>
UPA3501WL User Manual
>
Revised TecraM7 Manual 1
Contents
1.
User Manual
2.
TECRA M7 User Manual
3.
PA3501U manual addendum
4.
Revised TecraM7 Manual 1
5.
Revised TecraM7 Manual 2
6.
Wireless WAN Guide
Revised TecraM7 Manual 1
Navigation menu
Upload a User Manual
Namespaces
Wiki Guide
HTML
PDF
Info
Views
User Manual
Discussion / Help
Navigation
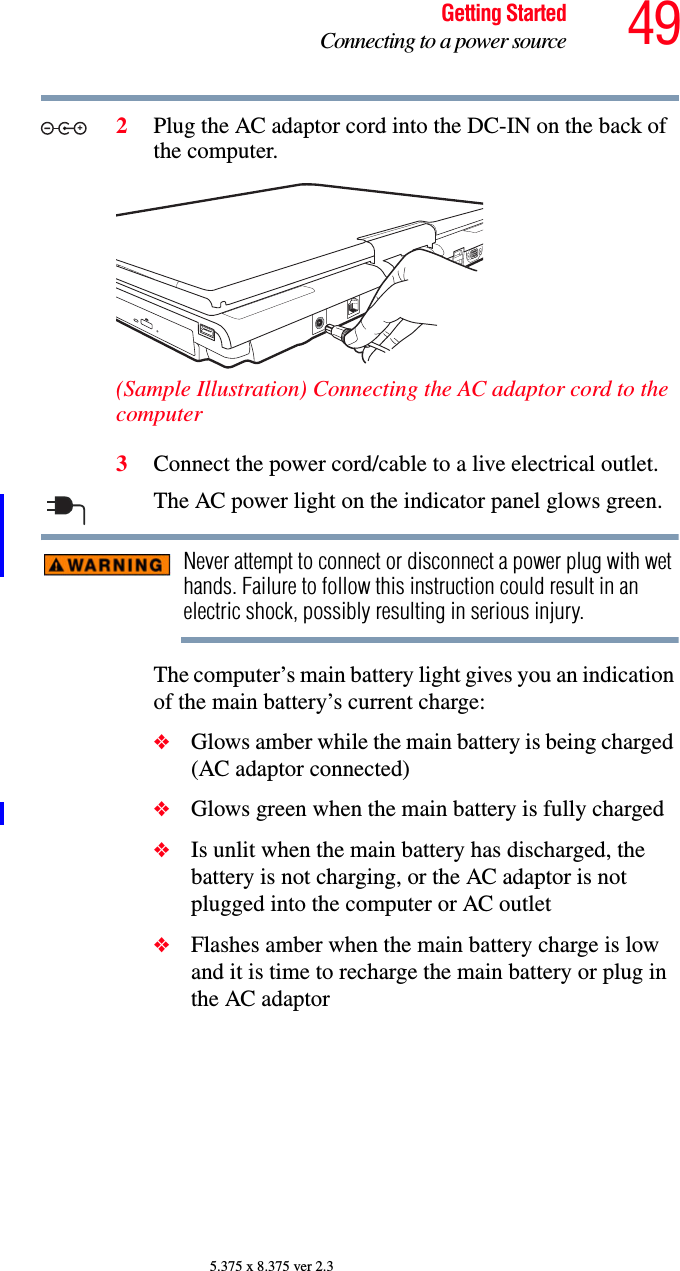
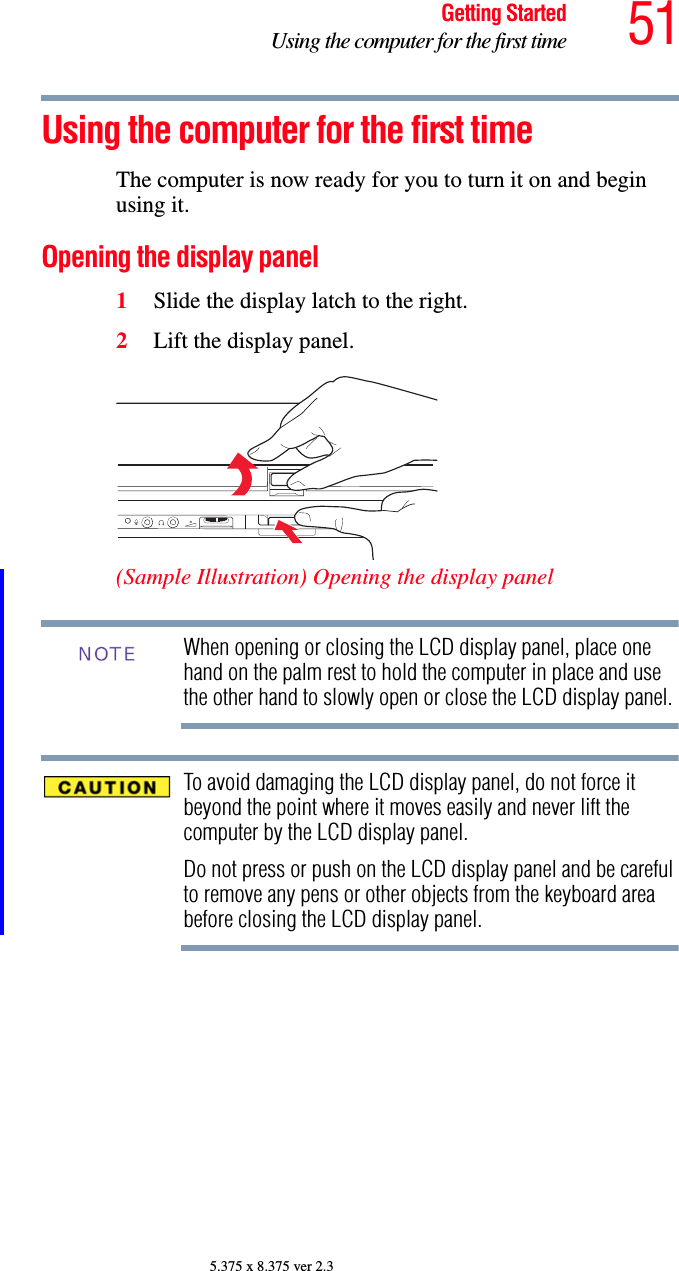
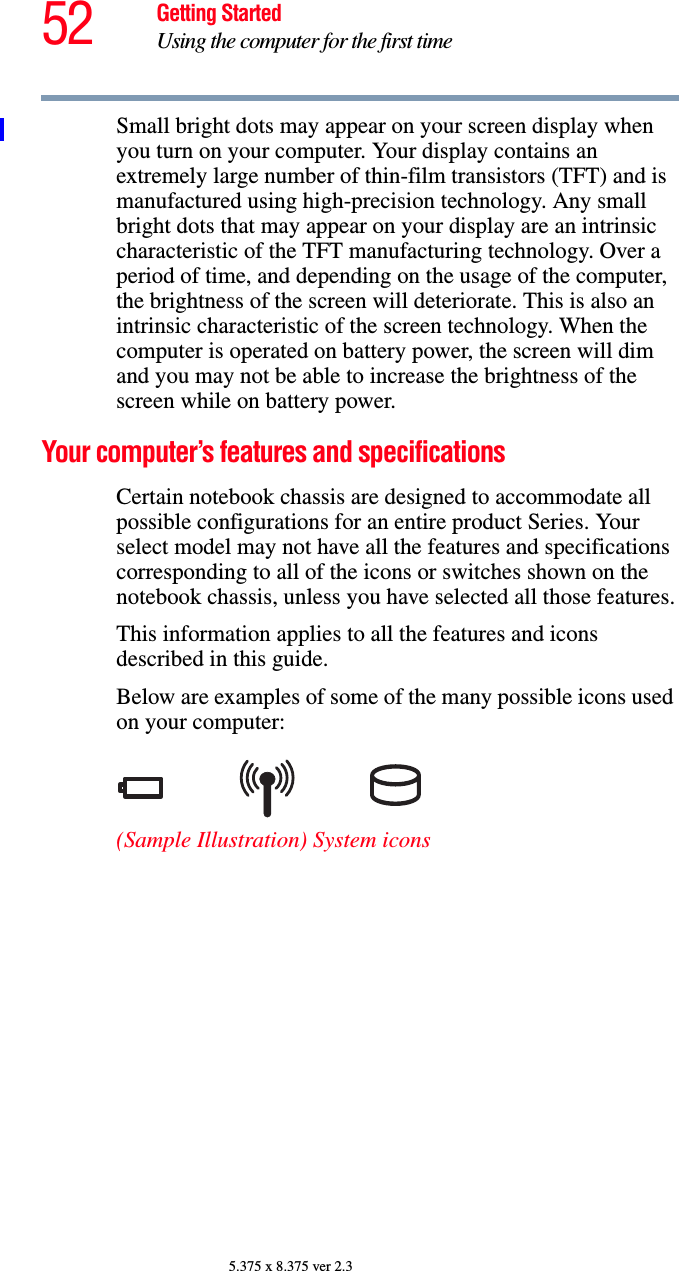
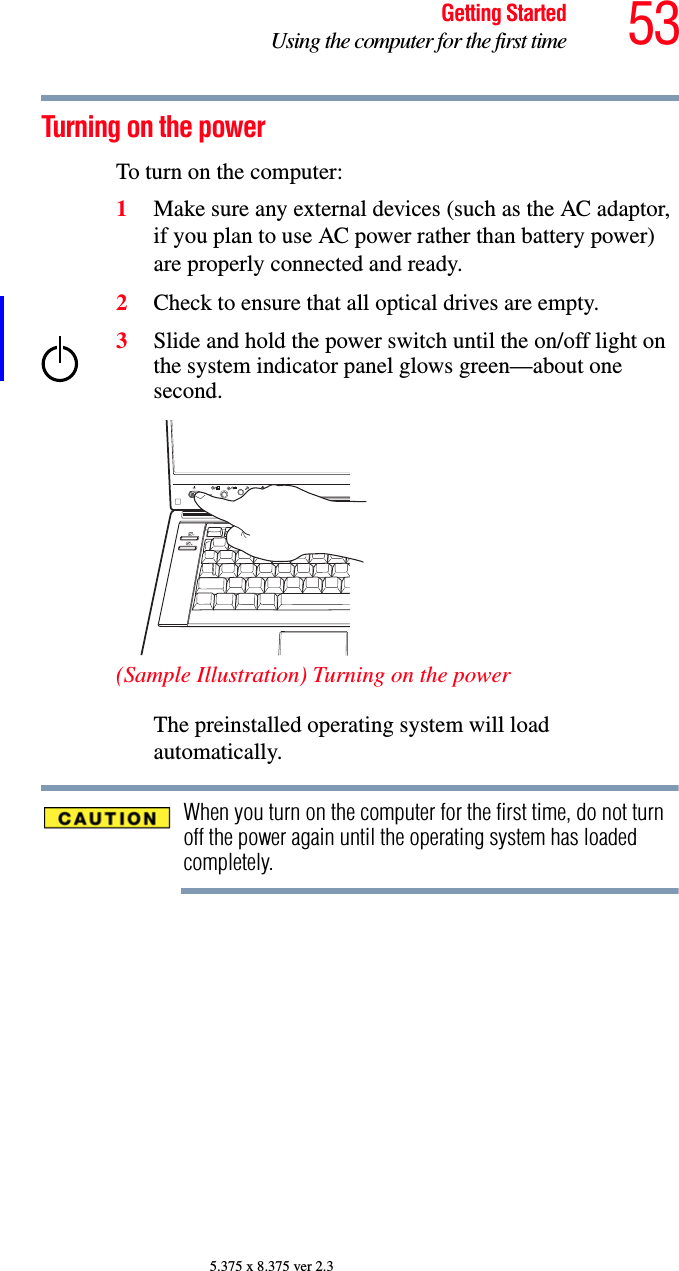
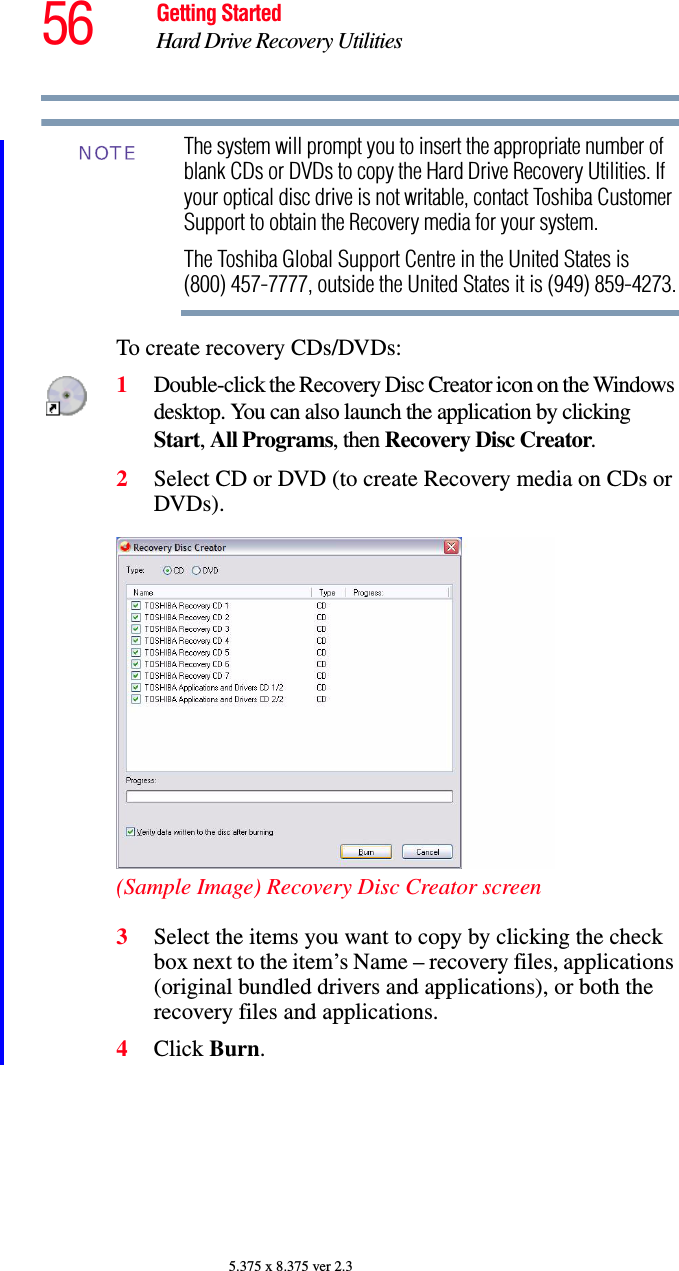
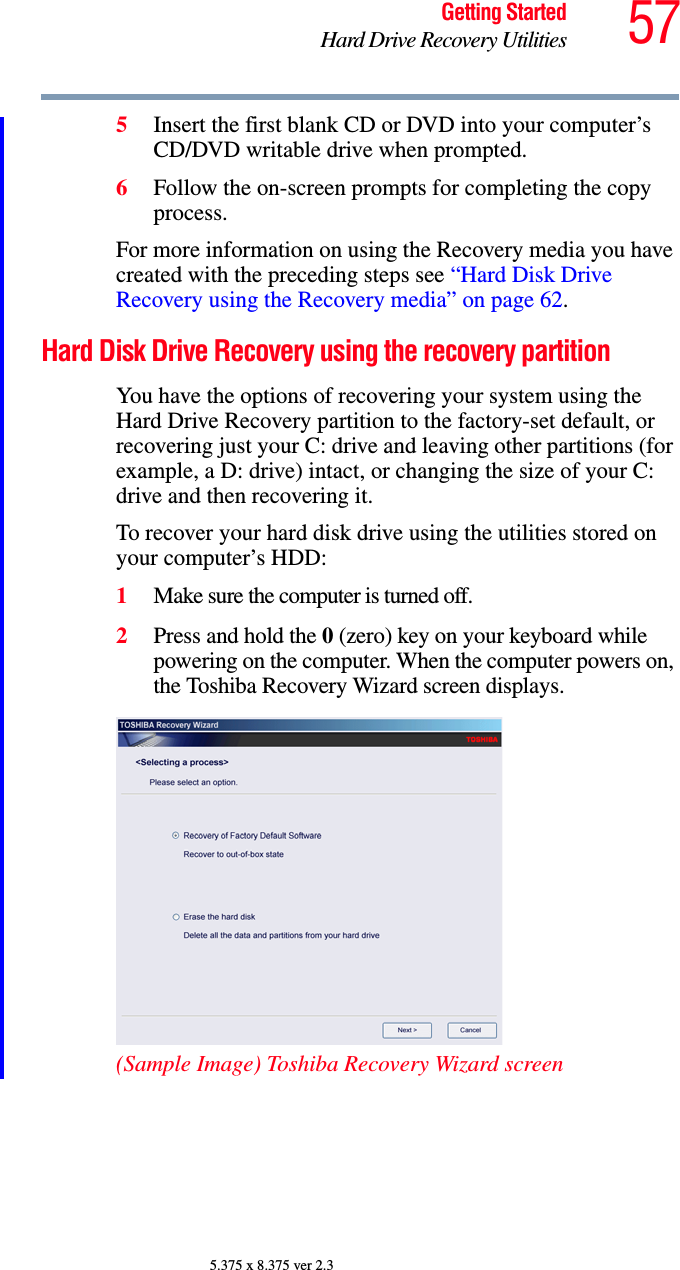
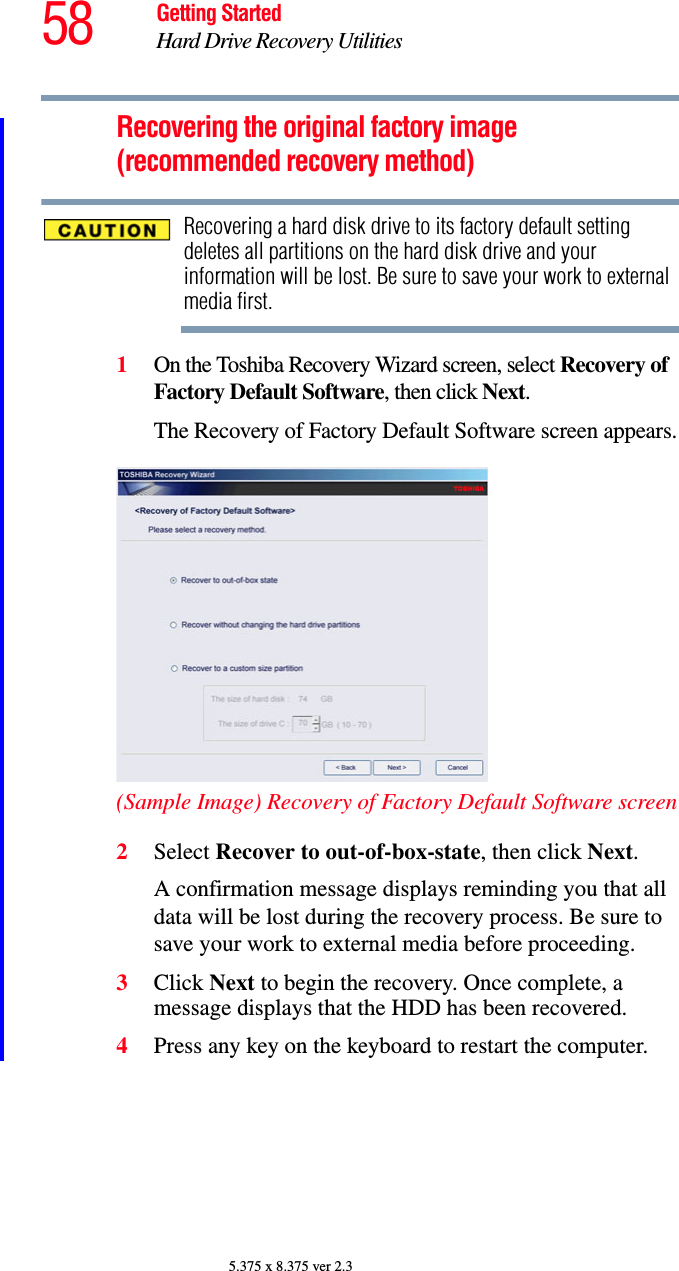
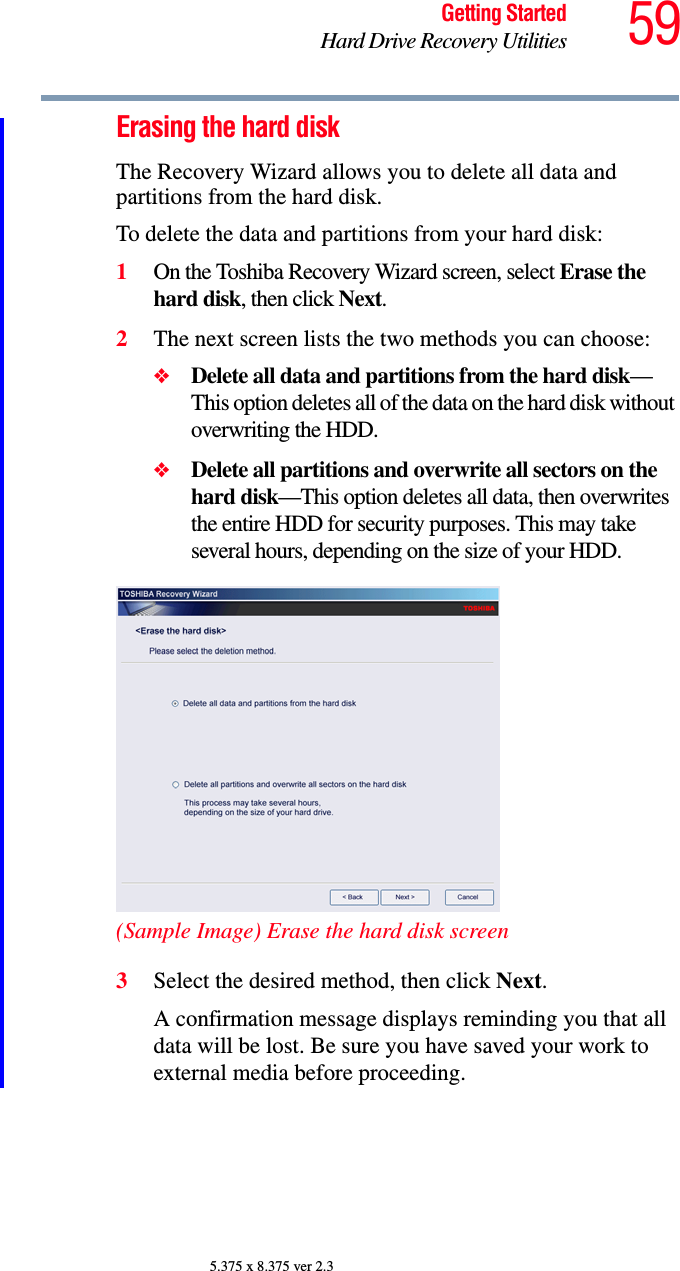
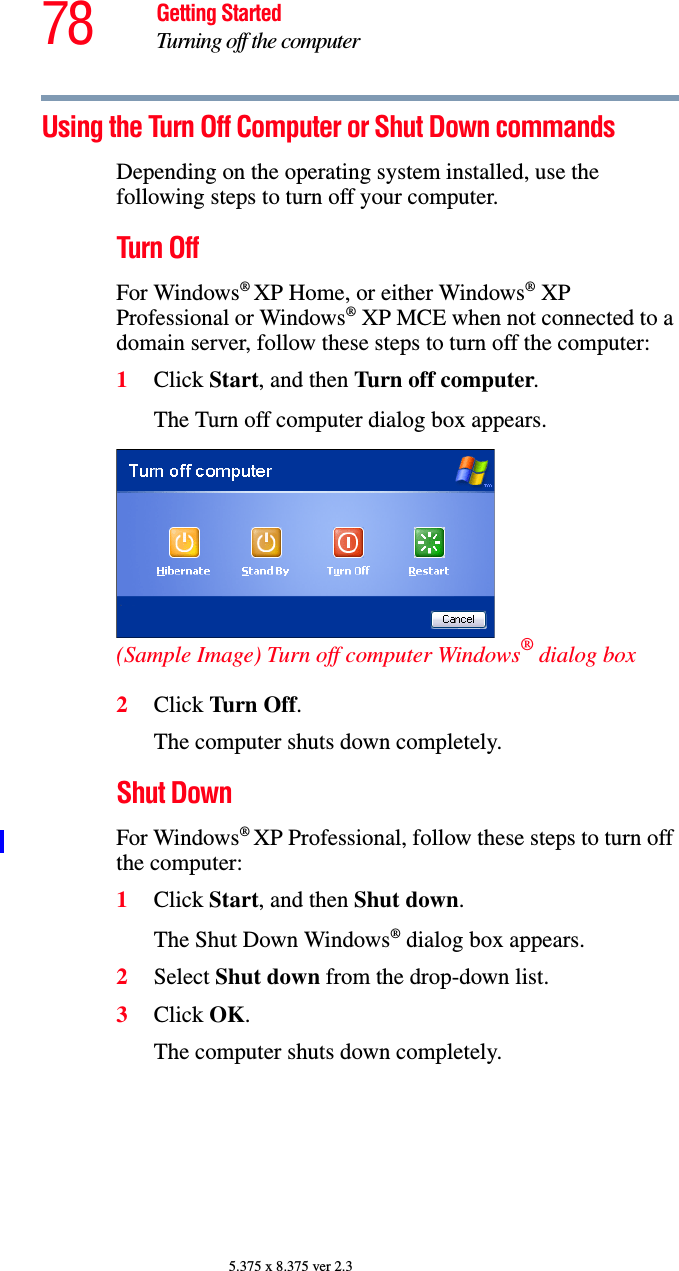
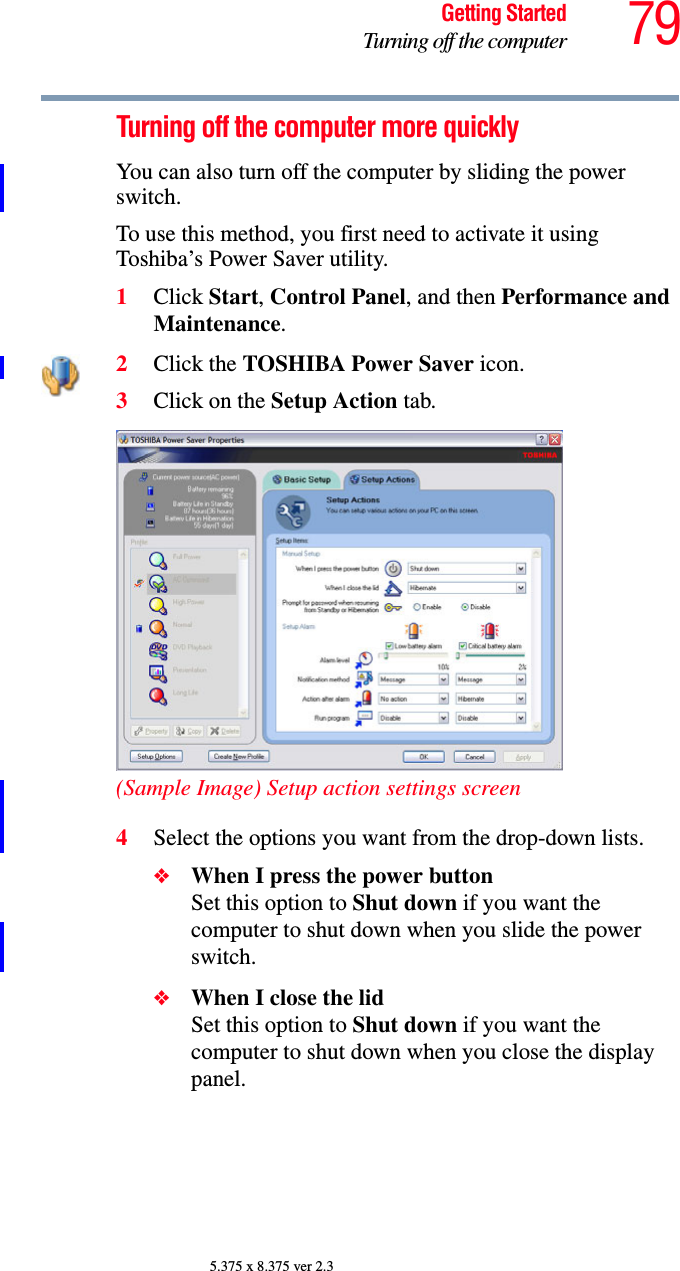
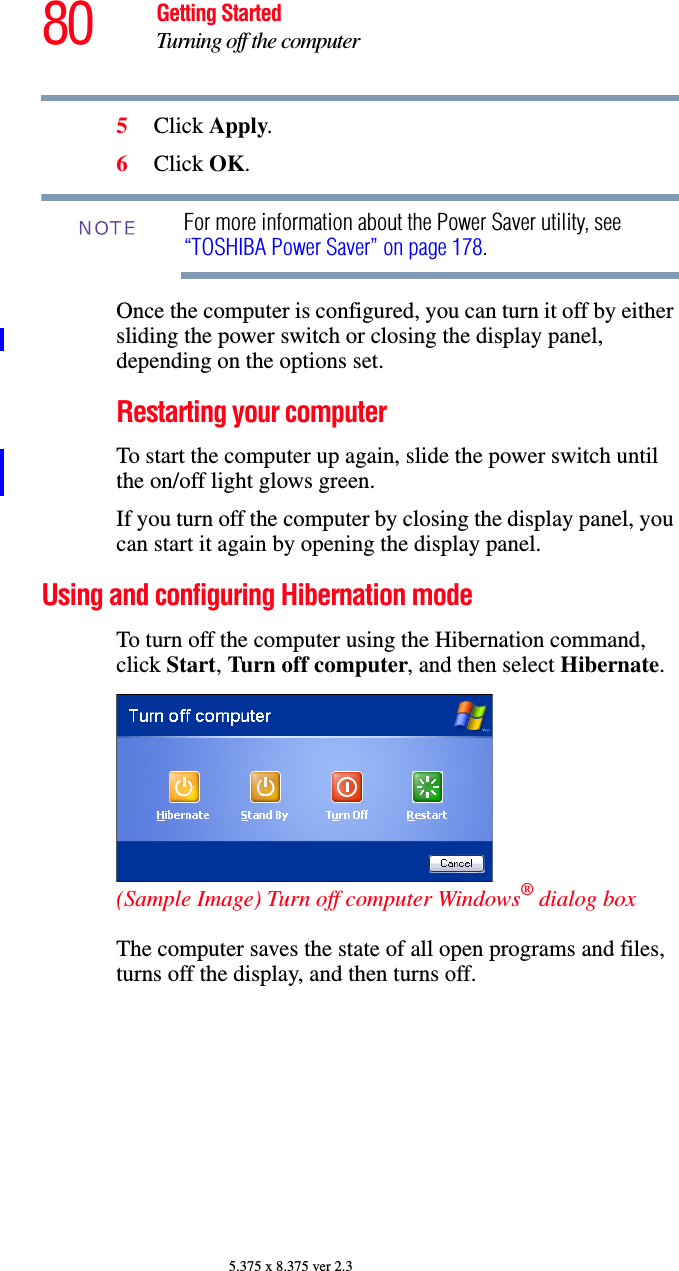
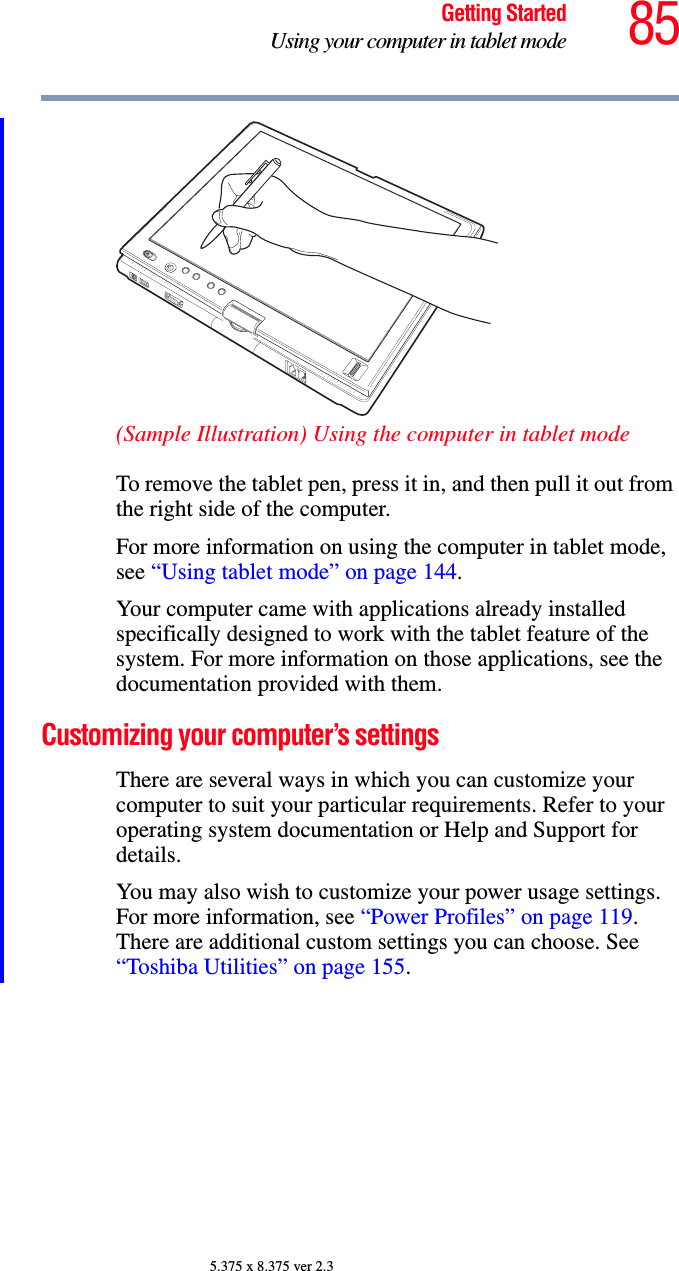
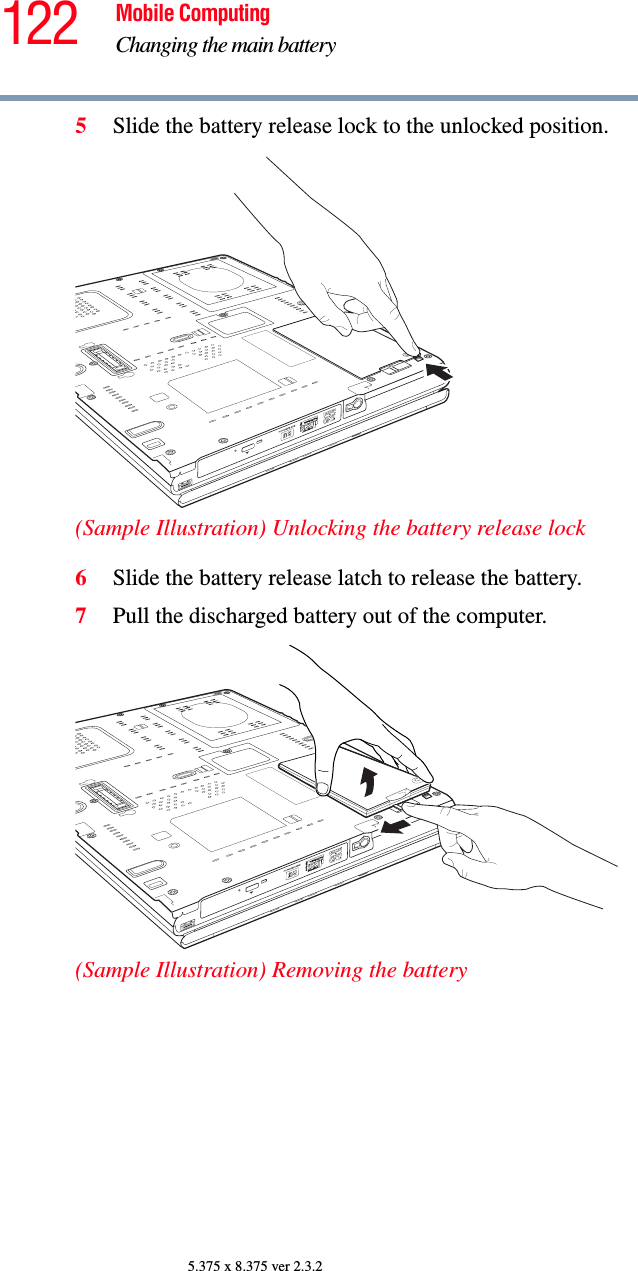
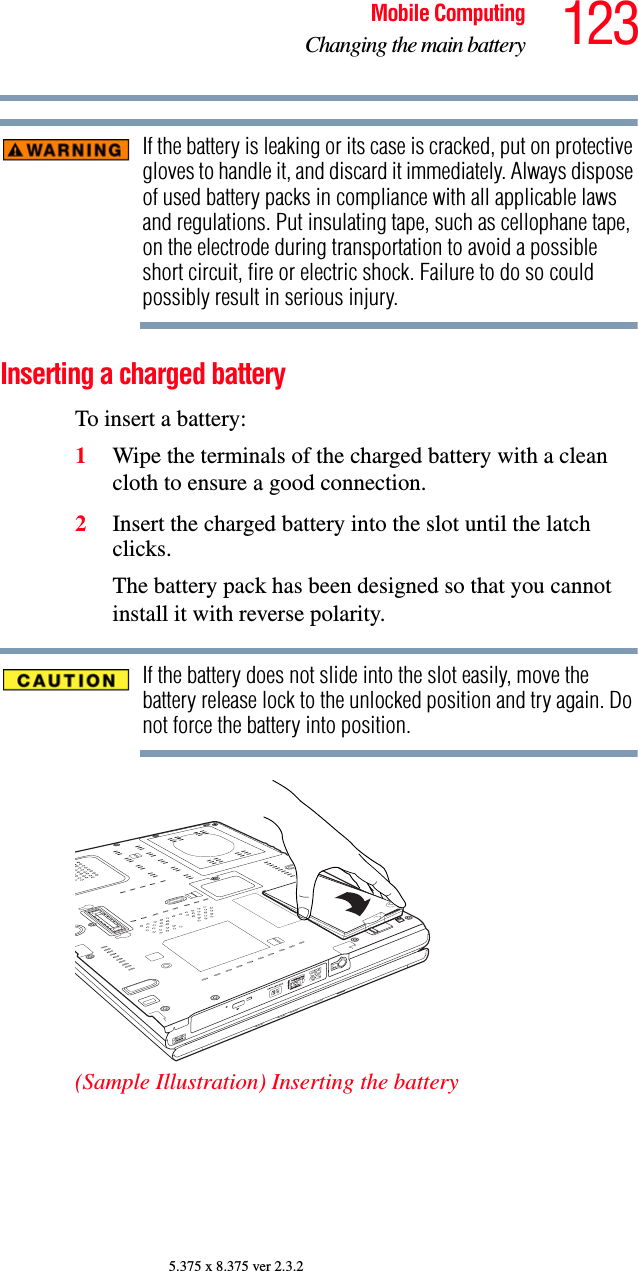
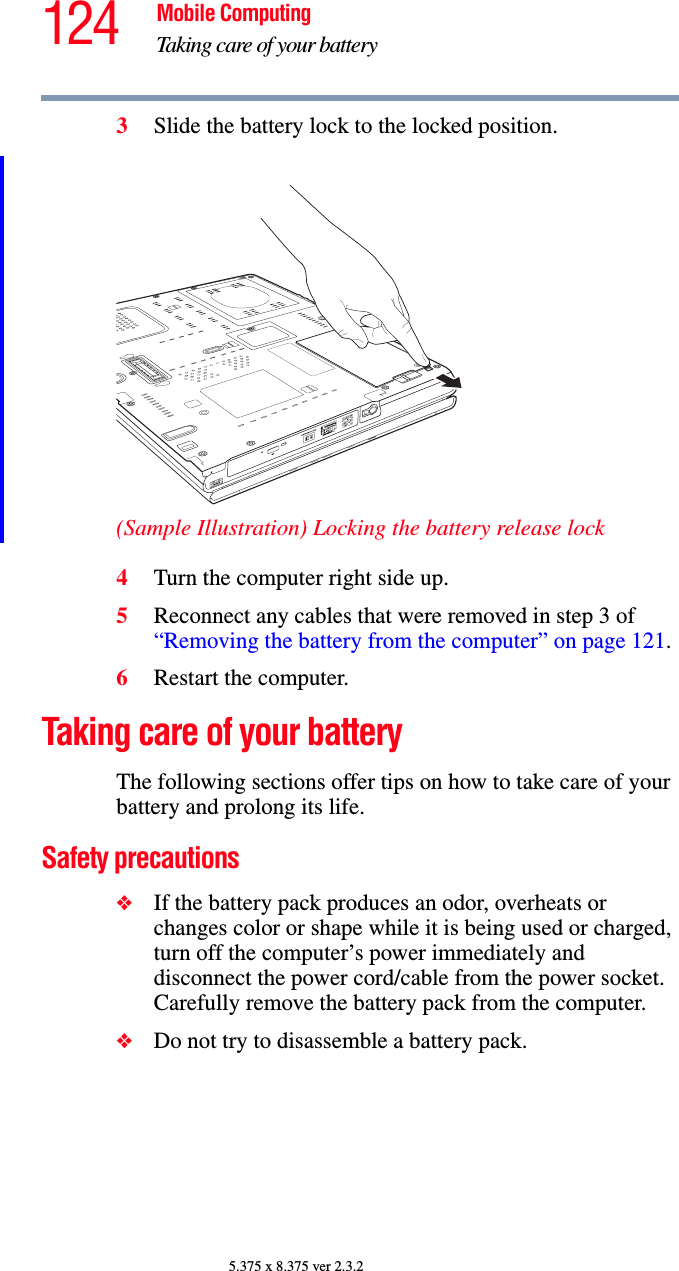
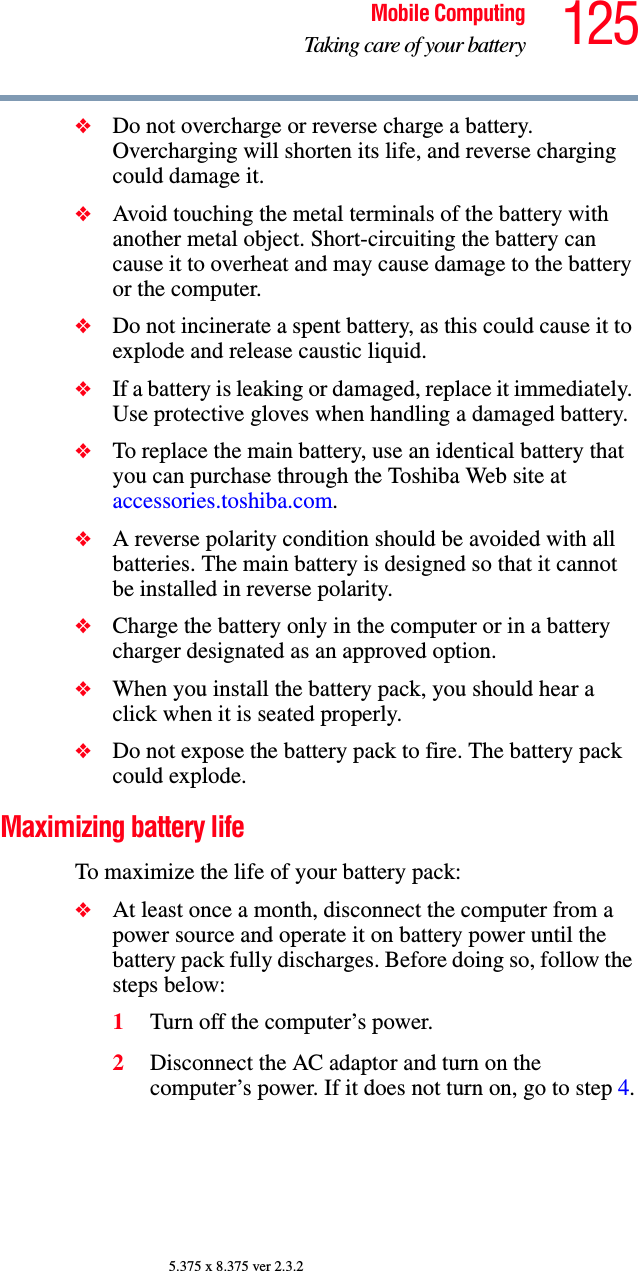
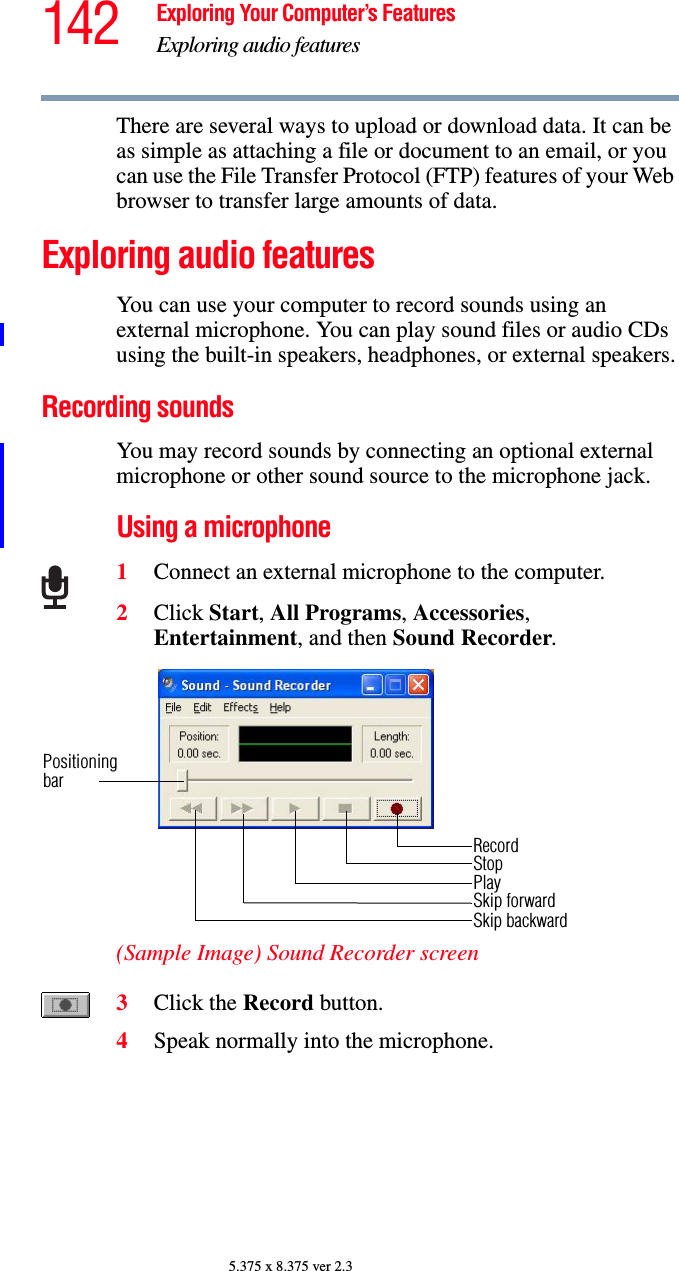
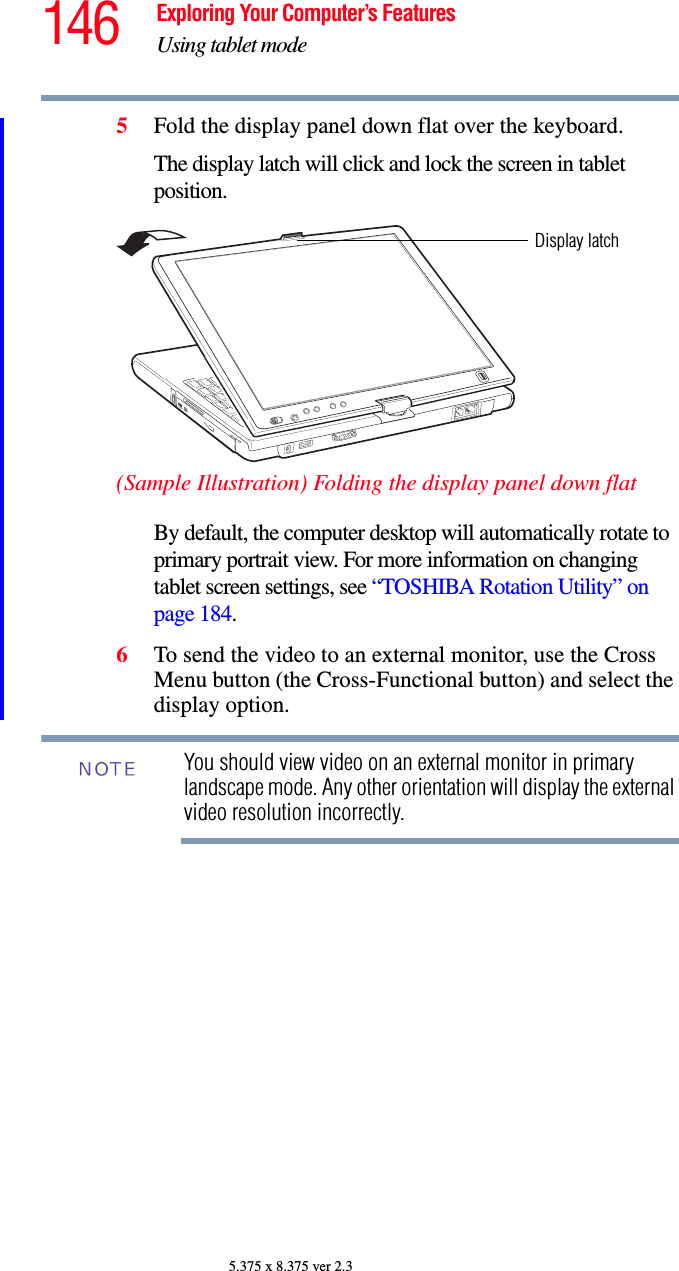
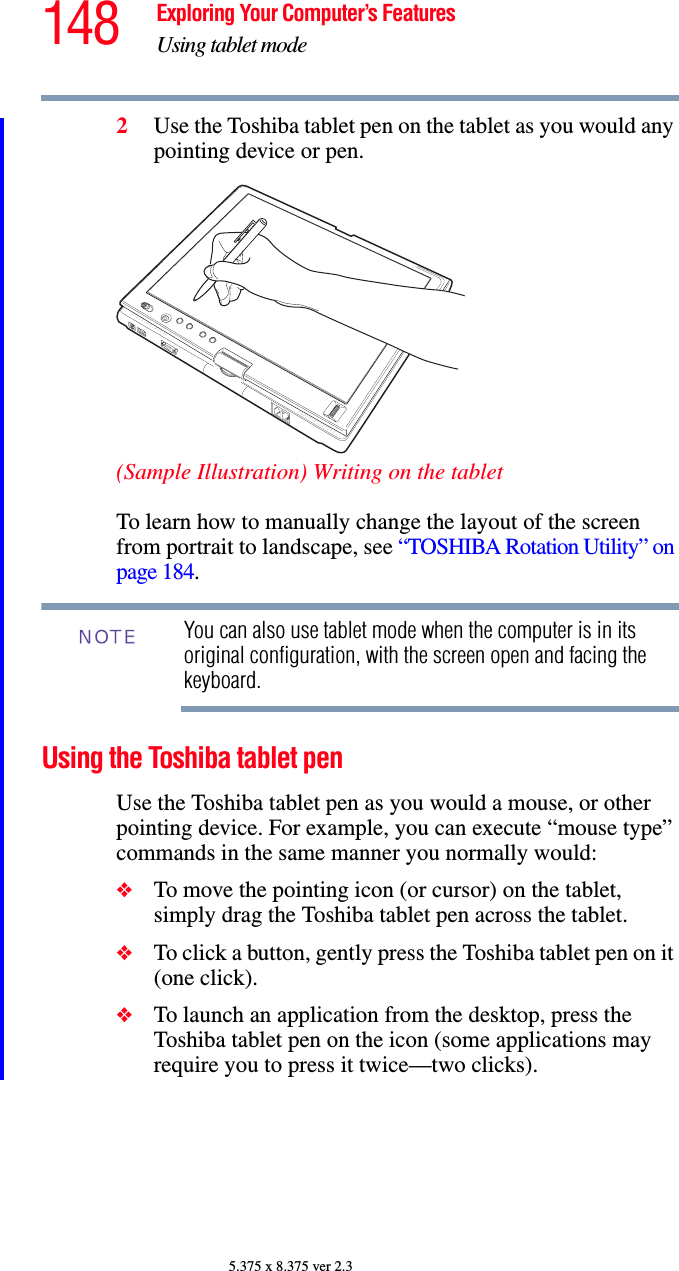
![105.375 x 8.375 ver 2.3EU Declaration of ConformityTOSHIBA declares that this product conforms to the following Standards:This product is carrying the CE-Mark in accordance with the related European Directives. Responsible for CE-Marking is TOSHIBA Europe, Hammfelddamm 8, 41460 Neuss, Germany.VCCI Class B InformationModem Warning NoticeConformity StatementThe equipment has been approved to [Commission Decision “CTR-21”] for pan-European single terminal connection to the Public Switched Telephone Network (PSTN).However, due to differences between the individual PSTNs provided in different countries/regions the approval does not, of itself, give an unconditional assurance of successful operation on every PSTN network termination point.In the event of problems, you should contact your equipment supplier in the first instance.The above Caution information applies to products that operate with an 802.11a device.Supplementary Information:*The product complies with the requirements of the Low Voltage Directive 72/23/EEC, the EMC Directive 89/336/EEC and/or the R&TTE Directive 1999/05/EEC.NOTE](https://usermanual.wiki/Dynabook/UPA3501WL.Revised-TecraM7-Manual-1/User-Guide-700911-Page-10.png)