Dynabook UPA3501WL PCI Express 802.11 b/g transceiver User Manual PMAD00077012 TecraM7 06Aug12
Toshiba Corporation PCI Express 802.11 b/g transceiver PMAD00077012 TecraM7 06Aug12
UserManual.wiki
>
Dynabook
>
UPA3501WL User Manual
>
Revised TecraM7 Manual 2
Contents
1.
User Manual
2.
TECRA M7 User Manual
3.
PA3501U manual addendum
4.
Revised TecraM7 Manual 1
5.
Revised TecraM7 Manual 2
6.
Wireless WAN Guide
Revised TecraM7 Manual 2
Navigation menu
Upload a User Manual
Namespaces
Wiki Guide
HTML
PDF
Info
Views
User Manual
Discussion / Help
Navigation

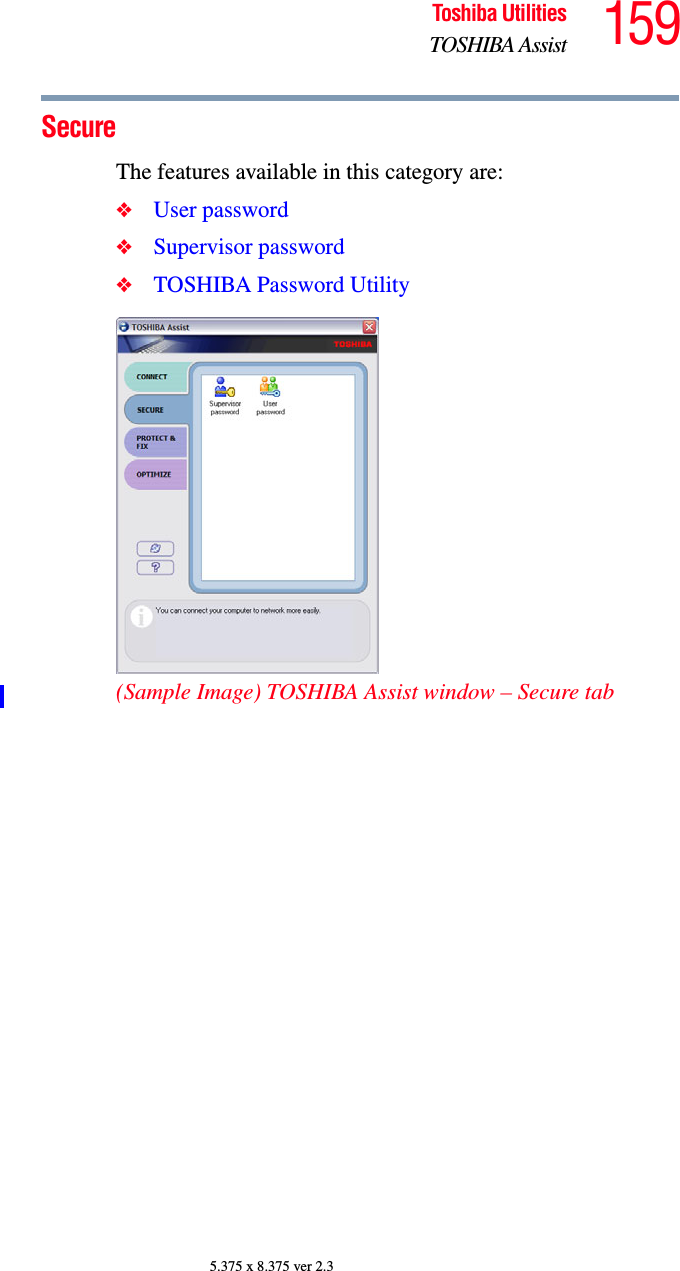

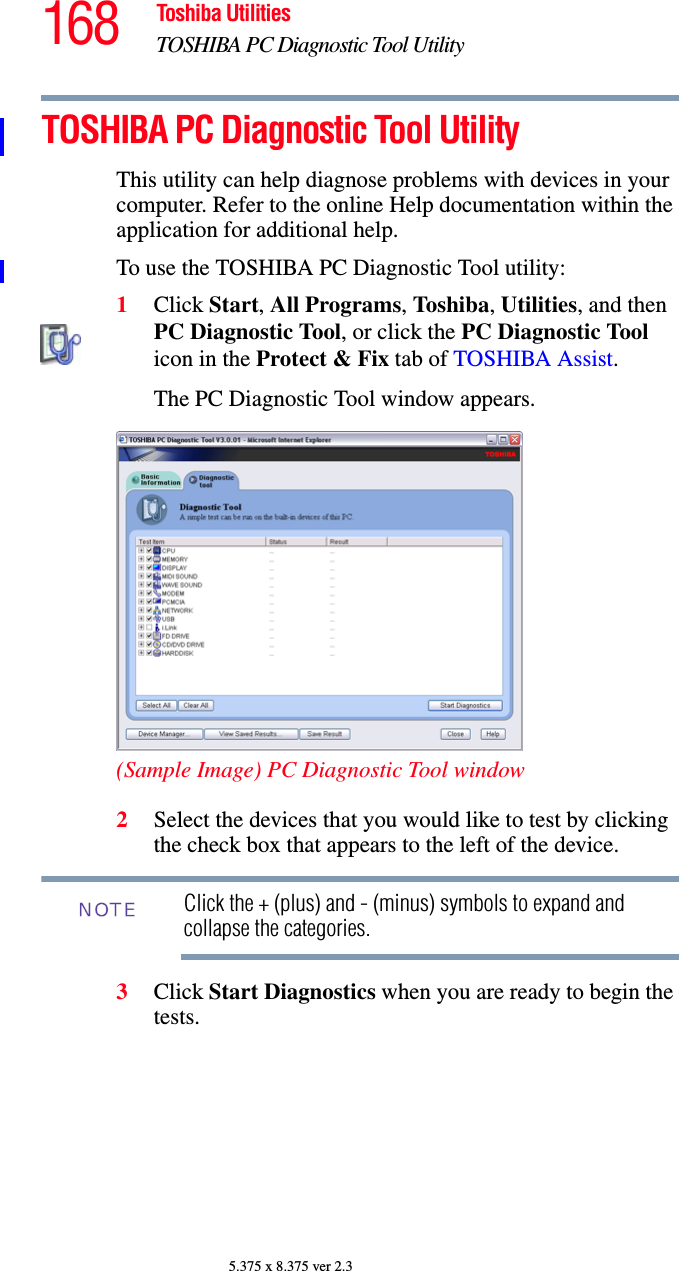
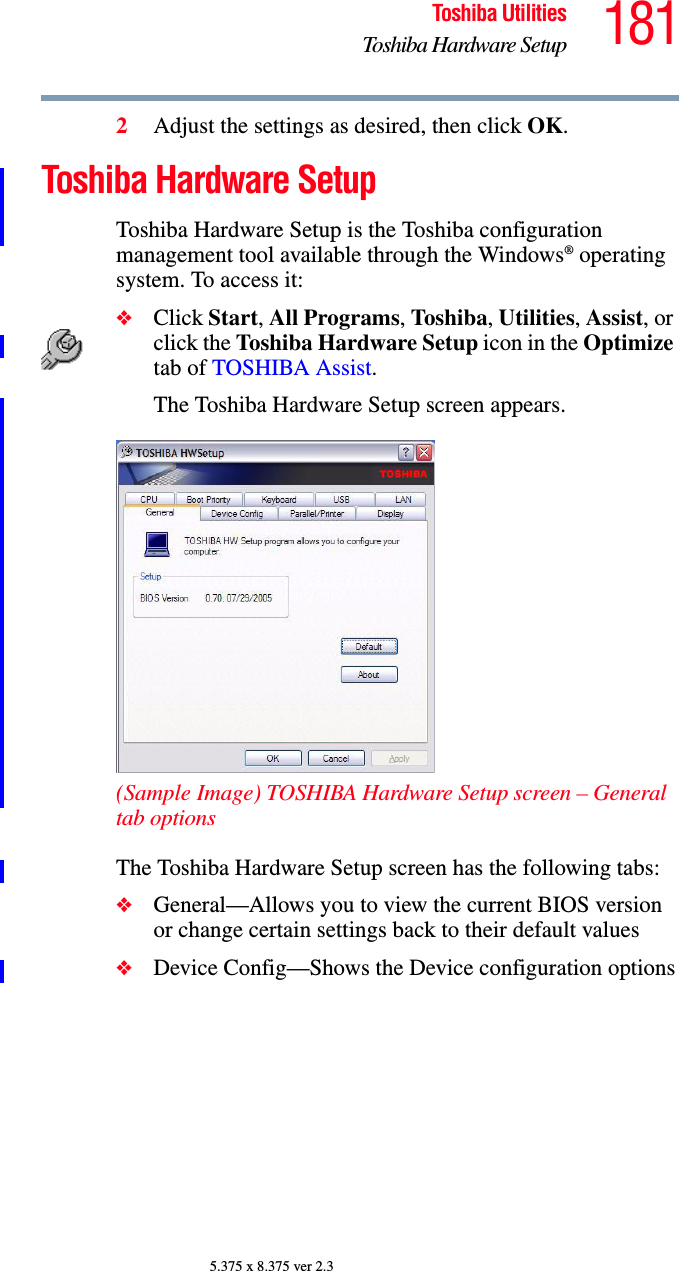
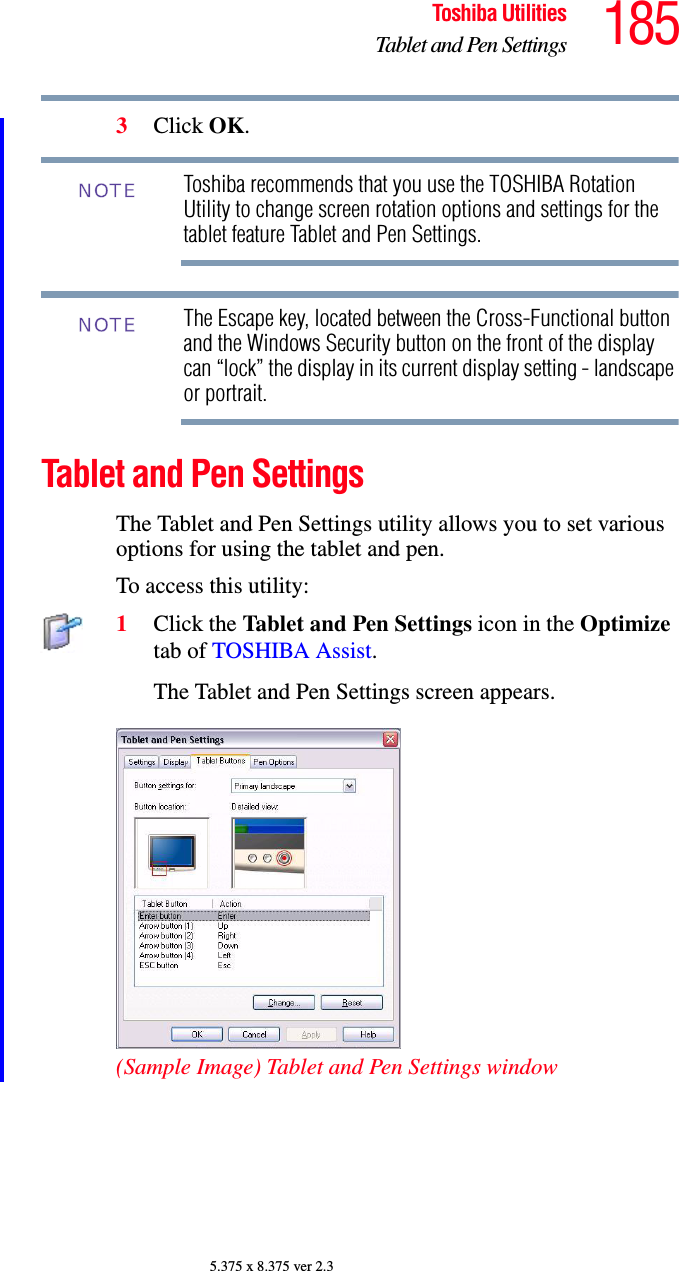
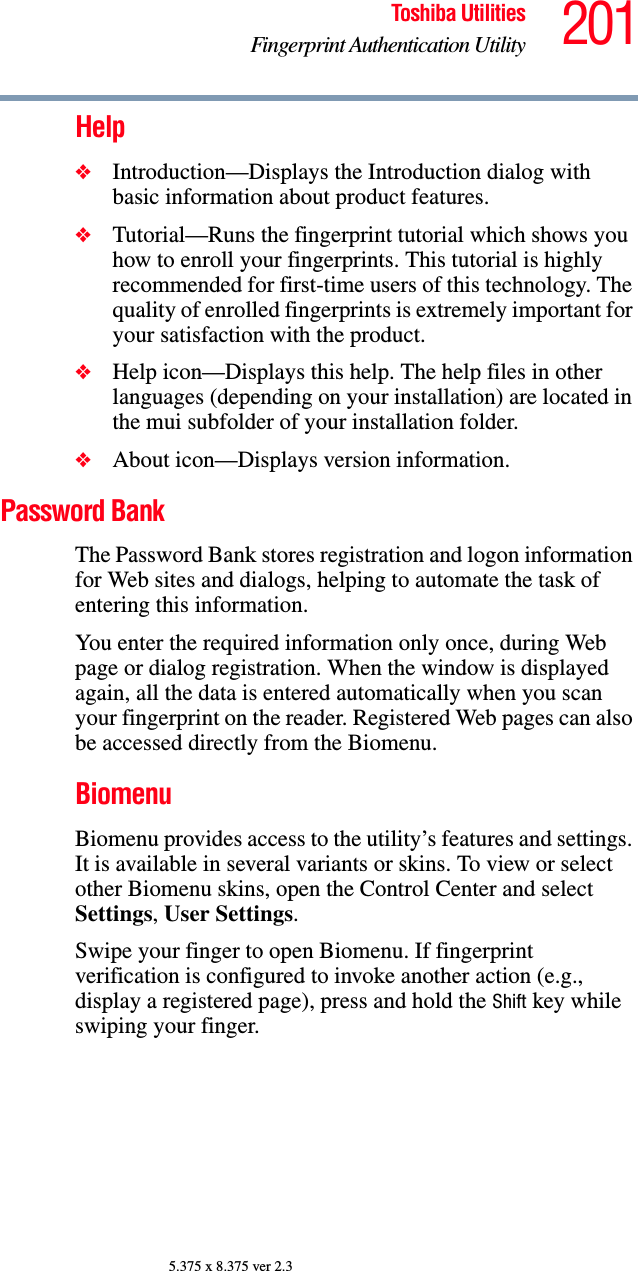
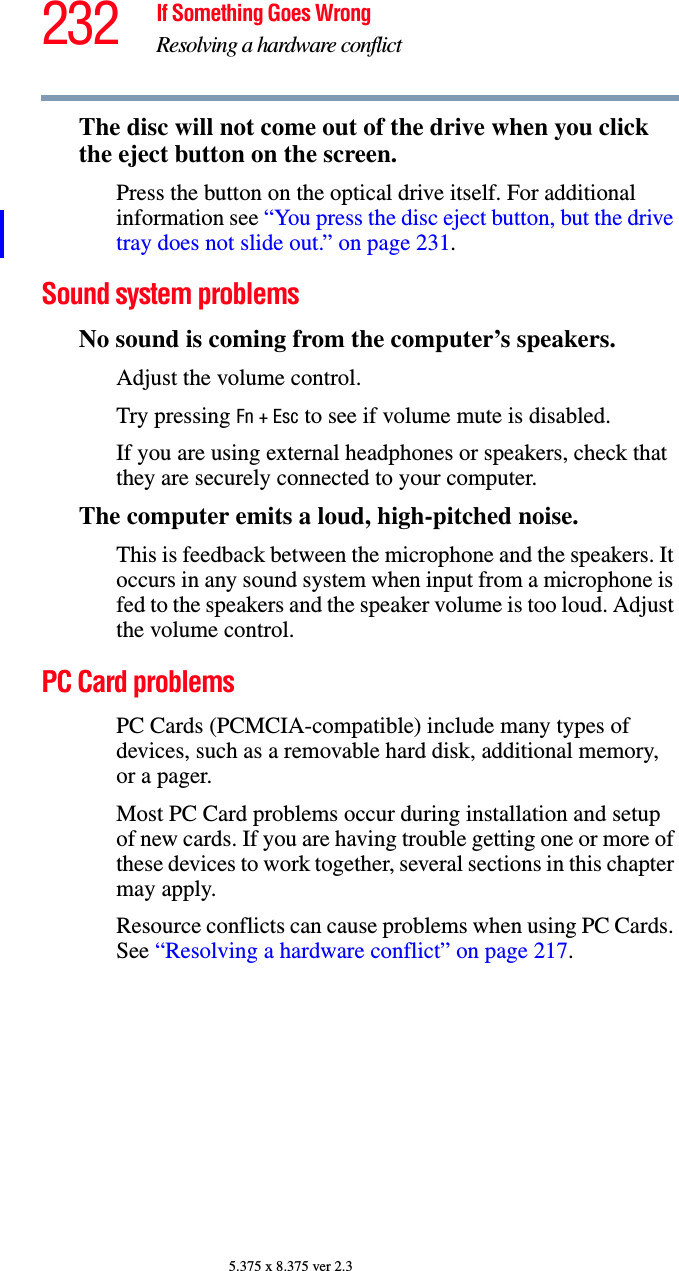
![174 Toshiba UtilitiesTOSHIBA Hotkey Utility5.375 x 8.375 ver 2.3TOSHIBA Hotkey UtilityThe TOSHIBA Hotkey utility allows you to receive a confirmation message when you use the Hotkey combination for Standby [Fn+F3] and Hibernation [Fn+F4].To activate the Hotkey utility:1Click Start, All Programs, Toshiba, Utilities, and then Hotkey utility.The TOSHIBA Hotkey window appears.(Sample Image) TOSHIBA Hotkey Utility window2Select the desired option(s).3Click OK.](https://usermanual.wiki/Dynabook/UPA3501WL.Revised-TecraM7-Manual-2/User-Guide-700912-Page-24.png)
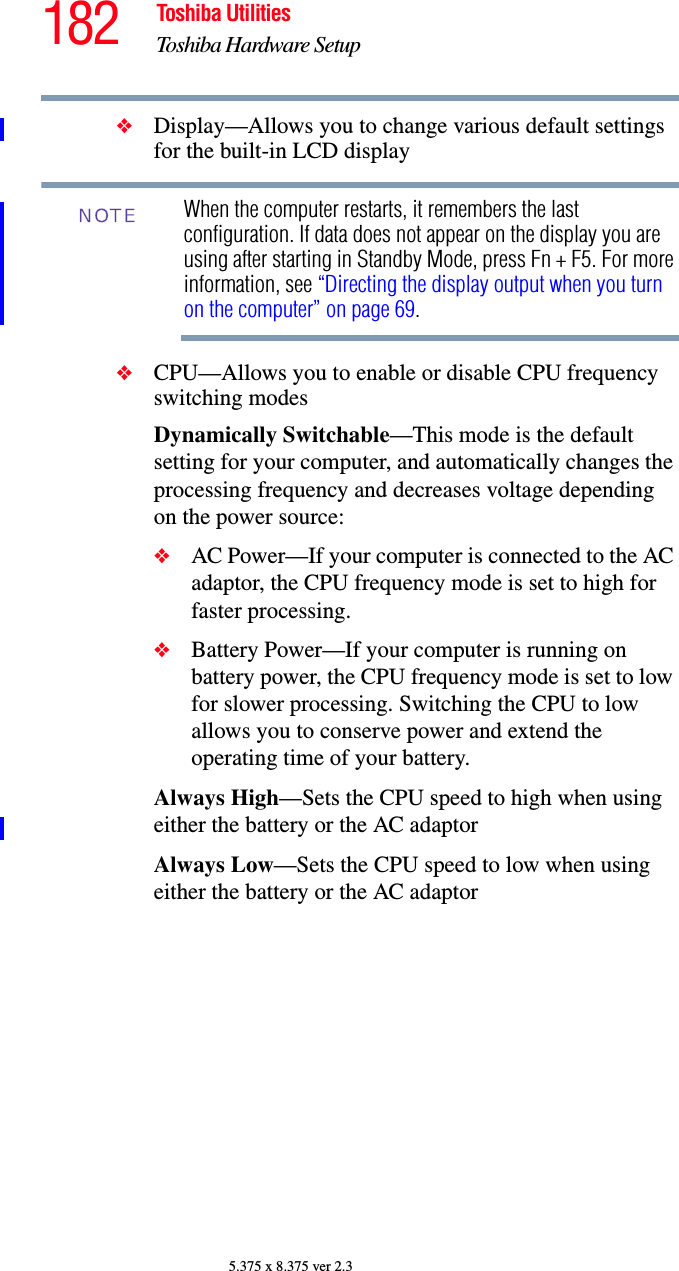


![240 If Something Goes WrongResolving a hardware conflict5.375 x 8.375 ver 2.3❖Use the PING command to verify a connection to the gateway at 192.168.1.1 (a default gateway for most wireless routers).❖Click Start, then click Run...❖Enter Cmd and press Enter.❖Enter PING 192.168.1.1 at the command prompt, and press Enter.❖If “Request Timed Out” or another error message appears in response, then the problem is probably Wi-Fi-related.❖If you have enabled any security provisions (closed system, MAC address filtering, Wired Equivalent Privacy [WEP], etc.), check the access point vendor's Web site for recent firmware upgrades. Problems with WEP keys, in particular, are frequently addressed in new firmware releases.Special considerations for Windows XPWired Equivalent Privacy (WEP) encryption is not enabled on the wireless access point.When you install a wireless access point device, Windows XP checks whether WEP encryption is enabled on the device. If it is not enabled, Windows XP adds the device to its list of available wireless networks, but does not create a wireless connection using the device, since the connection would not be secure. You can still, however, use the access point. To use an access point without WEP encryption, follow these steps:1Right-click the Wireless Network icon in the System Tray (far-right portion of the Windows Taskbar).2Click View Available Wireless Networks.](https://usermanual.wiki/Dynabook/UPA3501WL.Revised-TecraM7-Manual-2/User-Guide-700912-Page-90.png)


![262 Hot KeysZooming applications in/out5.375 x 8.375 ver 2.3.2Zooming applications in/outKeyboard hot keys Fn + This hot key turns the Zooming utility to zoom-out. For more information, see “TOSHIBA Zooming Utility” on page 190.Fn + This hot key turns the Zooming utility to zoom-in. For more information, see “TOSHIBA Zooming Utility” on page 190.Fn + This hot key turns the cursor control overlay on and off.Fn + This hot key turns the numeric overlay on and off.Fn + This hot key turns the scroll lock feature on and off.Fn + [Space bar]This hot key switches screen resolution.](https://usermanual.wiki/Dynabook/UPA3501WL.Revised-TecraM7-Manual-2/User-Guide-700912-Page-112.png)


![295Glossary5.375 x 8.375 ver 2.3disk drive — The device that reads and writes information and programs on a diskette or hard disk. It rotates the disk at high speed past one or more read/write heads.diskette — A thin, flexible disk in a protective jacket that stores magnetically encoded data. Diskettes can be removed from the computer and come in two sizes: 5.25-inch and 3.5-inch. Your computer uses 3.5-inch diskettes. See also double-density diskette, high-density diskette.document — Any file created with an application and, if saved to disk, given a name by which it can be retrieved. See also file.double-click — To press and release the pointing device’s primary button rapidly twice without moving the pointing device. In the Windows® operating system, this refers to the pointing device’s left button, unless otherwise stated.double-density diskette — A 3.5-inch diskette that can hold up to 720 KB of information (half the capacity of a high-density diskette). See also diskette, high-density diskette.download — (1) In communications, to receive a file from another computer through a modem or network. (2) To send font data from the computer to a printer. See also upload.drag — To hold down the mouse button while moving the cursor to drag a selected object. In the Windows® operating system, this refers to the left mouse button, unless otherwise stated.driver — See device driver.DVD — An individual digital versatile (or video) disc. See also DVD-ROM.DVD-ROM (digital versatile [or video] disc read-only memory) — A very high-capacity storage medium that uses laser optics for reading data. Each DVD-ROM can hold as much data as several CD-ROMs. Compare CD-ROM.Eemulation — A technique in which a device or program imitates another device or program.enable — To turn on a computer option. See also disable.](https://usermanual.wiki/Dynabook/UPA3501WL.Revised-TecraM7-Manual-2/User-Guide-700912-Page-145.png)