E Lead Electronic 719TMC1 Rear Seat Entertainment 10.2 inch User Manual
E-Lead Electronic Co., Ltd Rear Seat Entertainment 10.2 inch
UserManual.wiki
>
E Lead Electronic
>
719TMC1 User Manual
User manual
Navigation menu
Upload a User Manual
Namespaces
Wiki Guide
HTML
PDF
Info
Views
User Manual
Discussion / Help
Navigation
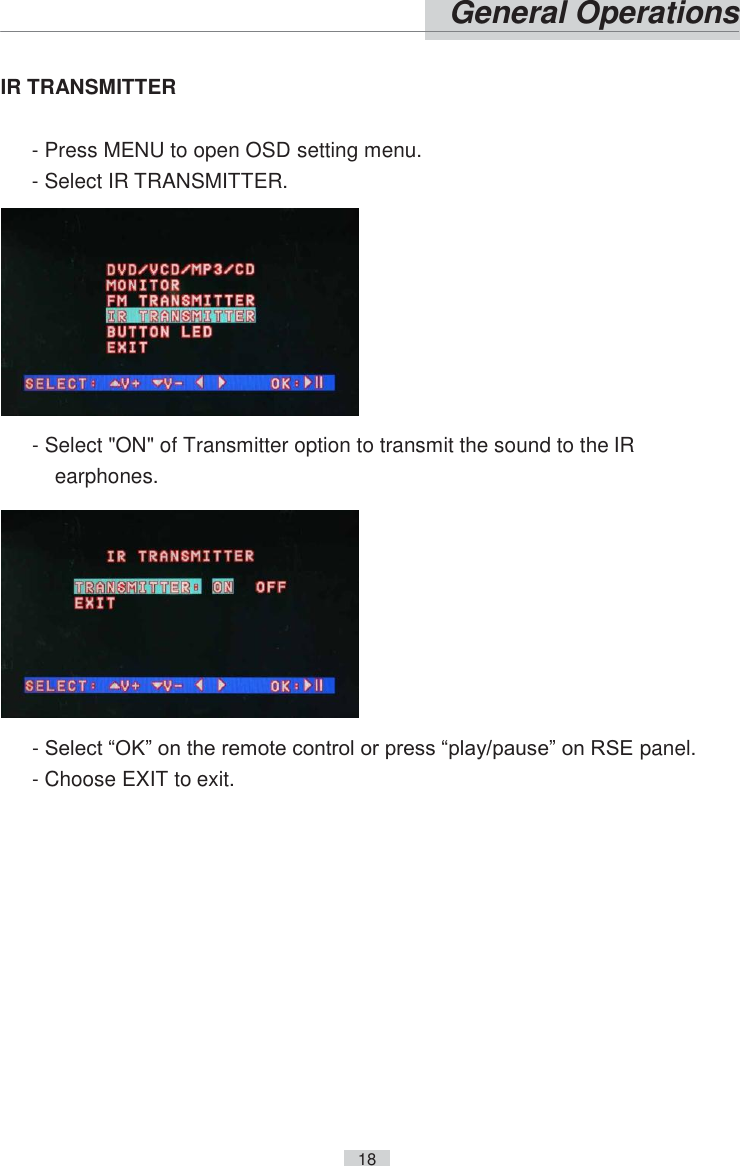
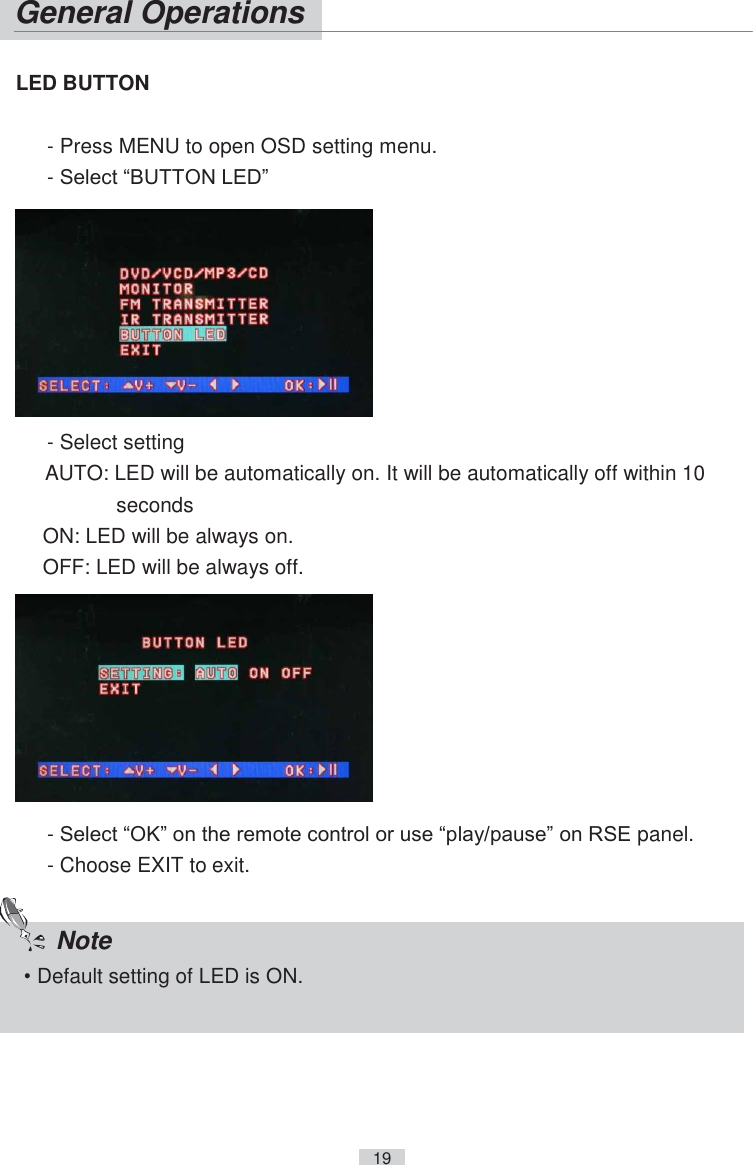
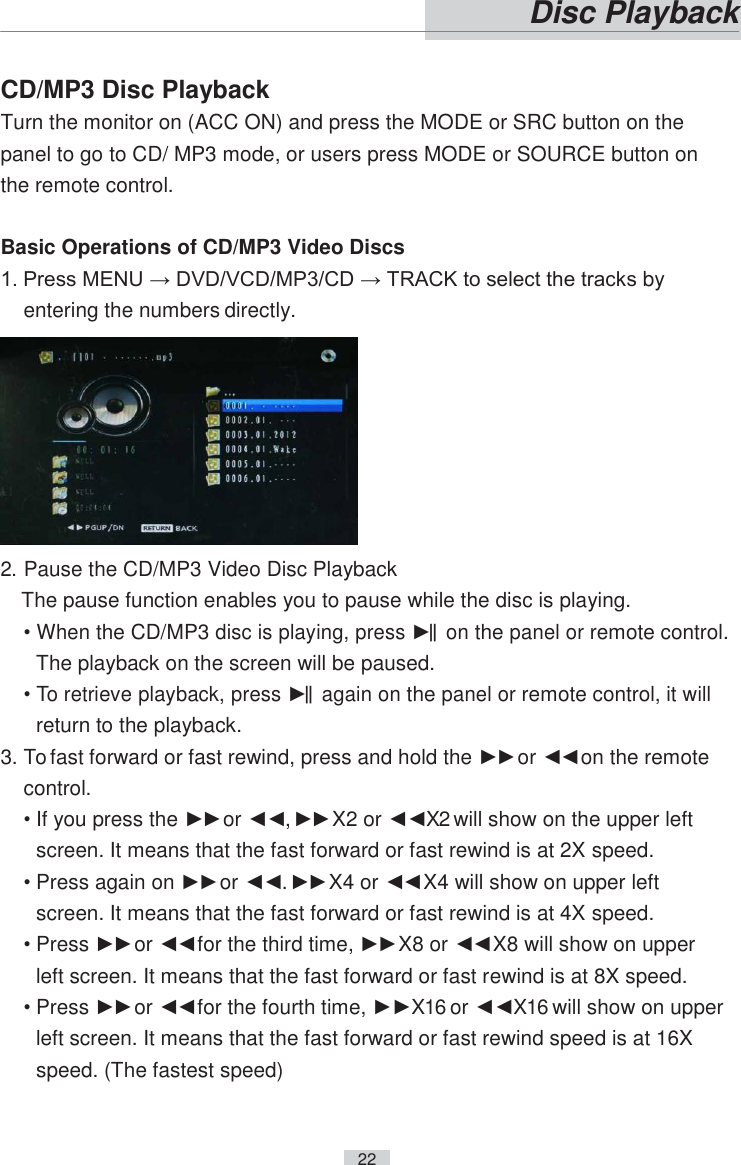
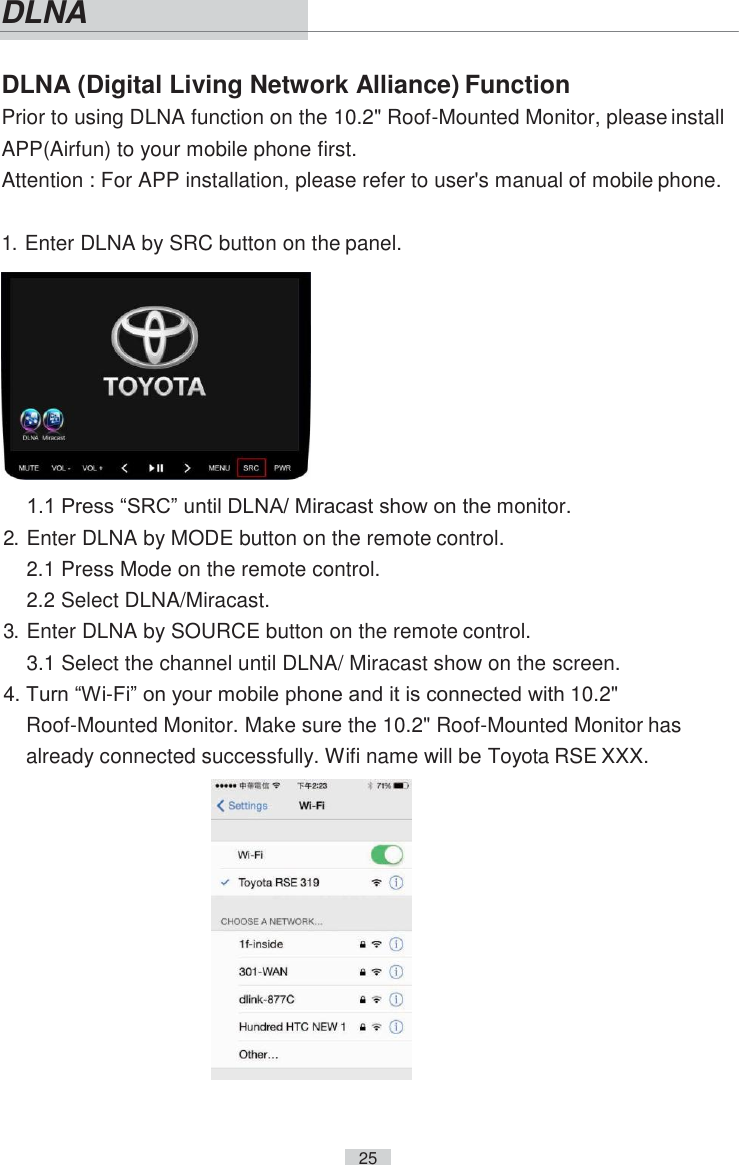
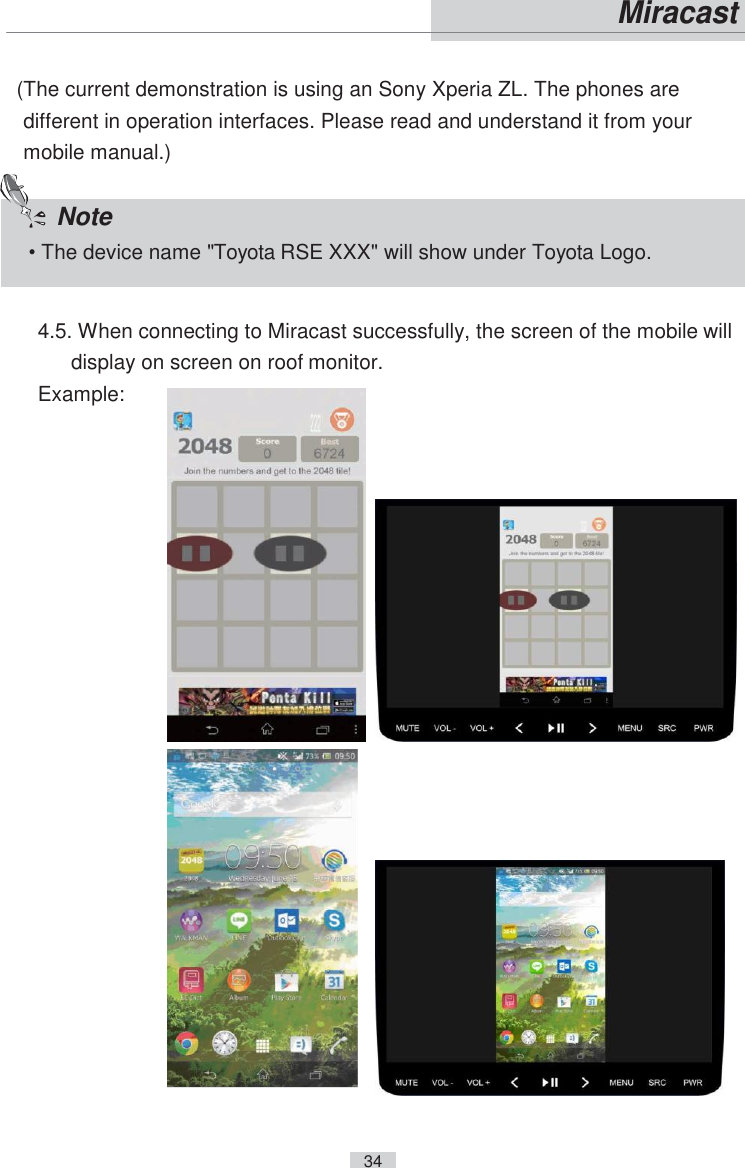
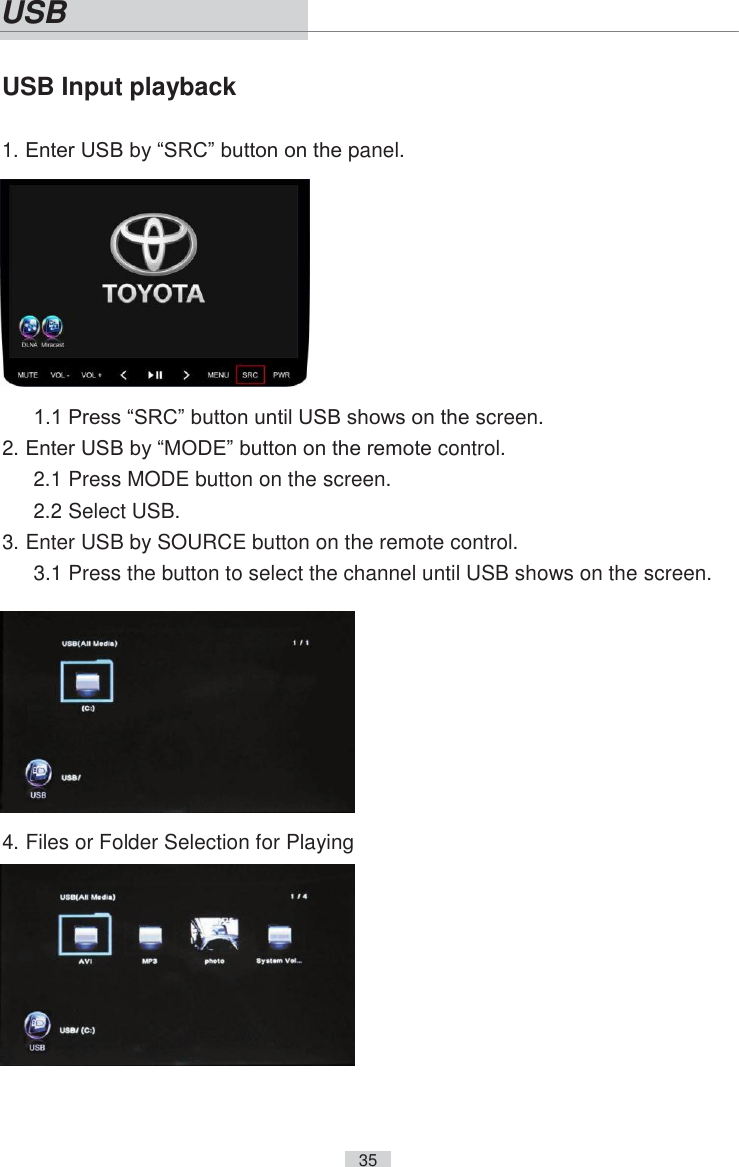
![3 Please make sure that the items listed below are in the package. If there is something missing, please contact the dealer where the product was bought. Please read and understand the operation of this product before using, and please follow this user’s manual instruction. - Adopt 10.2” TFT-LCD monitor with monitor angle memory. - Support three kinds of aspect ratios [FULL, WIDE (16:9), NORMAL (4:3)]. - Allow CD-ROM of DVD, VCD, CD, CD-R, CD-RW and MP3 formats. - Allow automatic switching to NTSC/PAL system. - AV input x 2 (AV1& AV2). - Panel angle, 90 to 115 degree, is not affected by vibration. - Can be controlled by Remote Control. - Support USB 2.0 - Support Miracast and DLNA. - IR earphones are optional. Before Use Product Features](https://usermanual.wiki/E-Lead-Electronic/719TMC1/User-Guide-2923400-Page-5.png)