ELITEGROUP COMPUTER SYSTEMS G610IABG Notebook with 11abg WLAN User Manual 610 E V1
Elitegroup Computer Systems Co., Ltd Notebook with 11abg WLAN 610 E V1
UserManual.wiki
>
ELITEGROUP COMPUTER SYSTEMS
>
G610IABG User Manual
>
Manual Pt2
Contents
1.
Manual Pt1
2.
Manual Pt2
Manual Pt2
Navigation menu
Upload a User Manual
Namespaces
Wiki Guide
HTML
PDF
Info
Views
User Manual
Discussion / Help
Navigation
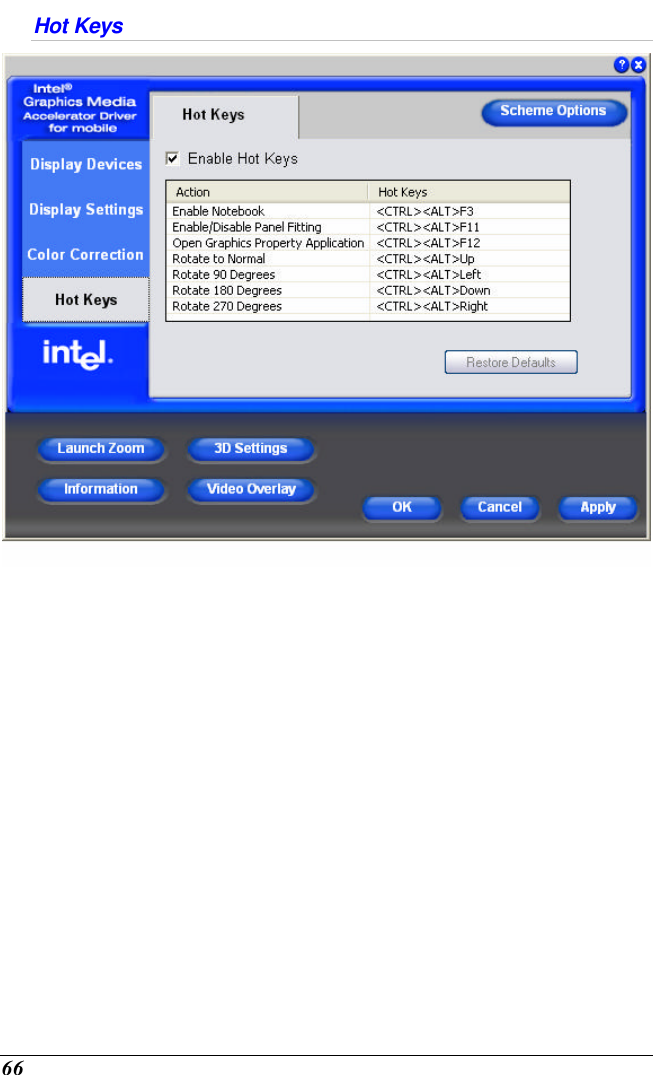

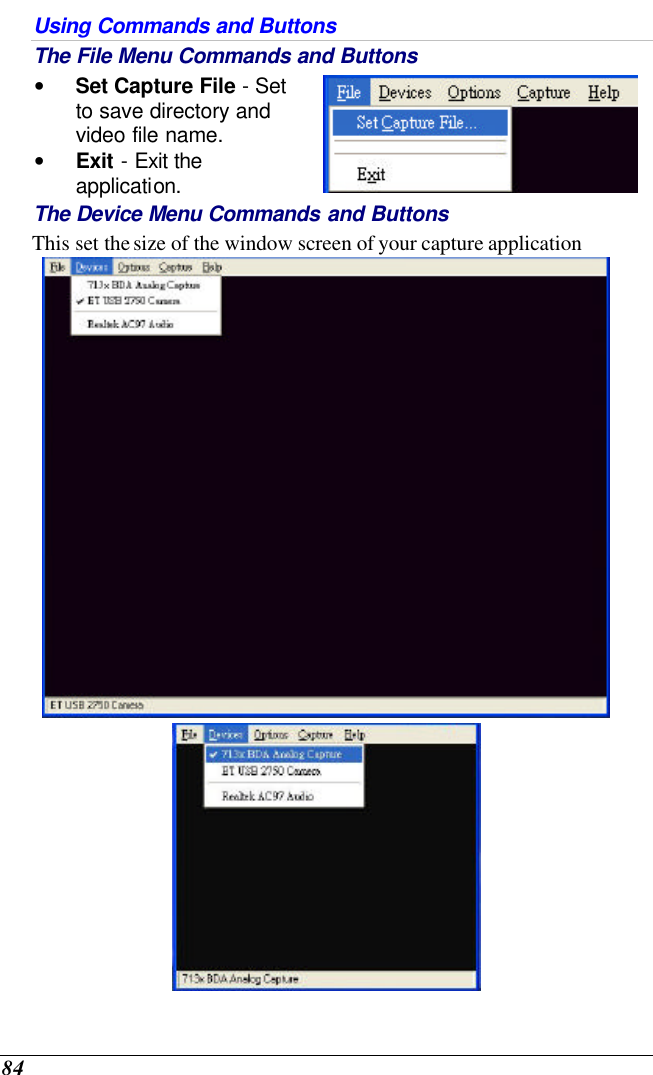
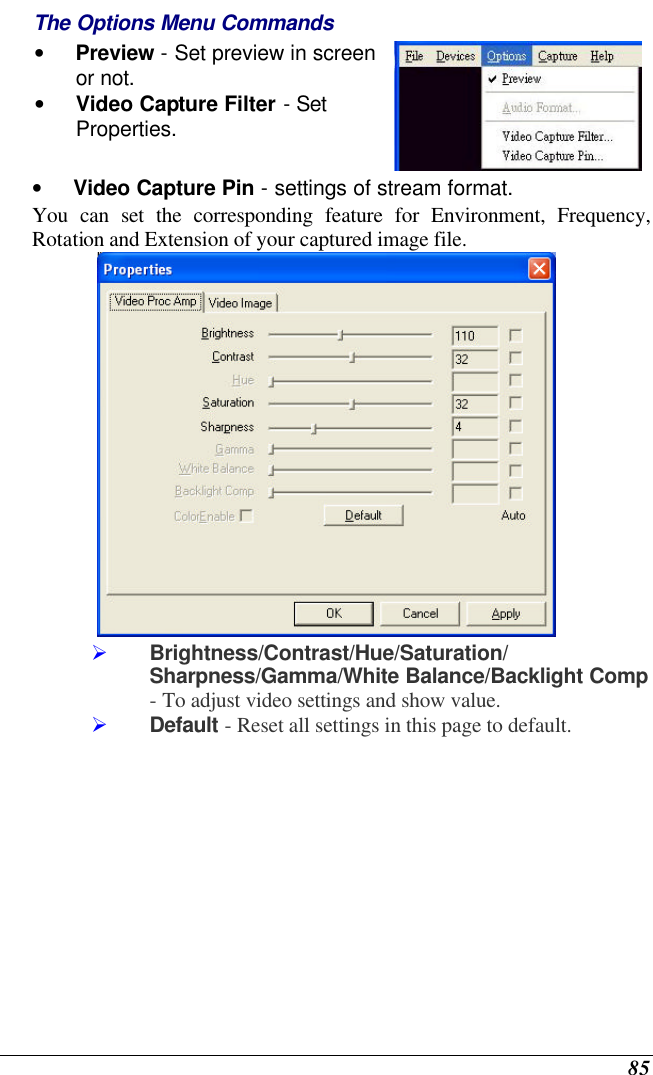
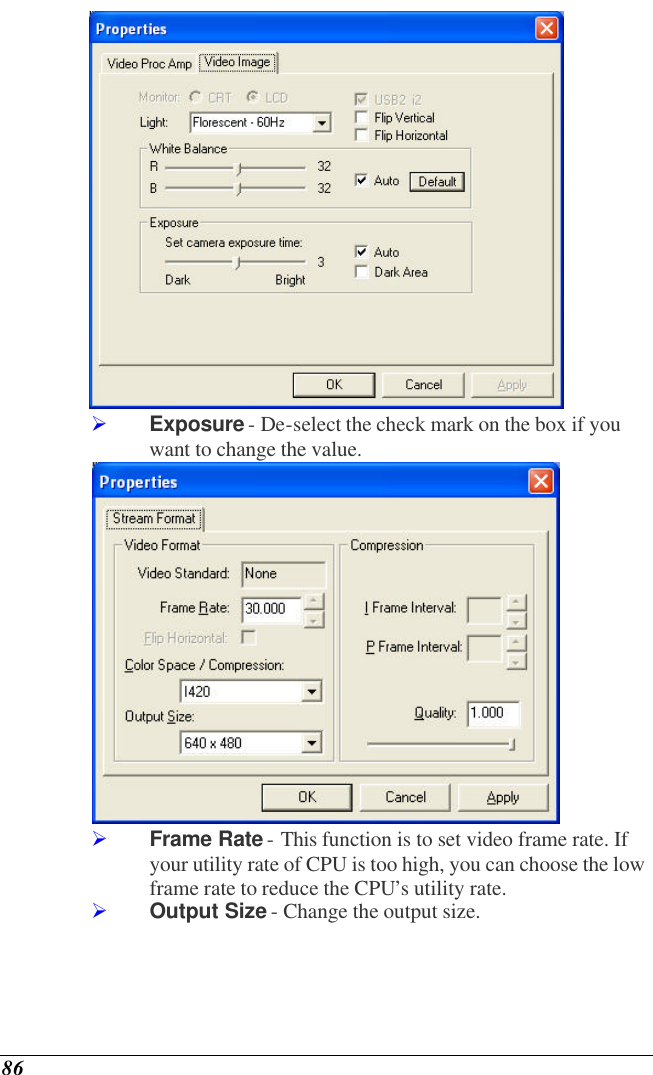
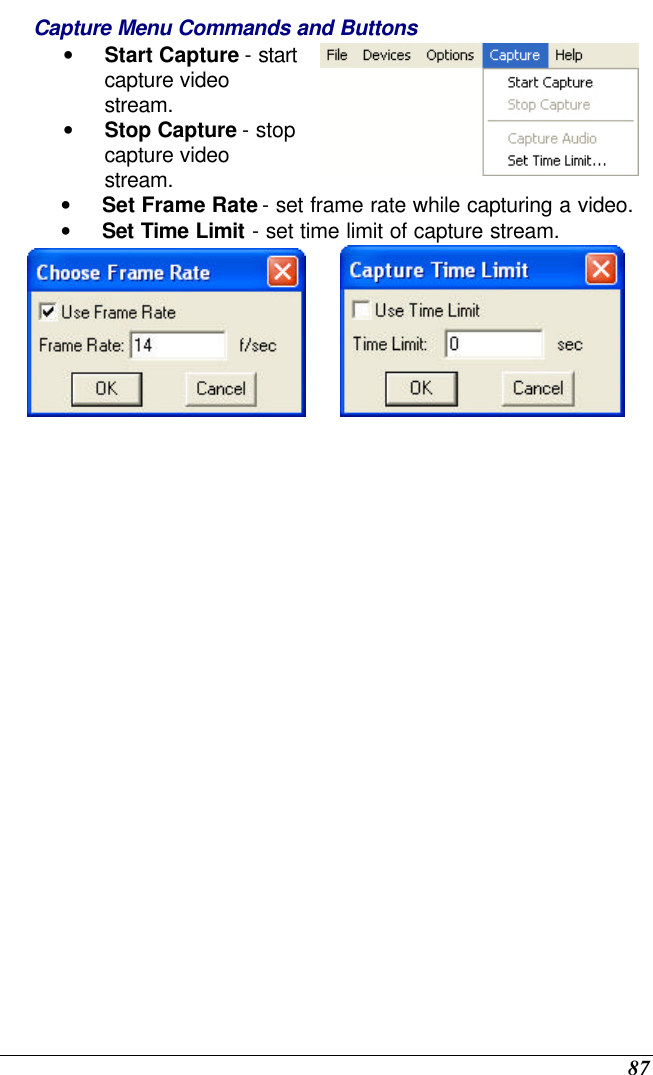
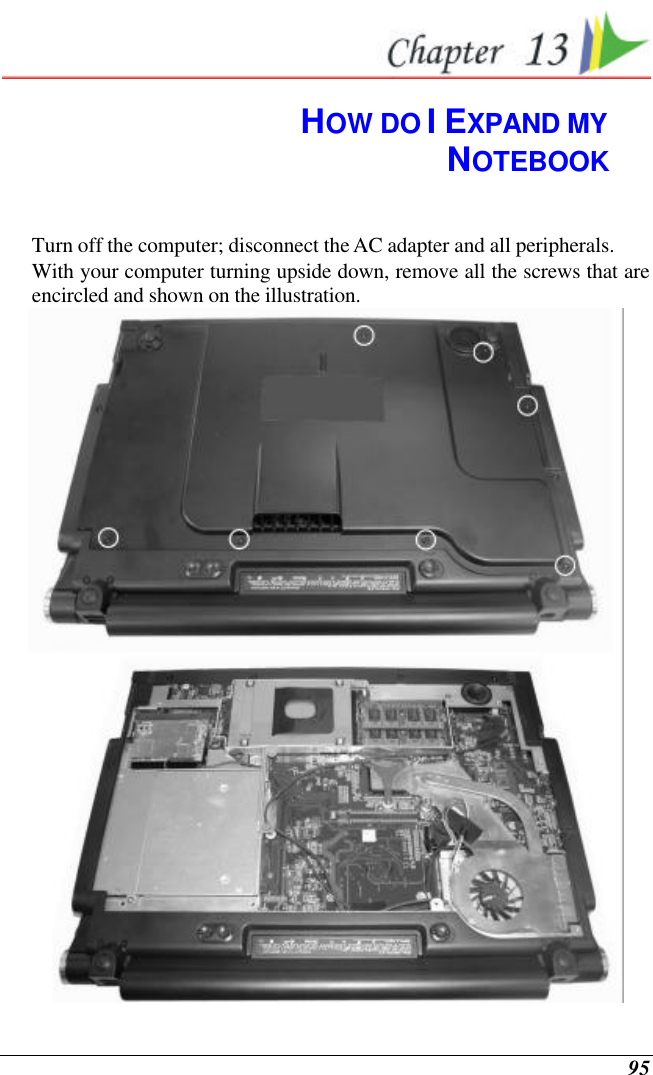
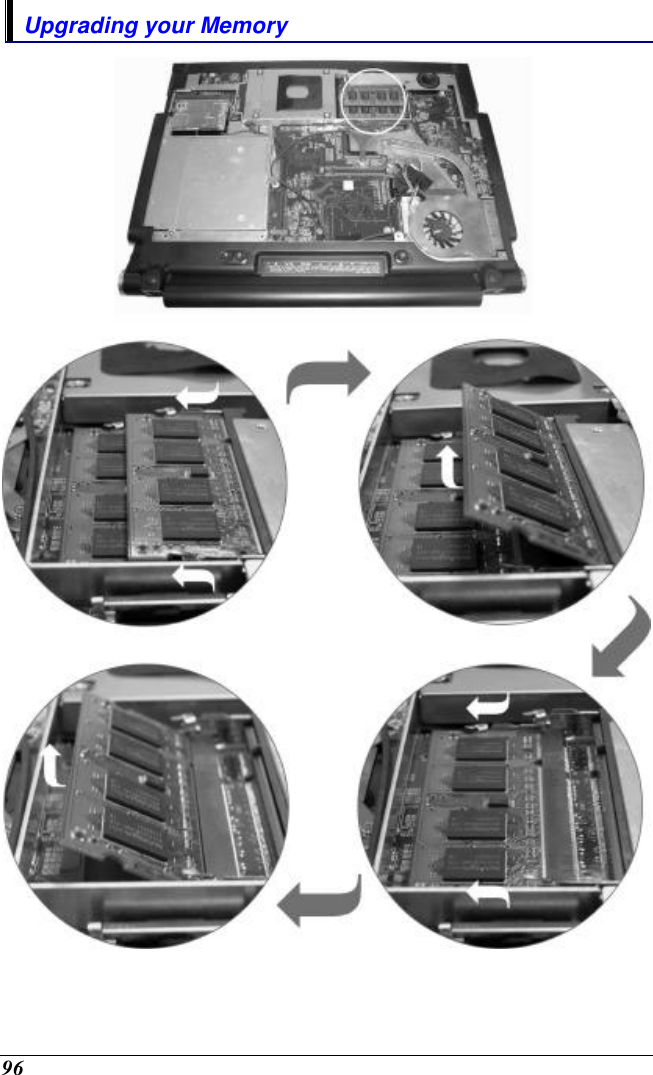
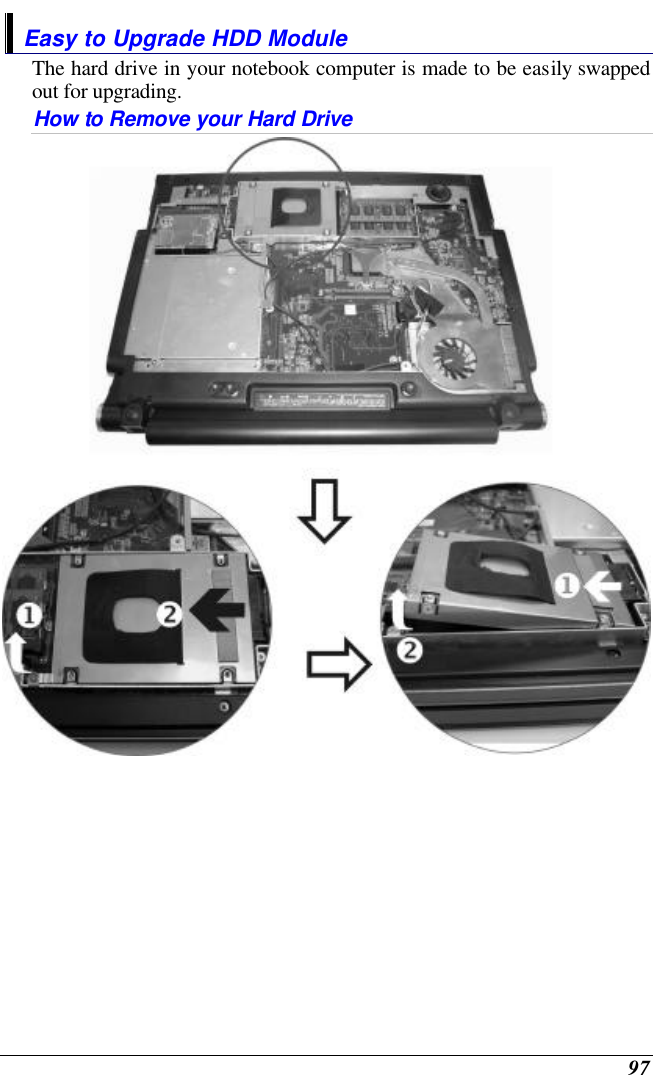
![83 VIDEO CONFERENCING (OPTION) This application offers video conferencing capabilities to work and communicate in real-time with one or more participants through streaming video, from any location. You can click on the icon on the Windows screen display to run the capture application. Application Use the hot key of [Fn] + [F6] to capture the image that appear on your application’s screen. You are allowed to capture the image for a number of times until you save it by selecting the “Set Capture File…” in the “File” menu.](https://usermanual.wiki/ELITEGROUP-COMPUTER-SYSTEMS/G610IABG.Manual-Pt2/User-Guide-620102-Page-25.png)