Electronic Technologies MARCUM-RT9 MarCum RT-9 User Manual
Electronic Technologies LLC MarCum RT-9
UserManual.wiki
>
Electronic Technologies
>
MARCUM RT9 User Manual
User Manual
Navigation menu
Upload a User Manual
Namespaces
Wiki Guide
HTML
PDF
Info
Views
User Manual
Discussion / Help
Navigation
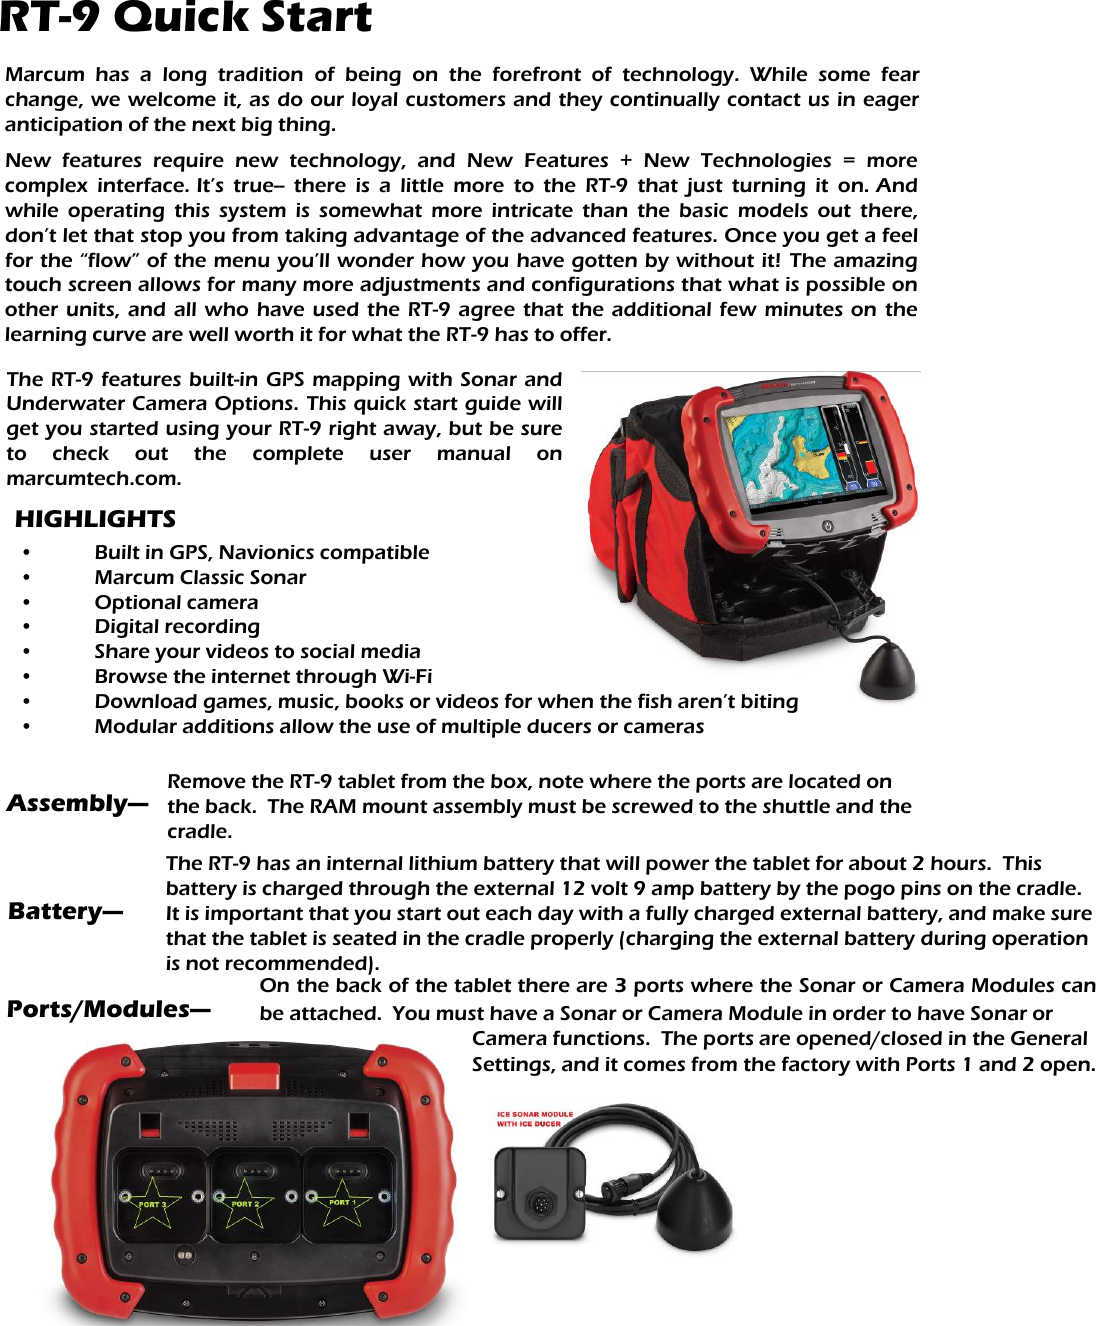

![Sonar— Arguably the most important of all, the Sonar on the RT-9 is unmatched on the ice or off. You must have a Sonar module in place, and the ducer plugged in to it to have Sonar functions. You can use any of the ports, but for simplicity put it in the middle [#2] Port at first. With the Sonar Module in Port 2, display it on panel 2 by first pressing the “2” located at the bottom of the screen. Now a window will open, select Sonar. Another window will open, and you may now select which type of Sonar Display you want [Graph, Vertical, etc.]. Choose one, and this will now be running on Panel 2. To adjust the Sonar settings, press “Settings” in the upper left corner, then select “Sonar”. You will now be able to adjust all of the Sonar settings, like sensitivity, range, interference rejection, etc. Camera-- The camera module is sold separately, but using one will complete the RT-9 “Trifecta”—now you can have GPS mapping, sonar, and camera all in one unit. You can even display all three at once! Remember to have whichever port you have the camera module plugged open. To adjust the camera settings, first select “Settings” in the upper right corner, and then select camera. You can make recordings at any time by simply pressing the red “Record” button in the upper right corner of the display. Top compartment— This compartment is opened by sliding the latches inward. This is where SD cards for mapping or recording are inserted. This is also where the ports for USB, HDMI, and headphones are located. The two small buttons are volume control. When the compartment is closed, slide the latches outward to secure the hatch.](https://usermanual.wiki/Electronic-Technologies/MARCUM-RT9/User-Guide-2897101-Page-3.png)