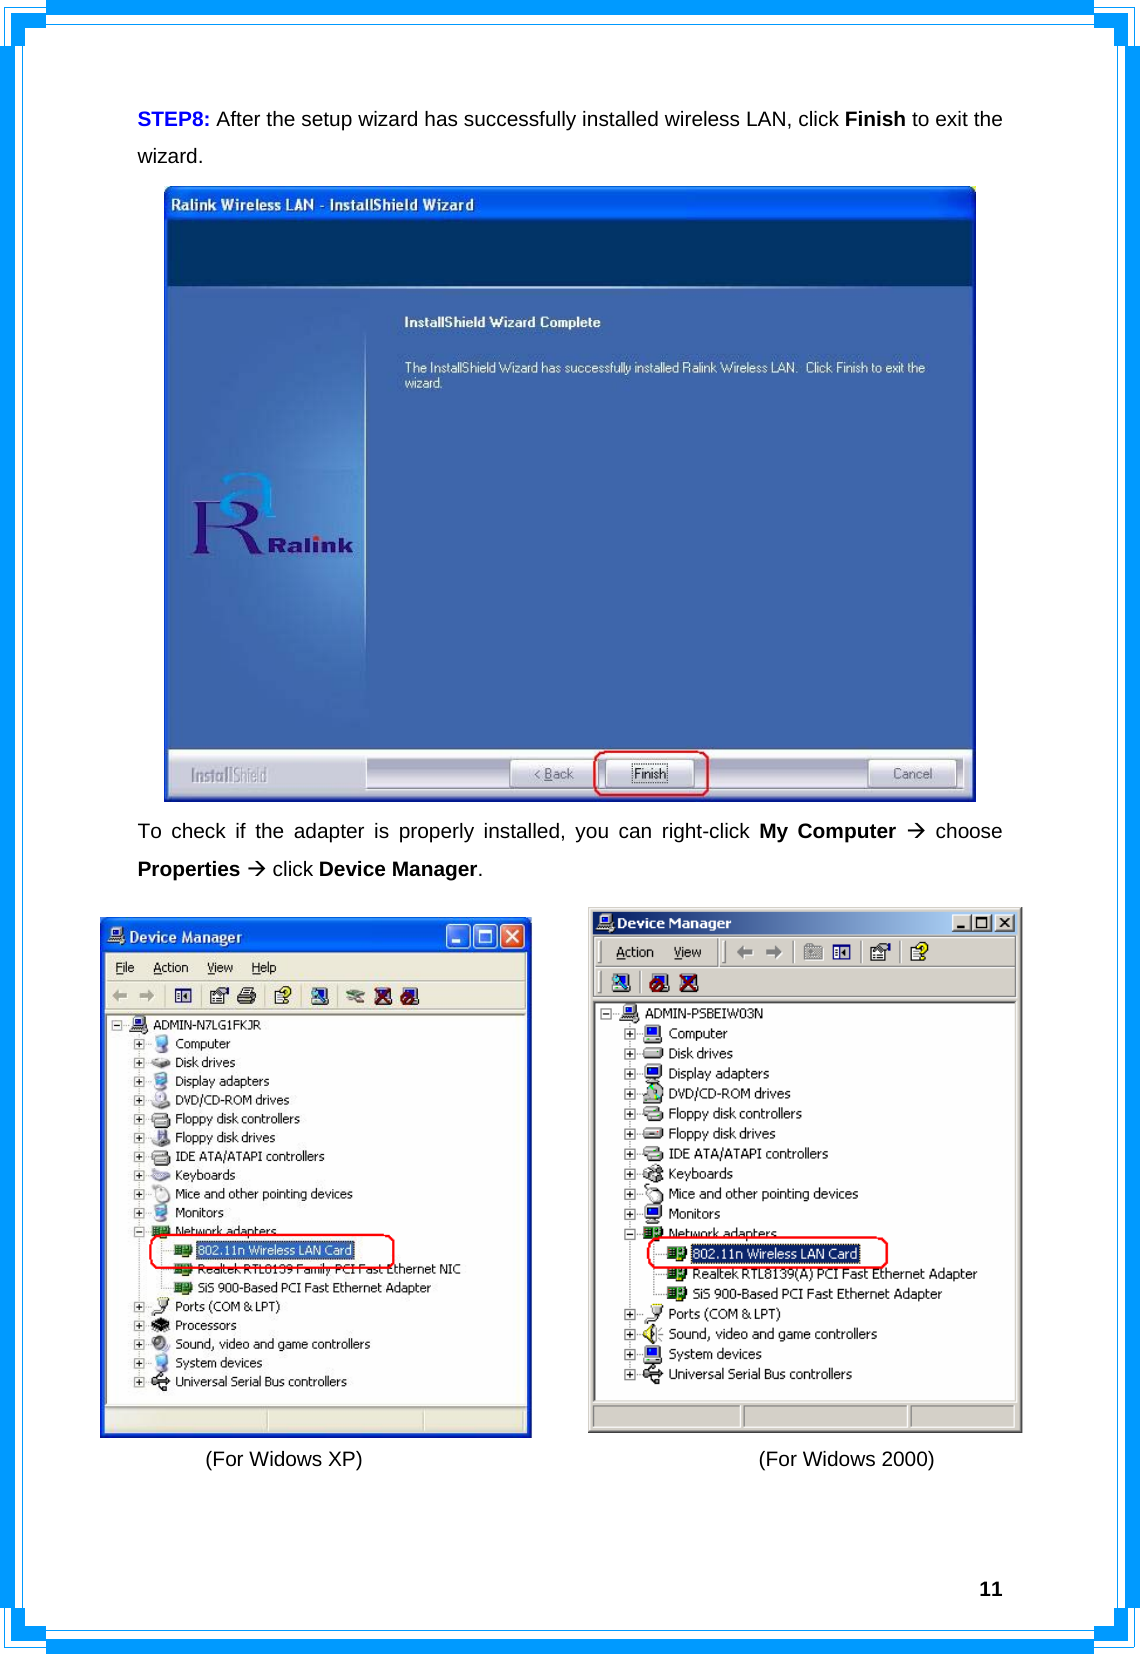
Ericsson LG WP-1000N WIRELESS PCI ADAPTER User Manual User manaul 1 of 4
Ericsson-LG Co., Ltd. WIRELESS PCI ADAPTER User manaul 1 of 4
Contents
- 1. User manaul 1 of 4
- 2. User manual 2 of 4
- 3. User manual 3 of 4
- 4. User manual 4 of 4
User manaul 1 of 4

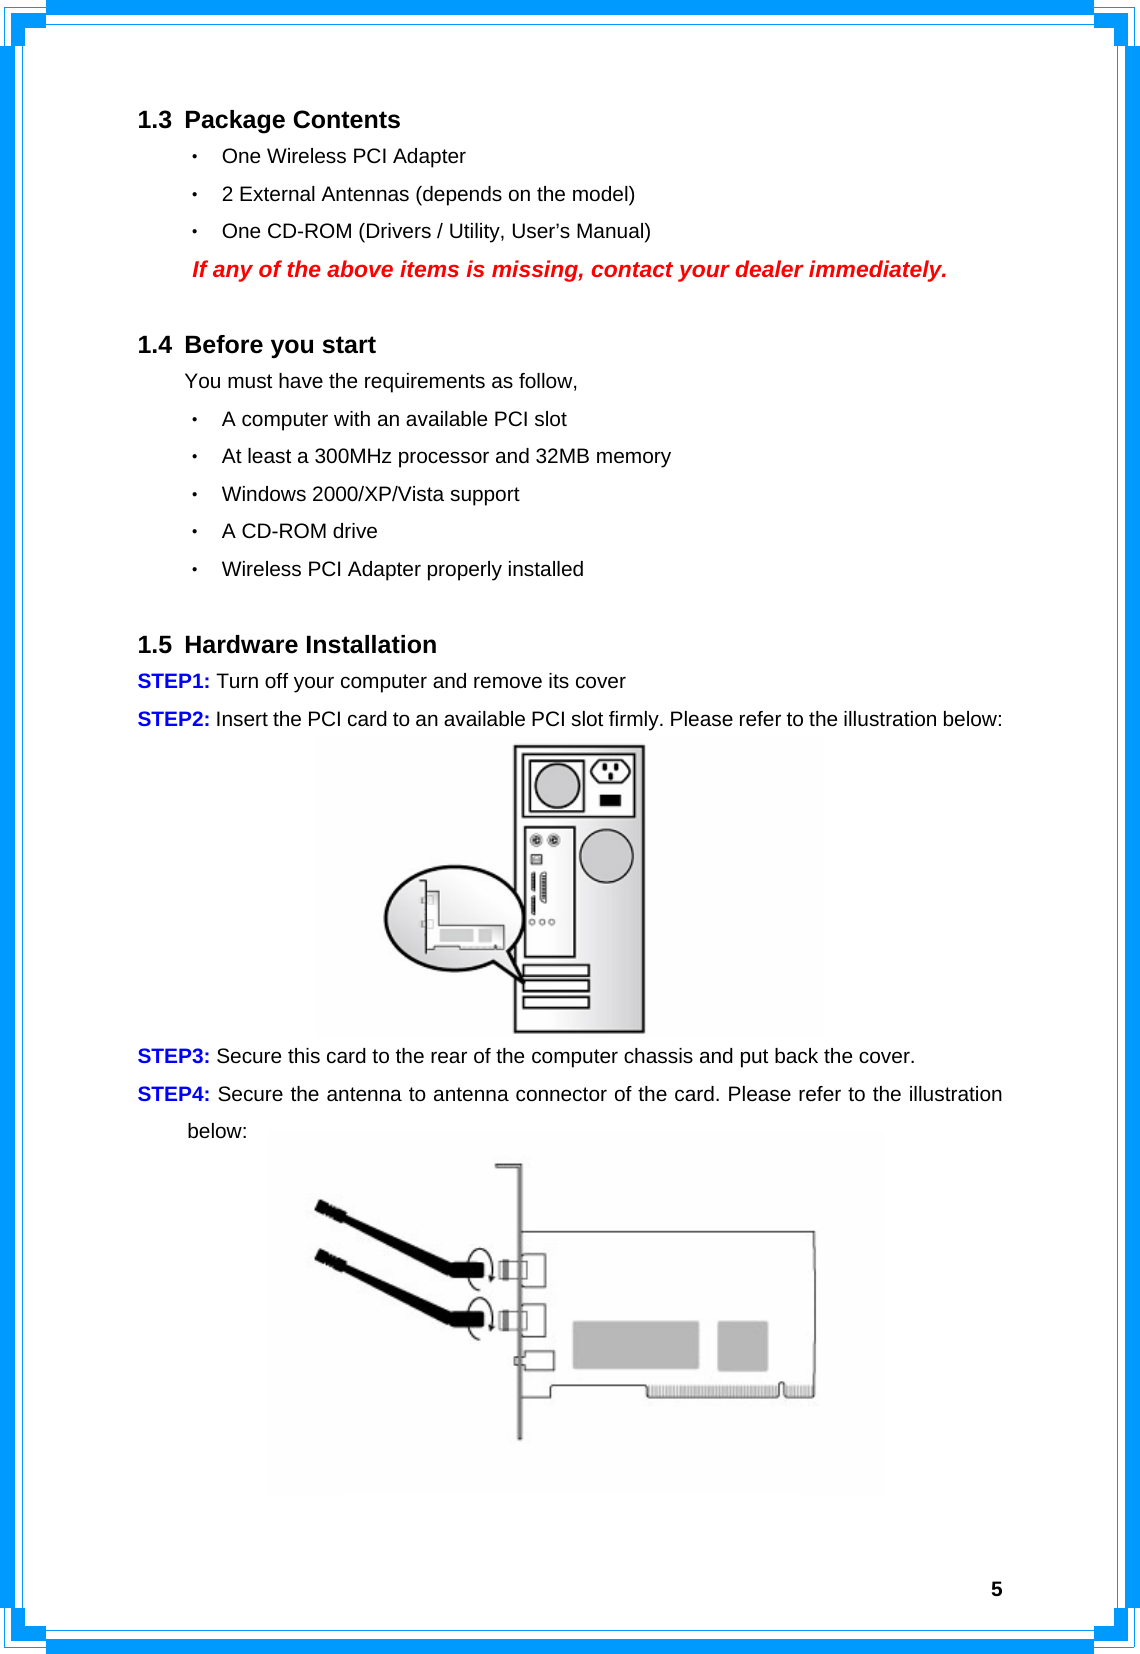
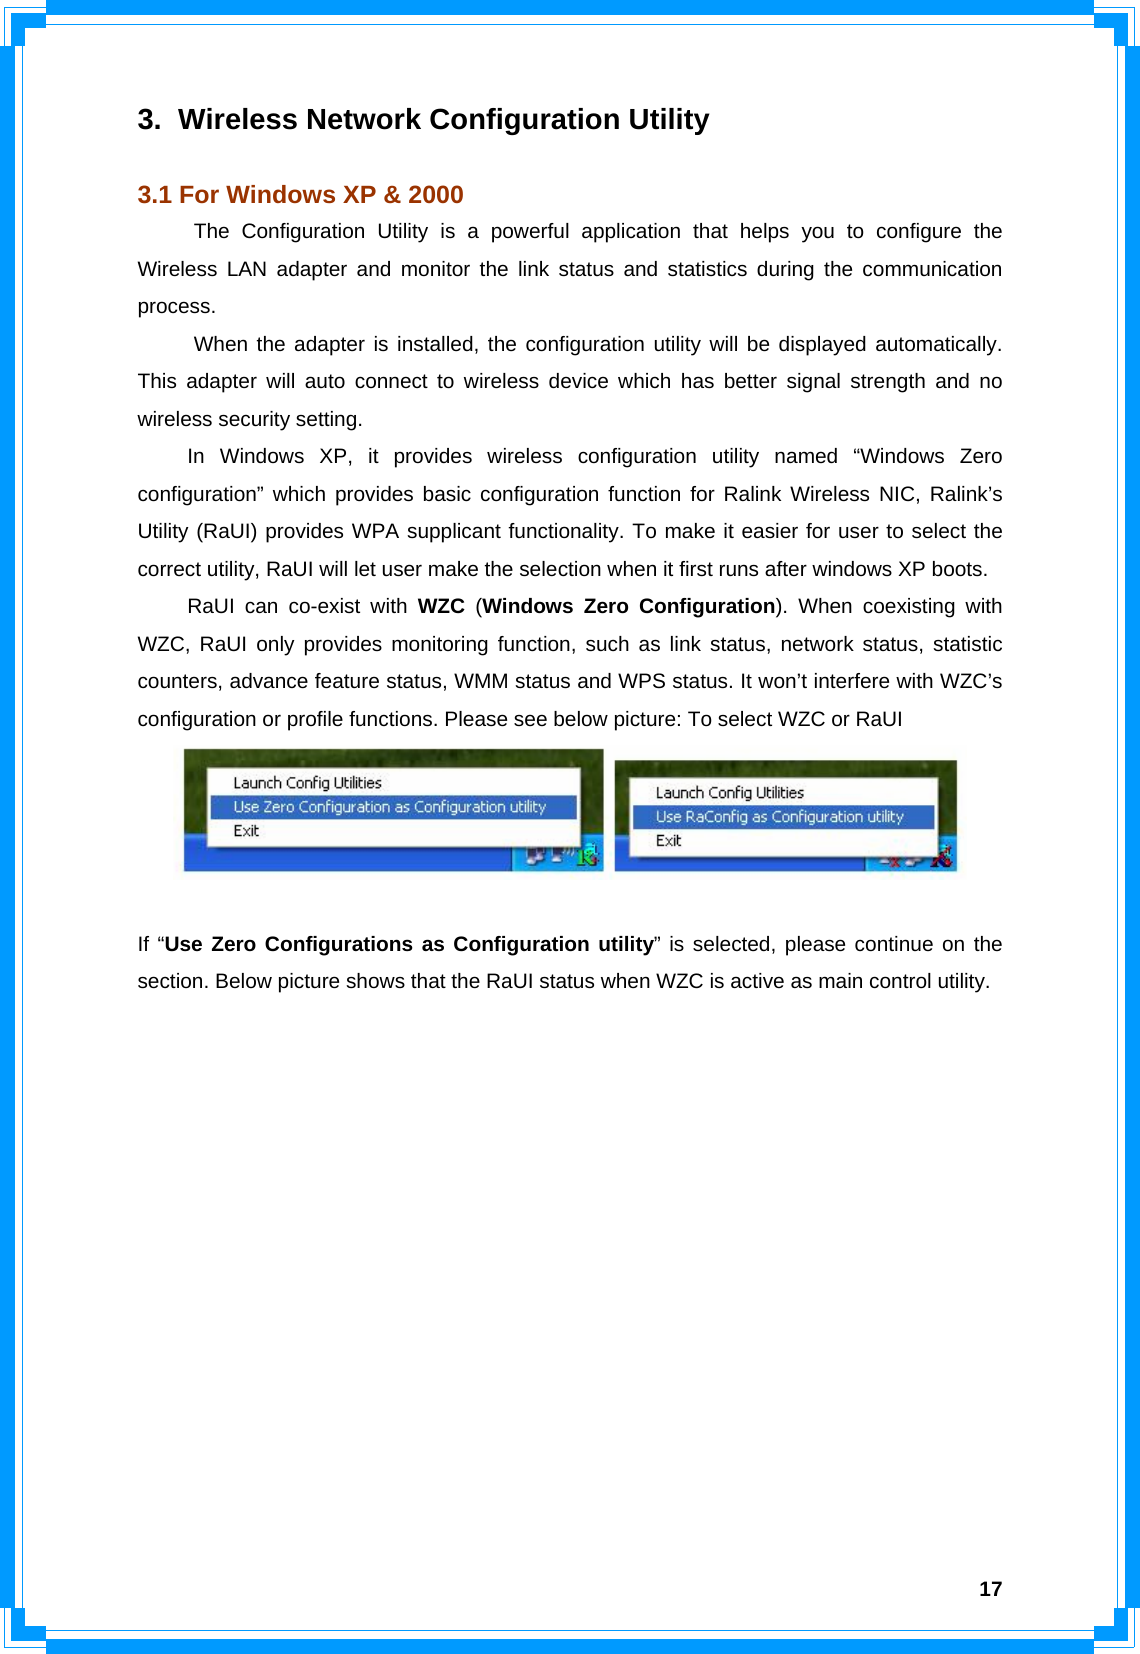
![6 (Diagram 2: The illustration for 3 antennas model) STEP5: Turn on the computer. [Guidelines for the Hardware Installation] Please observe the following guidelines when you are installing the PCI card to the Desktop PC: Avoid placing the PC close to obstacles Obstructions such as concrete and thick walls limit radio signal penetration and reduce the throughput and the coverage range of the PCI card. Place the PC as high as possible The higher the PC is placed, the better the performance. Adjust the antenna position (Depends on the model) For 2 antennas model Î The WLAN PCI card has one antenna for signal reception and another one antenna for high power signal transmission. The antenna on the right side is for signal reception and should be set perpendicular (90 degrees). The left side is for signal transmission and should be set about 90 degree. For 3 antennas model Î The WLAN PCI card has two antennas for signal reception and one antenna for high power signal transmission. The antennas on the right and left side are for signal reception and should be set perpendicular (90 degrees) to each other. The central one is for signal transmission and should be pulled up about 45 degree. Please refer to the illustration below:](https://usermanual.wiki/Ericsson-LG/WP-1000N.User-manaul-1-of-4/User-Guide-1072292-Page-7.png)
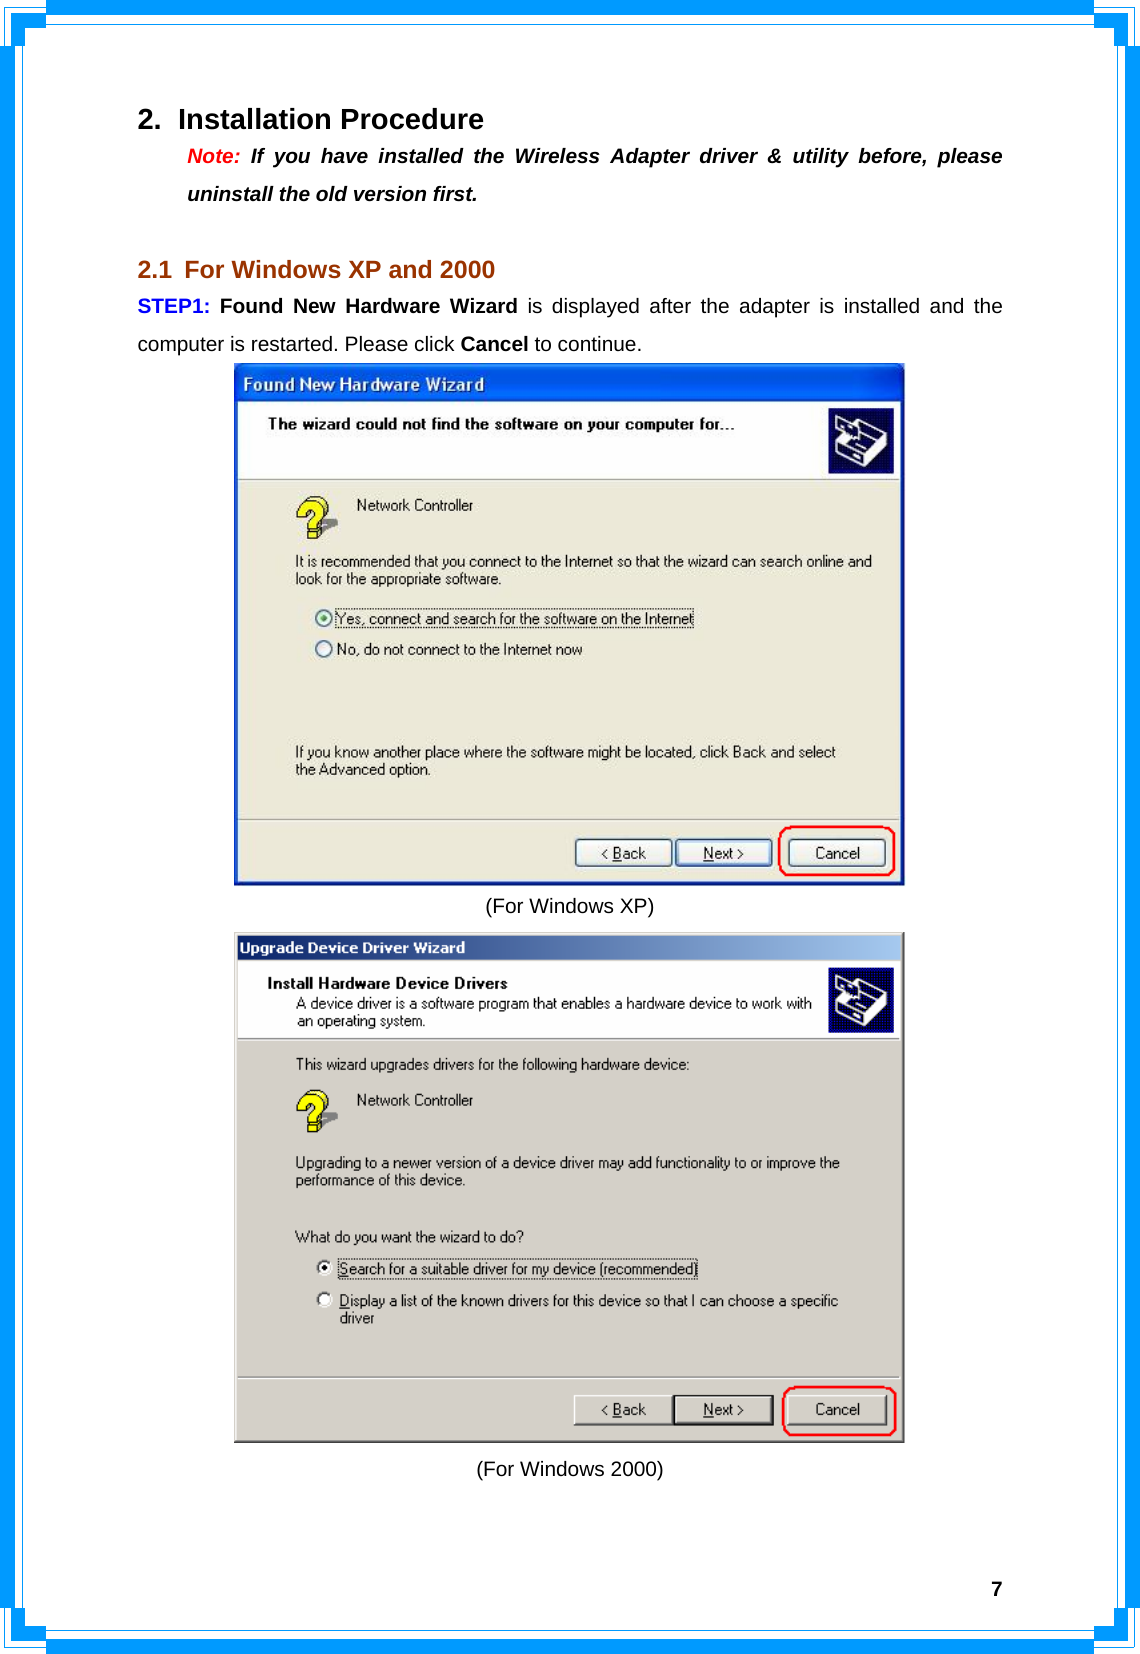

![19[Use WZC to configure wireless NIC] STEP1: If connection is lost or not connected, the status prompt as below will pop up. STEP2: Right-click the network connection icon in the task bar. STEP3: Select “View Available Wireless Networks” will pop up the dialog shown as below.](https://usermanual.wiki/Ericsson-LG/WP-1000N.User-manaul-1-of-4/User-Guide-1072292-Page-20.png)