Eye Fi 2 2 GIGABYTE STORAGE AND WIFI (802.11B/G) STANDARD TRANSCEIVER DEVICE IN THE SECURE DIGITAL MEMORY CARD FORM FACTOR User Manual USERS MANUAL EXPLORE
Eye-Fi, Inc. 2 GIGABYTE STORAGE AND WIFI (802.11B/G) STANDARD TRANSCEIVER DEVICE IN THE SECURE DIGITAL MEMORY CARD FORM FACTOR USERS MANUAL EXPLORE
Eye Fi >
Contents
- 1. USERS MANUAL
- 2. USERS MANUAL EXPLORE
- 3. USERS MANUAL HOME
USERS MANUAL EXPLORE

QUICK START GUIDE | Eye-Fi Explore
www.eye.fi
THANKS FOR BUYING
You’re only moments away from wirelessly
and automatically saving and sharing your
memories. Simply follow this four-step guide
to set-up your Eye-Fi Card:
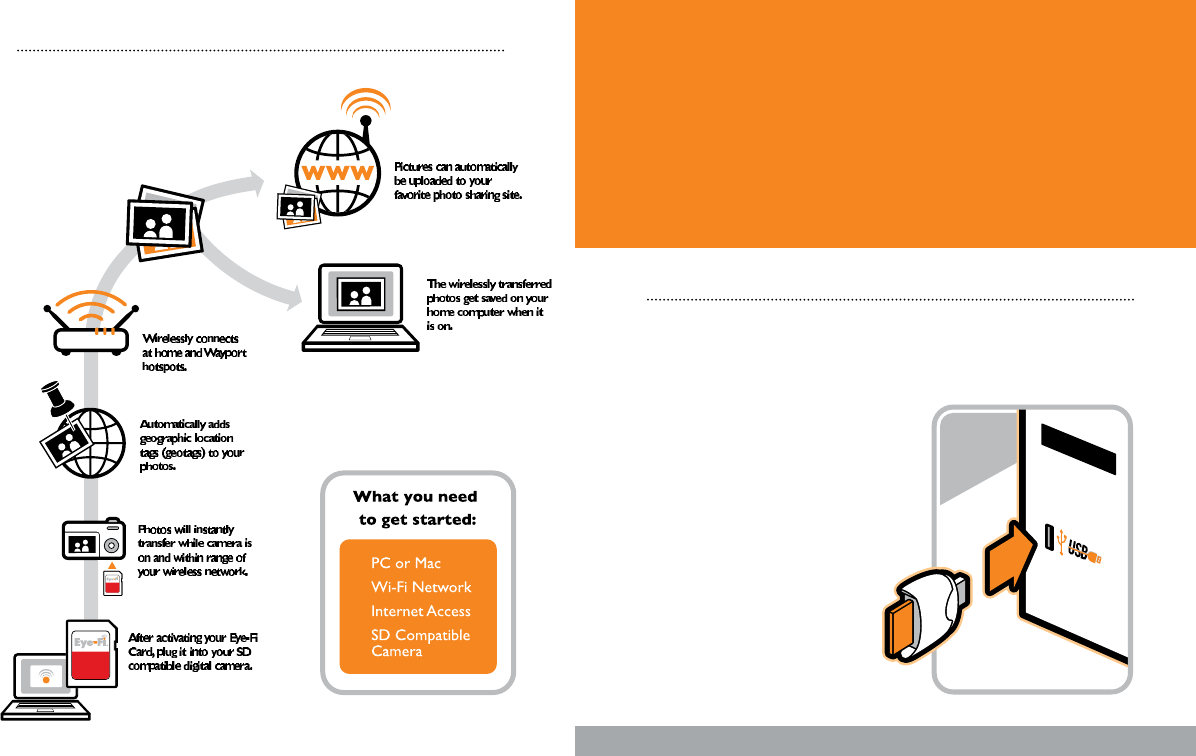
How It Works
STEP 1: CONNECT THE CARD READER
TO YOUR PC OR MAC
• Your Eye-Fi Card is already inside the
supplied card reader. Simply plug the
card reader and Eye-Fi Card into an
available USB port. Allow up to a minute
for your system to recognize the card
reader.
Next Page
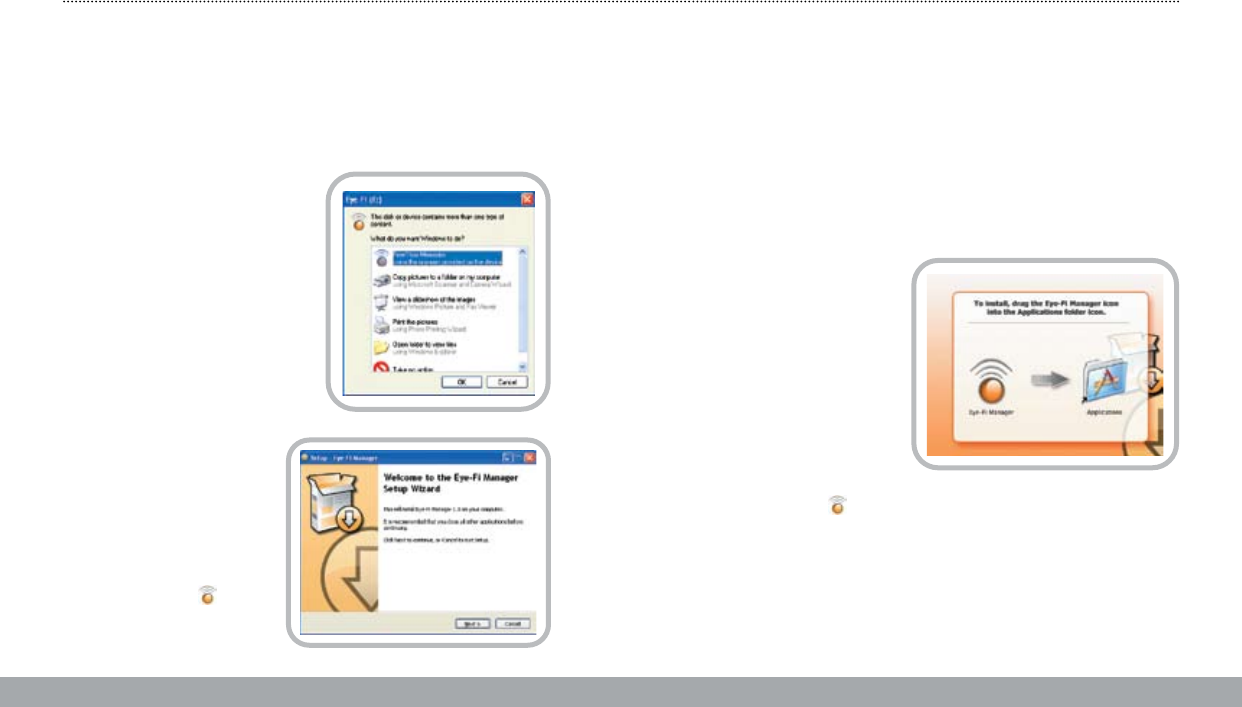
STEP 2: INSTALL THE EYE-FI SOFTWARE
For Mac Installation instructions, see next page.
If you are using a PC follow the instructions below.
• A new dialog window will appear
displaying an Eye-Fi icon and the
“Free Your Memories” menu item
will be pre-selected. Click OK and
follow the on-screen instructions.
• If you did not see the window
above, please navigate to My
Computer. An Eye-Fi icon will
appear representing the card,
typically as drive E: or F:
• Open the Eye-Fi drive, and
navigate to the START HERE
folder, and then to the
Windows folder. Double click
on the Setup.exe le, to install
the Eye-Fi Manager.
• At the end of the installation
the Eye-Fi Manager icon
will appear in the task bar.
If you are using a Mac, follow the instructions below:
• A new removable disk will appear on your Desktop called “EYE-FI.”
• Double click and open the Eye-Fi disk, and navigate to the START HERE
folder. There, you will nd the Mac OS X folder, and inside that folder, the
Eye-Fi.dmg le. Double click on the Eye-Fi.dmg le.
• You will see the window
to the right:
• Drag the Eye-Fi Manager icon
to your Applications folder.
• Go to your Applications
folder and launch the Eye-Fi
Manager.
• At the end of the installation
the Eye-Fi Manager icon will
appear in the menu bar.
Next Page
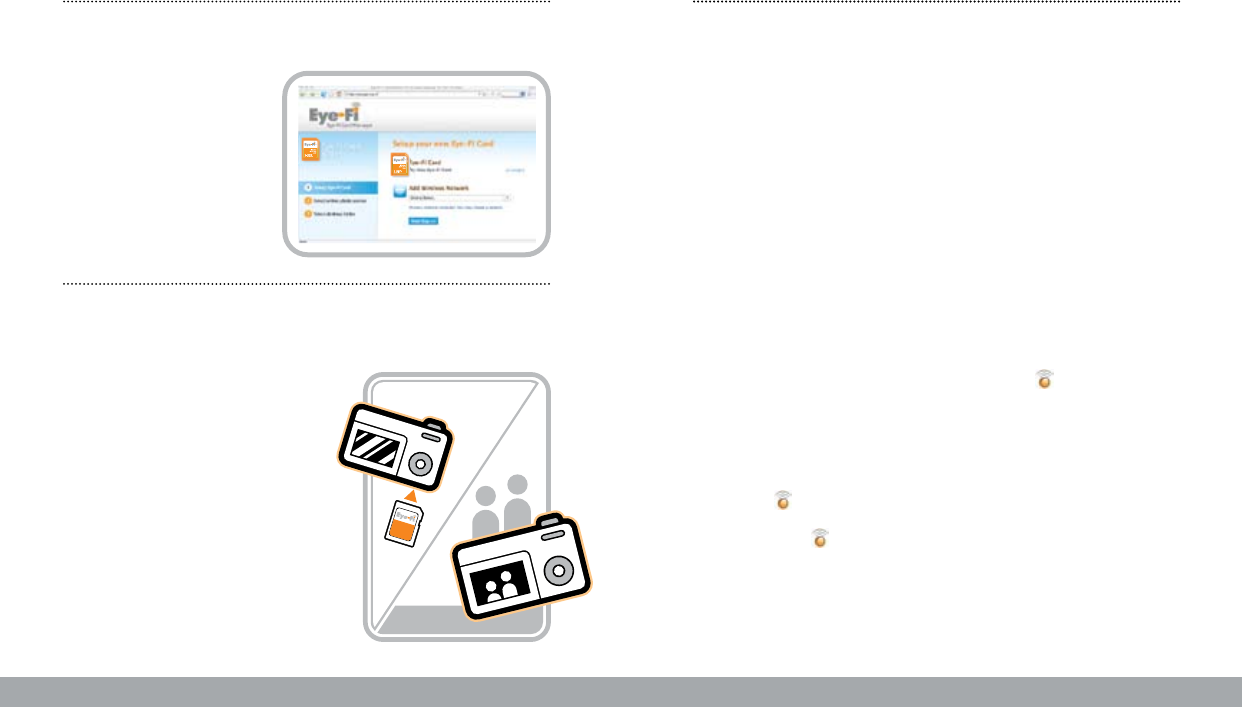
STEP 3: CONFIGURE THE EYE-FI CARD
For both PC and Mac users:
• Follow the on-screen
instructions to complete the
Eye-Fi Card setup process
using the Eye-Fi Manager.
STEP 4: INSERT YOUR EYE-FI CARD INTO
YOUR CAMERA
• Once the set-up process is complete,
the Eye-Fi Manager will ask you to
remove your Eye-Fi Card from the
card reader. Please insert it into your
camera.
• You may need to adjust your camera’s
power settings to allow for uploads to
complete. The Eye-Fi Manager on-screen
instructions will help you do this.
• Your Eye-Fi Card can only upload photos
while your camera is powered on.
MODIFYING YOUR EYE-FI SETTINGS
The Eye-Fi Manager is a web based application that you can use to control the who/
what/where of your Eye-Fi experience. Specically, you can use the Eye-Fi Manager to
customize the following:
• add/change a Wi-Fi network for uploading pictures
• congure for direct import into iPhoto (Mac only)
• change the folder you want to store your pictures in
• create an account with a photo sharing site or social network
• add/change a photo sharing site
• change viewing permissions for your shared pictures from private to public
• review the status of your latest picture uploads
• review your upload history by date
• get help with optimizing your camera settings
• update/upgrade new features on your Eye-Fi card
In order to access Eye-Fi Manager using a PC or Mac, click the icon in the Windows
Task Bar or the Apple Menu Bar.
You can launch the login window within your internet browser.
The Eye-Fi Manager applet should always be running on your system in order to receive
new pictures ( icon visible in the Task Bar).
If you do not see the icon in the Task Bar on your PC or Mac, follow these steps:
PC: Navigate to your Start/Eye-Fi/Eye-Fi Manager menu and launch Eye-Fi Manager.
Mac: Navigate to your Applications folder and start Eye-Fi Manager applet.
Next Page
Next Page
HOTSPOT ACCESS
Your Eye-Fi Explore card can upload
your photos using either your home
Wi-Fi network or using anyone of more
than 10,000 Wayport Wi-Fi Hotspots.
Wayport offers Wi-Fi access at most
McDonald’s restaurants, major hotels,
airports, and other locales.
You don’t need to have your laptop
with you or even have an account
with Wayport. Your photos will be
delivered to your photo-sharing
website and to your computer, even
if you are thousands of miles away.
For more information on Wayport go to: www.wayport.com
Eye-Fi makes an encrypted connection so your photos are private
and secure.
Find Wi-Fi Hotspots along the way at:
http://wayport.know-where.com/wayport/
• Select Network (Provider): Wayport
You can congure email or a cell phone message to notify you about
the progress of your hotspot uploads.
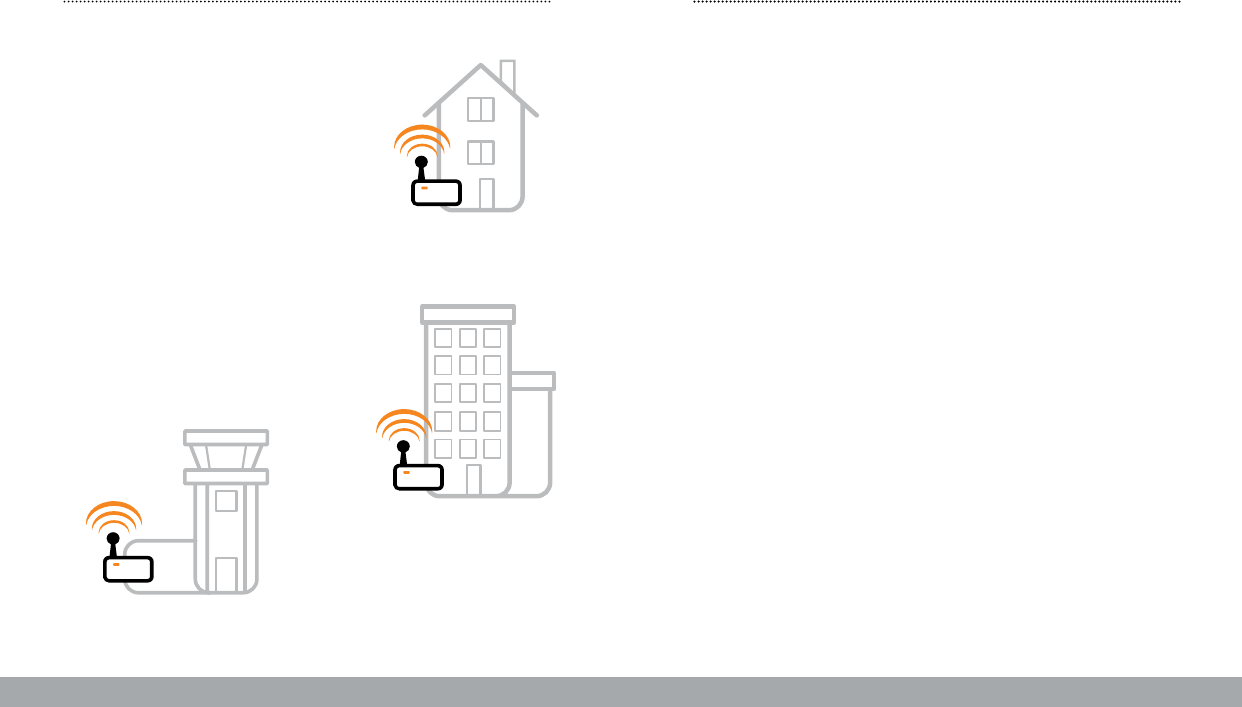
Home Network
Airport Hotspots
Restaurant & Hotel
Hotspots
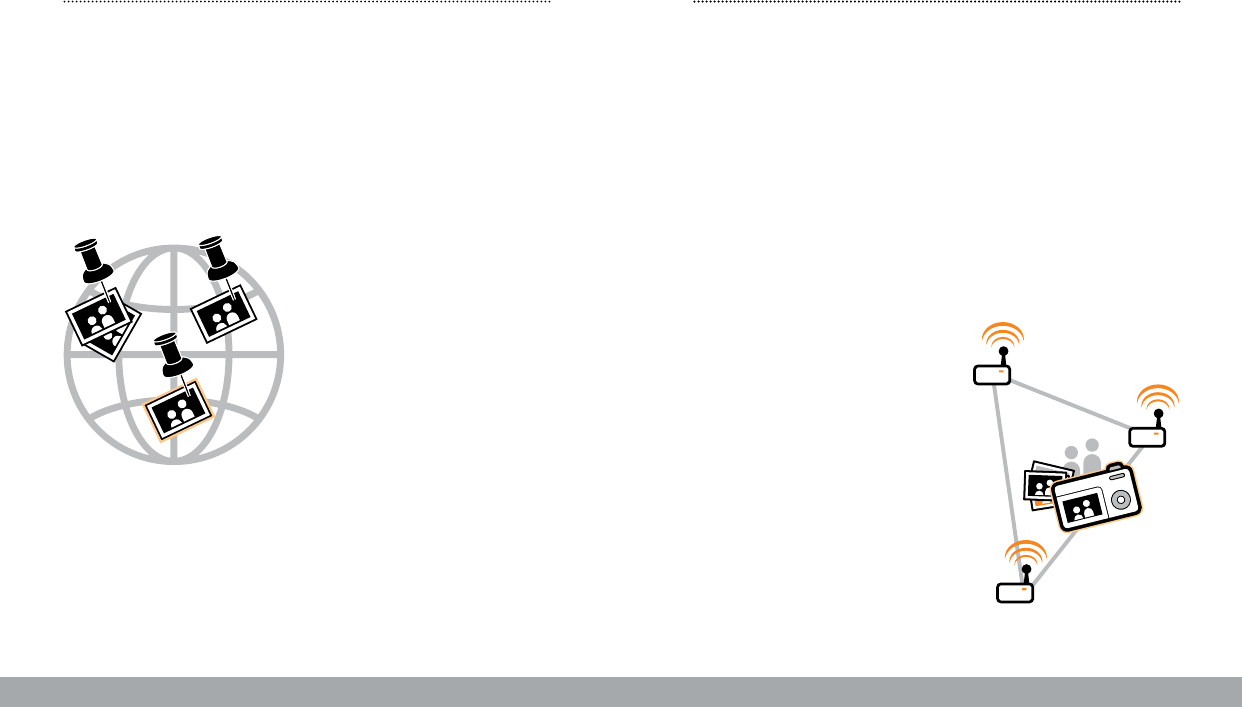
More than 20,000,000 Wi-Fi access points have been deployed in homes,
businesses, academic institutions, and public buildings. All of these Wi-Fi
base stations continuously broadcast a signal that typically reaches up to 450
feet in all directions. Because so many of these base stations are deployed in
developed areas, their overlapping signals create a natural reference system.
Eye-Fi uses a technique called “Wi-Fi triangulation” whereby your Eye-Fi card
will detect nearby Wi-Fi networks and use their unique digital ngerprint to
triangulate where you are standing when you take a picture. The process is
similar to using a GPS device, but uses Wi-Fi networks instead of satellite signals.
Because you are not actually accessing
the Wi-Fi network, just detecting it’s
presence, you don’t need to have an ac-
count or even have to have the password
needed to access the Wi-Fi network used
for the Wi-Fi triangulation.
Current coverage includes 70% of North
America’s populated areas and the top
50 metro areas in Europe.
Next Page
GEOTAGGING: WHAT IS IT? GEOTAGGING: HOW DOES IT WORK?
Geotags are tiny bits of information that are added to your
photos to describe where the photo was taken.
Eye-Fi Explore automatically adds geographic location tags (geotags) to
your photos. Map your memories, make them easier to search and more
meaningful to share.
Certain online photo sites already
support geotagging and even have
visualization tools that let you map
your memories. Check out Flickr,
Picasa and SmugMug to see what
geotagging can do. Some desktop
photo management applications,
like Adobe Photoshop Elements or
Google Picasa, make good use of
tags as well.
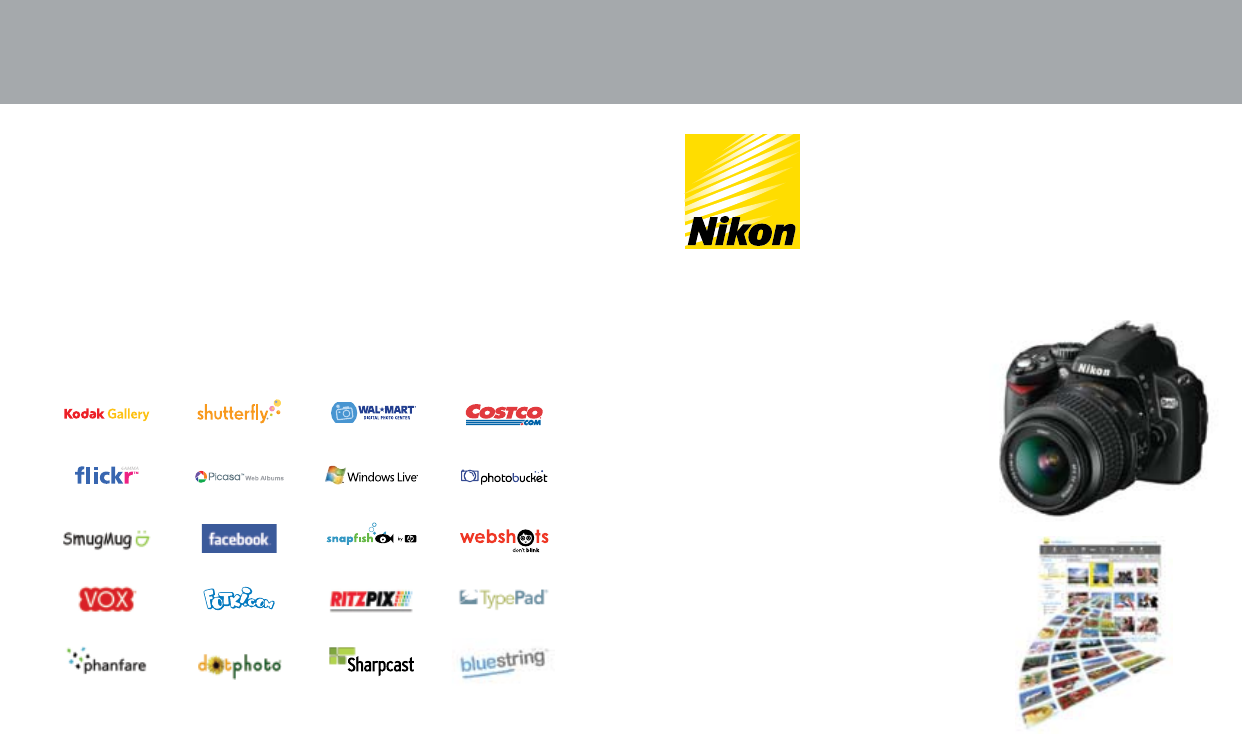
SHARE YOUR MEMORIES EYE-FI & NIKON
Never got around to sharing your photos from the family picnic or
your best friend’s wedding? You’re not alone. Start sharing today.
The Eye-Fi Card is the world’s rst wireless SD memory card.
It uploads photos automatically from your camera to your computer
and your favorite photo or social networking website for printing
or sharing.
The D60 is the world’s rst Eye-Fi enhanced camera.
It provides you with stunning picture quality and
versatility in an easy-to-use, compact camera design.
With 10.2 effective megapixels and a wealth of
innovative and user-friendly features, the D60 enables
both photo enthusiasts and those new to digital SLR photography to
capture incredible images like never before.
When used with an Eye-Fi card the D60
automatically adjusts its power settings
for an even better wireless upload expe-
rience. Easily and effortlessly share your
memories on my Picturetown, the smart
photo storage and sharing service from
Nikon.
For more information go to:
www.NikonUSA.com
www.myPicturetown.com
®

VISIT US ONLINE
To learn more about Eye-Fi products and services, to receive additional sup-
port or to view our comprehensive FAQ, visit us online at www.eye.
Warranty and Support
90-day limited warranty.
Customer Care
877-873-9334 (toll-free)
Monday through Friday; 6AM to 6PM (PT)
Saturday; 8AM to 2PM (PT)
Sunday - Closed
Email
support@eye.
Help Site
http://support.eye.
FCC Information:
This Equipment has been tested and found to comply with the limits for a Class B digital device,
pursuant to Part 15 of the FCC rules. These limits are designed to provide reasonable protection
against harmful interference in a residential installation. This equipment generates, uses and can radi-
ate radio frequency energy and, if not installed and used in accordance with the instructions, may
cause harmful interference to radio communications. However, there is no guarantee that interfer-
ence will not occur in a particular installation. If this equipment does cause harmful interference to
radio or television reception, which can be determined by turning the equipment off and on, the
user is encouraged to try to correct the interference by one or more of the following measures:
• Reorient or relocated the receiving antenna
• Increase the separation between the equipment and receiver
• Connect the equipment into an outlet on a circuit different from that to which the receiver is
connected.
• Consult the dealer or an experienced radio/TV technician for help.
This device compiles with Part 15 of the FCC Rules. Operation is subject to the following two
condition: (1) this device may not cause harmful interference, and (2) this device must accept any
interference received including interference that may cause undesired operation.
Changes or modications not expressly approved by the party responsible for compliance could
void the user’s authority to operate the equipment.
To comply with the FCC RF exposure compliance requirements, this device and its antenna must
not be co-located or operate in conjunction with any other antenna or transmitter.
© 2008 Eye-Fi, Inc. All rights reserved. SD Logo is a trademark of the SD Card Association. Wi-Fi is
a registered trademark of the Wi-Fi Alliance. All other trade names mentioned in the Quick Start
Guide or other documentation are for identication purposes only and may be trademarks of their
respective holders.
www.eye.fi

Visit us online at www.eye.fi
QSG-1052