First Computer A440 NOTEBOOK COMPUTER User Manual A440 English Manual PDF
First International Computer Inc NOTEBOOK COMPUTER A440 English Manual PDF
UserManual.wiki
>
First Computer
>
A440 User Manual
>
user manual 2 of 2
Contents
1.
user manual 1 of 2
2.
user manual 2 of 2
user manual 2 of 2
Navigation menu
Upload a User Manual
Namespaces
Wiki Guide
HTML
PDF
Info
Views
User Manual
Discussion / Help
Navigation

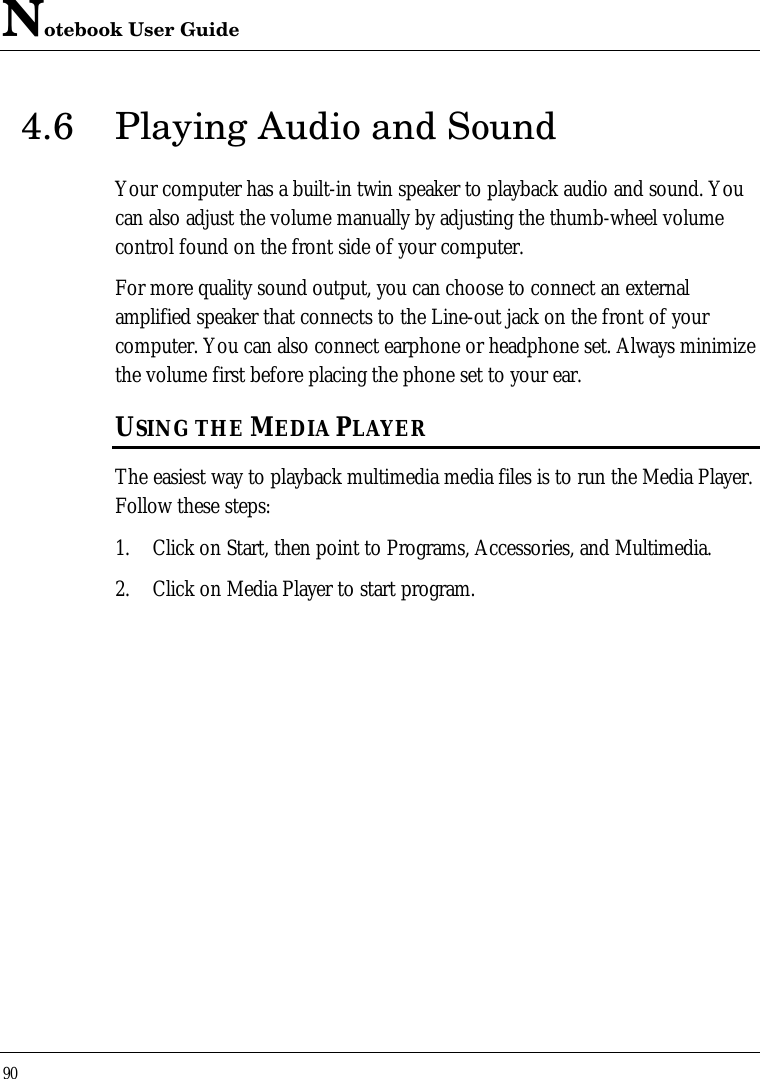


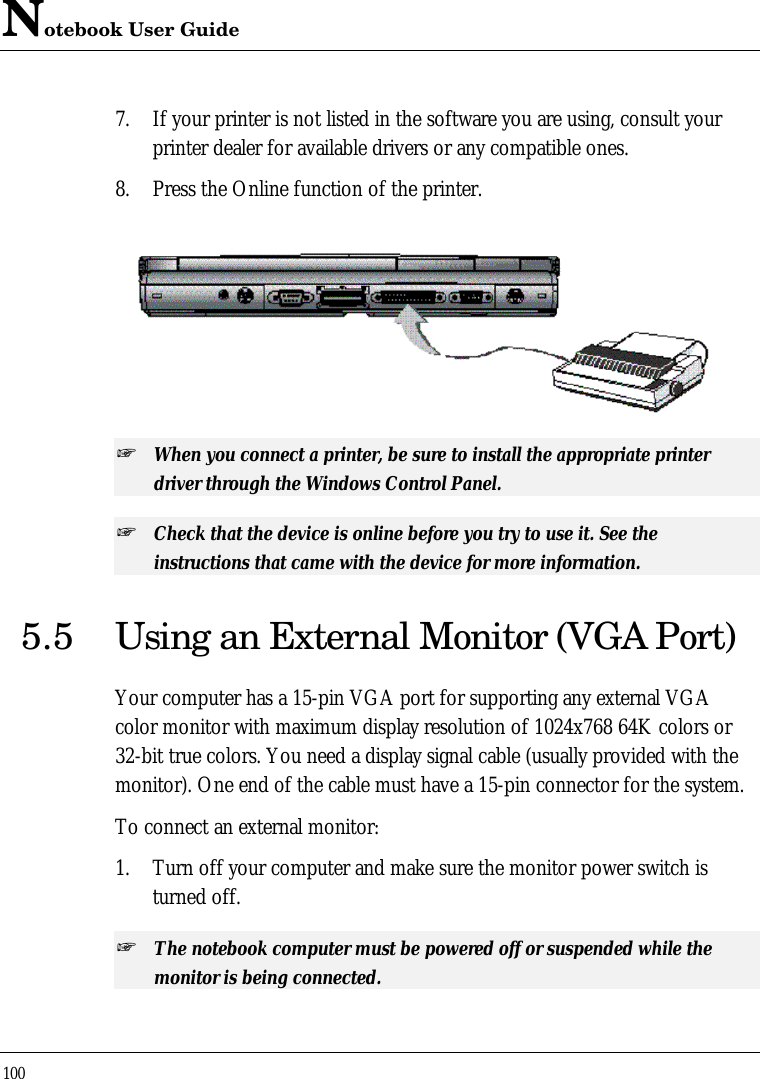


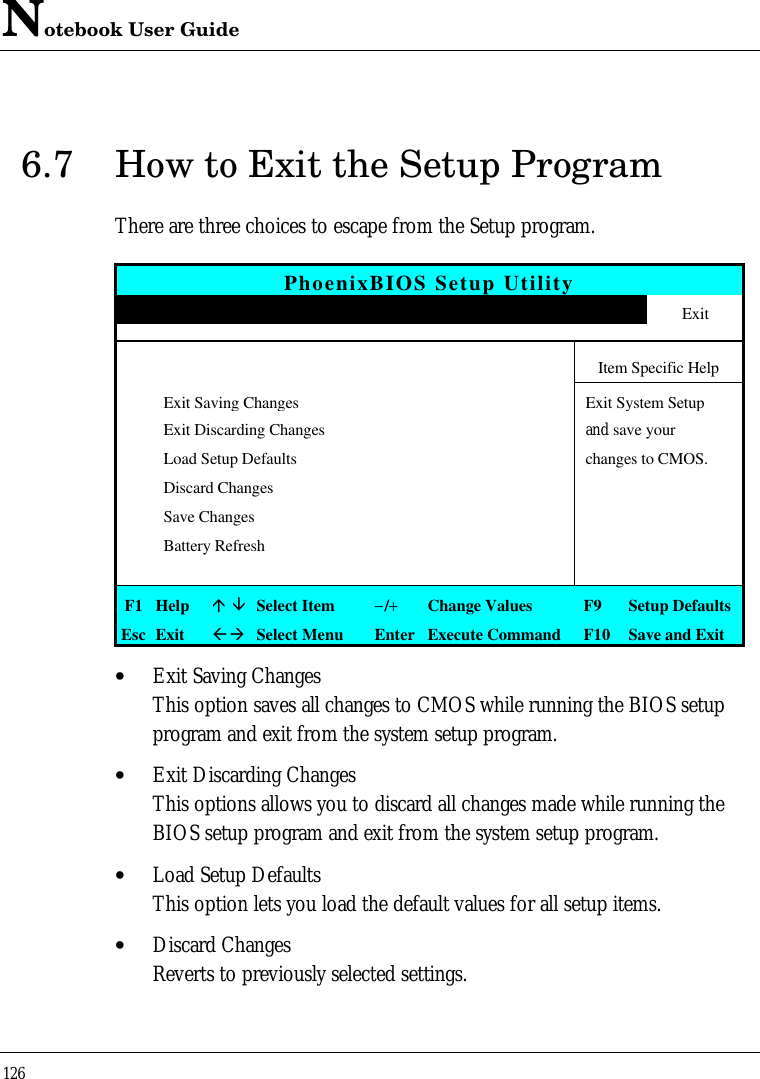
![Notebook User Guide1096.2 Using the Main Menu SetupPhoenixBIOS Setup UtilityMain Advanced Security APM Mode Boot ExitItem Specific HelpSystem Time:[12:00 :00]<Tab>, <Shift-Tab>,System Date: [07/01/1999] or <Enter> selectsLanguage: [English (US)] field.Diskette A: [1.44/1.25 MB, 3½”]4Primary Master [12073MB]Secondary Master [CD-ROM]Boot Display Device: [LCD+CRT]Memory Cache [Disabled]System Memory: 640 KBExtended Memory: 130048 KBCPU Type: Pentium (R) IIICPU Speed: 700 MHzBIOS Version: 0.3B-5702-6211/2319192CF1 Helpá âSelect Item−/+Change Values F9 Setup DefaultsEsc ExitßàSelect Menu Enter Select 4Sub-Menu F10 Save and Exit](https://usermanual.wiki/First-Computer/A440.user-manual-2-of-2/User-Guide-124495-Page-29.png)
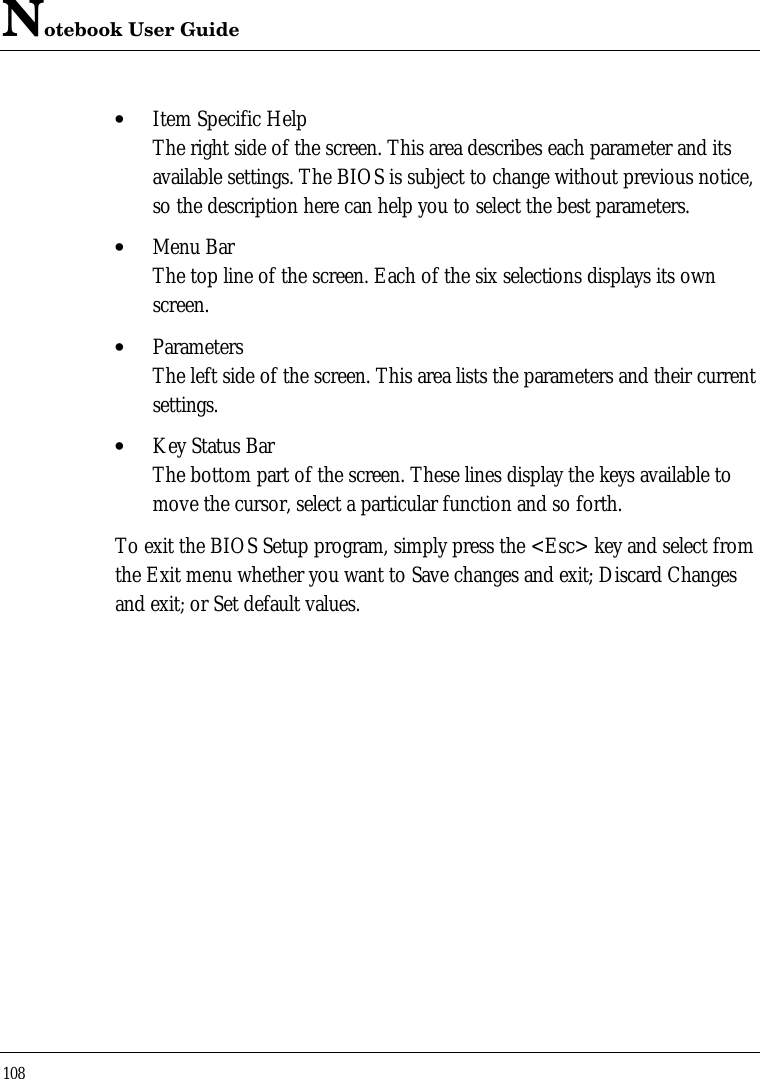
![Notebook User Guide110• System TimeAllows you to change the system time using the hour:minute:secondformat of the computer.Enter the current time for reach field and use the <Tab>,<Shift>+<Tab>, or <Enter> key to move from one field or back toanother.You can also change the system time from your operating system.• System DateAllows you to set the system date using the month/date/year format.Your notebook is year 2000-compliant.Enter the current time for reach field and use the <Tab>,<Shift>+<Tab>, or <Enter> key to move from one field or back toanother.You can also change the system time from your operating system.• LanguageAllows you to set the display language in English or Japanese version forthe BIOS Setup program.• Diskette AThis item enables or disables the floppy disk drive by pressing the<Enter> key. When you select 1.44MB/1.25MB 3 ½”, you should knowthat the 1.25MB 3 ½” diskette requires a 3-mode floppy-disk drive andrefers to a 1024byte/sector Japanese media format.• Primary MasterThis field displays various parameters for the hard disk drive. If type[Auto] is selected, the system automatically sets these parameters. If type[User] is selected, Cylinders, Heads and Sectors and its access mode canbe edited.](https://usermanual.wiki/First-Computer/A440.user-manual-2-of-2/User-Guide-124495-Page-30.png)
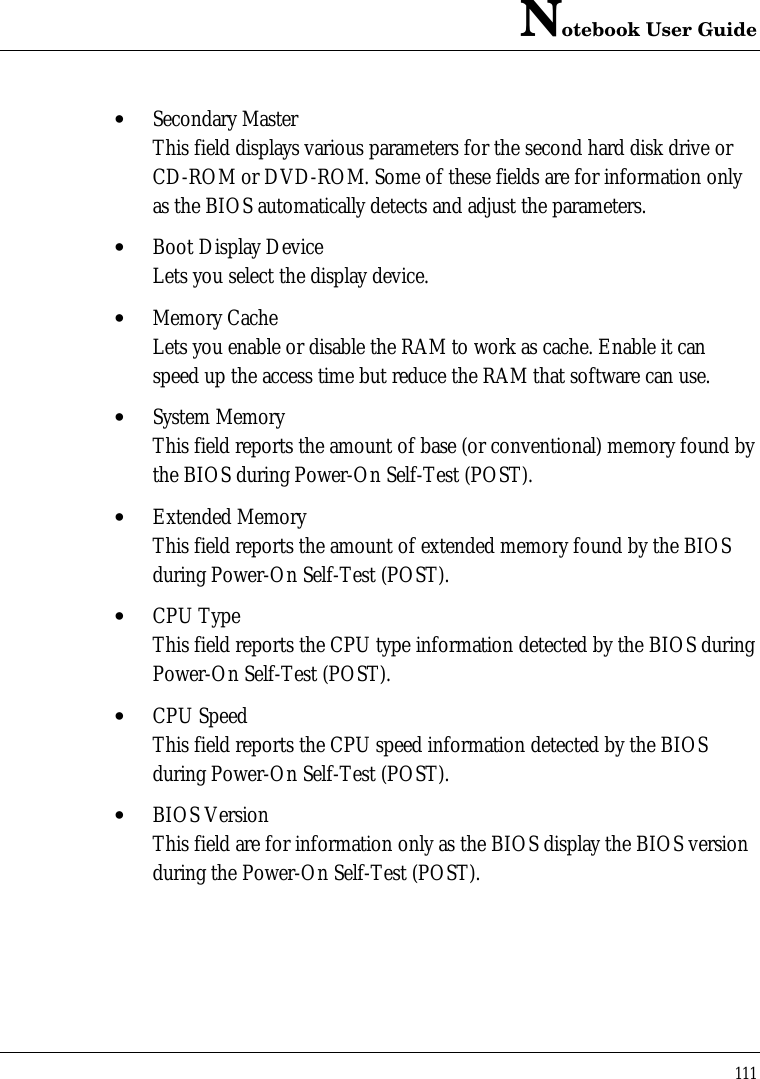
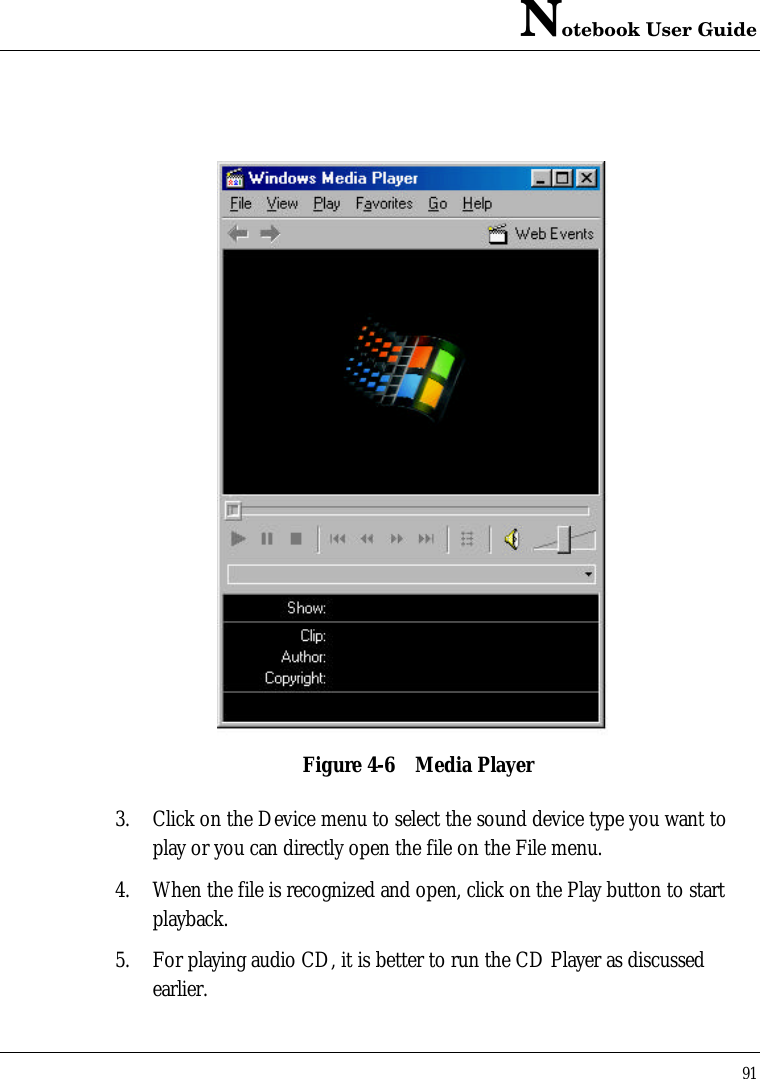
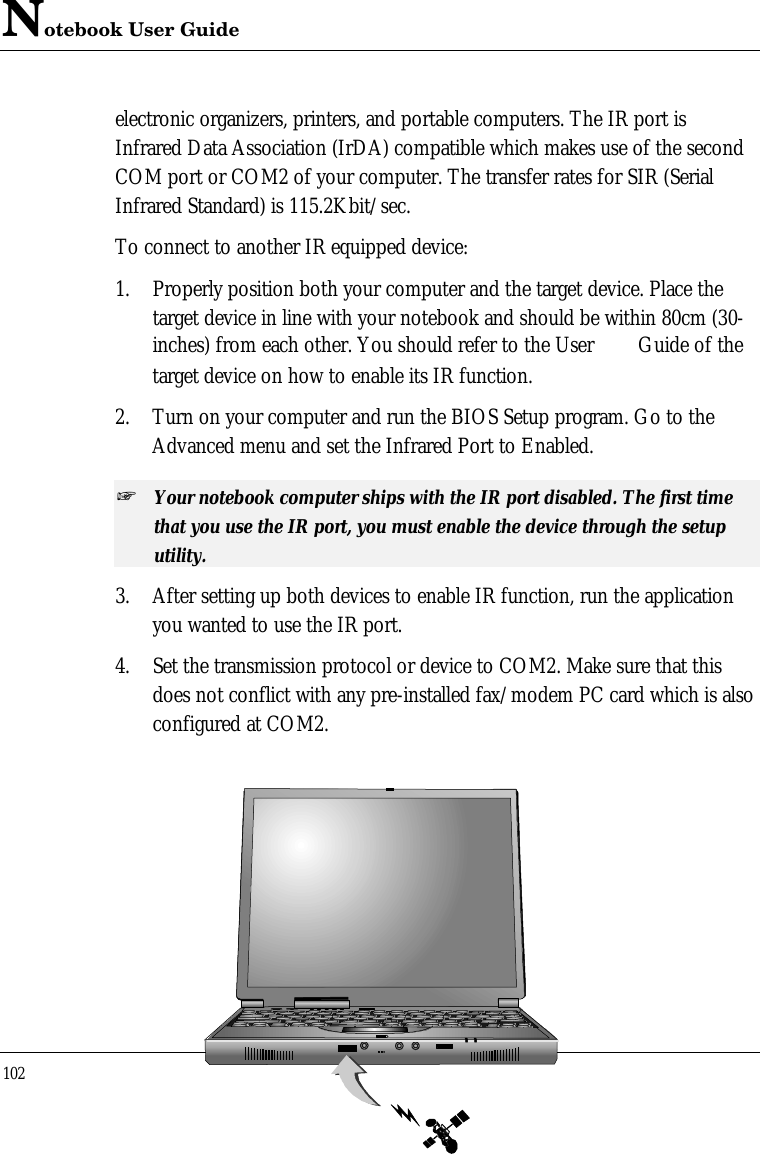
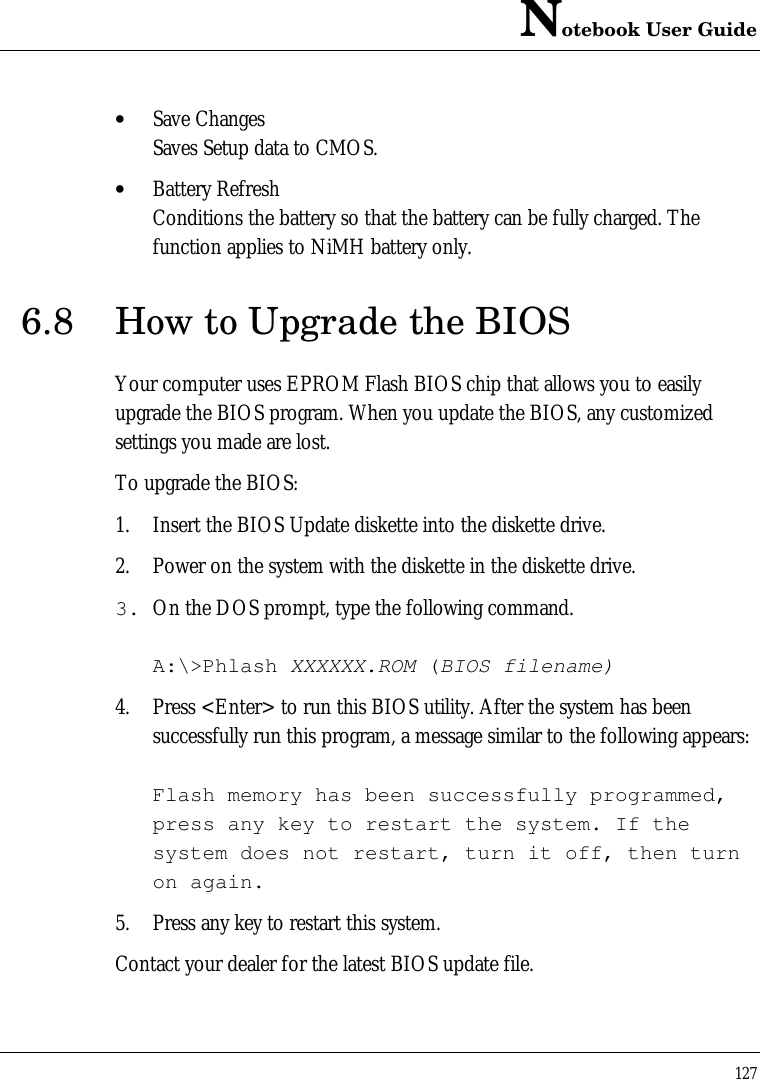
![Notebook User Guide1126.2.1 INTERNAL HDD SUB-MENUPhoenixBIOS Setup UtilityMainPrimary Master: [12073MB] Item Specific HelpType:[Auto]User = you enter CHS format parameters of hard-Cylinders: [16383] disk drive installedHeads: [16] at the Connection.Sectors: [63] Auto = autotypesMaximum Capacity: 12073MB Hard-disk drive LBA format installed here.Total Sectors: 21733140 None = no device isMaximum Capacity: 12073MB installed here.CD-ROM = a CD-Ultra DMA Mode: [Mode 4] ROM drive isTransfer Mode: [Fast PIO 4] installed here.Multi-Sector Transfers: [16 Sectors]LBA Mode Control: [Enabled]32 Bit I/O: [Disabled]F1 Helpá âSelect Item−/+Change Values F9 Setup DefaultsEsc ExitßàSelect Menu Enter Select 4Sub-Menu F10 Save and ExitUse the Type field to select the drive type installed. You can select differentdrive types as CD-ROM, User, or None by pressing <Space> bar. Set thisoption to Auto so your computer will automatically detect the drive typeduring power on. Set this option to None when your computer is not installedany devices. Press <Esc> to return to the Main Menu. Move the](https://usermanual.wiki/First-Computer/A440.user-manual-2-of-2/User-Guide-124495-Page-32.png)
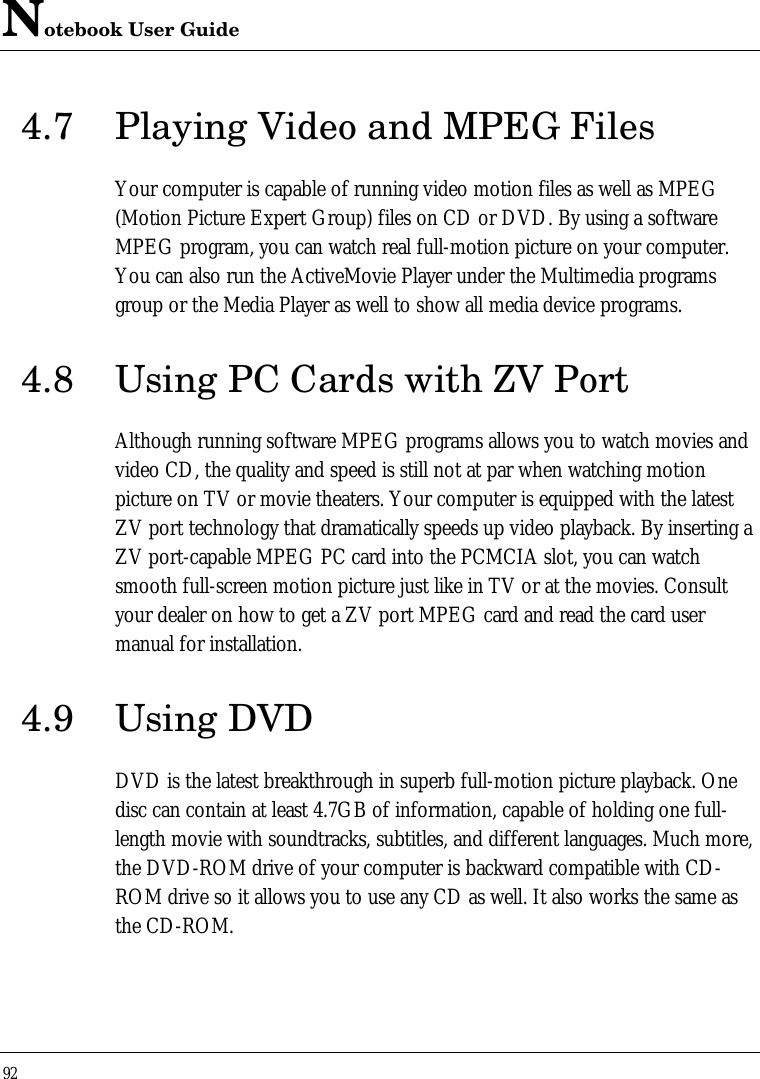
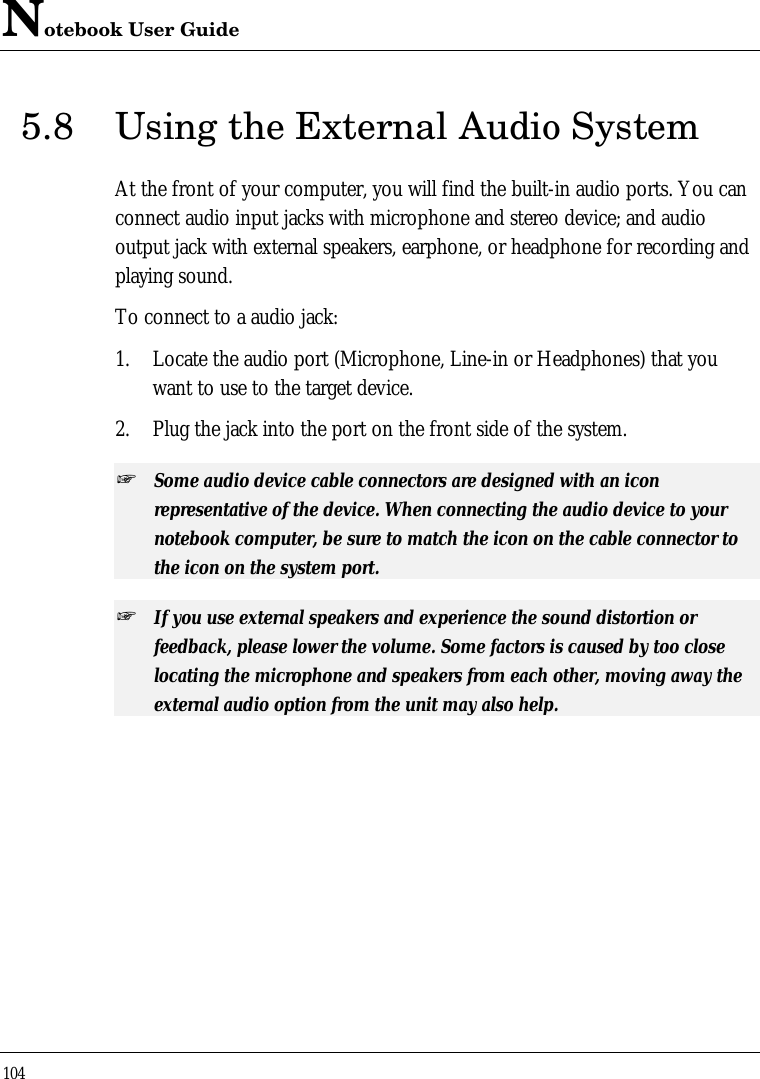
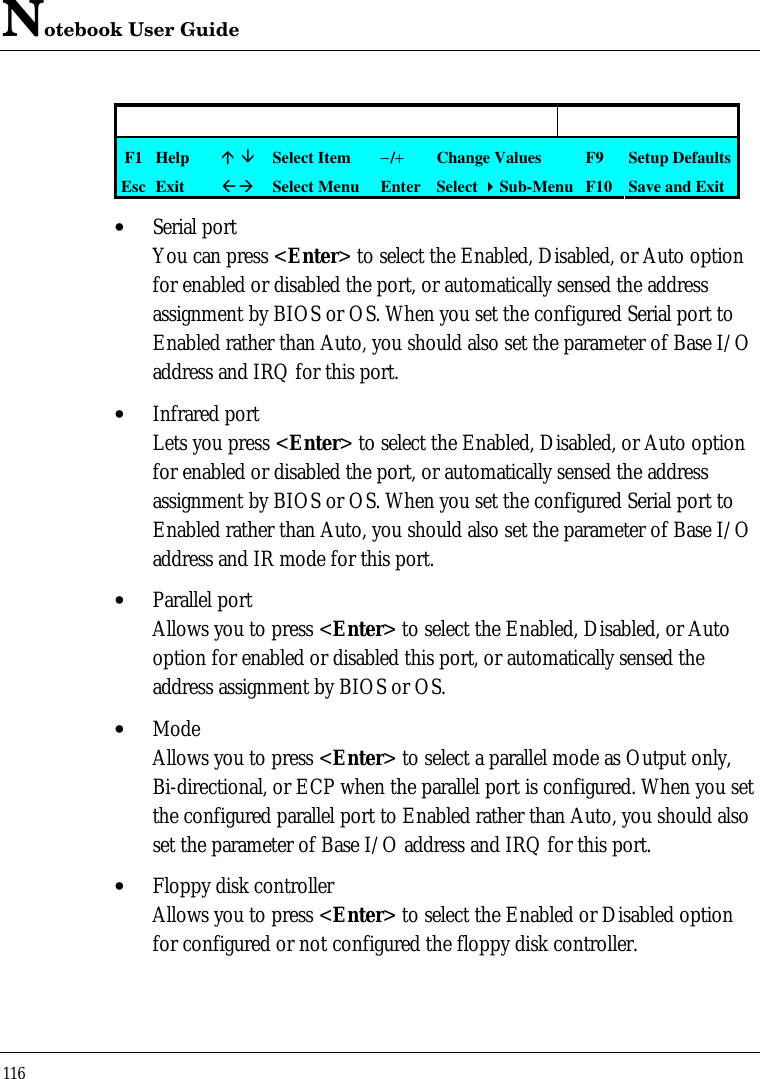
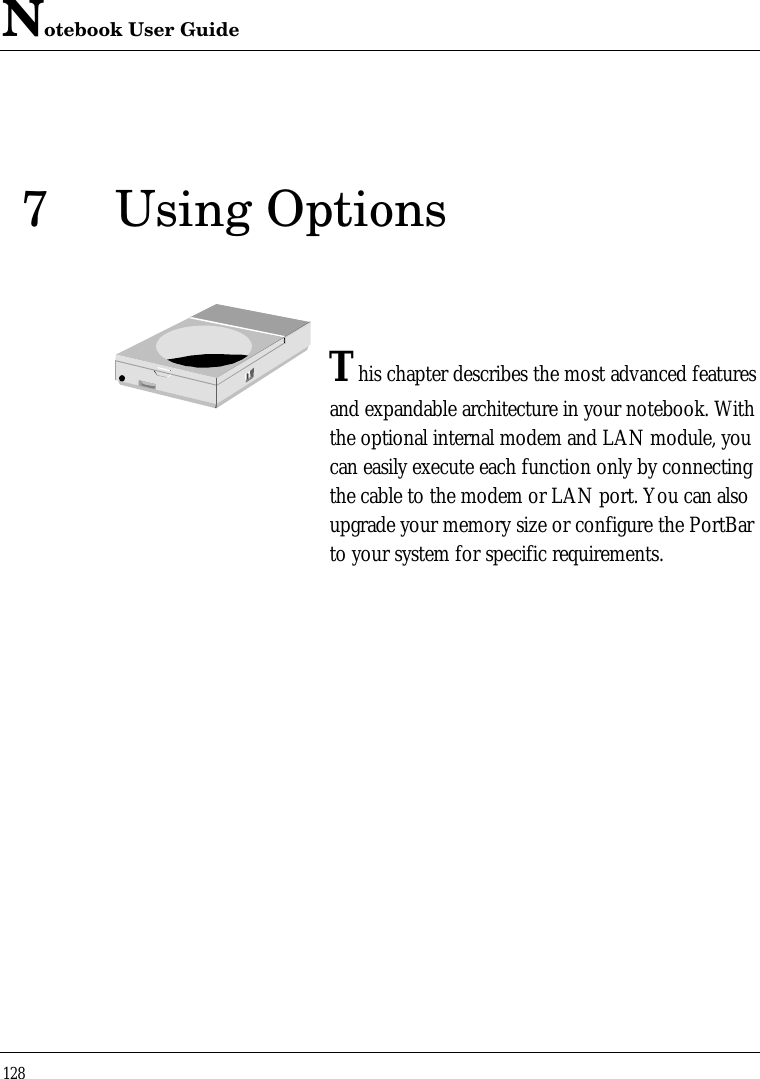
![Notebook User Guide1136.3 Using the Advanced CMOS SetupPhoenixBIOS Setup UtilityMain Advanced Security APM Mode Boot ExitItem Specific HelpCPU Frequency [100Mhz] ‘Disabled’ prevents anyDRAM Frequency [100Mhz] installed PS/2 mousefrom functioning, but4BootUp Num-Lock [LockOff] frees up IRQ12.PS/2 Mouse: [Both] ‘Enabled’ allows theLCD Panel View Expansion: [Enable] operating system toSummary Screen [Enable] determine whetherSilent Boot: [Disabled] to enable or disableSave to Disk Warning [Enable] the mouseInstalled O/S [Win98/Win2000]AGP-2X Mode [Enabled]Aperture Size [64M]Frame Buffer Size [8 MB]4I/O Device Configuration4On Chip Multi-function Device:4Advanced Chipset ControlF1 Helpá âSelect Item−/+Change Values F9 Setup DefaultsEsc ExitßàSelect Menu Enter Select 4Sub-Menu F10 Save and Exit• CPU FrequencyShows the internal running frequency of CPU.• DRAM FrequencyShows the running frequency of DRAM.](https://usermanual.wiki/First-Computer/A440.user-manual-2-of-2/User-Guide-124495-Page-33.png)
![Notebook User Guide114• BootUp Num-LockLock or unlock the Num-Lock key after the system is bootup.• PS/2 Mouse[Enabled] allows the OS to determine whether to enable or disable thePS/2 mouse. [Disabled] prevents any installed PS/2 mouse fromfunctioning.• LCD Panel View ExpansionExpand or keep the original LCD Screen View during the bootprocedure. Expand may get full screen display of LCD, however, it affectthe graphic/text quality• Summary ScreenDisplay system configuration on boot• Silent BootLets you specify the boot screen as Logo screen, POST screen, or Blackscreen by choosing Enabled, Disabled, or Black option, respectively.• Save to Disk Warning:Display warning message when the Save to Disk file (save2dsk.bin) doesnot exist. This file is used when you shot down your computer to suspendmode.• Installed O/SSelect the operation system which is installed on this computer. Anincorrect setting may cause unexpected behavior.• AGP-2X ModePlease use default value. If it needs any change, please contact systemsupervisor.• Aperture SizePlease use default value. If it needs any change, please contact systemsupervisor.](https://usermanual.wiki/First-Computer/A440.user-manual-2-of-2/User-Guide-124495-Page-34.png)
![Notebook User Guide115• Frame Buffer SizePlease use default value. If it needs any change, please contact systemsupervisor.• I/O Device ConfigurationLets you configure input/output device such as Serial Port, Infrared Port,Parallel Port, and Floppy disk controller.• On Chip Multi-function Device:Lets you configure Audio, sound device, Joystick and Modem…internaldevice.• Advanced Chipset Control:The advance setting of chipset. If it needs any change, please see its ItemSpecific Help and contact system supervisor to do that.6.3.1 PERIPHERAL SUB-MENUPhoenixBIOS Setup UtilityAdvancedI/O Device Configuration Item Specific HelpSerial port: [Auto] Configure serial port AInfrared port: [Disabled] using options: [Disabled]Parallel port: [Auto] No configuration, Mode: [Bi-directional] [Enabled]Floppy disk controller: [Enable] User configuration,Local Bus IDE adapter [Both] [Auto] BIOS or OS choosesConfiguration,](https://usermanual.wiki/First-Computer/A440.user-manual-2-of-2/User-Guide-124495-Page-35.png)
![Notebook User Guide117• Local Bus IDE adapterAllows you to press <Enter> to enabled or disabled primary orsecondary IDE adapter.6.3.2 CHIP MULTI-FUNCTION SUB-MENUPhoenixBIOS Setup UtilityAdvancedOn Chip Multi-Function Device Item Specific HelpOnChip USB Device: [Enabled] Enabled/DisabledFunction 2Onboard Legacy Audio: [Enabled] USB Port 0-1Sound Blaster: [Disabled] MPU-401 : [Disabled]FM Port : [Enabled]Joystick: [Enabled]Modem Device: [Disabled]F1 Helpá âSelect Item−/+Change Values F9 Setup DefaultsEsc ExitßàSelect Menu Enter Select 4Sub-Menu F10 Save and Exit• This manu lets you enable or disable certain internal device.6.3.3 ADVANCE CHIPSET CONTROL SUB-MENUPhoenixBIOS Setup UtilityAdvanced](https://usermanual.wiki/First-Computer/A440.user-manual-2-of-2/User-Guide-124495-Page-37.png)
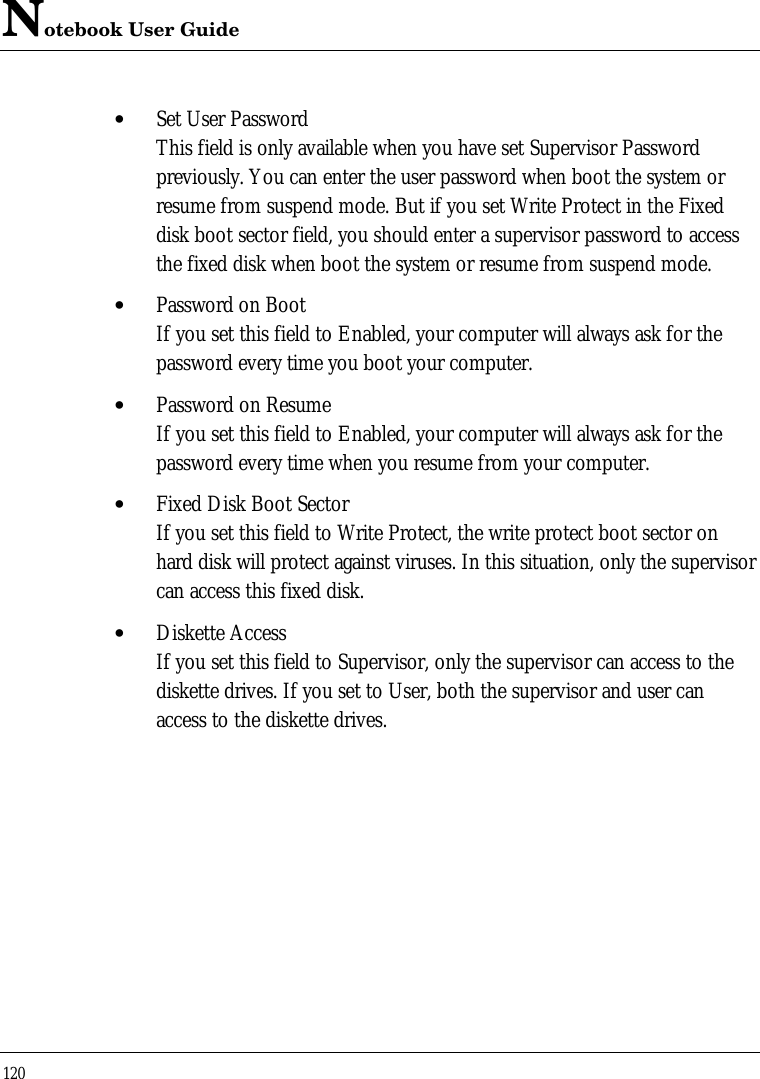
![Notebook User Guide118Advance Chipset Control Item Specific HelpSDRAM PC-133 support [No] Enabled/DisabledSDRAM Cycle Latency [Enabled] Function 2SDRAM Bank Interleave: [Enabled] USB Port 0-1System Shadow: [Disabled] Video Shadow: [Disabled]Cache Video BIOS area: [Enabled]PCI Delay Transaction [Enabled]Read-around-Write: [Disabled]Concurrent PCI Master/Host [Enabled]AGP Master 0 WS Write: [Enabled]AGP Master 0 WS Read: [Enabled]F1 Helpá âSelect Item−/+Change Values F9 Setup DefaultsEsc ExitßàSelect Menu Enter Select 4Sub-Menu F10 Save and Exit• You can set the setting here to default value to make sure that the systemwork normally. However, you can change certain setting to improveperformance. Please see its Item Specific Help to know more about that.6.4 Security Menu SetupPhoenixBIOS Setup Utility Main Advanced Security APM Mode Boot Exit](https://usermanual.wiki/First-Computer/A440.user-manual-2-of-2/User-Guide-124495-Page-38.png)
![Notebook User Guide119Item Specific HelpSupervisor Password Is [Clear] Supervisor PasswordUser Password Is [Clear] controls access to thesetup utility.Set Supervisor Password: [Enter]Set User Password: [Enter]Password on boot: [Disabled]Fixed disk boot sector: [Normal]Diskette access: [Supervisor]F1 Helpá âSelect Item−/+Change Values F9 Setup DefaultsEsc ExitßàSelect Menu Enter Select 4Sub-Menu F10 Save and Exit• Supervisor Password IsSet/Clear selections show that the notebook is under controlled bySupervisor Password or not.• User Password IsSet/Clear selections show that the notebook is under controlled by UserPassword or not.• Set Supervisor PasswordSupervisor password gives you the authority in accessing the setup utility.You can also enter the supervisor password in booting the system andresuming from suspend mode. When you press <Enter> in this field,the Set Supervisor Password dialog box appears. Enter a new passwordwith up to 8 alpha-numeric characters, and then enter this same newpassword again for confirmation.](https://usermanual.wiki/First-Computer/A440.user-manual-2-of-2/User-Guide-124495-Page-39.png)
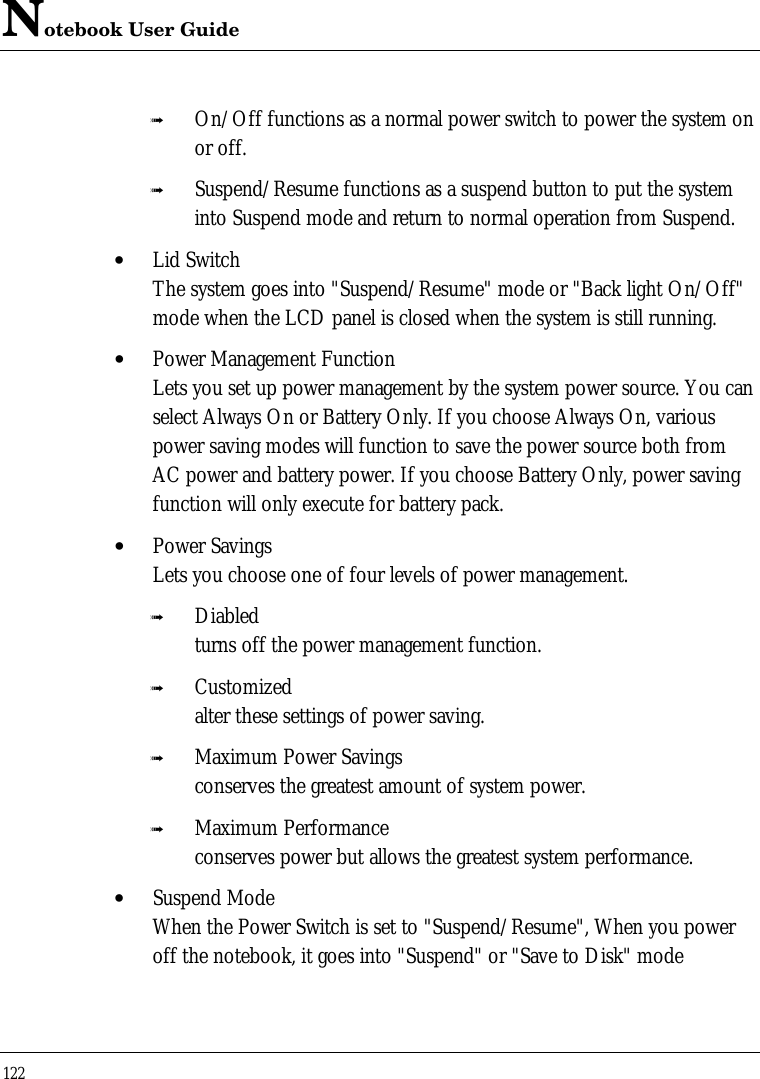
![Notebook User Guide1216.5 Using Power Saving SetupPhoenixBIOS Setup UtilityMain Advanced Security APM Mode Boot ExitItem Specific Help Power Switch:[On/Off]Behavior of theLid Switch [BL On/Off] Power switch. Power Management Function[Battery only] ‘Suspend/Resume’ Power Savings[Disabled] causes the PC toSuspend Mode [Suspend] Suspend/Resume, Idle Mode: [Off] Standby Timeout:[Off] ‘On/Off’ causes the Auto Suspend Timeout:[Off] PC to Power Auto Save To Disk:[Off] On/Off. Hard Disk Timeout:[Disabled] Video Timeout:[Disabled] Please be noticedthat all the Power Resume On Modem Ring:[Off] menu settings will Resume On Time:[Off] be ineffective inthe ACPI mode.F1 Helpá âSelect Item−/+Change Values F9 Setup DefaultsEsc ExitßàSelect Menu Enter Select 4Sub-Menu F10 Save and Exit• Power SwitchThe power button operates as both an On/Off and Suspend/Resumebutton.](https://usermanual.wiki/First-Computer/A440.user-manual-2-of-2/User-Guide-124495-Page-41.png)
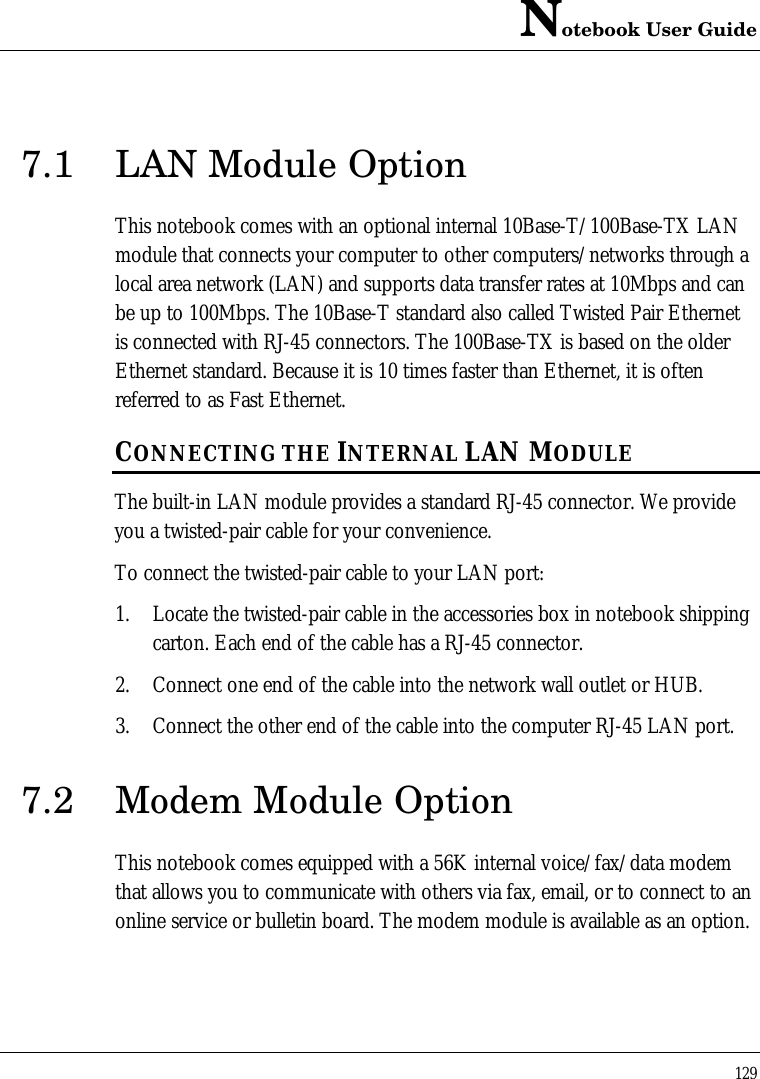


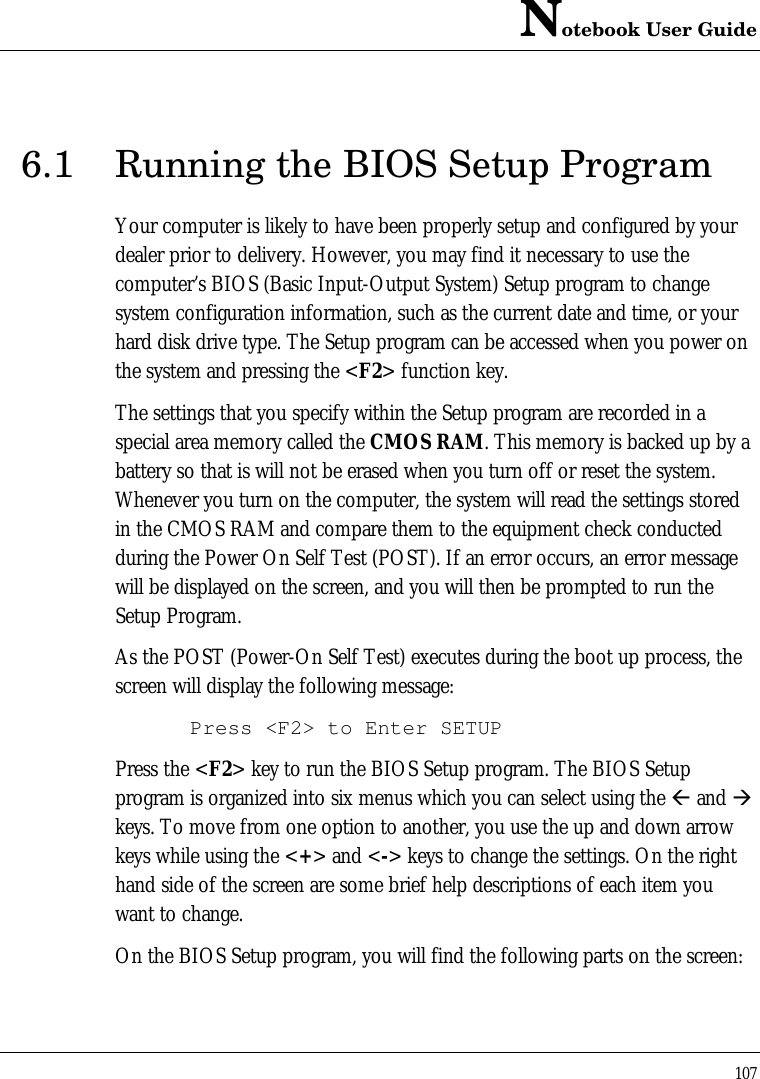
![Notebook User Guide150INFRARED PORT (OPTIONAL)• 1 x SIR port at 115.2KbpsAC/DC POWER SUPPLY ADAPTER• Universal auto-switching 65W (100V~240V) adapterBATTERY• Rechargeable 8 Cells NiMH or Li-ion battery pack with Smart Batteryfunction• Over 2 hours of usage (when run Battery Mark2.0 diagnostic program)• 2.5 ~ 3.5 hours quick charge (computer turn off)WEIGHT AND DIMENSION• 12” (W) x 9.8” (D) x 1.5” (H)• 6.6 lbs (Max Target)A.2 IRQ Usage SummaryIRQ# DescriptionIRQ 0 System TimerIRQ 1 KeyboardIRQ 2 [Cascade]IRQ 3 Lan/ModemIRQ 4 Serial Port 1](https://usermanual.wiki/First-Computer/A440.user-manual-2-of-2/User-Guide-124495-Page-70.png)
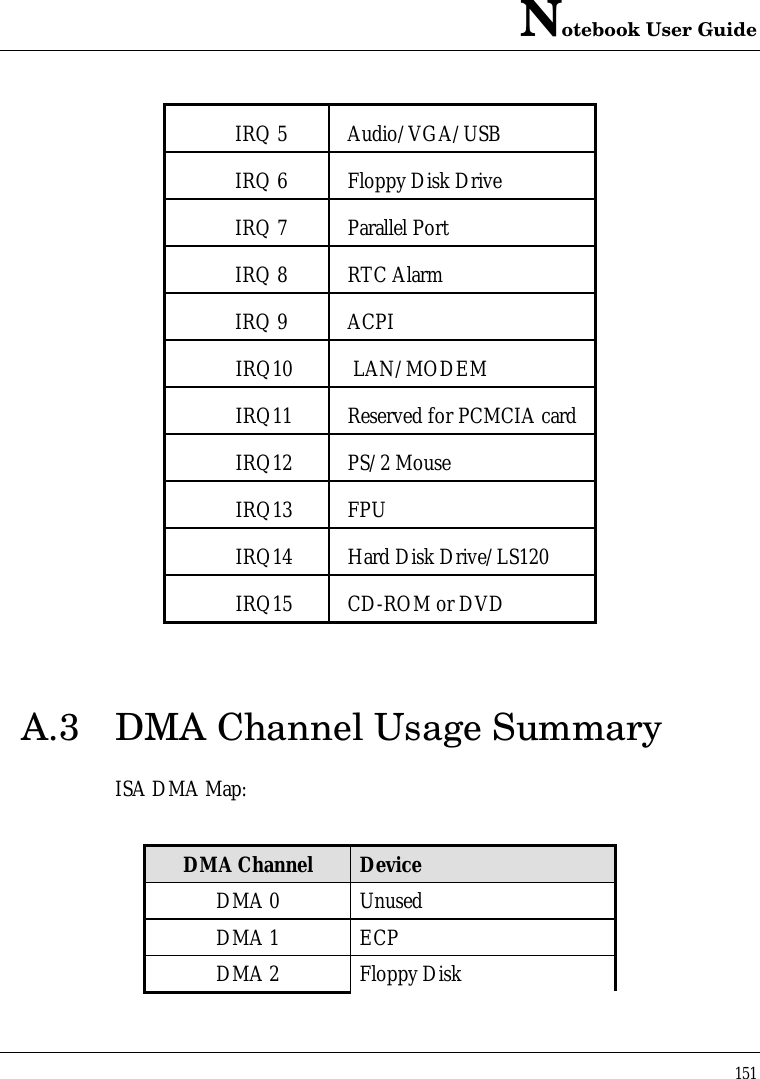
![Notebook User Guide152DMA 3 AUDIODMA 4 [Cascade]DMA 5 UnusedDMA 6 UnusedDMA 7 Unused](https://usermanual.wiki/First-Computer/A440.user-manual-2-of-2/User-Guide-124495-Page-72.png)
