Fisher Price 2824-27T Remote Control Toy User Manual users manual page 2
Fisher-Price Inc. Remote Control Toy users manual page 2
Contents
- 1. users manual page 1
- 2. users manual page 2
- 3. users manual page 3
- 4. users manual page 4
users manual page 2
Radio interference can occur if more than one radio
control vehicle or another radio device is operating on
the same frequency Radio interfer- ence can also occur
near high voltage electrical wires, reinforced concrete
buildings or trucks
with CB radios.
Radio interference can cause this product to work
erratically. For best performance, maintain a dis- tance
from, or do not operate this toy near other radio devices
such as nursery monitors, cordless telephones or other
radio control vehicles on the same frequency.
Any modification of the transmitter or the receiver
(truck) will violate FCC compliance and can void the
user's authority to operate the equipment.
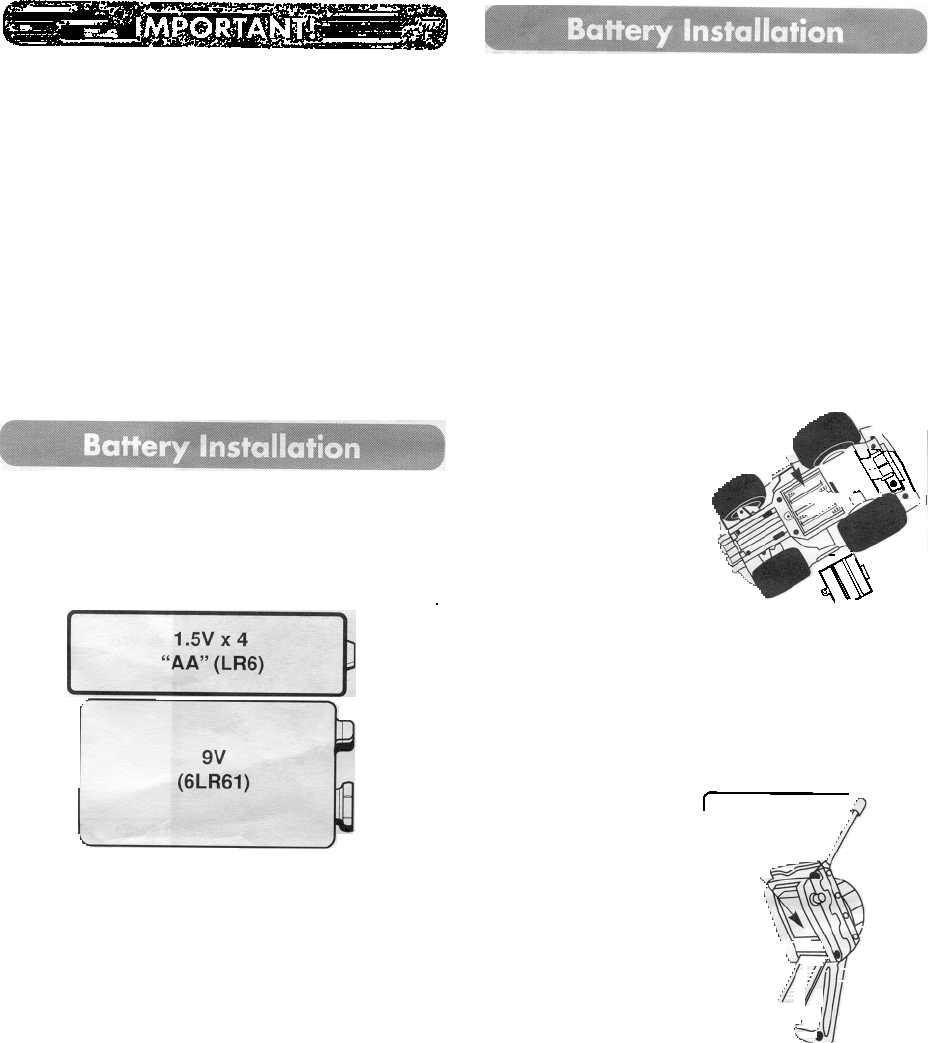
Hint: The 9-volt (6LR61) battery in the transmitter
has a longer life than the 'AA" (L R6) batteries in
the truck. You may need to change the 'AA" bat-
teries more often than the 9-volt battery.
m
BOTH SHOWN ACTUAL SIZE
~
~
m
Battery Tips
• Do not mix old and new batteries.
• Do not mix different types of bafteries: alkaline,
standard (carbon-zinc) or rechargeable (nickel-
cadmium).
• Remove the batteries during long periods of non-
use. Always remove exhausted batteries from the
product. Battery leakage and corrosion can dam-
age the product.
• Never short circuit the battery terminals. a
• Non-rechargeable batteries are not to be recharged.
• Only batteries of the same or equivalent type as
recommended in the "Battery Installation"
instructions are to be used.
• If removable rechargeable batteries are used, they are
only to be charged under adult supervision.
• Rechargeable batteries are to be removed from the
product before they are charged.
• It you use a battery charger, it should be examined
regularly for damage to the cord, plug, enclosure and
other parts. Do not use a damaged battery charger
until it has been properly repaired.
Truck Batteries
•Turn the truck upside
down.
•Unfasten the screw
in the battery com-
partment door with
a Phillips screwdriver.
The screw will remain
in the door.
•Remove the battery
compartment door.
•Insert four size "AA"
alkaline batteries, as indicated inside the bat- tery
compartment.
•Fit the tab on the battery compartment door into the
slot in the battery compartment. Close the battery
compartment door and tighten the screw with a
Phillips screwdriver. Do not over-tighten.
Battery Compartment I
~
~
Transmitter Battery
• Unfasten the screw in
the battery compart-
ment door with a Phil-
lips screwdriver. The
screw will remain in
the door.
• Open the battery com-
partment door.
• Snap a 9-volt battery
to the battery contacts
and insert it into the
battery compartment.
• Close the battery compartment door and tighten the
screw with a Phillips screwdriver. Do not over-
tighten.
Batter
y
Compartment
~
-
5@@
4