Fujitsu Client Computing WB0085 Tablet PC User Manual M532 Bright UG
Fujitsu Limited Tablet PC M532 Bright UG
UserManual.wiki
>
Fujitsu Client Computing
>
WB0085 User Manual
user manual
Navigation menu
Upload a User Manual
Namespaces
Wiki Guide
HTML
PDF
Info
Views
User Manual
Discussion / Help
Navigation

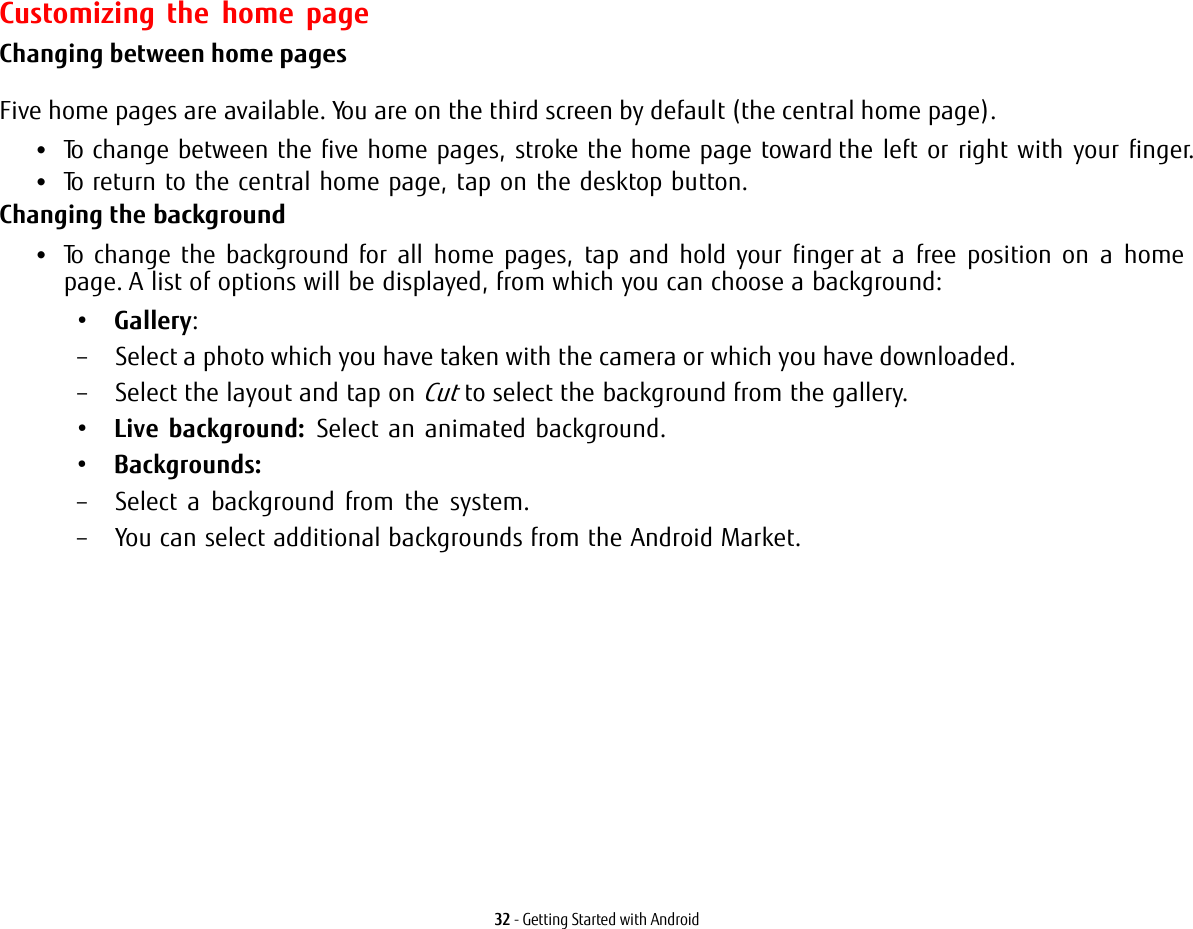
![34 - Getting Started with AndroidEntering text via the on-screen keyboard If you tap on an input field, an on-screen keyboard opens and you can enter text.Action DescriptionEnter text > Move the cursor to the position where you wish to enter text. A tab will be shown under the position.> To move the cursor, pull the tab[Clear] ButtonDelete text or letters before the cursorTap on Clear. The text or letters before the cursor will be cleared.](https://usermanual.wiki/Fujitsu-Client-Computing/WB0085/User-Guide-1751392-Page-34.png)
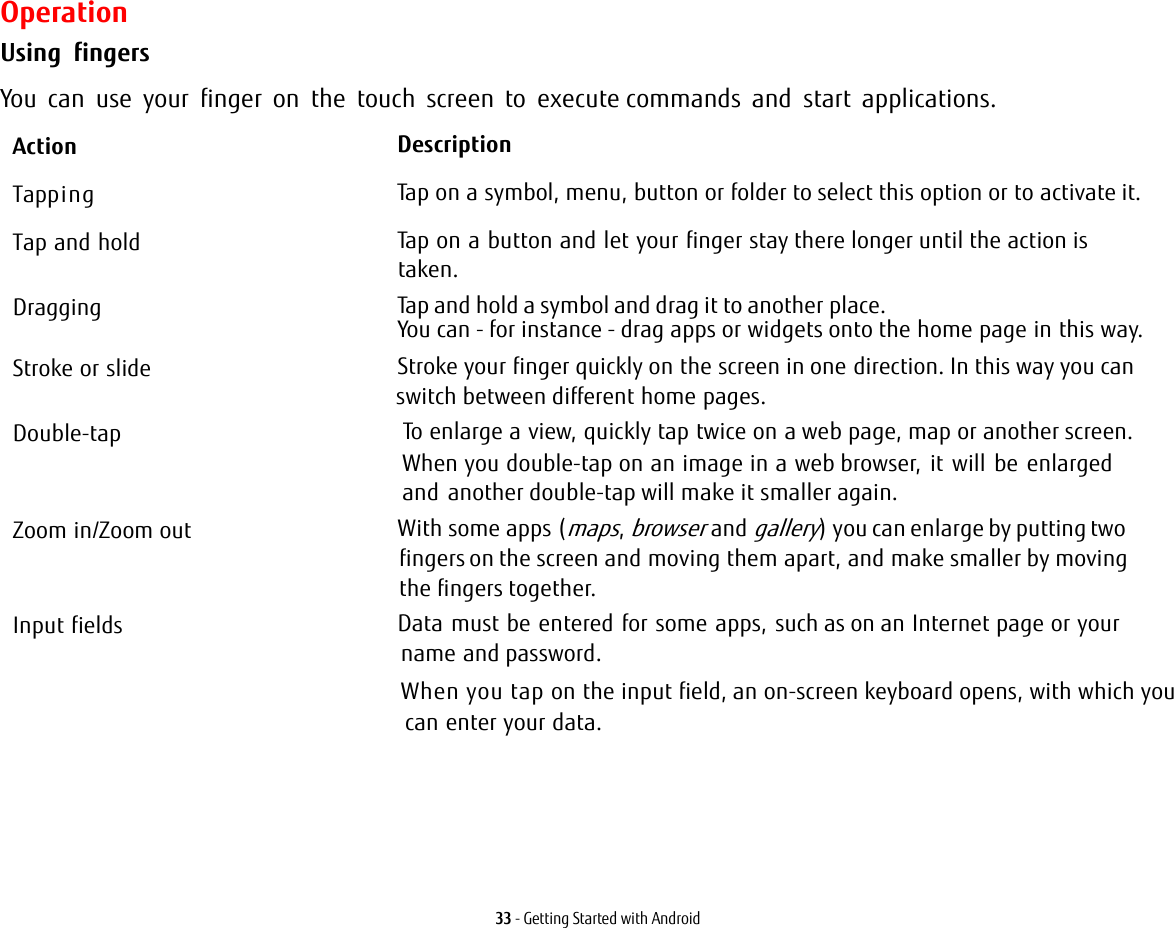
![35 - Getting Started with AndroidSelecting text> Tap and hold or double-tap on the text.The nearest word will be highlighted and a tab will be shown at the start and end of the selection.> To change the selection, pull the tabs.The tabs will disappear after a certain time. If you tap on the text again, they will reappear.Cutting, copying, inserting text > Select a text.> Tap on the Cut, Copy or Insert buttons in the top right-hand corner.Entering an uppercase letter > Tap the shift key.Entering several letters in uppercase> Hold the shift key during the input.> To switch back to lower case letters, release the shift key.or> Double-tap on the Caps Lock key.> To switch back to lower case letters, tap the shift key again.Entering numbers and symbols > Tap on the [?123] key.> To show a wider selection, tap on the [=\>] key.Quickly show common punctuation marks and symbols > Press and hold the key to the right of the space bar.Entering special charactersSpecial characters are shown on the keyboard as small grey colored fields in the corner.> Press and hold down the shift key while you tap on the key for the special character.> Press and hold any key to show alternative characters, symbols or numbers.Changing the entry language for the keyboard Tap on the key for the keyboard settings at the lower left on the keyboard.](https://usermanual.wiki/Fujitsu-Client-Computing/WB0085/User-Guide-1751392-Page-35.png)