Fujitsu Client Computing WL0022 Notebook Computer User Manual
Fujitsu Limited Notebook Computer
UserManual.wiki
>
Fujitsu Client Computing
>
WL0022 User Manual
User manual
Navigation menu
Upload a User Manual
Namespaces
Wiki Guide
HTML
PDF
Info
Views
User Manual
Discussion / Help
Navigation

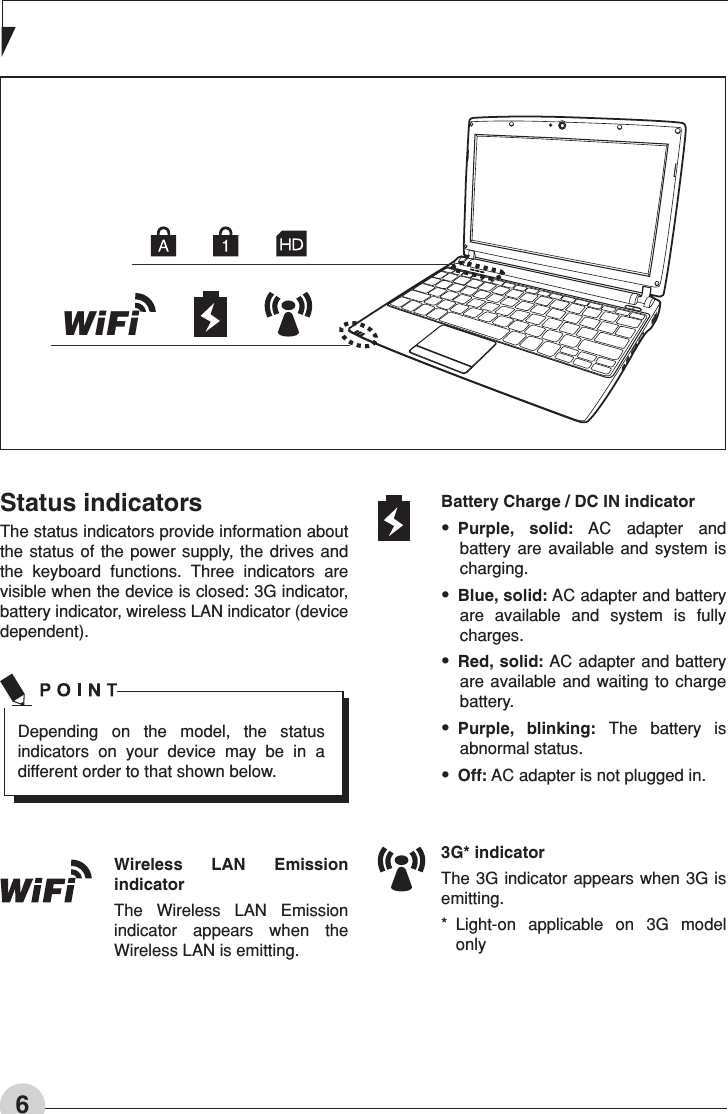
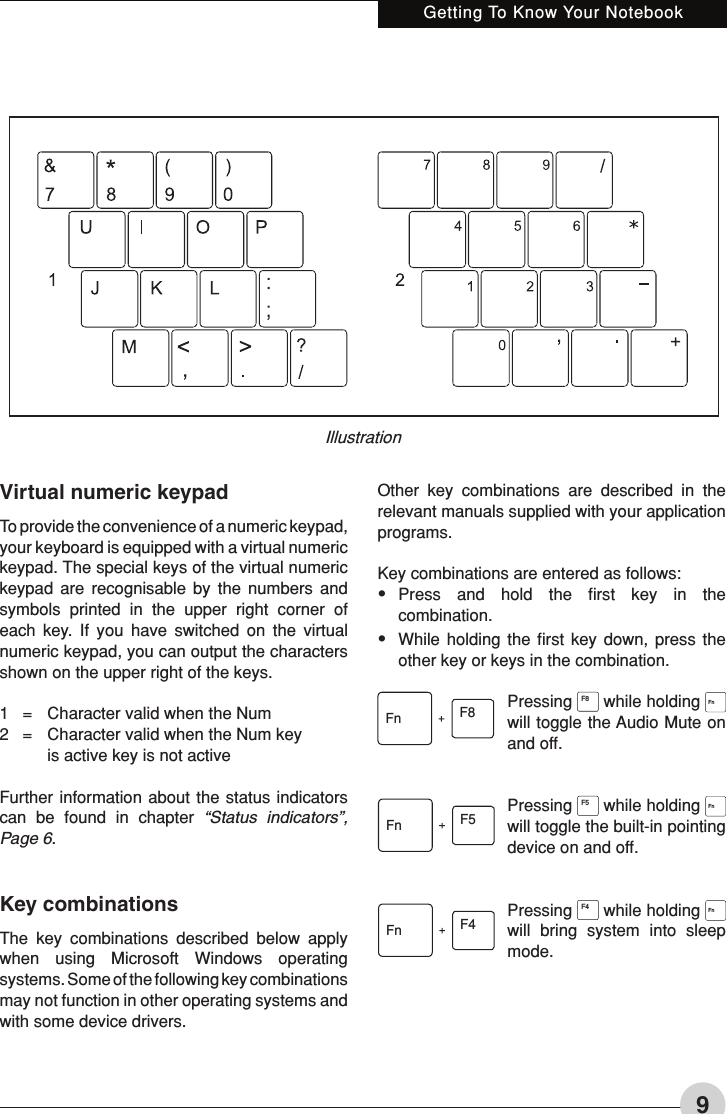
![7Getting To Know Your NotebookCaps Lock IndicatorThe Caps Lock indicator states that your keyboard is set to type in all capital letters.Num Lock IndicatorThe Num Lock indicator states that the integral keyboard is set in ten-key numeric keypad mode.If there is no battery activity and the power adapters are not connected, the Battery Level indicators will also be off.If you are using the optional external numerical keypad, pressing the [NumLk] key will activate the external keypad. The indicator will come on, however it will not change any of the functionality of your keyboard keys.Disk/Optical Drive Access IndicatorThis indicator turns on when an internal hard disk drive or an optical drive device or a removable disk drive is being accessed.Do not power off the notebook when the disk drive access indicator is shown.](https://usermanual.wiki/Fujitsu-Client-Computing/WL0022/User-Guide-1269339-Page-19.png)