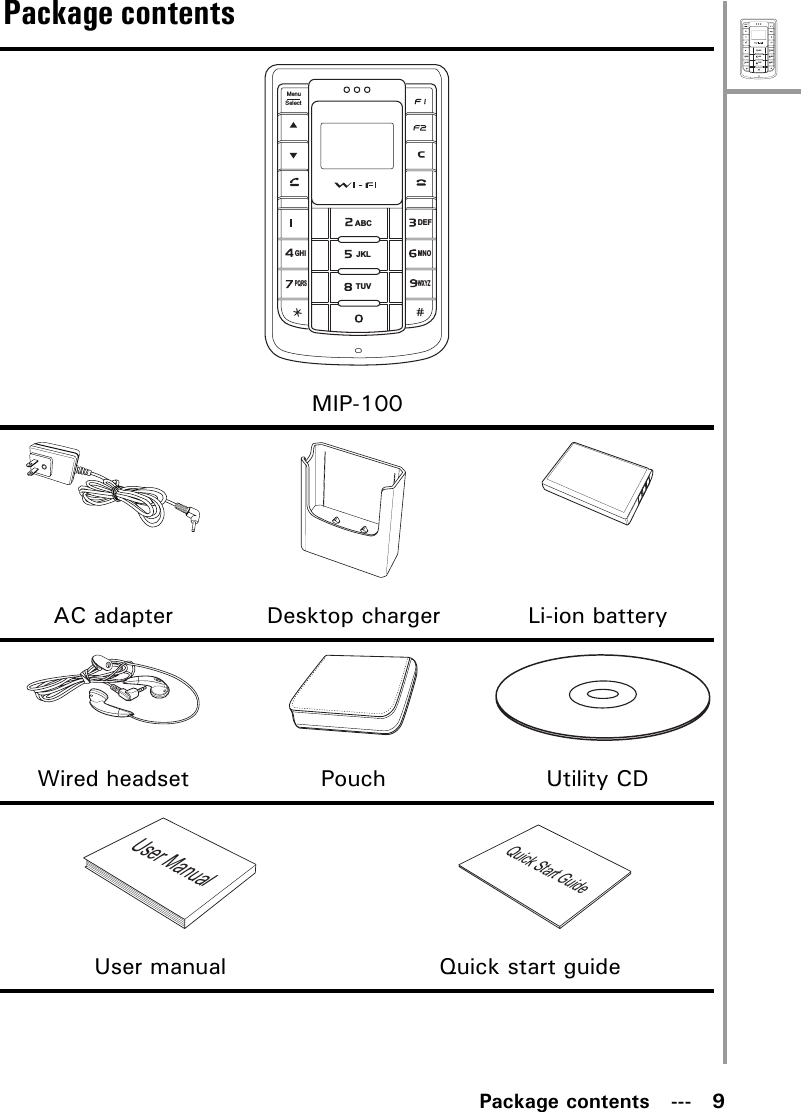
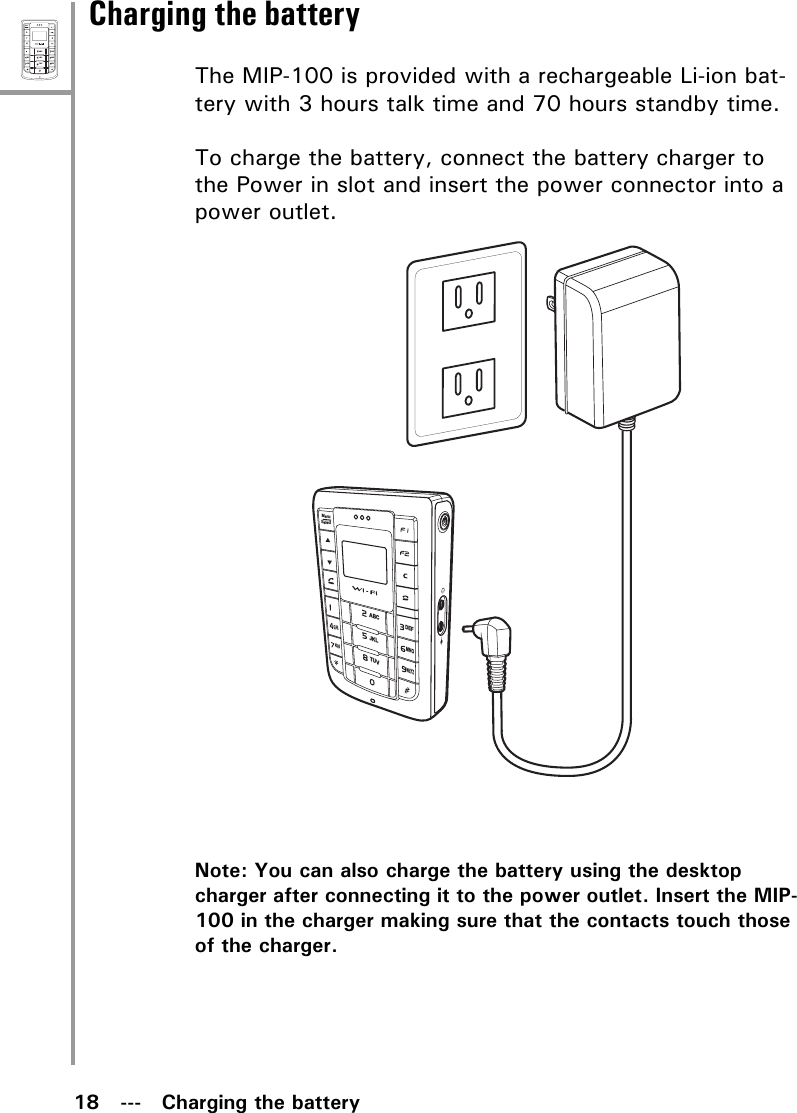
G Tek Electronics MIP Wireless IP Phone User Manual Gtek PWG500 UM
G-Tek Electronics Corporation Wireless IP Phone Gtek PWG500 UM
UserManual.wiki
>
G Tek Electronics
>
MIP User Manual
Users Manual
Navigation menu
Upload a User Manual
Namespaces
Wiki Guide
HTML
PDF
Info
Views
User Manual
Discussion / Help
Navigation


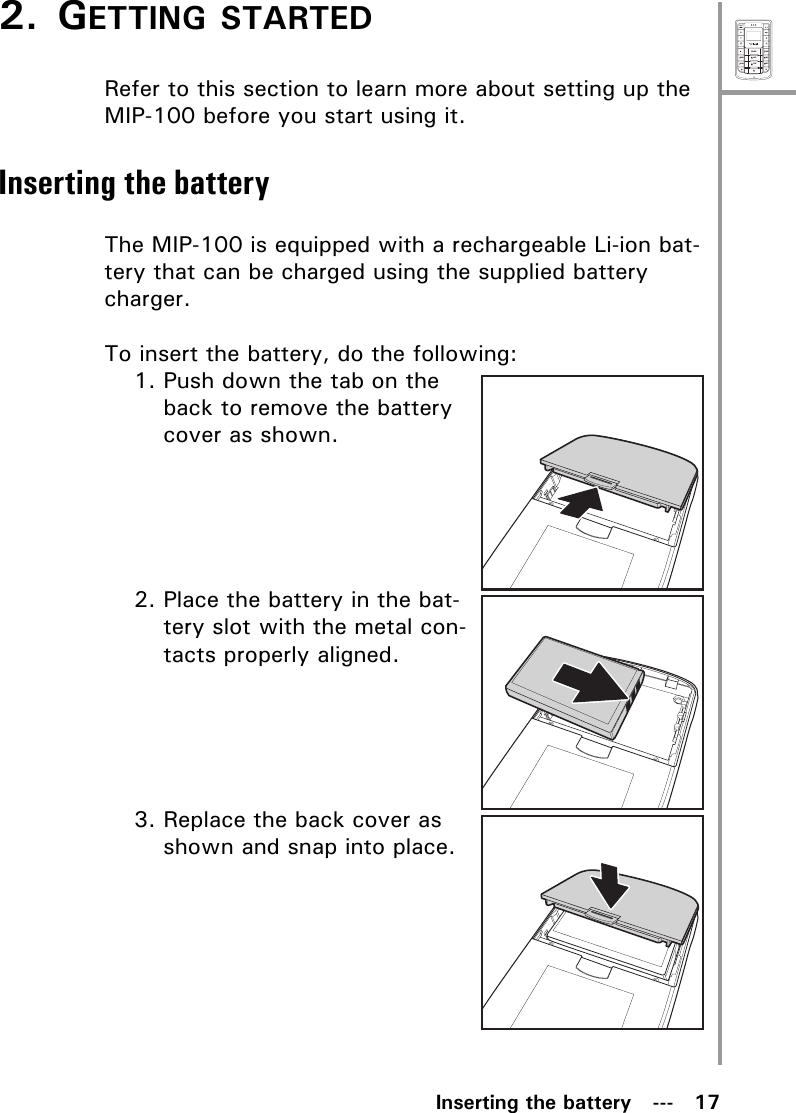
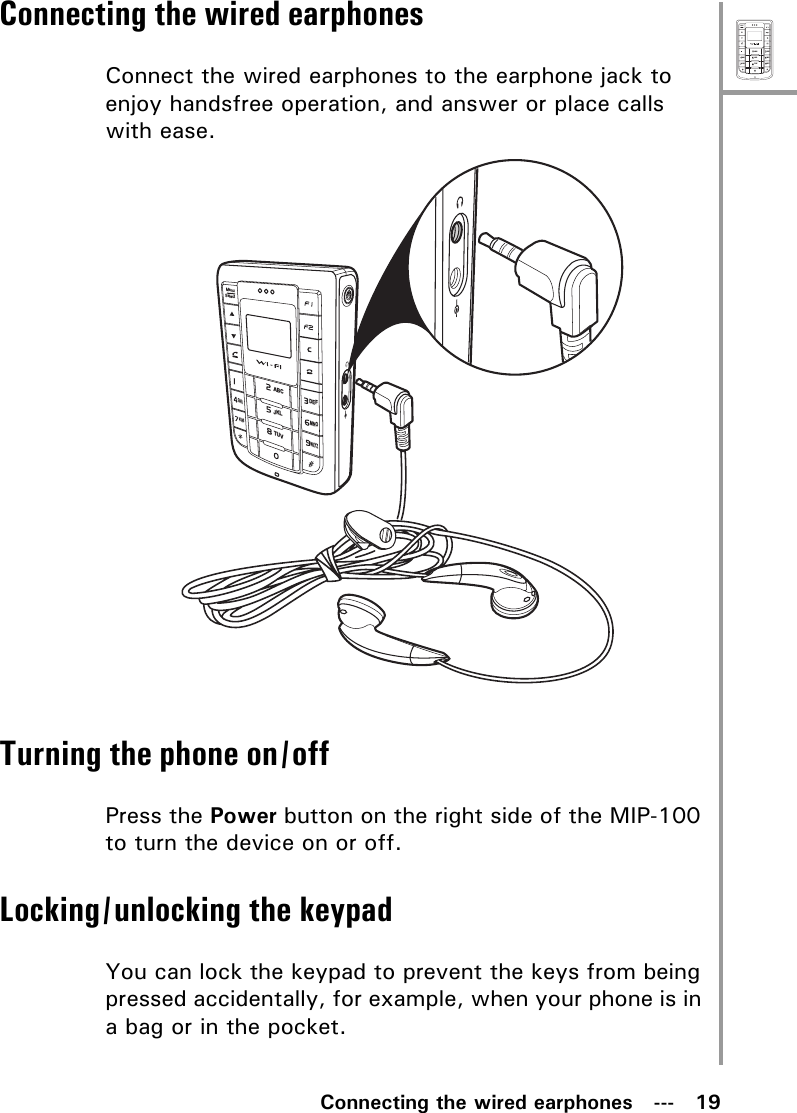
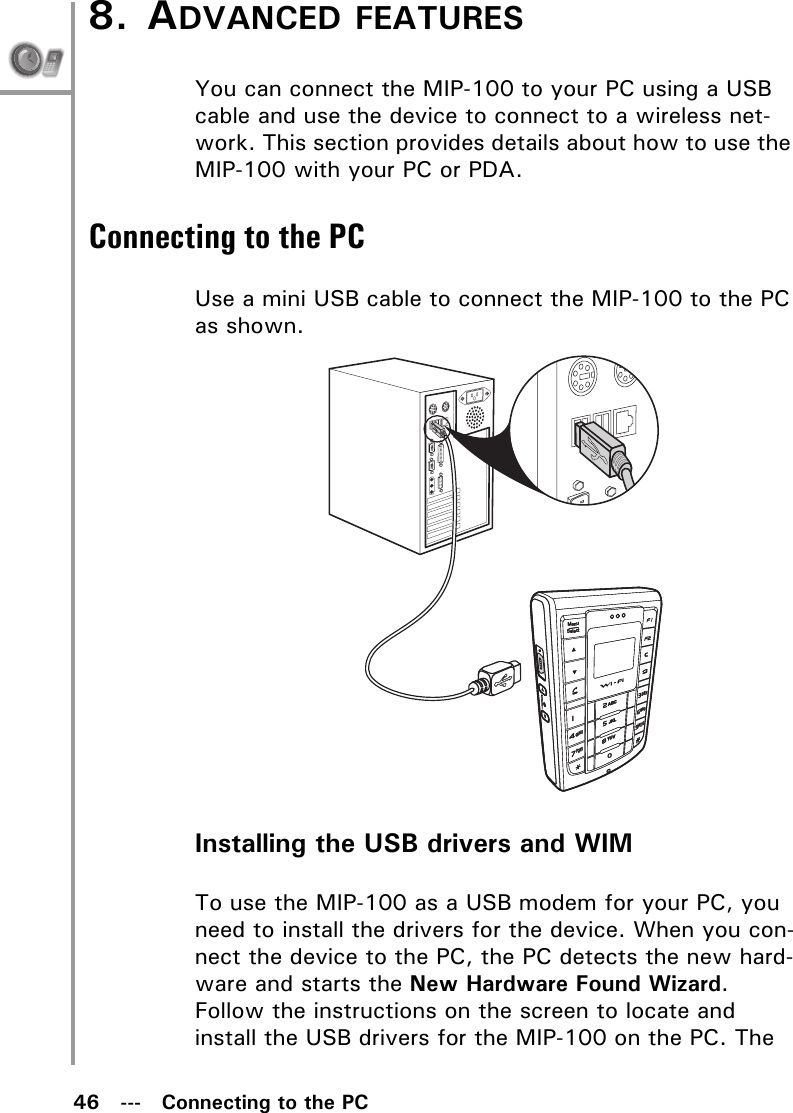
![20 --- Entering textMenuSelectABCDEFJKLGHIPQRSMNOWXYZTUV• To lock the keypad, press the Menu/Select key and then press the *key.• When the keypad is locked, press the Menu/Select key and then press * to unlock the keypad.Entering textThe MIP-100 has an alphanumeric keypad for keying in the numbers you are dialing, typing your text messages, and adding contact information to your phone book. Each key represents a combination of letters and num-bers. The following table shows the character represen-tation for the alphanumeric keys:Key Characters1 1 : . – _22 A B C a b c3 3 D E F d e f44 G H I g h i5 5 J K L j k l66 M N O m n o7 7 P Q R S p q r s88 T U V t u v9 9 W X Y Z w x y z0 0 [space] ? ! @** + # Switch between lower case (abc), upper case (ABC), and numeric (123) characters.](https://usermanual.wiki/G-Tek-Electronics/MIP/User-Guide-596843-Page-26.png)