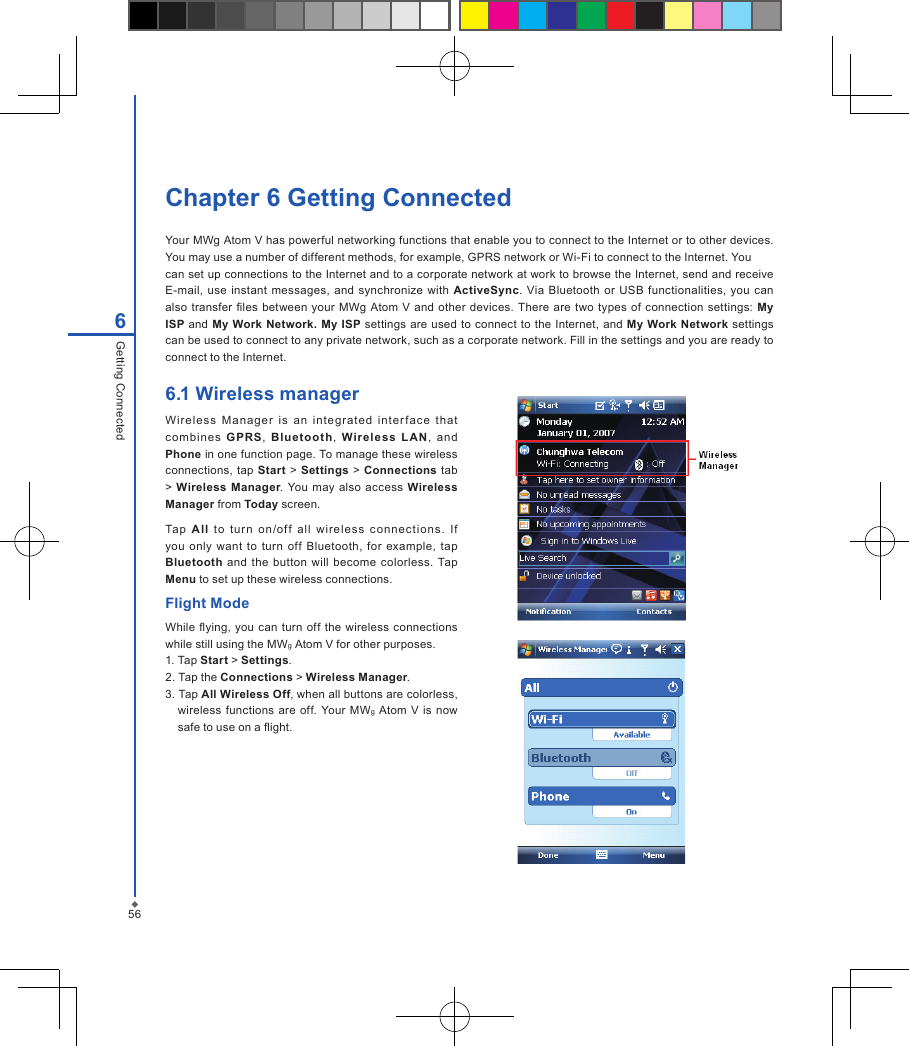
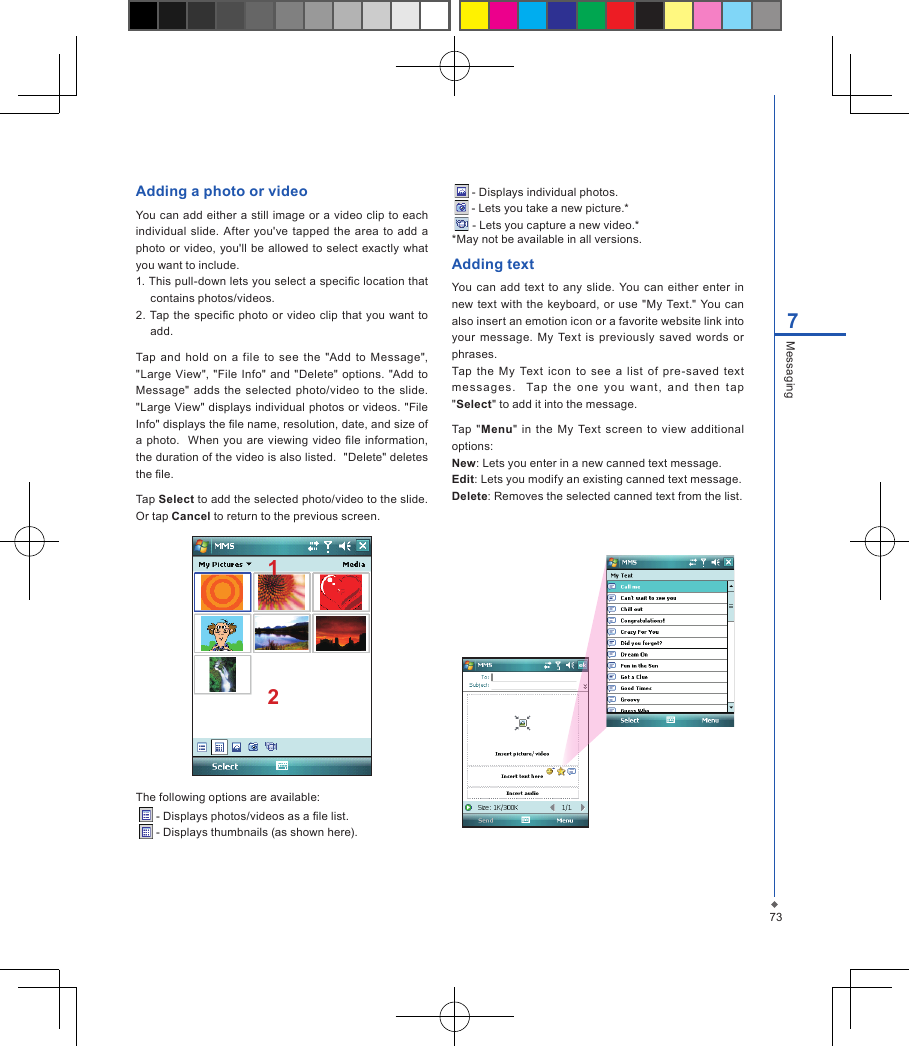
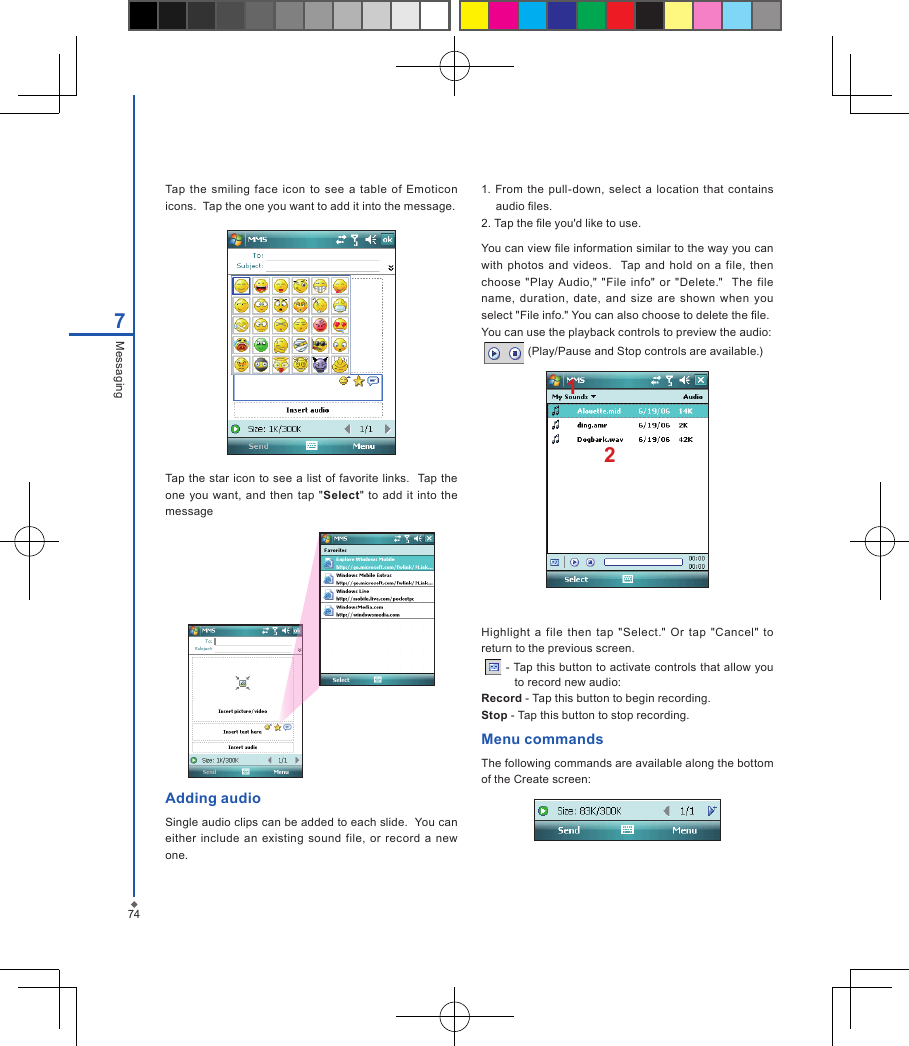
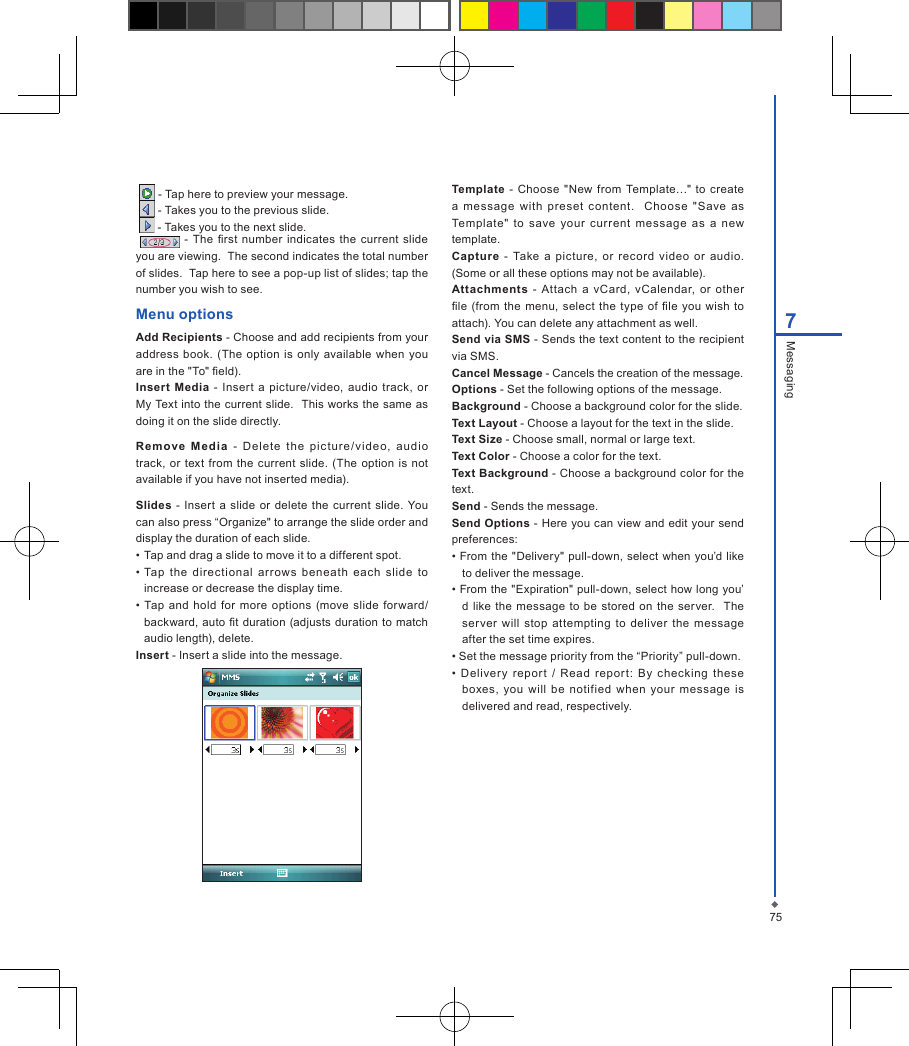
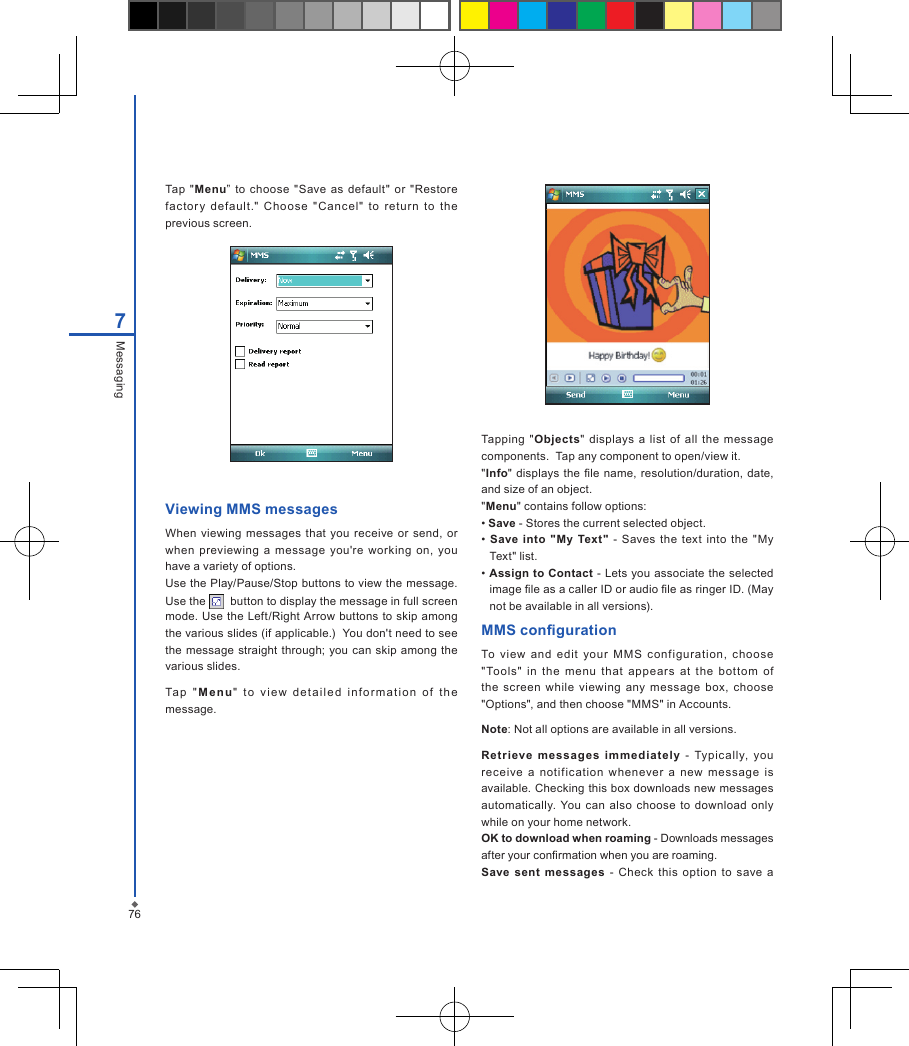
GIGA BYTE Communications 9QATOMV000 3.5G HSDPA/UMTS/GSM/DCS/PCS PDA Phone User Manual Revised part2
GIGA-BYTE Communications Inc. 3.5G HSDPA/UMTS/GSM/DCS/PCS PDA Phone Revised part2
Contents
- 1. user manual
- 2. User manual
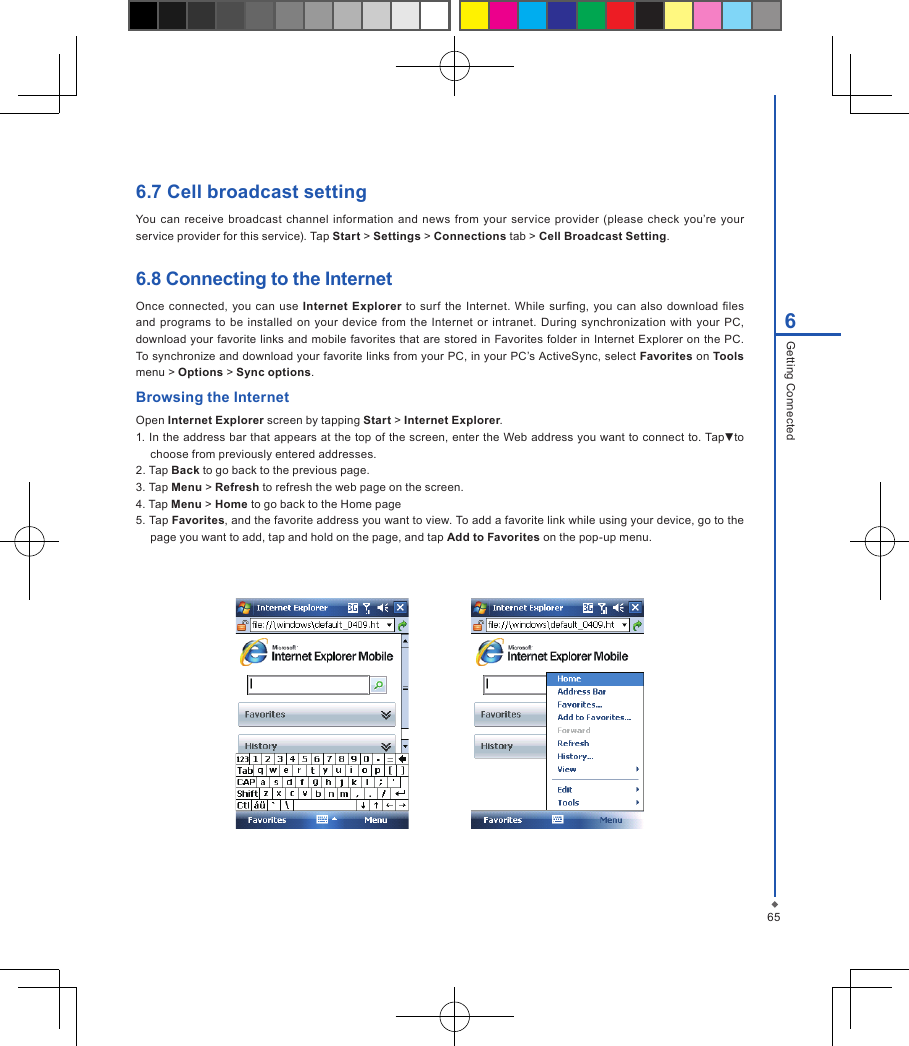
- 3. Revised User Manual part1
- 4. Revised User Manual part2
- 5. Revised User Manual part3
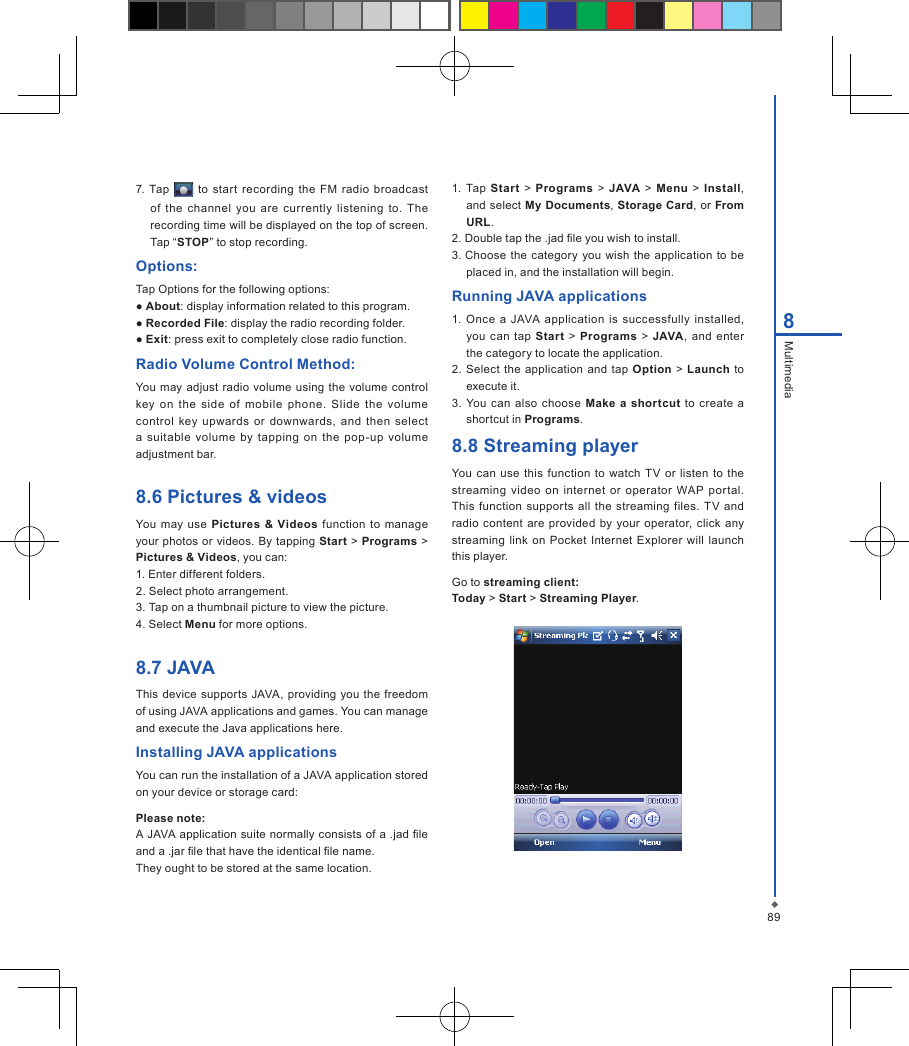
- 6. revised user manual part1
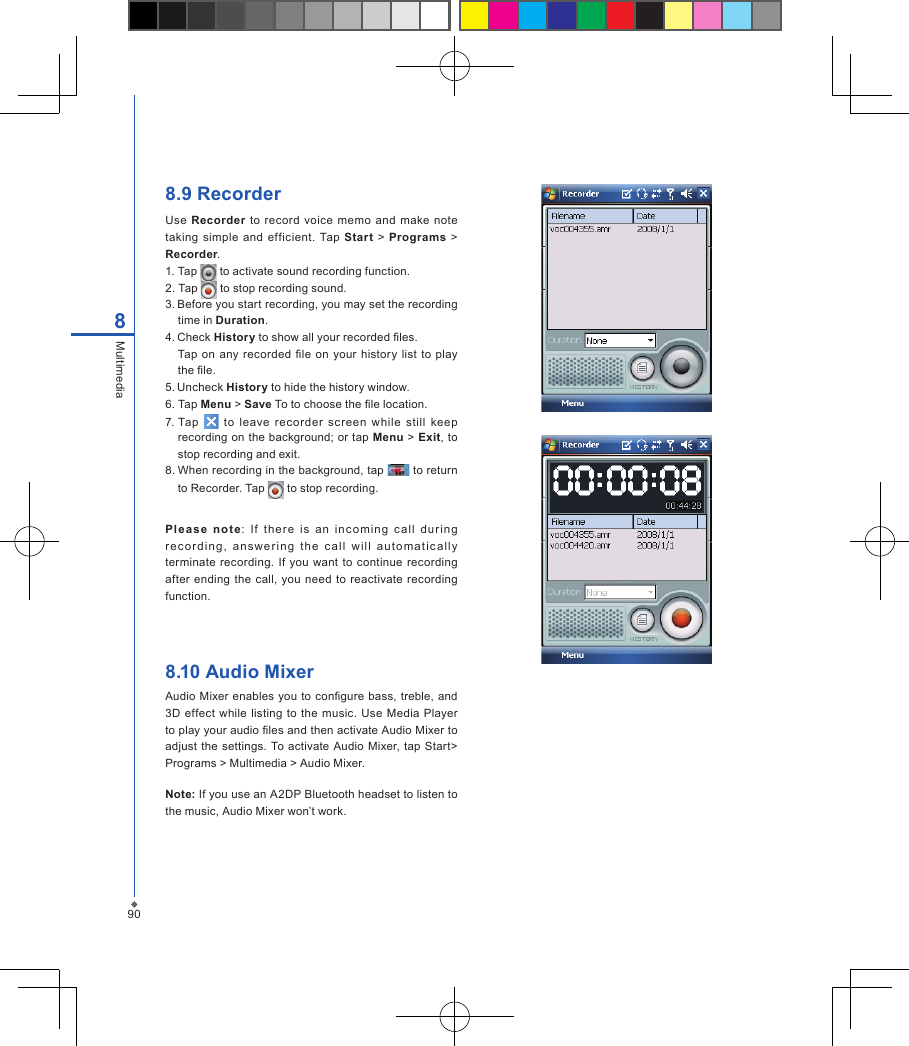
- 7. revised user manual part2
- 8. revised user manual part3
- 9. revised2 user manual 09302008 part1
- 10. revised2 user manual 09302008 part2
- 11. revised2 user manual 09302008 part3
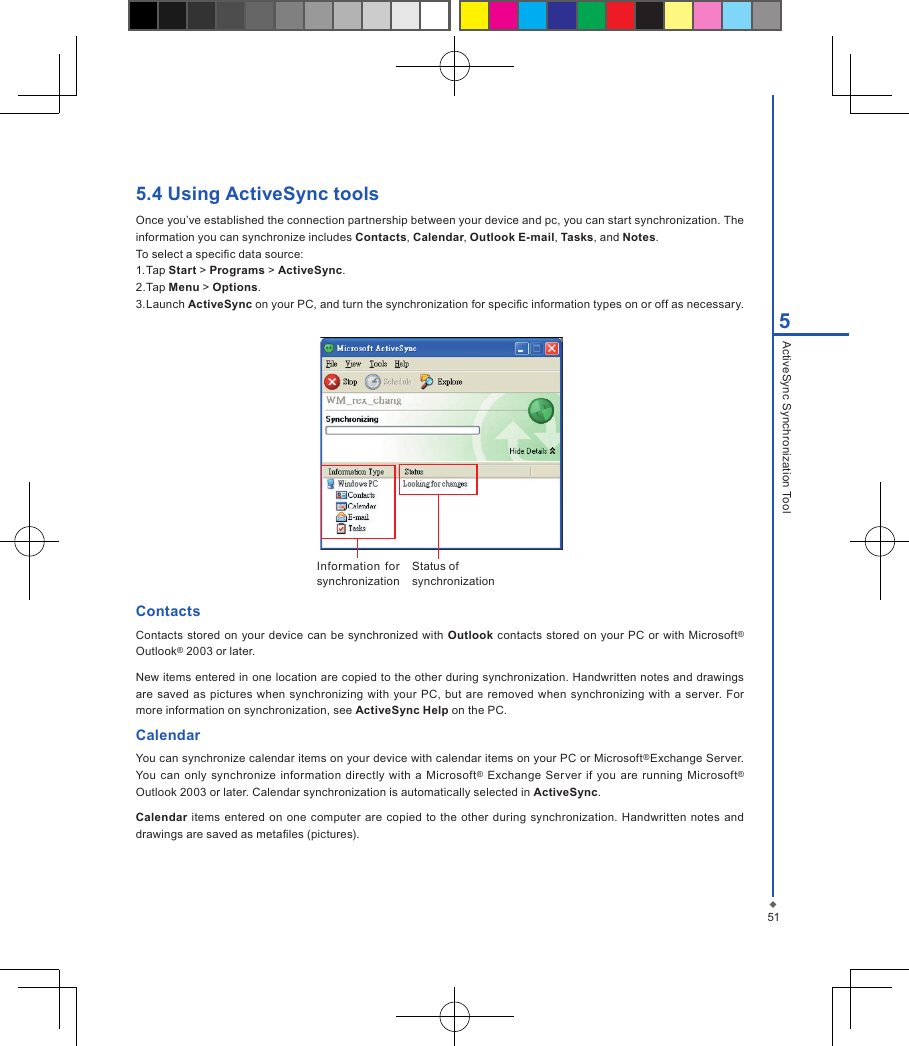
Revised User Manual part2