GIGA BYTE TECHNOLOGY GN-BC01 802.11g PCI Wireless Router User Manual User s manual rev 2
GIGA-BYTE TECHNOLOGY CO., LTD. 802.11g PCI Wireless Router User s manual rev 2
UserManual.wiki
>
GIGA BYTE TECHNOLOGY
>
GN-BC01 User Manual
>
Users Manual 1
Contents
1.
Users Manual 1
2.
Users Manual 2
Users Manual 1
Navigation menu
Upload a User Manual
Namespaces
Wiki Guide
HTML
PDF
Info
Views
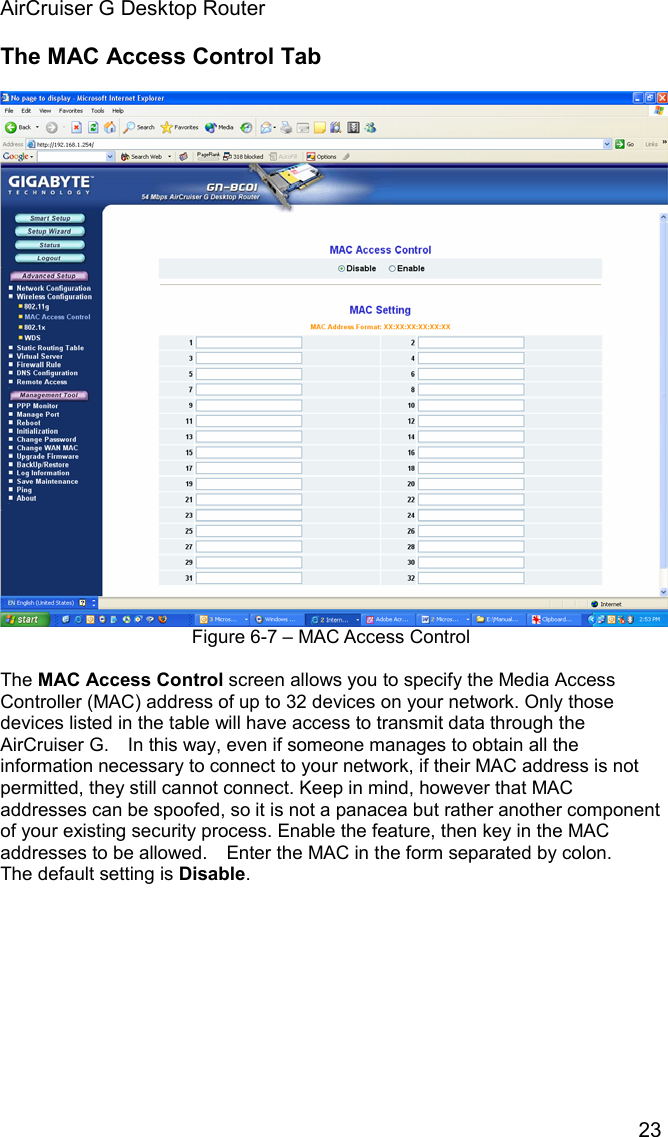
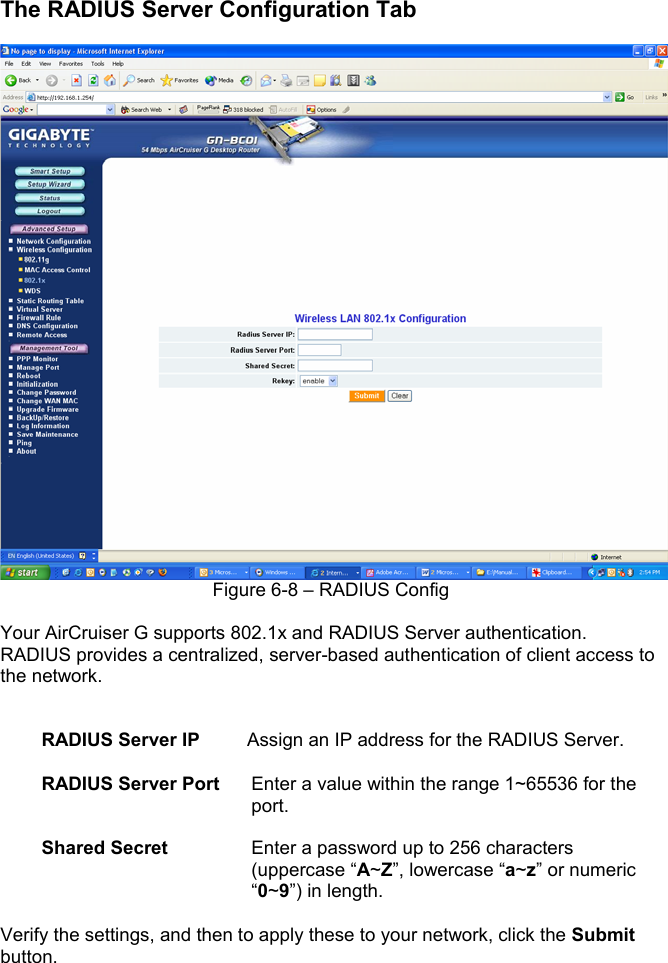
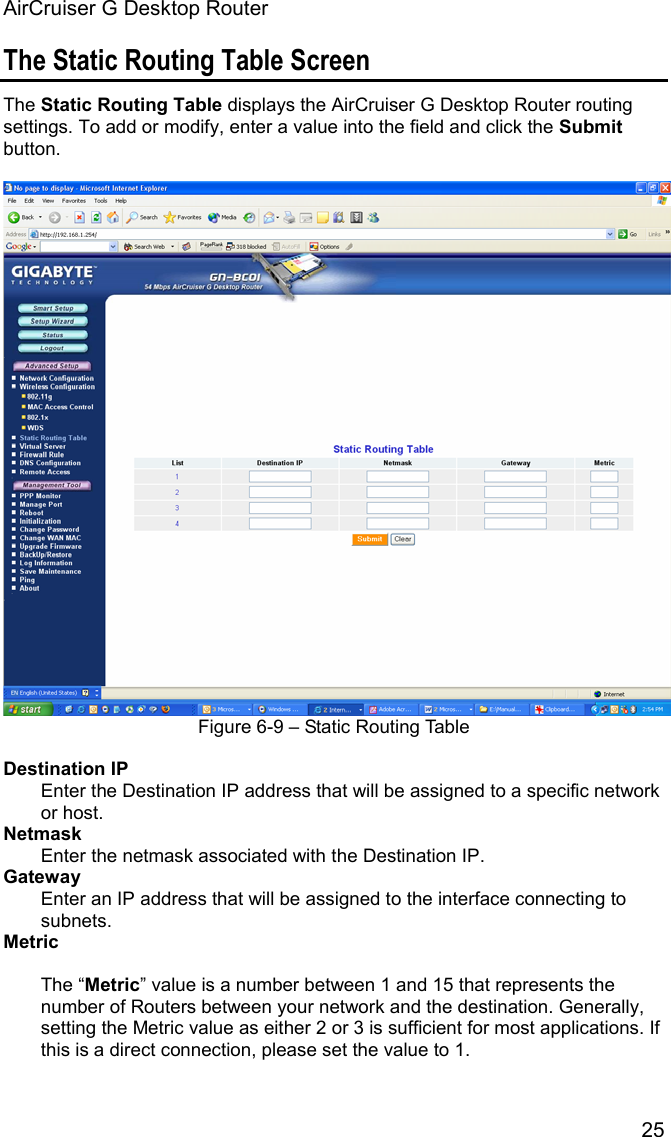
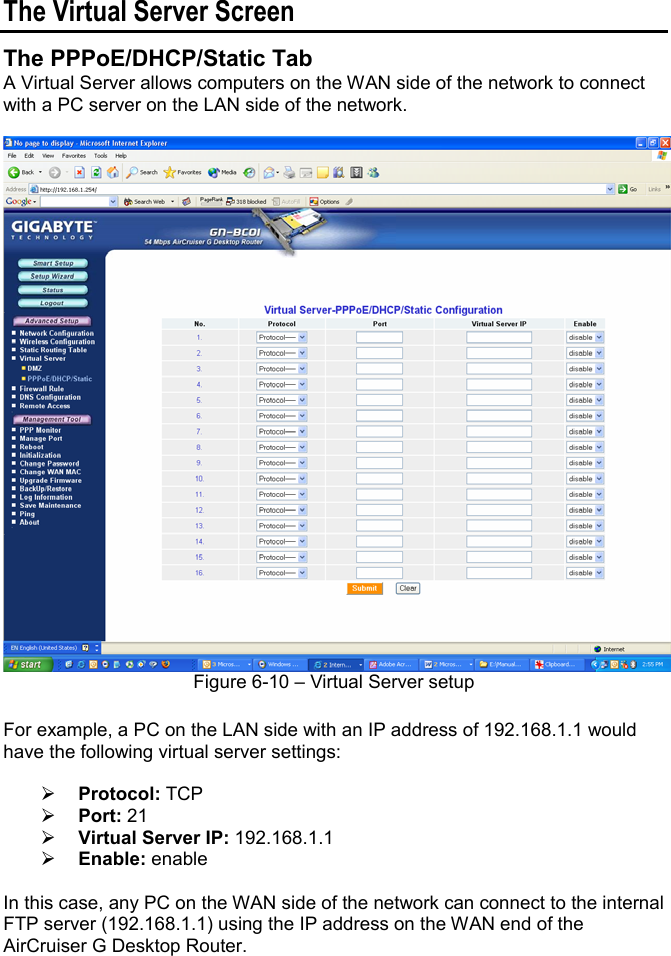
User Manual
Discussion / Help
Navigation
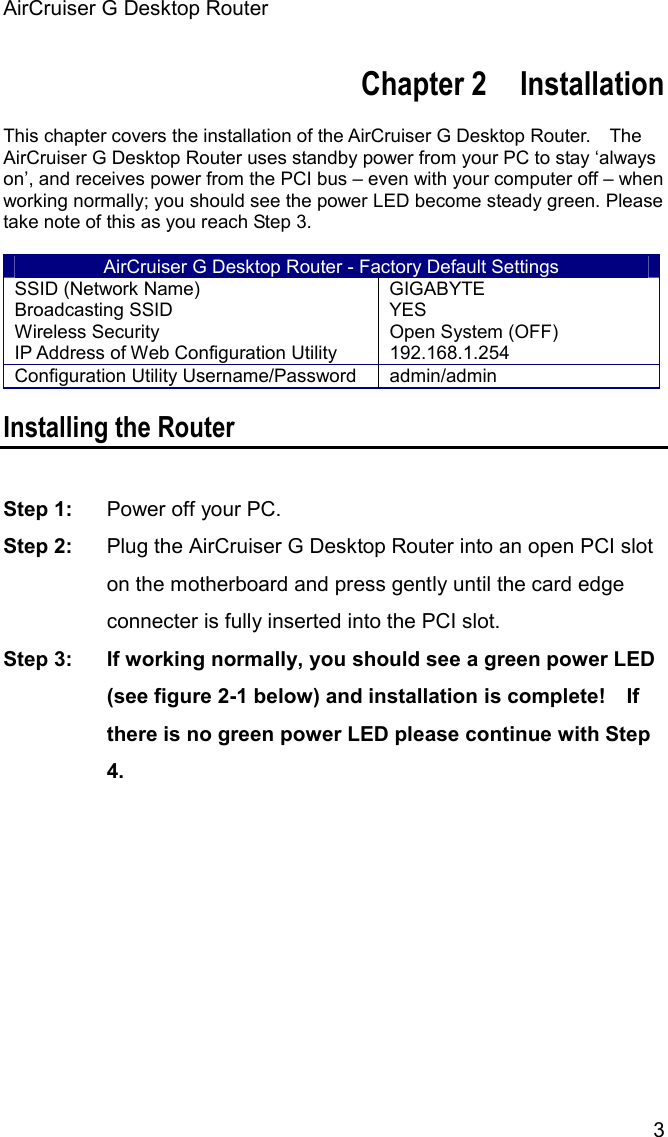
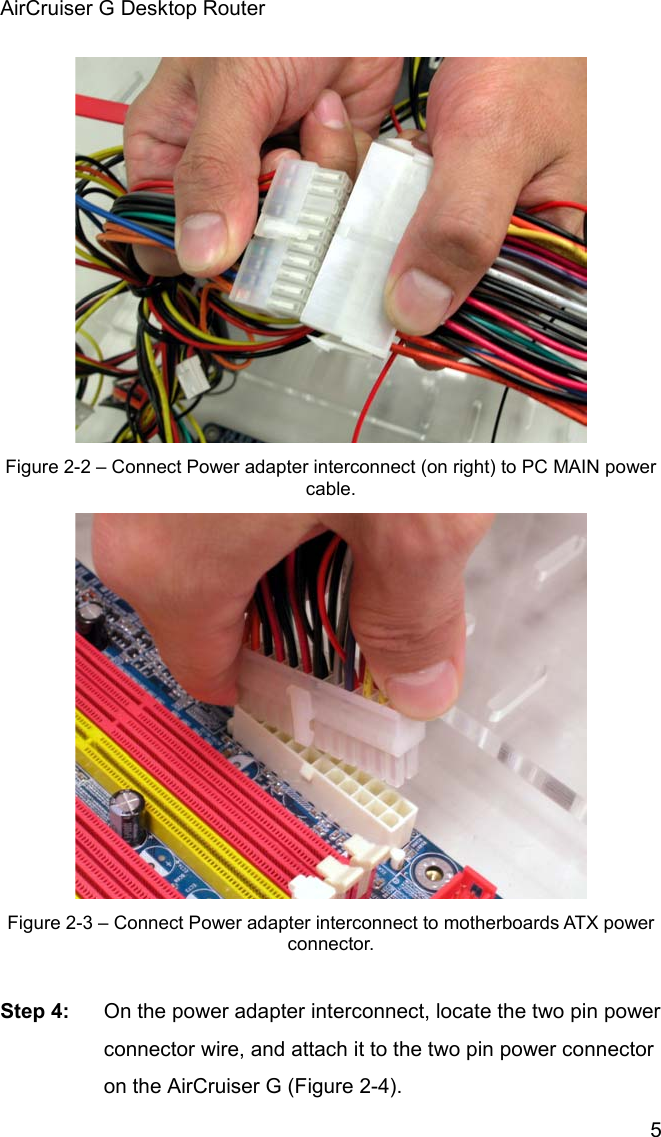
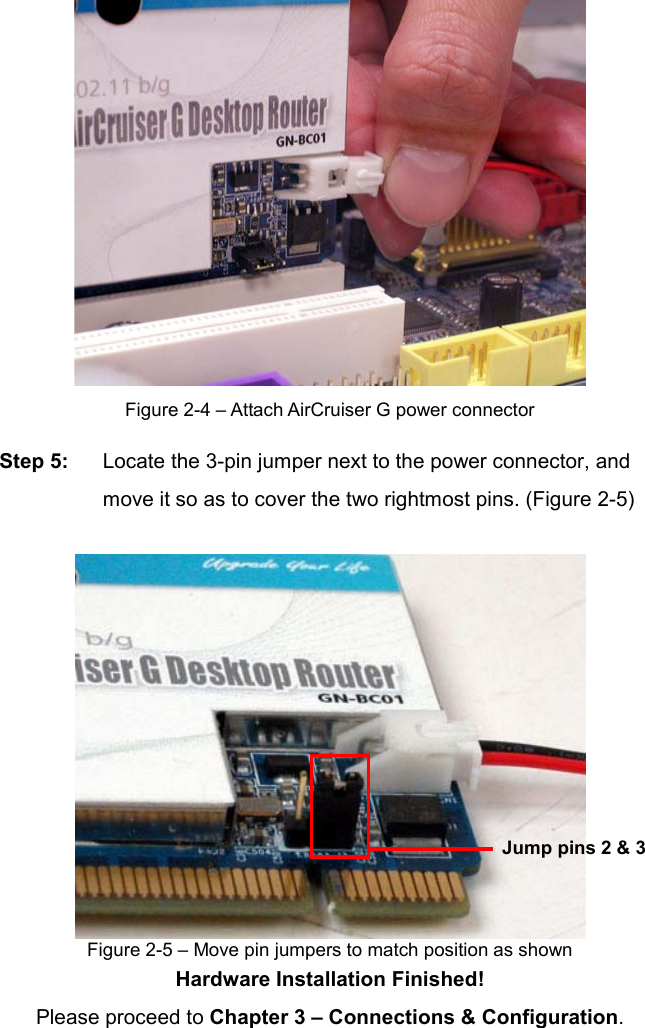
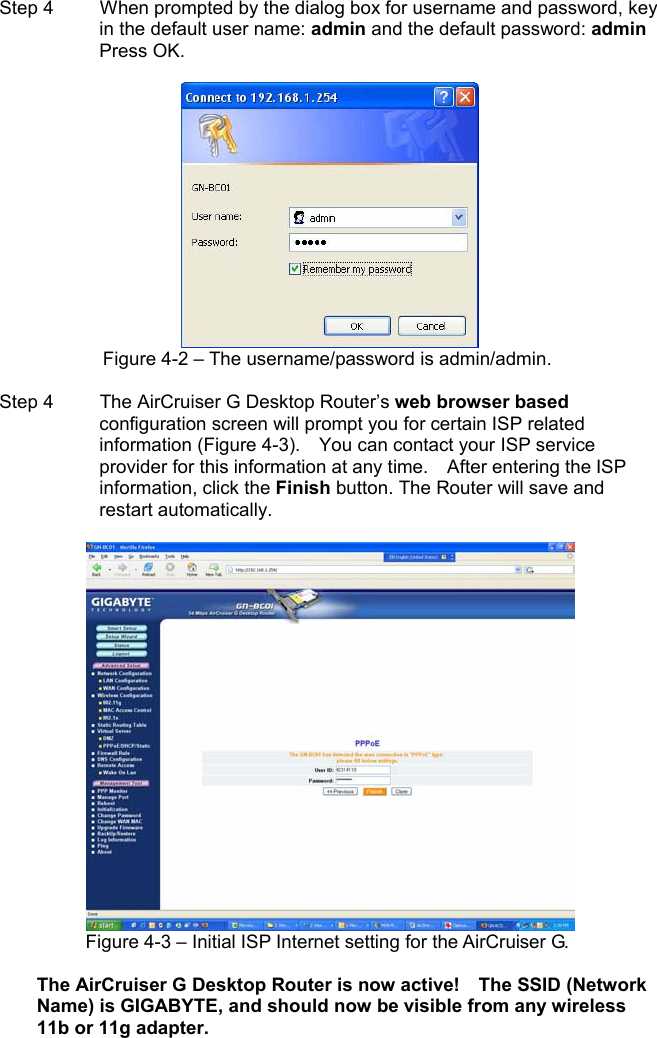
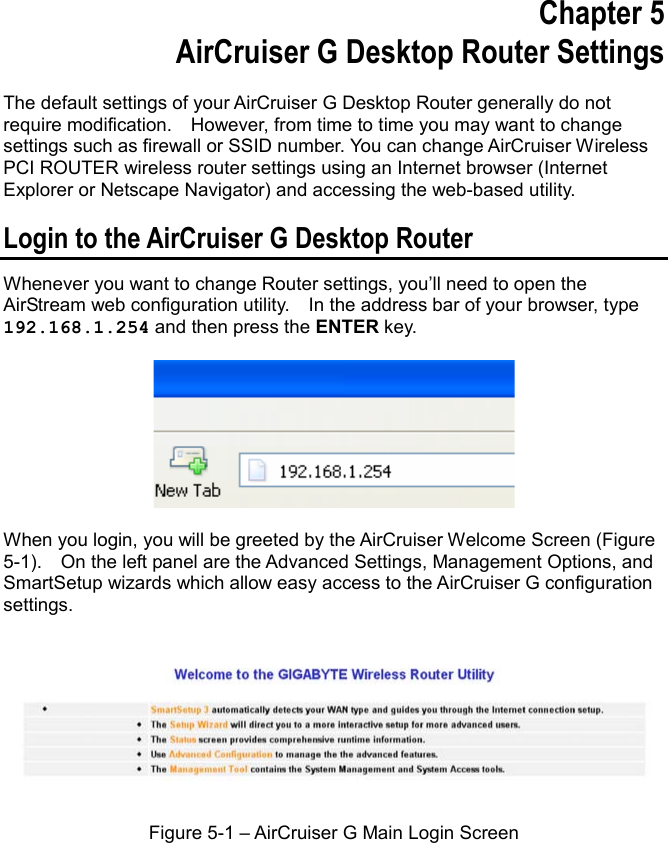
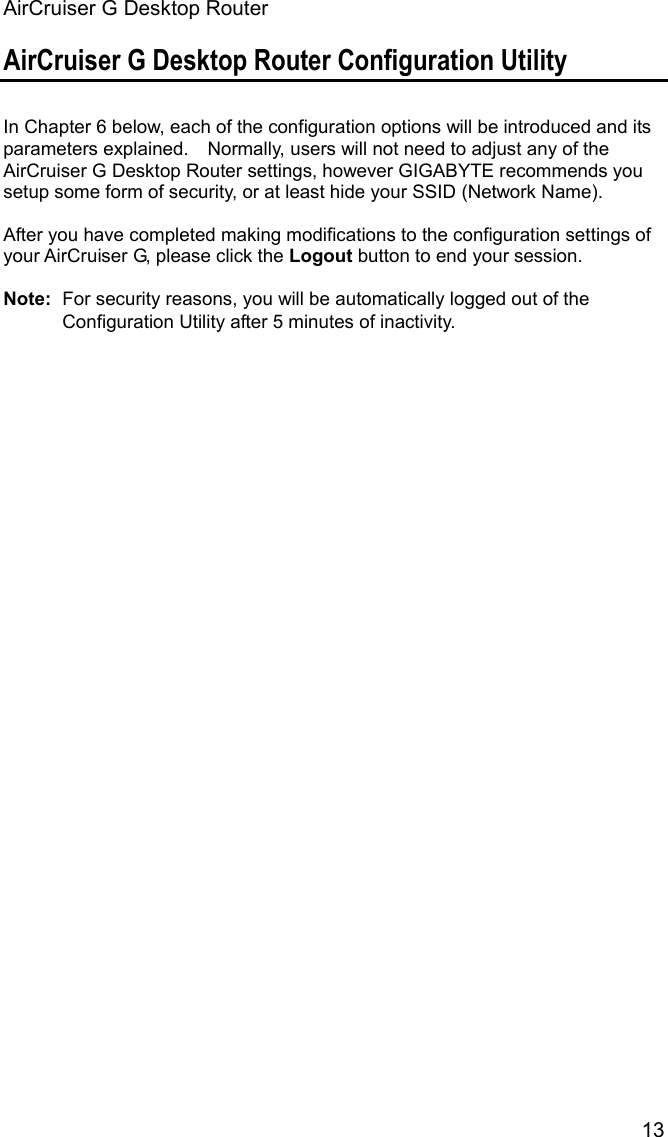
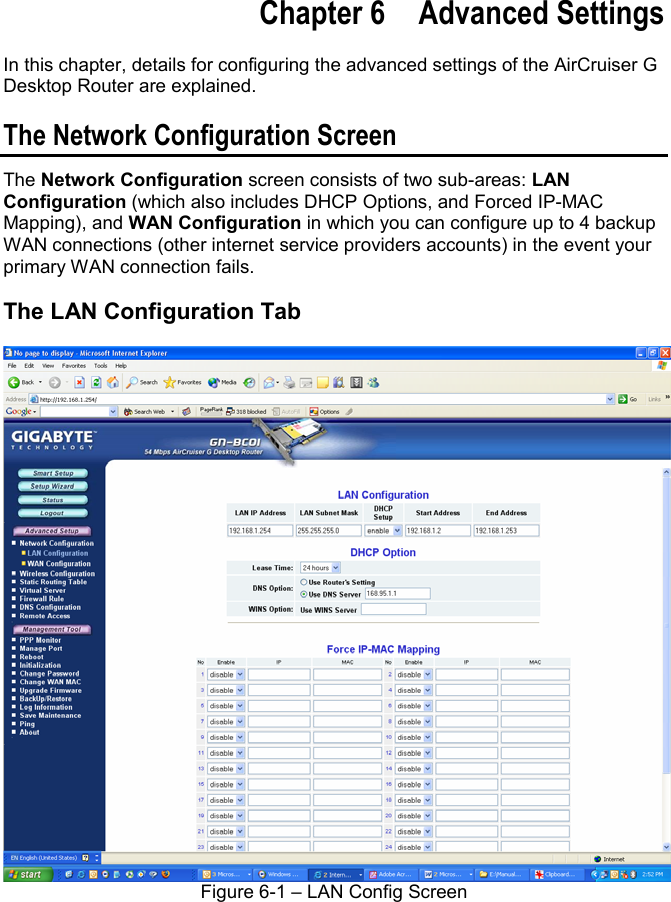
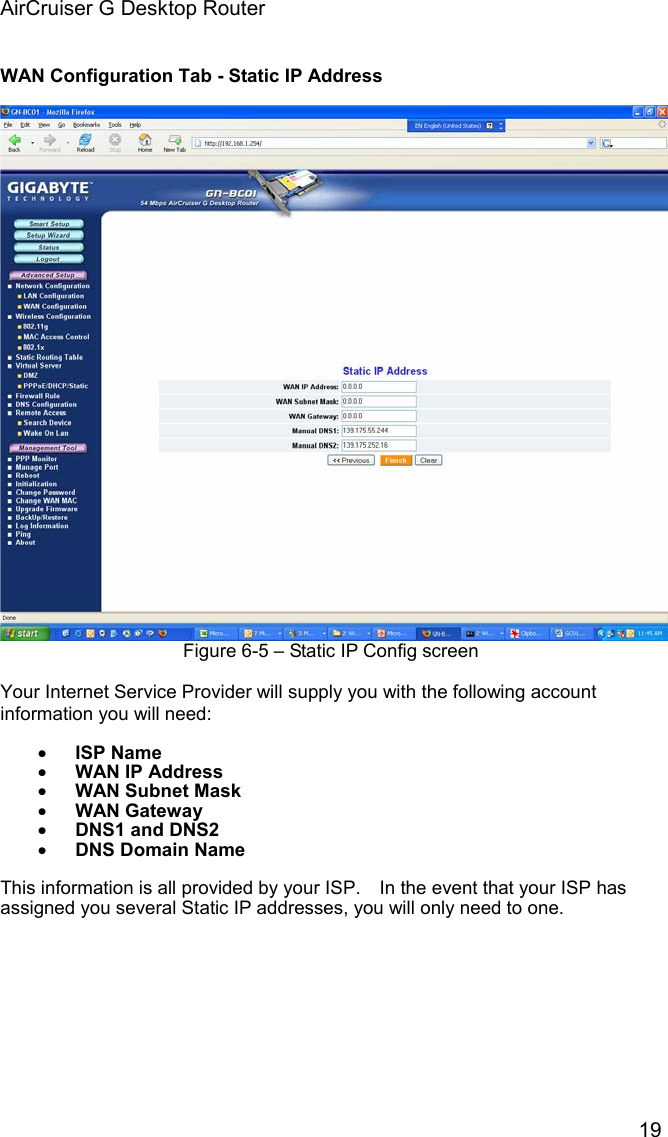
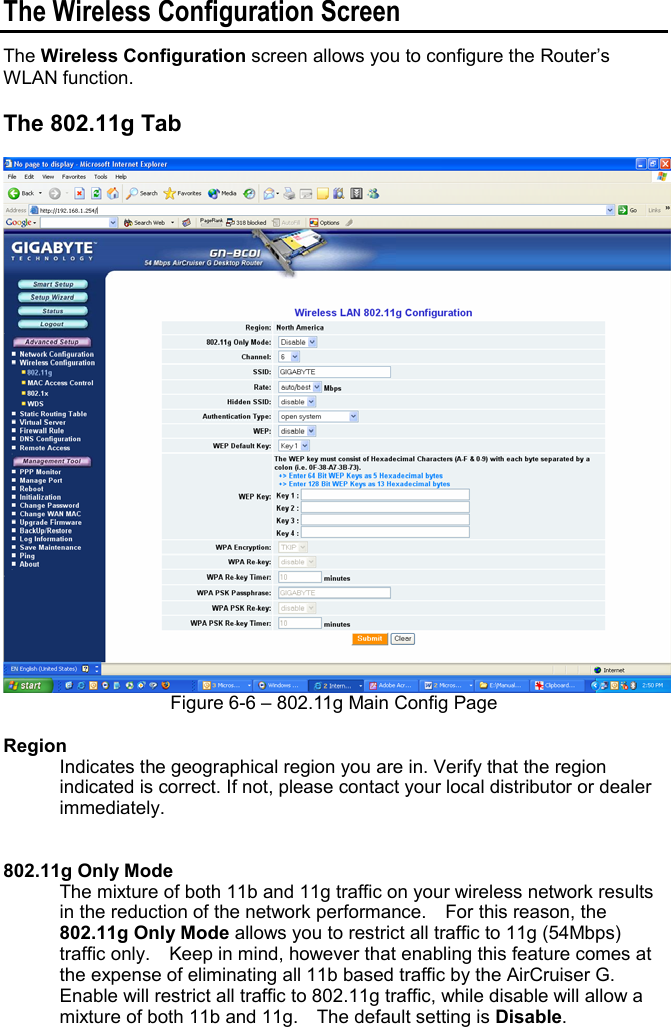
![Figure 2-1 – Green power LED indicates normal state. Step 3: [Steps 3 – 5: Older Motherboards Only]Some older motherboards don’t deliver power through the PCI bus, in this case the green LED will not illuminate and you will need to install the power adapter interconnect. Unplug the main power cable from the motherboard. Attach the AirStream power adapter interconnect (included) to the PC MAIN power cable, and then plug the other end into your motherboard. (See Figures 2-2 & 2-3)](https://usermanual.wiki/GIGA-BYTE-TECHNOLOGY/GN-BC01.Users-Manual-1/User-Guide-523262-Page-8.png)