GN Audio USA GN7170 900MHz 40 channels Cordless Phone w/ CID User Manual Warrenty 170x135
GN Netcom Inc 900MHz 40 channels Cordless Phone w/ CID Warrenty 170x135
UserManual.wiki
>
GN Audio USA
>
GN7170 User Manual
>
User Manual
Contents
1.
User Manual
2.
FCC Information
User Manual
Navigation menu
Upload a User Manual
Namespaces
Wiki Guide
HTML
PDF
Info
Views
User Manual
Discussion / Help
Navigation
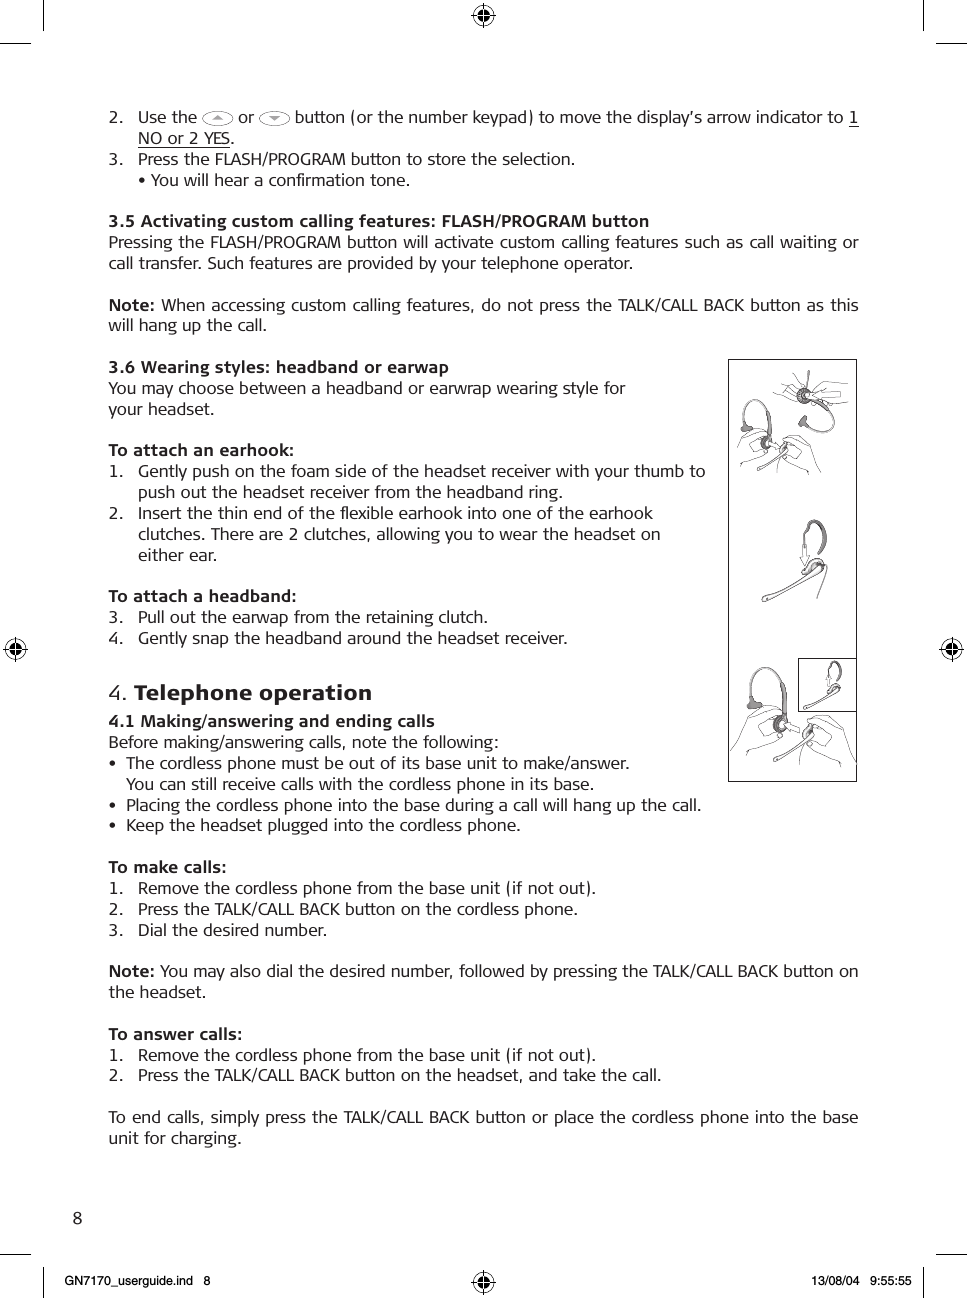
![notice in order for you to make necessary modifications to maintainuninterrupted service.If this equipment is causing harm to the telephone network, the tele-phone company may request that you disconnect the equipment untilthe problem is solved. Connection to party line service is subject to state tariffs. Contact thestate public utility commission, public service commission or corporationcommission for information.NOTICE: If your home has specially wired alarm equipment connected tothe telephone line, ensure the installation of this [equipment ID] doesnot disable your alarm equipment. If you have questions about what willdisable alarm equipment, consult your telephone company or a qualifiedinstaller.There are no repairs that the customer can perform. Defective unitsmust be returned to GN Netcom for repair.Products covered under this statementProduct Product IdentifierGN 4170 US:1LSTE07A-GN4170GN 7170 US:1LSW900B-GN7170For wired telephone headset amplifiersThis equipment complies with Part 68 of the FCC Rules and the require-ments adopted by ACTA. On the bottom of this equipment is a label thatcontains, among other information, a product identifier (see list at theend of this statement). If requested, this number must be provided tothe telephone company.If this equipment causes harm to the telephone network, the telephonecompany will notify you in advance that temporary discontinuance ofservice may be required. But if advance notice isn’t practical, thetelephone company will notify the customer as soon as possible. Also,you will be advised of your right to file a complaint with the FCC if youbelieve it is necessary.The telephone company may make changes in its facilities, equipment,operations or procedures that could affect the operation of the equipment.If this happens the telephone company will provide advanced notice inorder for you to make necessary modifications to maintain uninterruptedservice.If this equipment is causing harm to the telephone network, the tele-phone company may request that you disconnect the equipment untilthe problem is solved.There are no repairs that the customer can perform. Defective unitsmust be returned to GN Netcom for repair.Products covered under this statementProduct Product IdentifierGN 4140, GN 4150, GN 5140 US:1LSKXNANGN4150GN 5150 US:1LSUSA-43526-KX-NCanada DeclarationIC Notice to Users/Product StatementsOperation is subject to the following two conditions:(1) This device may not cause interference and (2) This device mustaccept any interference, including interference that may cause undesiredoperation of the device.The term “IC:” before the certification/registration number only signifiesthat registration was performed based on a Declaration of Conformityindicating that Industry Canada technical specifications were met. Itdoes not imply that industry Canada approved the equipment.Canada Terminal equipmentIC Notice to Users/Product StatementsNOTICE: This equipment meets the applicable Industry Canada TerminalEquipment Technical Specifications. This is confirmed by the registrationnumber.The Ringer Equivalence Number (REN) assigned to each terminal deviceprovides an indication of the maximum number of terminals allowed tobe connected to a telephone interface. The termination of an interfaceWarranty_170x135_US_B 26/08/04 13:17 Side 4](https://usermanual.wiki/GN-Audio-USA/GN7170.User-Manual/User-Guide-468418-Page-4.png)