Gaon Int SP-400T 2.4GHz Band Low-Power Data Communication System Tr User Manual SP 400 Manual English
Gaon-Int Co., LTD. 2.4GHz Band Low-Power Data Communication System Tr SP 400 Manual English
Gaon Int >
User manual

i – POINTER
Wireless RF Presenter
User Manual
CAUTION
Use of controls or adjustment or performance
of procedures other than those specified herein
may result in hazardous radiation exposure
WARNING:
Never look directly into the laser beam.
Never Point a laser beam at a person.
Keep out of reach of children.
Composition: RF Transmitter / Receiver / AAA Battery / Carrying Case / User Manual

Thank you for choosing the i-POINTER
For proper use please read the enclosed instructions carefully.
QUICK INSTALL GUIDE
1. Install the provided battery on the Remote Controller.
2. Insert the Receiver into the USB port.
3. LED light on the Receiver starts blinking. Press “Up” or “Down “ button on the Remote
Controller for two seconds until LED light becomes steady OFF, The blink works when push the
buttons.
4. Open MS PowerPoint. Check the operation by pressing [c] and/or [d] buttons on the
Remote Controller. PowerPoint frame should advance forward or backward after pressing the
button.
5. If PowerPoint does not respond, repeat the process from step 1.
Characteristics of the i-POINTER
1. Remote Controller
The Remote Controller allows you to remotely move PowerPoint frames forward or backward.
2. RF Transmission
i-POINTER uses RF signal to control PowerPoint frame, Effective operating range of
i-POINTER is 100 feet. Each i-POINTER uses unique I.D. code, so one i-POINTER will not
interfere with other i-POINTERs when multiple i-POINTERs are used concurrently.
3. Use of USB Port
i-POINTER uses standard USB port and works with IBM PC. Keyboard or mouse can be used
while using i-POINTER.
4. Laser Pointer
i-POINTER is equipped with High quality laser pointer
Battery change
Use 1.5V AAA battery 2 EA
1. Slide clip upward to open the battery cover.
2. Replace the battery. Pay attention to the polarity.
3. Slide the cover back into the position until it clicks.
4. Check if the laser pointer functions properly.
Setting up the i-POINTER
1. Install the battery on the Remote Controller.
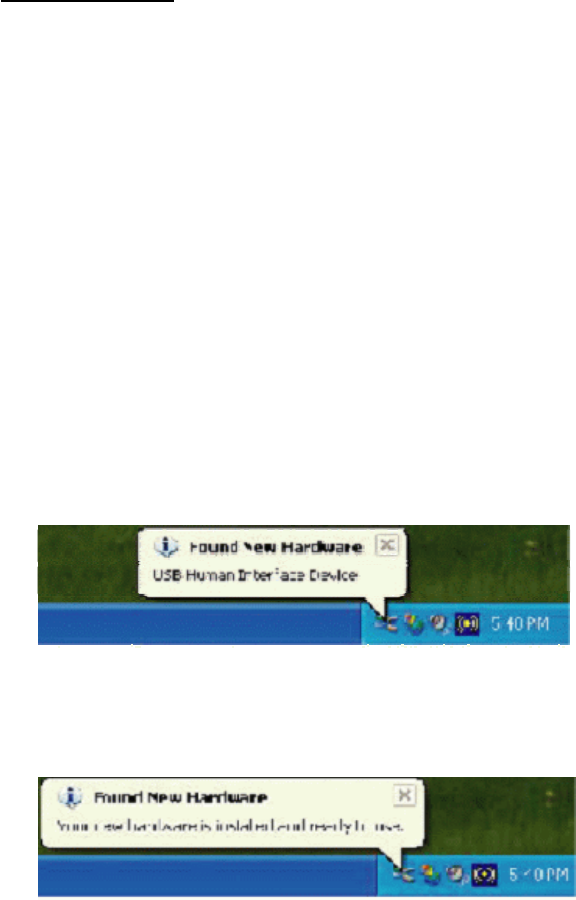
2. Insert the Receiver into the USB Port
3. The i-POINTER is installed automatically and will work after it is inserted into the USB
Port.
4. LED light on the Receiver starts blinking. Press any UP or Down button on the
Remote Controller for two seconds until LED light becomes steady OFF.. The blink
works when push the buttons.
5. Open MS PowerPoint. Check the operation by pressing [c] and [d] buttons on the
Remote Controller. PowerPoint frame should move forward or backward after pressing
the button.
6. Refer to the figure below for more details
iG mG
QG sGG
̵G wGGSGtTwGG
̷G wGSGtTwGG
ඔඔG wGSGtTwGG
ඖඖG wGSGtTwGG
ଧ
G iGGMGyG
ඖG PowerPointG G azGMGzG
wGaG|GTeGtGG
݂G
wGaGkGTeGrGiGG
Specification
Remote Controller : SP-400T
Range of Operation 100 ft.
Buttons 7 (1 for laser beam, 6 for PowerPoint control)
Battery 1.5V Type AAA * 2EA
Laser Class II
Size 113 * 40mm.
Receiver : SP-400R(No memory), SP-400R2G (Built in 2 GB high speed memory)
OS Windows 2000, Windows XP
Systems IBM PC / AT & Laptop PC
Interface USB Spec 1.1, HID Spec 2.0
Power 5V USB Power
Size 22 * 64.5mm
G
G
G
G
G
G
G
G
G
G
G
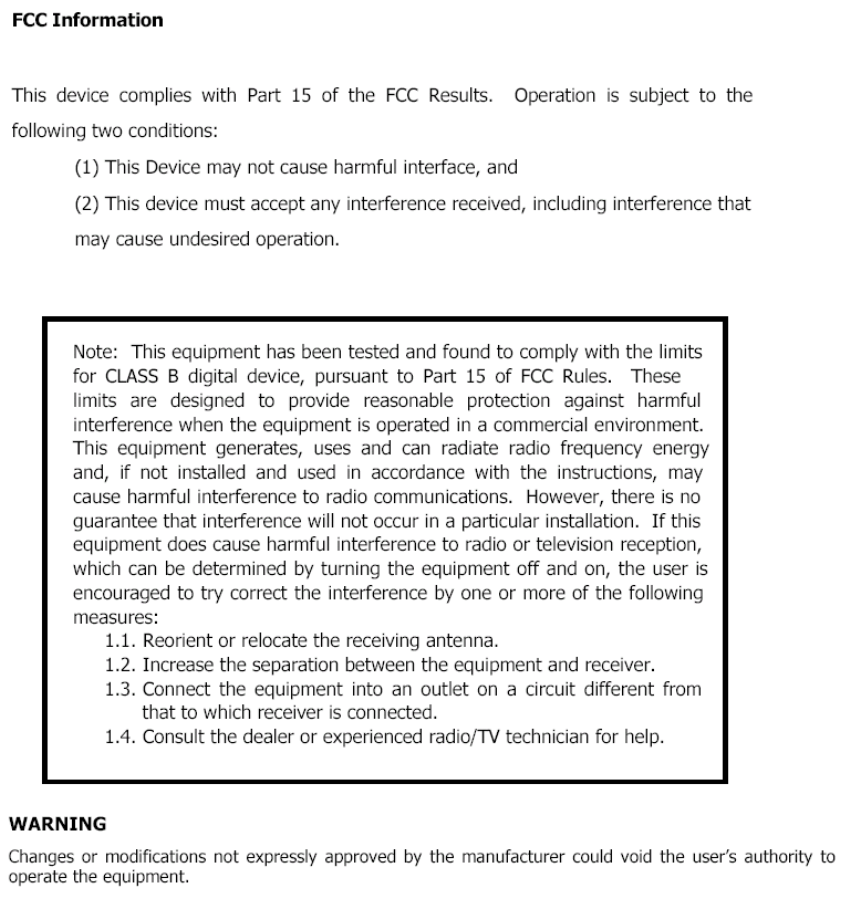
"This device and its antenna must not be co-located or operating to conjunction with
any other antenna or transmitter."