Garmin Canada M6R4N Speed distance sensor User Manual 9328 2 SDM ENG
DynaStream Innovations Inc. Speed distance sensor 9328 2 SDM ENG
UserManual.wiki
>
Garmin Canada
>
M6R4N User Manual
User manual Corrected
Navigation menu
Upload a User Manual
Namespaces
Wiki Guide
HTML
PDF
Info
Views
User Manual
Discussion / Help
Navigation
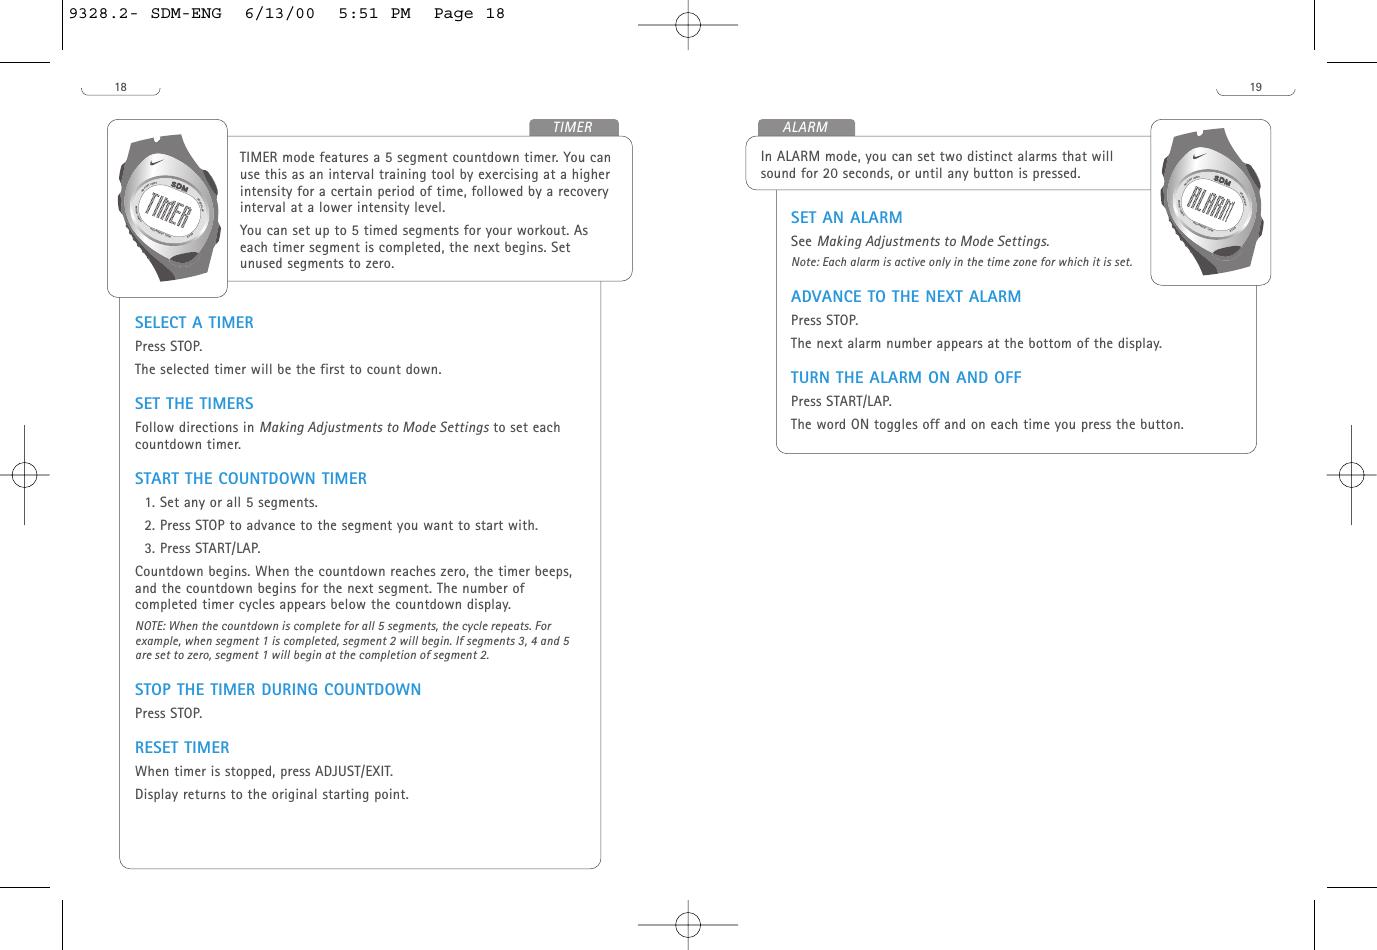
![17In DATA mode, you can recall timing and pace data for saved runs.The SDM Triax 100 watch has a 100 lap memory.SELECT A RUNPress STOP. The run number and date of the run are displayed. VIEW DATA POINTSPress START/LAP repeatedly.The following information is displayed:• Total accumulated distance while running in RUN, GRAPH or CHRONmode• Date of run, run #, total run distance• Lap and split times and distance at each lap count• Maximum and average speed for each run• Best lap time and average lap timeERASE DATA FOR AN INDIVIDUAL RUNThe chronograph must be stopped to erase data. Press the STOP button to select the run that you want to erase. Press and hold ADJUST/EXIT. “HOLD to CLEAR” flashes and you will heara confirmation tone to indicate that the data for the selected run hasbeen deleted.Note: When you delete a run, the next run takes its place. For example, if you deleteRUN 3 from memory, RUN 4 replaces RUN 3. If DATA memory becomes full during arun, delete that run and begin a new run.ERASE ALL DATAPress and hold ADJUST/EXIT button for an additional 4 seconds aftererasing an individual run. You will hear a continuous tone. “HOLD to CLEAR ALL” flashes in thedisplay. After 7 seconds, [-- --] indicates that all data has been erased.START/LAPADJUST/EXITMODE/NEXTSTOPH20 RESIST 100MDATA MODE16RESET CHRONOGRAPHYou can reset the chronograph without saving anydata. The chronograph must be stopped to reset. Ifthe chronograph is running, press STOP.Press and hold ADJUST/EXIT for 2 seconds. “HOLDto CLEAR” is displayed. The chronograph resets.SWITCH THE PRIMARY DISPLAY BETWEENLAP, SPLIT AND DISTANCEFollow directions in Making Adjustments to ModeSettings to adjust the chronograph display. Thechronograph must be stopped and reset to adjustthe display.AUTO LAP COUNTWhen activated, the Auto Lap Count feature willautomatically mark lap completion when you havecovered a distance which you determine. Forexample, if you activate the auto lap feature andset the lap distance at .4 KM (400 meters), yourwatch will automatically mark lap completion every400 meters. Follow directions in Making Adjustments to ModeSettings to activate the auto lap feature and setthe lap distance. This revolutionary feature lets you monitor splitson an unmarked course!SELECT UNITSYou can select to display speed and distance data using Miles orKilometers. Follow directions in Making Adjustments to Mode Settings to select theunits. RESET WITHOUT SAVEPress and hold ADJUST/EXIT toreset without saving any data. TXEN/EDOMSTOPSTART/LAPTIXE/TSUJDASTART/LAPADJUST/EXITMODE/NEXTSTOPH20 RESIST 100MRESET WITH SAVE Press and hold STOP to resetand save run data.TXEN/EDOMSTOPSTART/LAPTIXE/TSUJDASTART/LAPADJUST/EXITMODE/NEXTSTOPH20 RESIST 100M9328.2- SDM-ENG 6/13/00 5:51 PM Page 16](https://usermanual.wiki/Garmin-Canada/M6R4N/User-Guide-125280-Page-9.png)