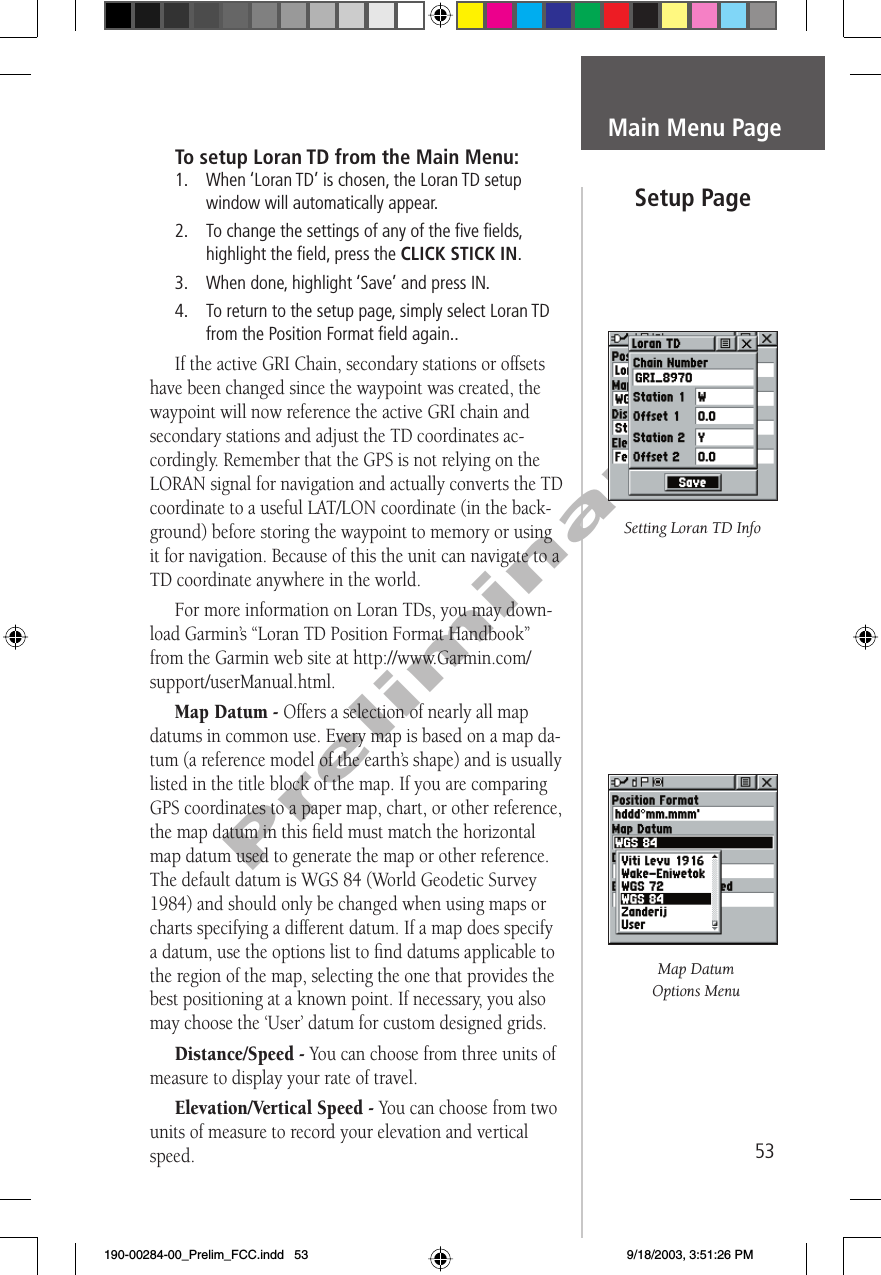
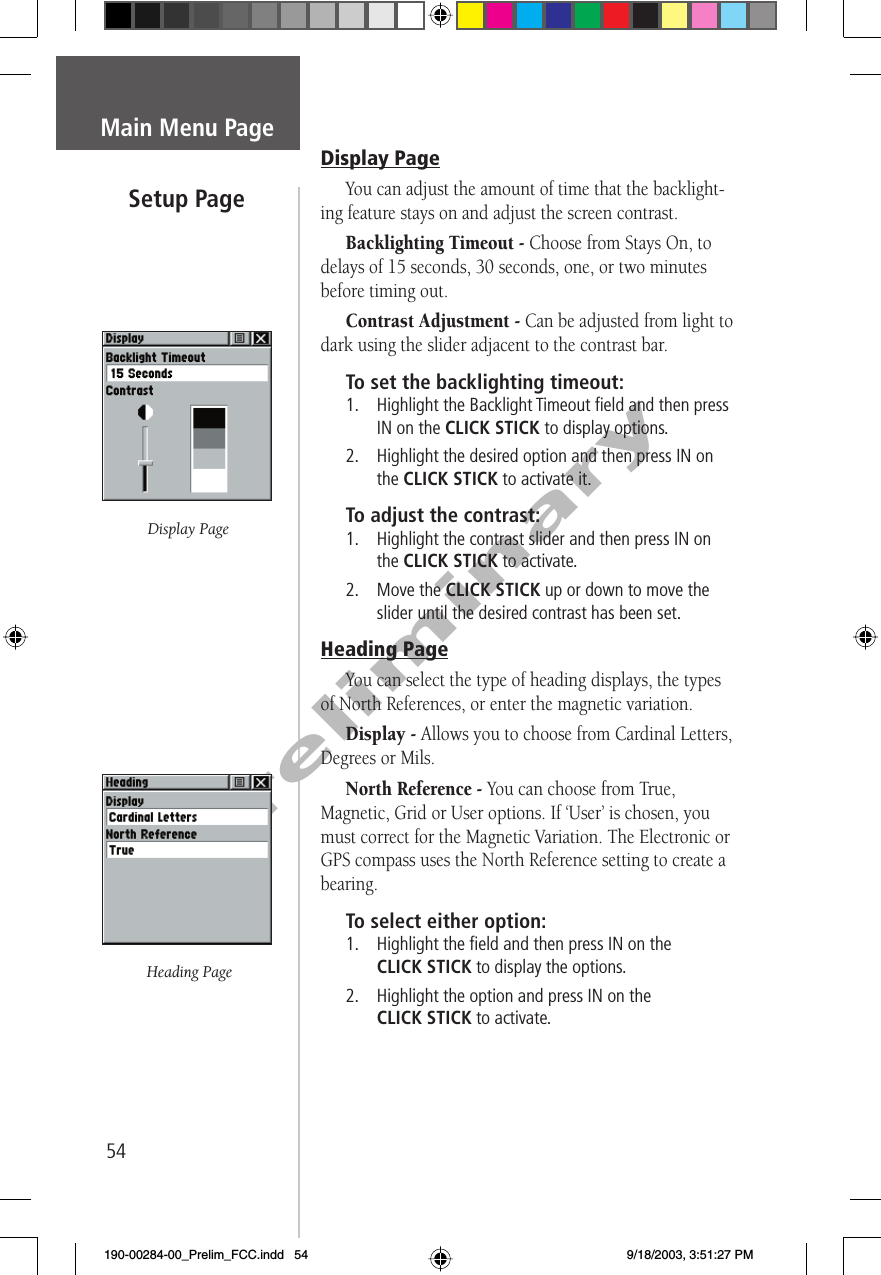
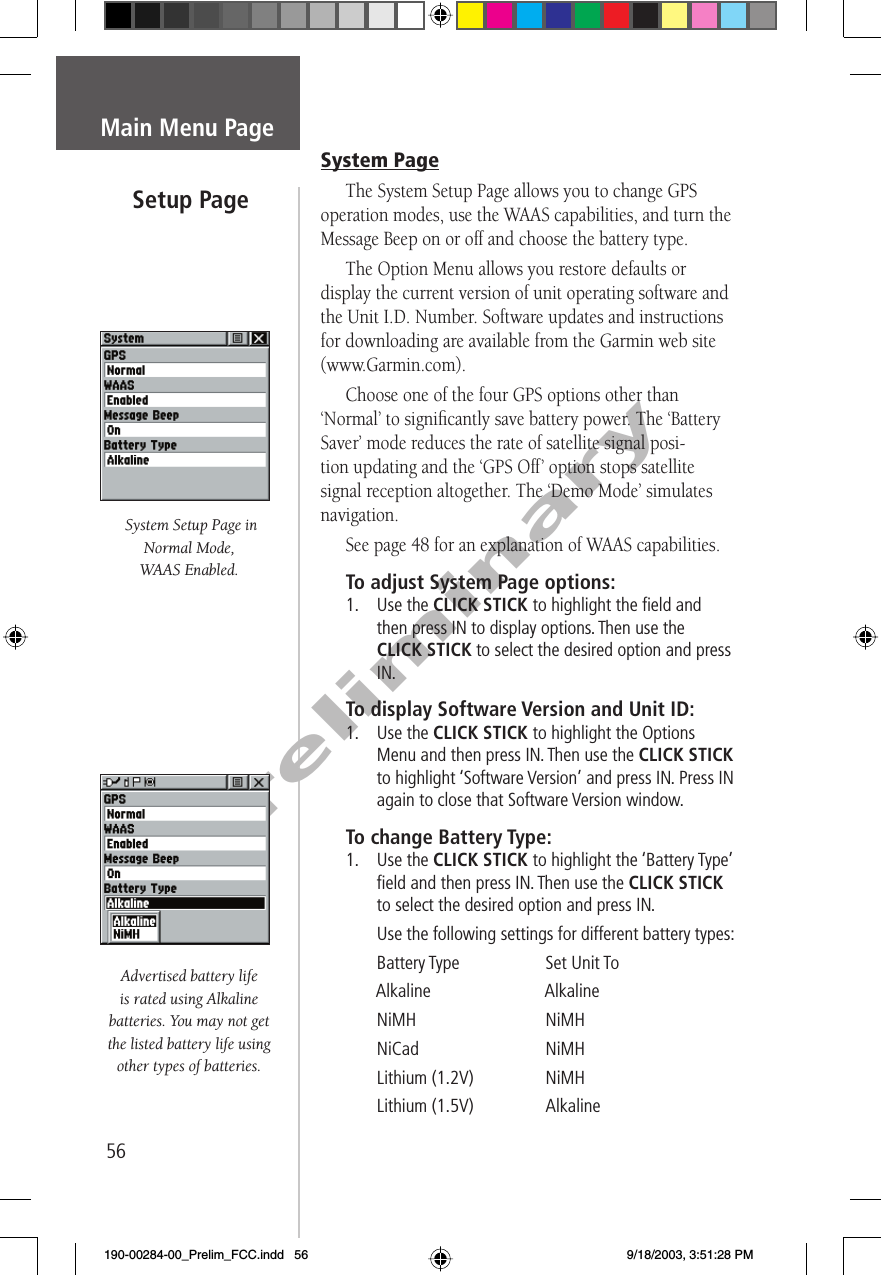
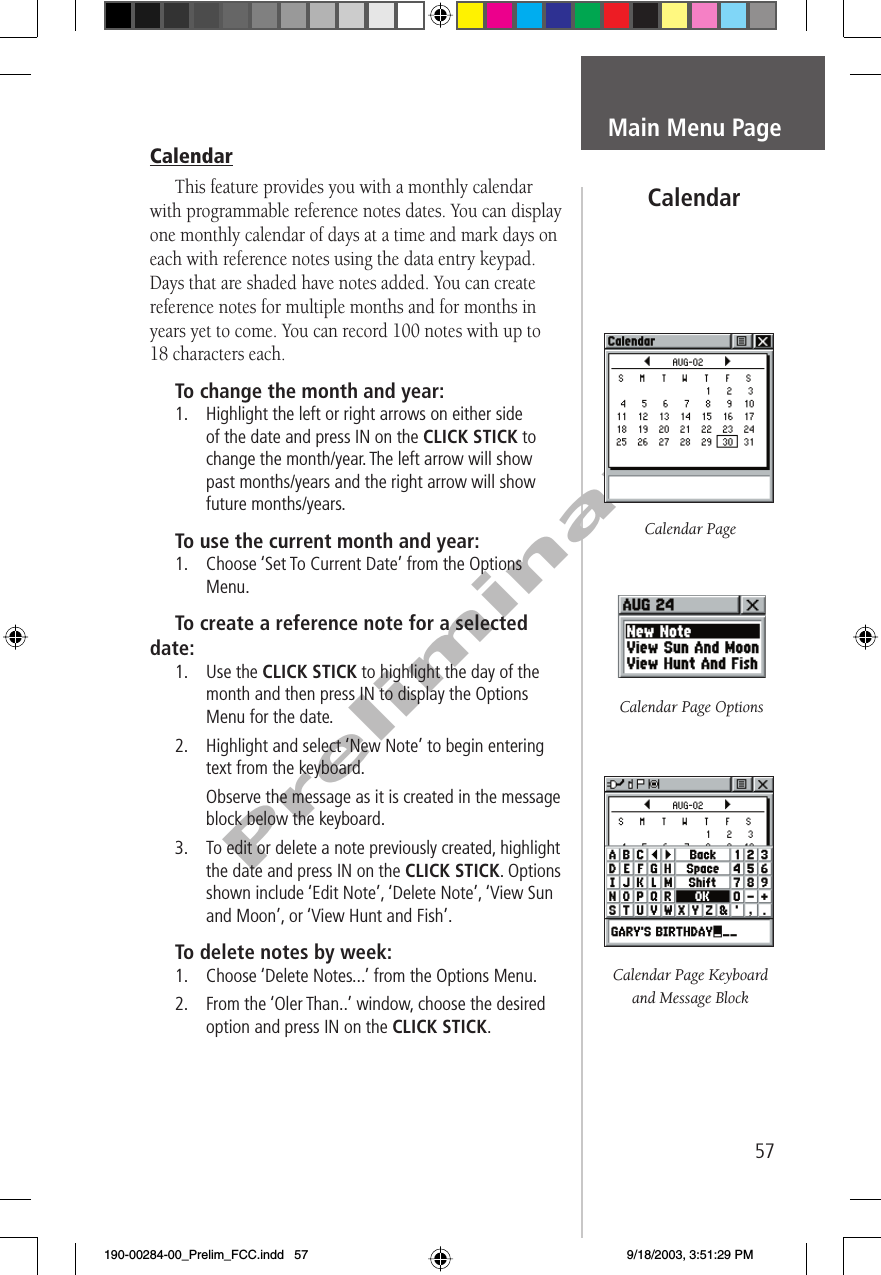
Garmin 00726 FRS/GMRS UHF Transceiver User Manual 190 00284 00 Prelim FCC indd
Garmin International Inc FRS/GMRS UHF Transceiver 190 00284 00 Prelim FCC indd
UserManual.wiki
>
Garmin
>
00726 User Manual
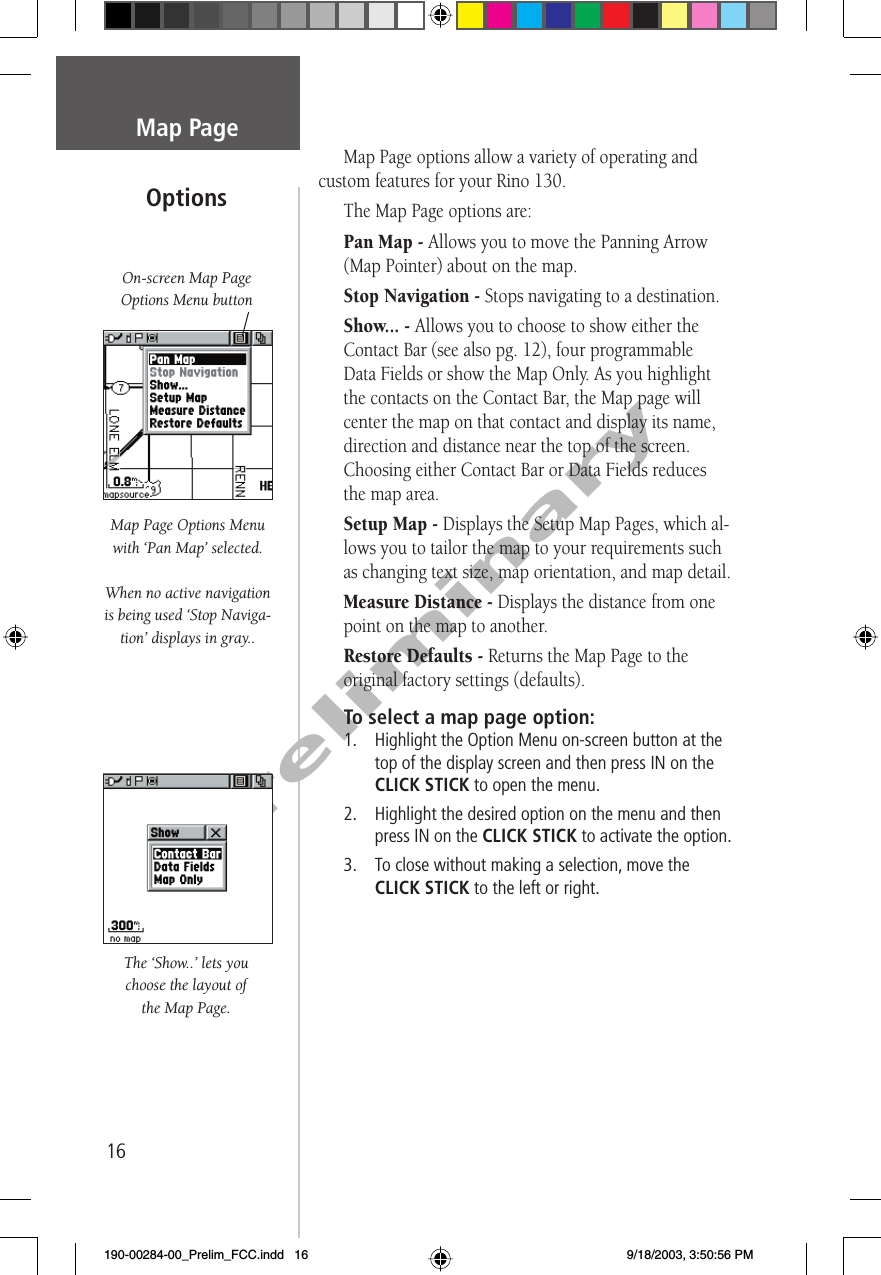
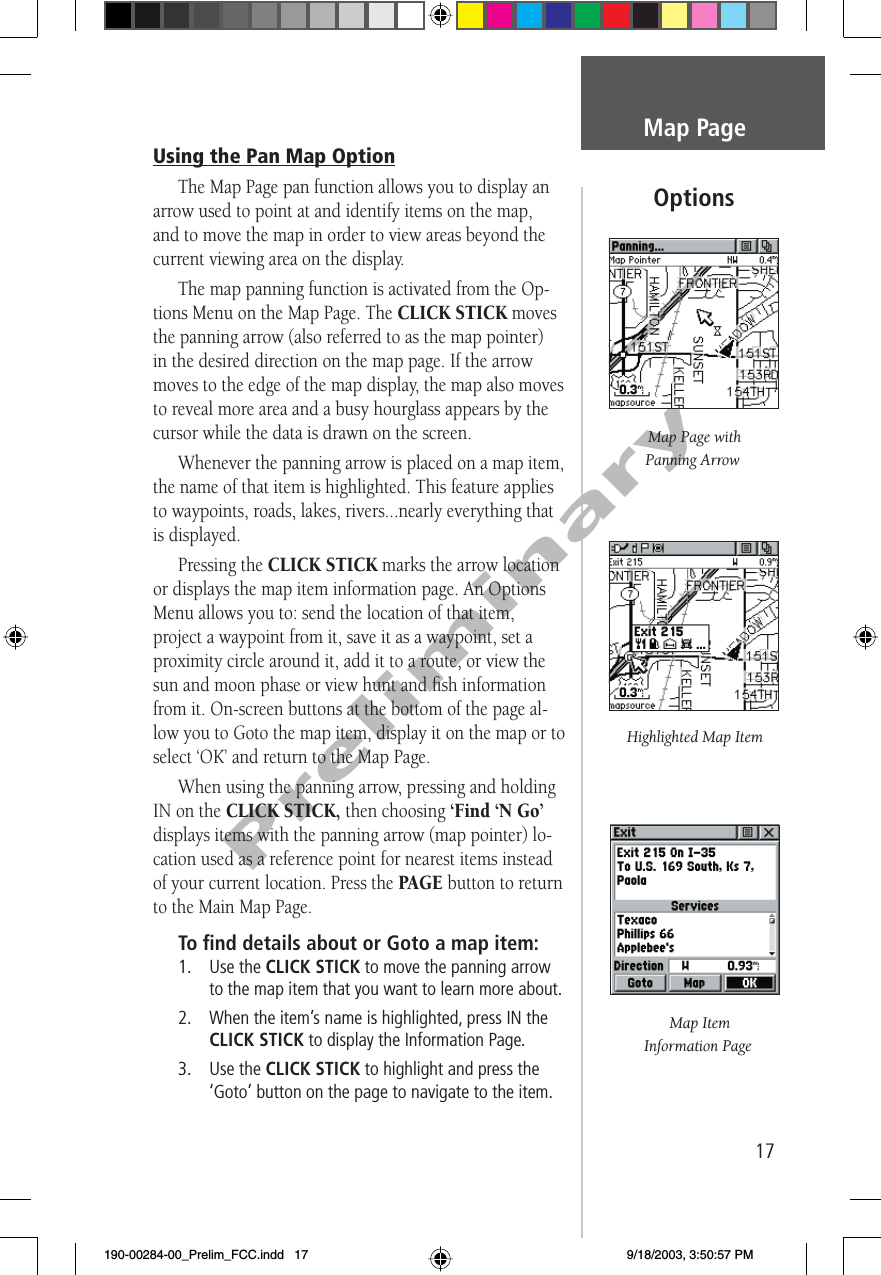
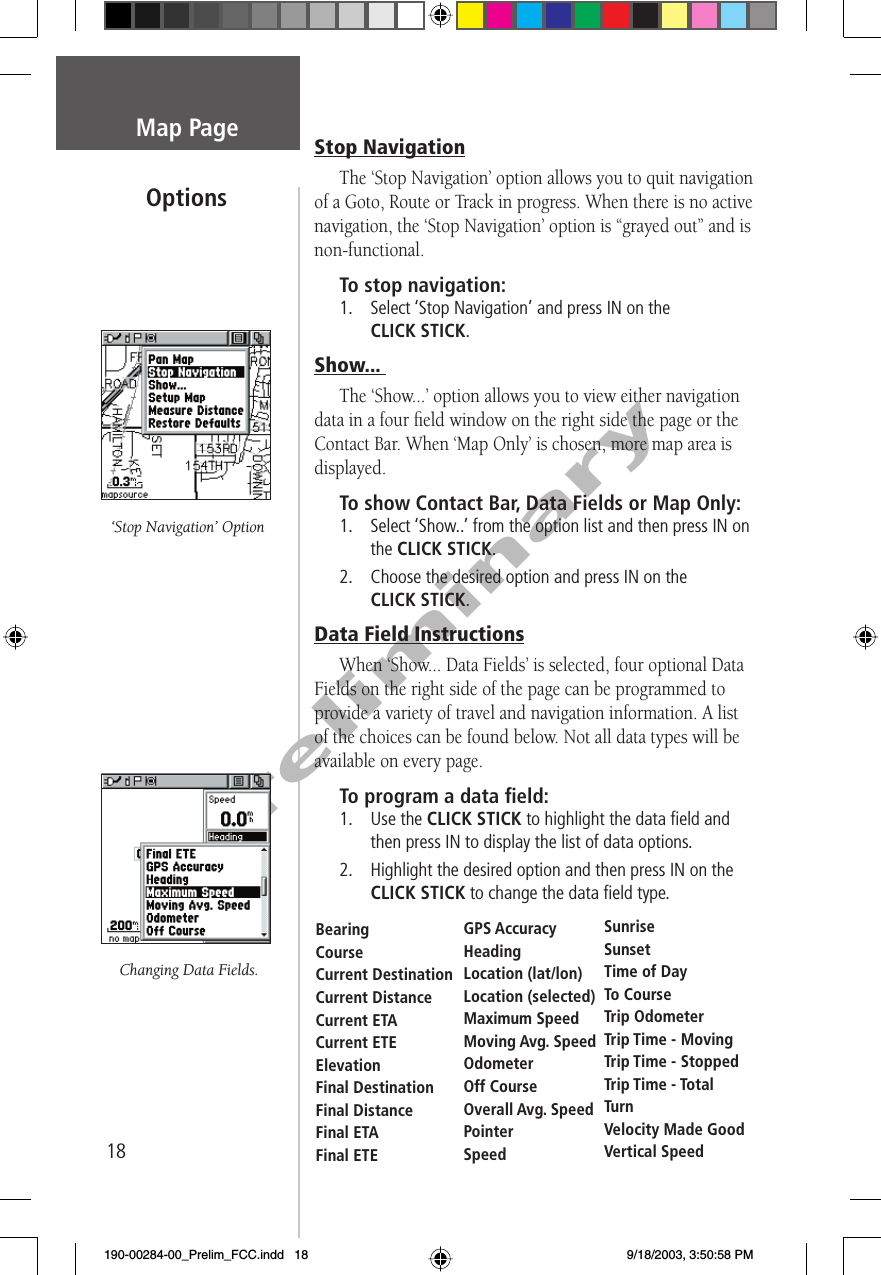
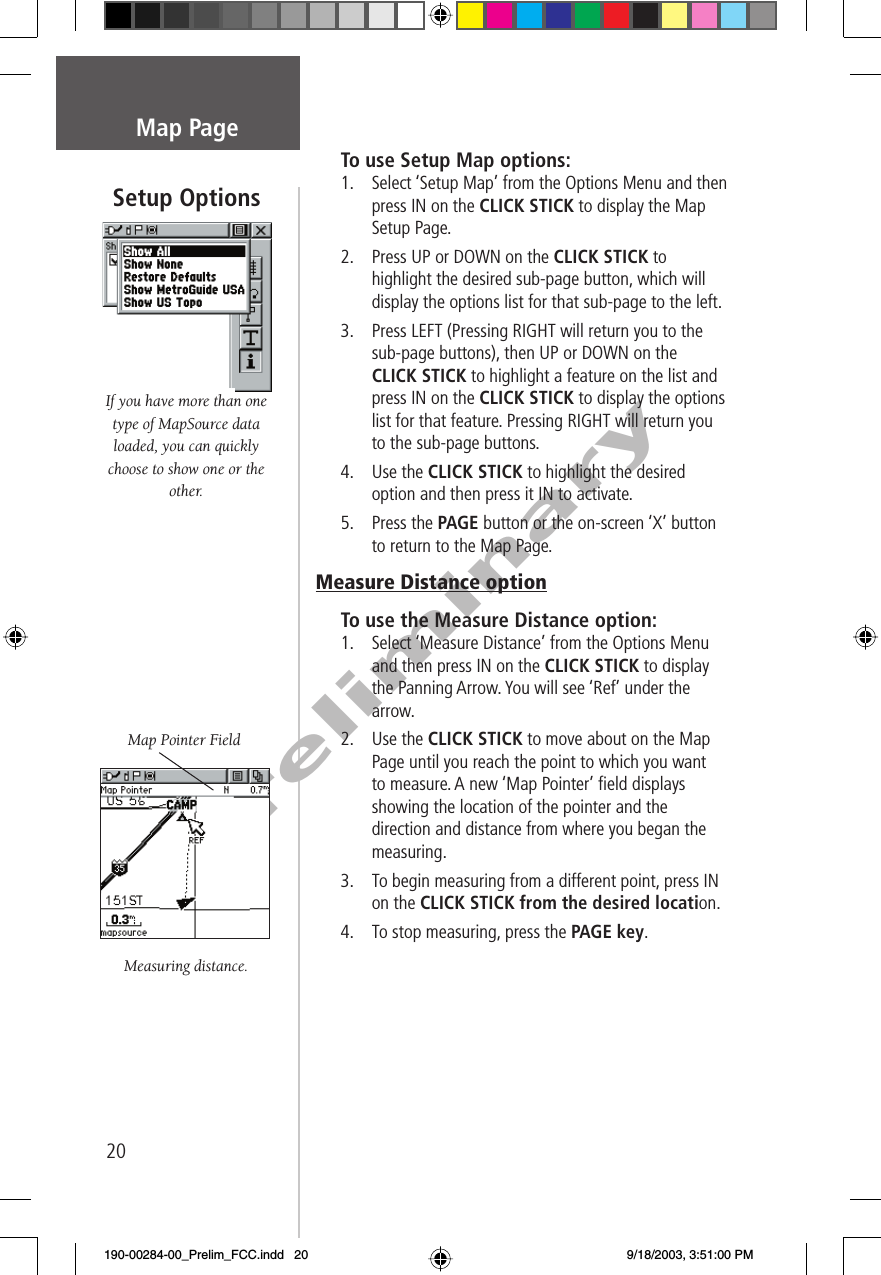
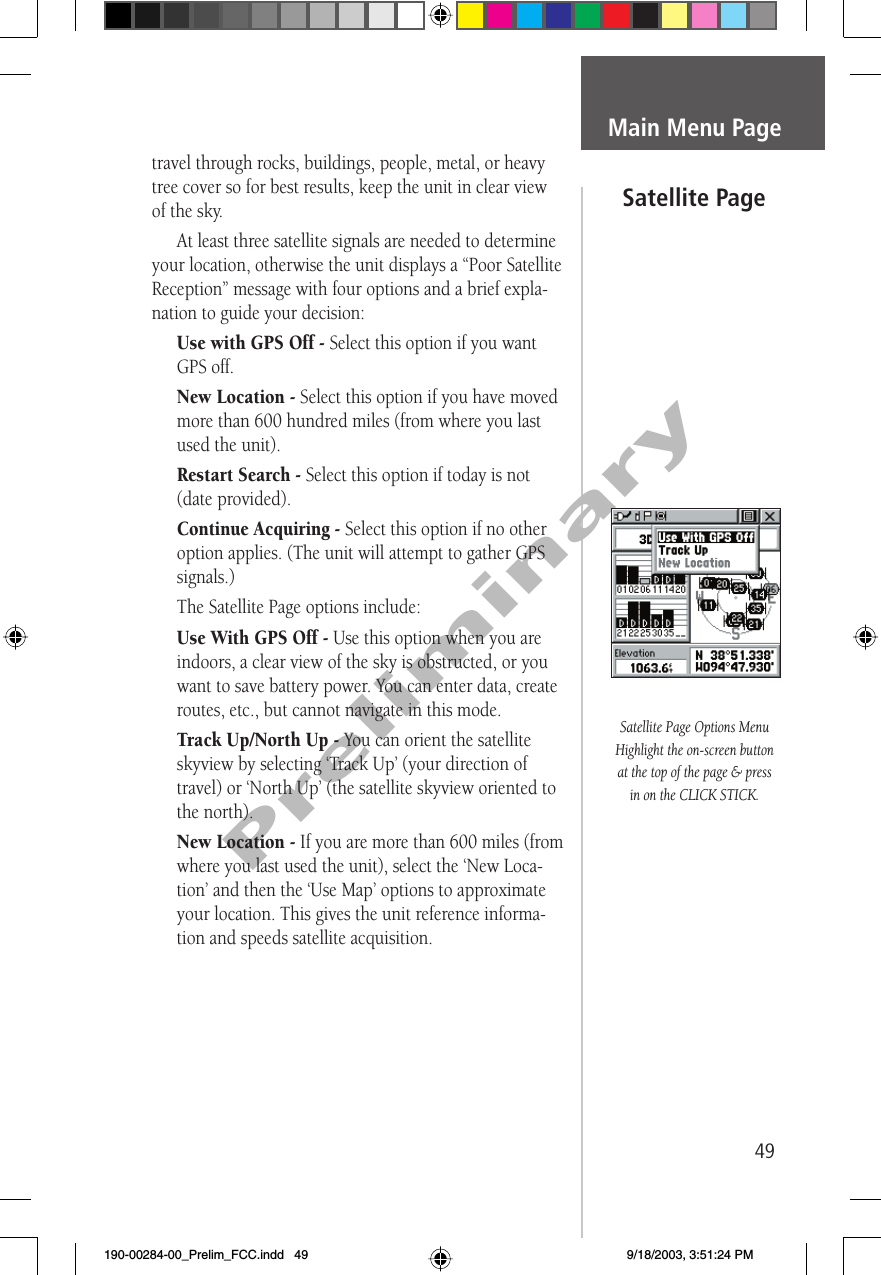
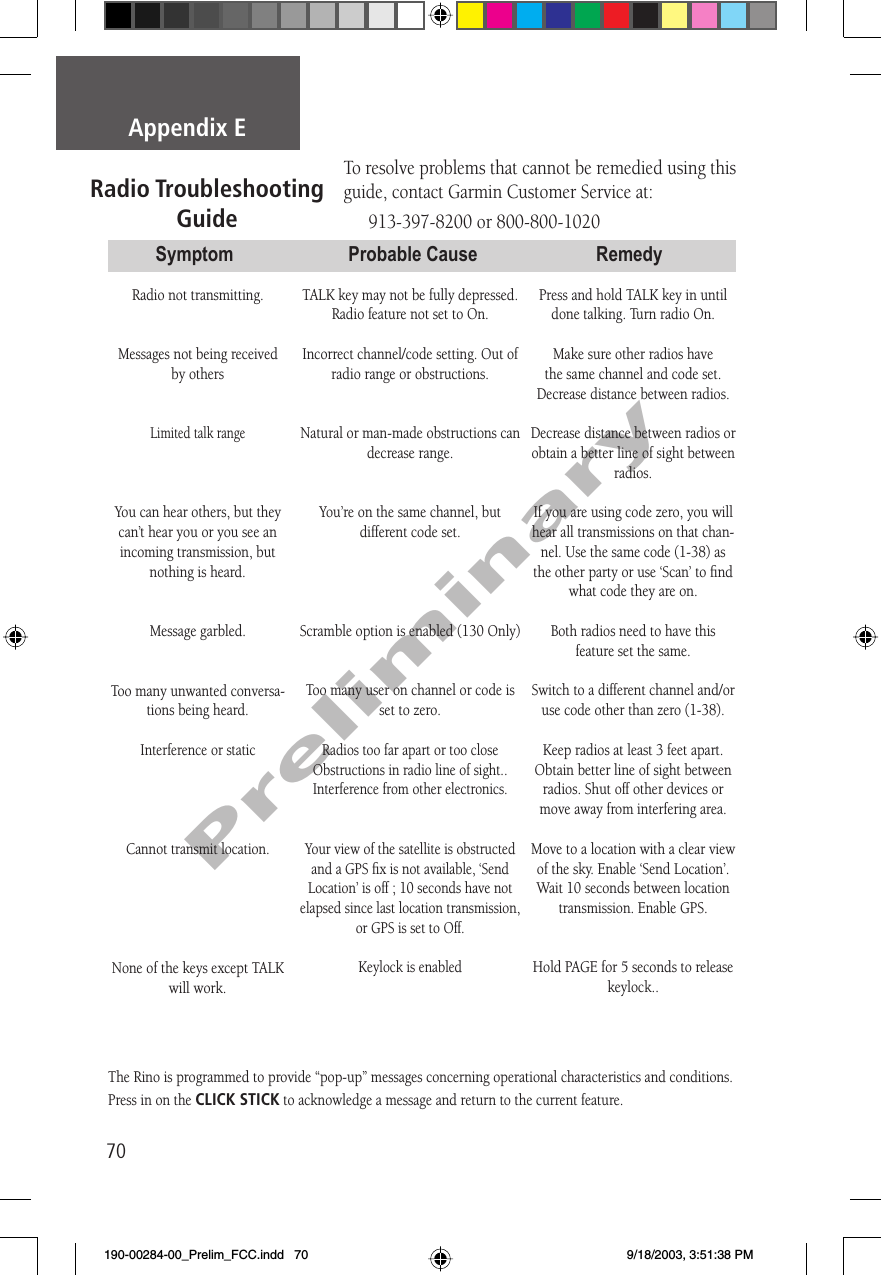
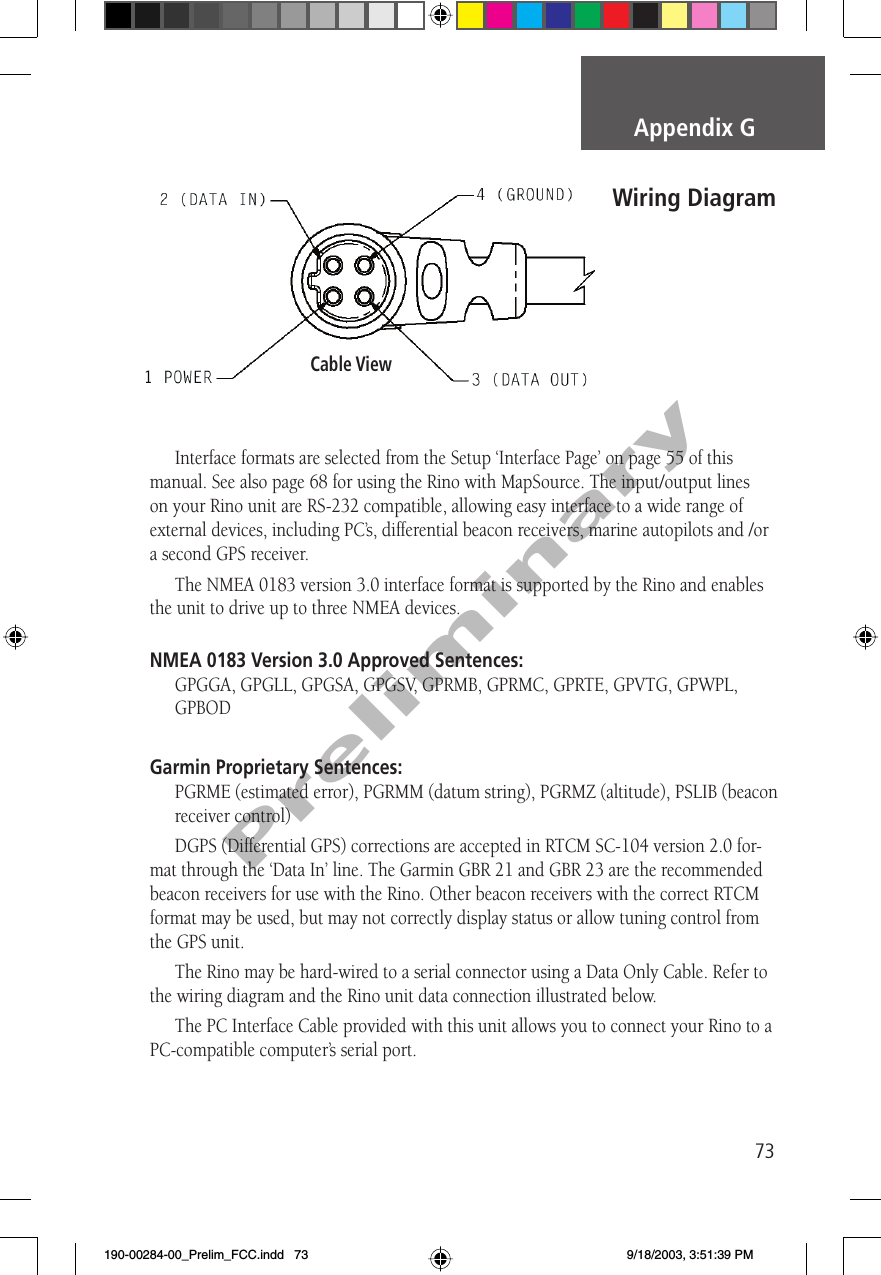
RINO 130
Navigation menu
Upload a User Manual
Namespaces
Wiki Guide
HTML
PDF
Info
Views
User Manual
Discussion / Help
Navigation