Garmin 02104 NEAR FIELD COMMUNICATIONS LOW POWER TRANSMITTER User Manual
Garmin International Inc NEAR FIELD COMMUNICATIONS LOW POWER TRANSMITTER
Garmin >
Contents
- 1. User Manual 1
- 2. User Manual 2
- 3. Users Manual 2
- 4. Users Manual 1
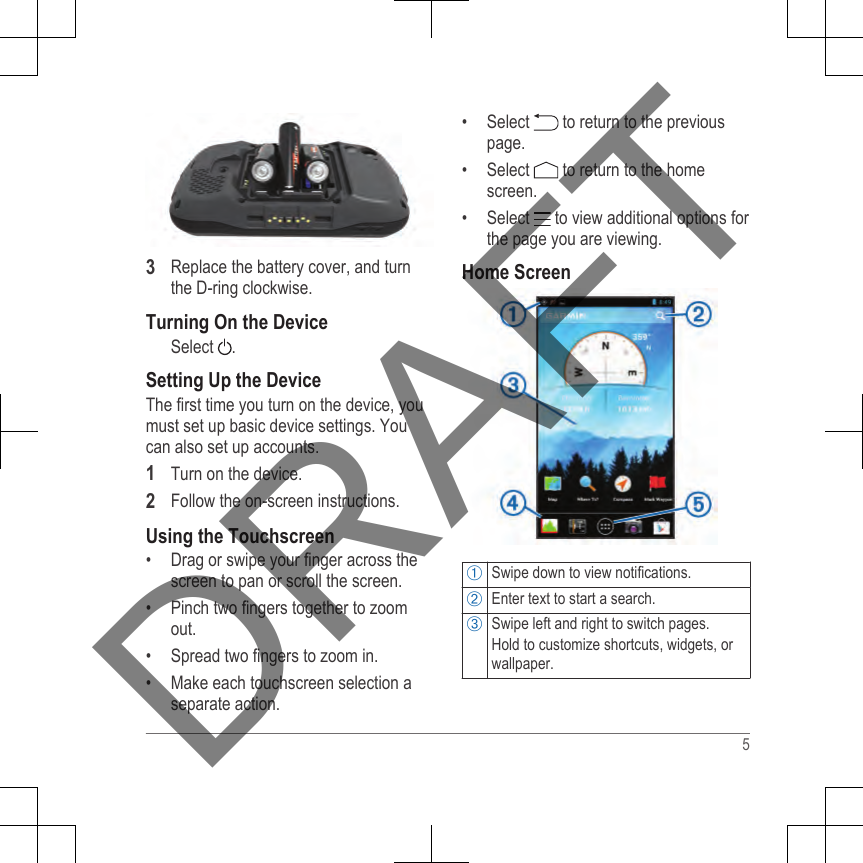
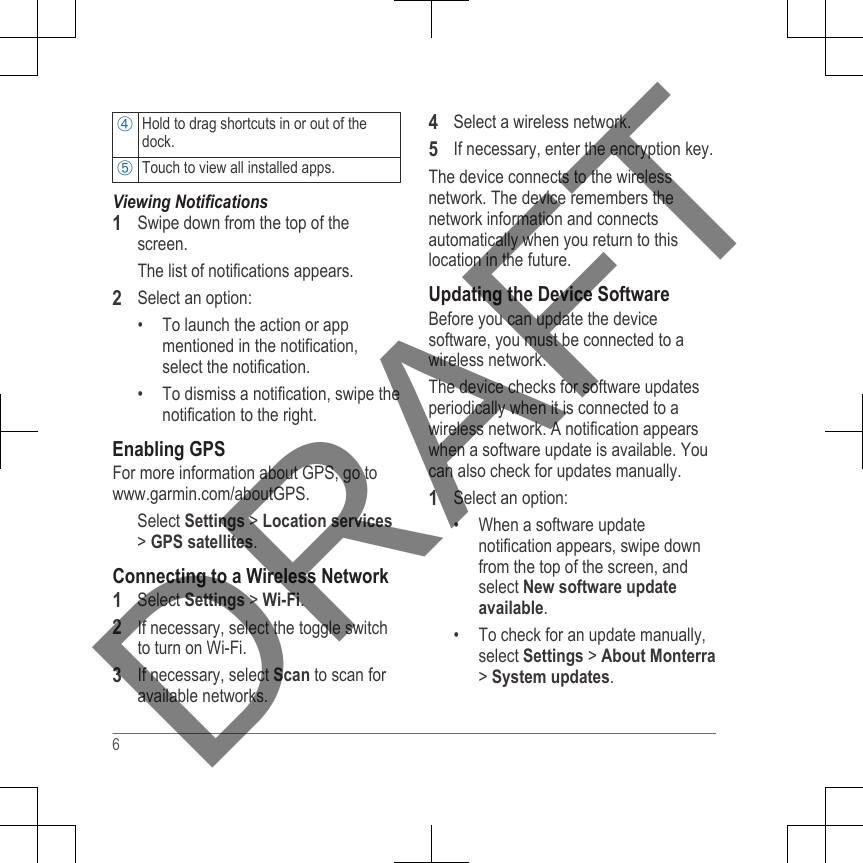
User Manual 1