Garmin 03164 Digital Transmission System User Manual
Garmin International Inc Digital Transmission System
Garmin >
Contents
- 1. User Manual 1
- 2. User Manual
User Manual
Quick Start Manual
Introduction
WARNING
See the Important Safety and Product
Information guide in the product box for
product warnings and other important
information.
Always consult your physician before you
begin or modify any exercise program.
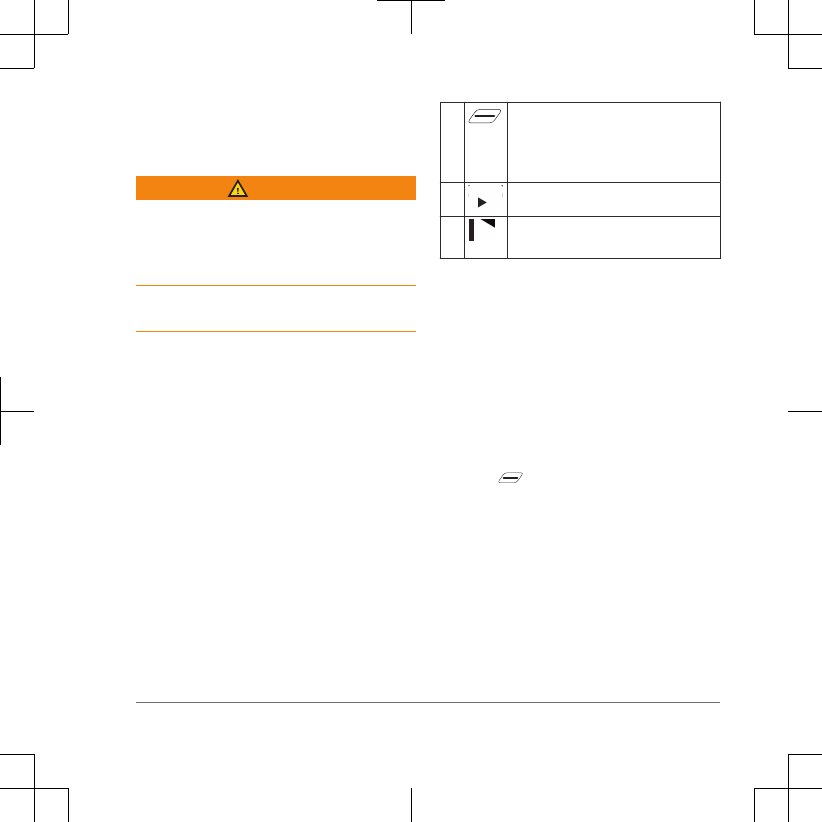
Keys
ÀSelect to enter sleep mode and
wake the device.
Hold to turn the device on and off
and lock the touchscreen.
ÁSelect to mark a new lap.
ÂSelect to start and stop the activity
timer.
Pairing Your Smartphone
To use the connected features of the
® device, it must be paired
directly through the Garmin Connect™
Mobile app, instead of from the ®
settings on your smartphone.
1From the app store on your
smartphone, install and open the
Garmin Connect Mobile app.
2Hold to turn on the device.
The first time you turn on the device,
you will select the device language.
The next screen prompts you to pair
with your smartphone.
3Follow the instructions in the app to
complete the pairing and setup
process.
Quick Start Manual 3

After you pair successfully, a message
appears, and your device syncs
automatically with your smartphone.
Installing the Standard Mount
For the best GPS reception, position the
mount so the front of the device is
oriented toward the sky. You can install
the mount on the stem or the
bars.
1Select a secure location to mount the
device where it does not interfere with
safe operation.
2Place the rubber disk À on the back of
the mount.
Two rubber disks are included, and
you can select the disk that best fits.
The rubber tabs align with
the back of the mount so it stays
in place.
3Place the mount on the tem.
4Attach the mount securely using
the two bands Á.
5Align the tabs on the back of the
device with the mount notches Â.
6Press down slightly and turn the
device clockwise until it locks into
place.
Installing the Out-Front Mount
1Select a secure location to mount the
device where it does not
interfere with safe operation.
.
2Use the hex key to remove the screw
À from the connector Á.
4 Quick Start Manual

3Place the rubber pad around the
bar:
• If the bar diameter is
25.4 mm, use the thicker pad.
• If the bar diameter is
31.8 mm, use the thinner pad.
4Place the bar connector around
the rubber pad.
5Replace and tighten the screw.
NOTE: Garmin® recommends a torque
specification of 7 lbf-in. (0.8 N-m). You
should check the tightness of the
screw periodically.
6Align the tabs on the back of the
device with the mount notches Â.
7Press down slightly and turn the
device clockwise until it locks into
place.
8VLQJ WKH GHYLFH
If your device was packaged with an
ANT+® sensor, they are already paired and
can be activated during initial setup.
1Hold to turn on the device.
2Go outside, and wait while the device
locates satellites.
The satellite bars turn green when the
device is ready.
3From the home screen, select .
4Select to start the activity timer.
Quick Start Manual 5

NOTE: History is recorded only while
the activity timer is running.
5Swipe left or right to view additional
data screens.
You can swipe down from the top of
the data screens to view the settings
widget.
6If necessary, tap the screen to view
the timer overlay.
7Select to stop the timer.
8Select Save.
9Select .
Viewing Widgets
Your device is preloaded with several
widgets, and more are available when you
pair your device with a smartphone or
other compatible device.
1From the home screen, swipe down
from the top of the screen.
The settings widget appears. A
flashing icon means the device is
searching. You can select any icon to
change the settings.
2Swipe left or right to view more
widgets.
Connected Features
The device has connected
features for your compatible smartphone
or fitness device. Some features require
you to install the Garmin Connect Mobile
app on your smartphone. Go to
6 Quick Start Manual

www.garmin.com/intosports/apps for more
information.
NOTE: Your device must be connected to
your enabled smartphone to
take advantage of some features.
LiveTrack: Allows friends and family to
follow your training activities
in real time. You can invite followers
using email or social media, allowing
them to view your live data on a
Garmin Connect tracking page.
GroupTrack: Allows you to keep track of
others in your group using
LiveTrack directly on screen and in
real time. You can send preset
messages to others in your
GroupTrack session who have a
compatible device.
Activity uploads to Garmin Connect:
Automatically sends your activity to
Garmin Connect as soon as you finish
recording the activity.
Course and workout downloads from
Garmin Connect: Allows you to
search for activities on Garmin
Connect using your smartphone and
send them to your device.
Connect IQ™ downloadable features:
Allows you to download Connect IQ
features from the Garmin Connect
Mobile app.
Device to device transfers: Allows you to
wirelessly transfer files to another
compatible device.
Social media interactions: Allows you to
post an update to your favorite social
media website when you upload an
activity to Garmin Connect.
Weather updates: Sends real-time
weather conditions and alerts to your
device.
Notifications: Displays phone
notifications and messages on your
device.
Messages: Allows you to reply to an
incoming call or text message with a
preset text message. This feature is
available with compatible Android™ or
Windows® smartphones.
Audio prompts: Allows the Garmin
Connect Mobile app to play status
announcements on your smartphone
during use.
Quick Start Manual 7

Incident detection: Allows the Garmin
Connect Mobile app to send a
message to your emergency contacts
when the device detects an
incident.
Incident Detection
CAUTION
Incident detection is a supplemental
feature primarily designed for road use.
Incident detection should not be relied on
as a primary method to obtain emergency
assistance. The Garmin Connect Mobile
app does not contact emergency services
on your behalf.
When an incident is detected by your
device with GPS enabled, the
Garmin Connect Mobile app can send an
automated text message and email with
your name and GPS location to your
emergency contacts.
For more information, see your owner's
manual.
ANT+ Sensors
Your device can be used with wireless
ANT+ sensors. For more information
about compatibility and purchasing
optional sensors, go to
http://buy.garmin.com.
Putting On the Heart Rate Monitor
NOTE: If you do not have a heart rate
monitor, you can skip this task.
You should wear the heart rate monitor
directly on your skin, just below your
sternum. It should be snug enough to stay
in place during your activity.
1Snap the heart rate monitor module À
onto the strap.
The Garmin logos on the module and
the strap should be right-side up.
2Wet the electrodes Á and the contact
patches  on the back of the strap to
create a strong connection between
your chest and the transmitter.
8 Quick Start Manual

3Wrap the strap around your chest, and
connect the strap hook à to the loop
Ä.
NOTE: The care tag should not fold
over.
The Garmin logos should be right-side
up.
4Bring the device within 3 m (10 ft.) of
the heart rate monitor.
After you put on the heart rate monitor, it is
active and sending data.
Quick Start Manual 9

.Device Information
Charging the Device
NOTICE
To prevent corrosion, thoroughly dry the
USB port, the weather cap, and the
surrounding area before charging or
connecting to a computer.
The device is powered by a built-in lithium-
ion battery that you can charge using a
standard wall outlet or a USB port on your
computer.
NOTE: The device will not charge when
outside the approved temperature range
(page 11).
1Pull up the weather cap À from the
USB port Á.
2Plug the small end of the USB cable
into the USB port on the device.
3Plug the large end of the USB cable
into an AC adapter or a computer USB
port.
10 Quick Start Manual

4Plug the AC adapter into a standard
wall outlet.
When you connect the device to a
power source, the device turns on.
5Charge the device completely.
Temperature Specifications
2perating temperature range:
From -20º to 60ºC (from -4º to 140ºF)
&harging temperature range: From
0º to 45ºC (from 32º to 113ºF)
Heart rate monitor operating
temperature range: From -5° to 50°C
(from 23° to 122°F)
Product Updates
On your computer, install Garmin
Express™ (www.garmin.com/express). On
your smartphone, install the Garmin
Connect Mobile app.
This provides easy access to these
services for Garmin devices:
• Software updates
• Map updates
• Data uploads to Garmin Connect
• Product registration
Getting More Information
• Go to www.support.garmin.com for
additional manuals, articles, and
software updates.
• Go to www.garmin.com/intosports.
•Go to www.garmin.com
/learningcenter.
• Go to http://buy.garmin.com, or
contact your Garmin dealer for
information about optional accessories
and replacement parts.
Getting the Owner's Manual
The owner's manual includes instructions
for using device features and accessing
regulatory information.
Go to www.garmin.com/manuals
.