General Dynamics Itronix IX-GOBI2 IX-GOBI2 User Manual GD6000 Manual
General Dynamics Itronix Corporation IX-GOBI2 GD6000 Manual
UserManual.wiki
>
General Dynamics Itronix
>
IX-GOBI2 User Manual
>
GD6000 Manual
Contents
1.
GOBI2000 User Manual
2.
GD6000 Manual
3.
User Manual
4.
User Manual GD8000
GD6000 Manual
Navigation menu
Upload a User Manual
Namespaces
Wiki Guide
HTML
PDF
Info
Views
User Manual
Discussion / Help
Navigation


![General Dynamics Itronix | 72-0136-004 GD6000 User GuideNotices and Compliancesuch business, other entity, or individual.In order to program this information into your fax machine, you should complete the following:This information is entered through the FAX application soft-ware you have installed. Consult your FAX software documen-tation for instructions about entering this information.Warnings and CautionsWarning It is important that only authorized General Dynamics Itronix personnel attempt repairs on General Dynamics Itronix equipment as this might void any main-tenance contract with your company. Unauthorized service personnel might be subject to shock hazard on some General Dynamics Itronix equipment if removal of protective covers is attempted.The product you have purchased is powered by a rechargeable battery. The battery is recyclable and, under various state and local laws, it may be illegal to dispose of this battery into the municipal waste stream. Do not crush the battery or place it in a fire. Check with your local solid-waste officials for details on recycling options or proper disposal.Caution Internal components of the GD6000 computer will be damaged if exposed to contaminants. When dust covers, the PC card door, or the bottom access panel are open on the computer, shield the unit from all contaminants such as liquids, rain, snow, and dust.Internal radio(s) may have an individual FCC Identifier which are not applicable to this configuration. Only the FCC ID shown on the label located on the bottom of the GD6000 Laptop PC is applicable. The GD6000 computer must not be co-located or operating in conjunction with any other antenna or transmitter than specified in the filing . This device may contain a WLAN radio transmitter , a WAN radio transmitter and a PAN radio transmitter. To comply with FCC RF exposure requirements when using the WAN radio transmitter, a minimum separation distance of 20 cm must be maintained between the between the center of the dis-play screen and all users/bystanders. When using the WLAN transmitter, a minimum separation distance of 20 cm must be maintained between the upper right and left edges of the display screen and all users/bystanders. The WAN radio and WLAN/PAN transmitter should be turned off before carrying the Laptop PC order to comply with FCC RF exposure require-ments.“The equipment has been approved to [Commission Decision “CTR21”] for pan-European single terminal connection to the Public Switched Telephone Network (PSTN). However, due to differences between individual PSTNs provided in different countries the approval does not, of itself, give an unconditional assurance of successful operation on every PSTN network termination point.In the event of problems, you should contact your equipment supplier in the first instance.This product is intended to be supplied by a Listed Power Unit and output rated 19 V dc, 3.42 A.Caution Always disconnect all telephone lines from the wall outlet before servicing or disassembling this equipment.Caution To reduce the risk of fire use only a No. 26 AWG or larger telecommunication line cord.Safety InformationEnclosed with each GD6000 Laptop computer is the radio spe-cific safety information. Do not proceed without reviewing the information provided in that document.Do not proceed beyond a WARNING or CAUTION until the indicated conditions are fully understood and met.](https://usermanual.wiki/General-Dynamics-Itronix/IX-GOBI2.GD6000-Manual/User-Guide-1182229-Page-7.png)


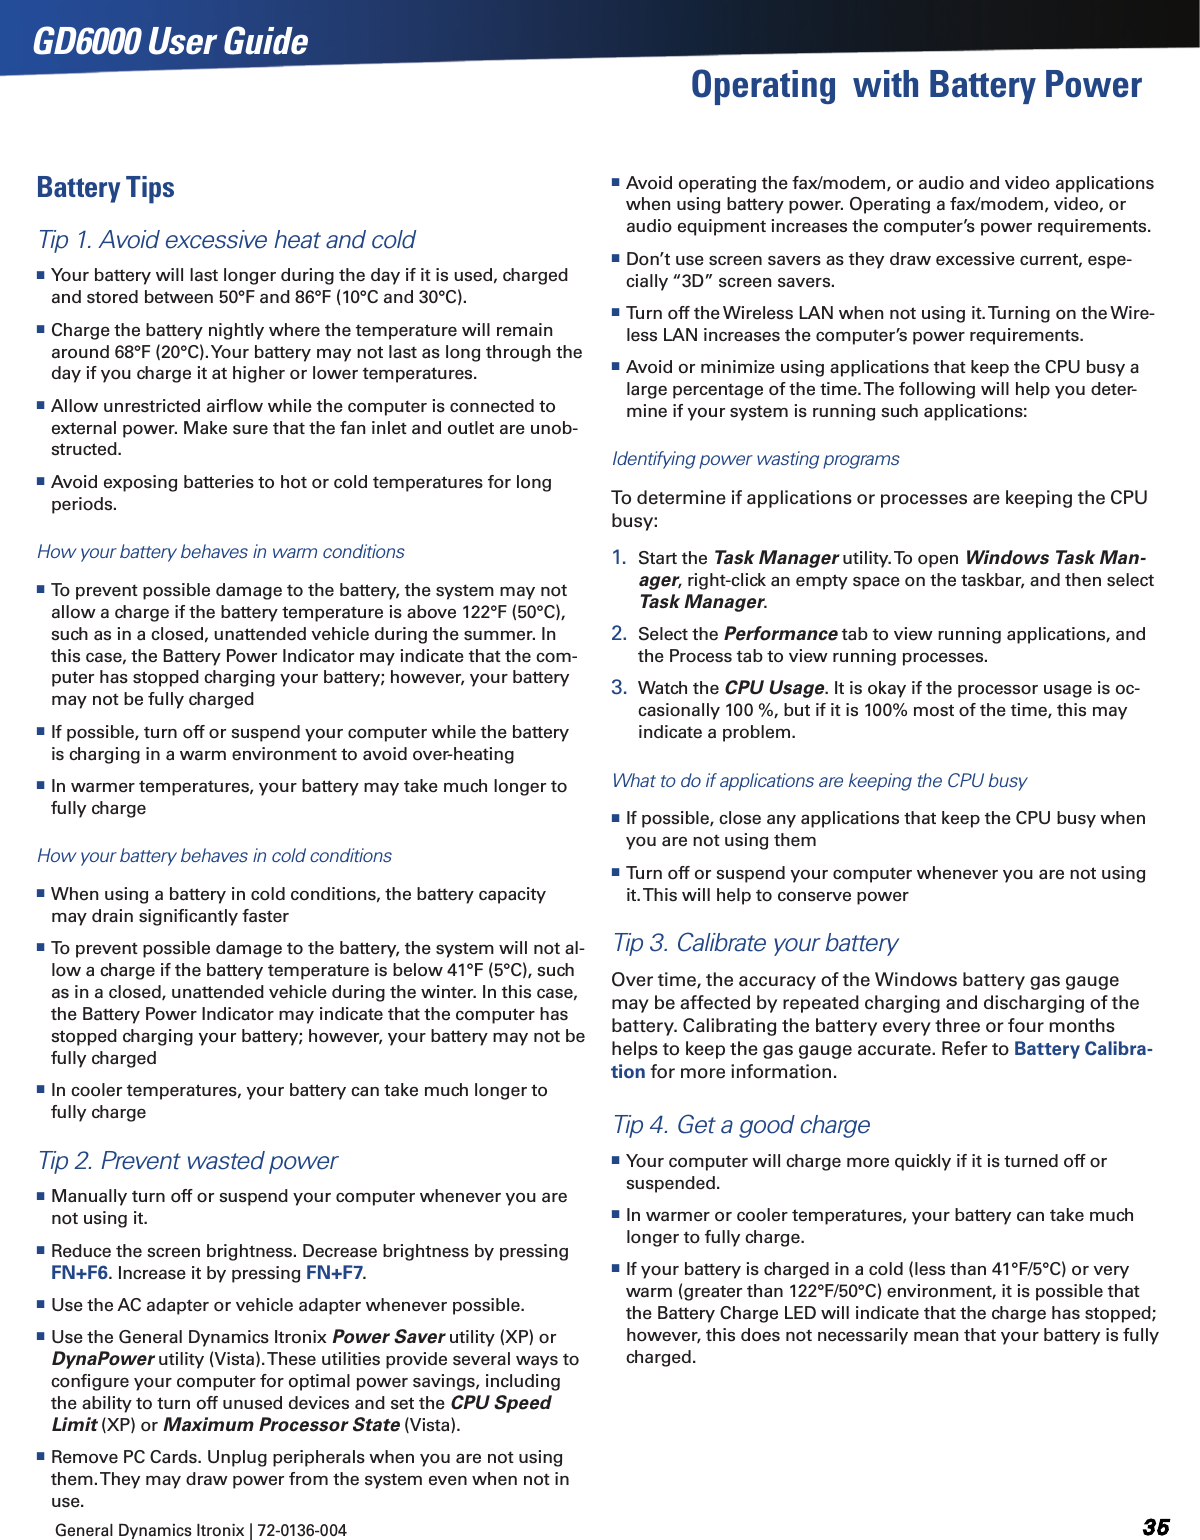
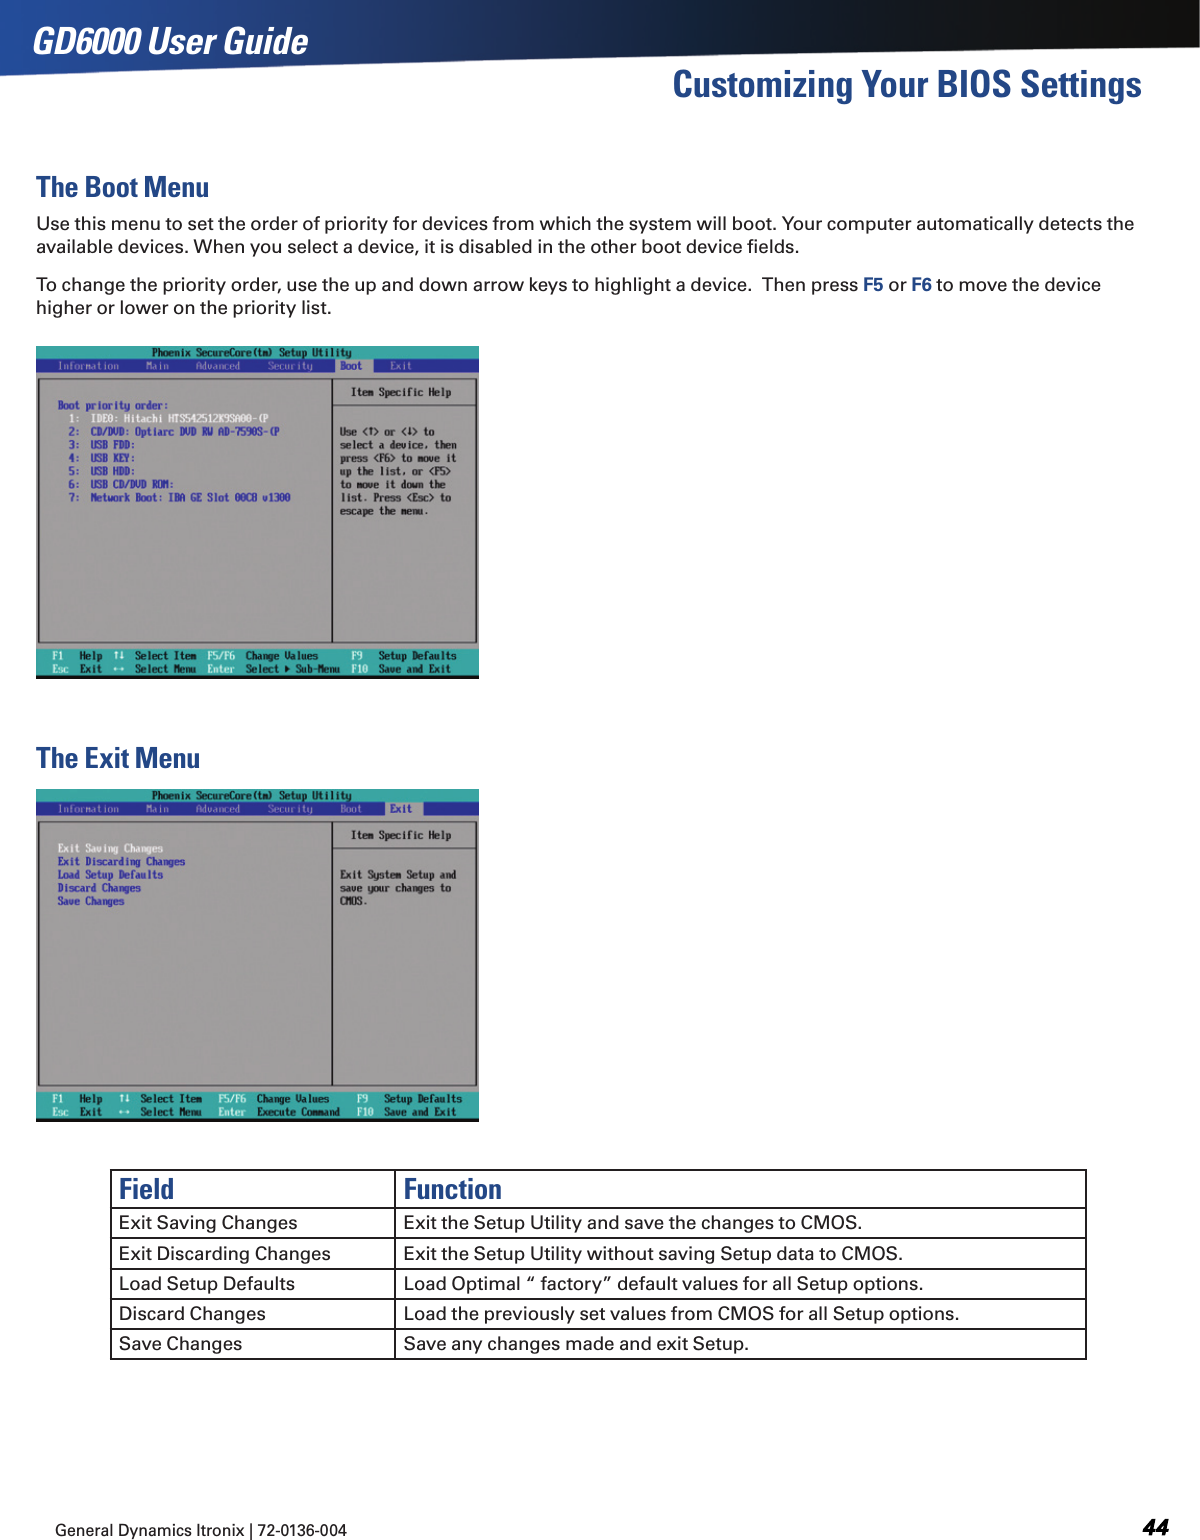
![General Dynamics Itronix | 72-0136-004 GD6000 User GuideThis section explains how to use the BIOS Setup Utility to modify the BIOS settings. The Setup Utility displays and allows modification of the computer’s components and allows you to configure devices that are connected to it. This information is used to test and initialize components during boot up and to make sure everything runs properly when the system is operating.Your computer is already properly configured and optimized with a set of default values so you do not need to run this util-ity. In certain circumstances, the system may generate an error message that asks you to make changes to the BIOS settings using the Setup Utility. This happens if the system finds an error during the POST (Power On Self Test) that it carries out at start-up. Please first refer to Troubleshooting if a problem arises.iF you are not sure HoW to ConFigure tHe Bios settings we suggest that you select “Load Optimal Defaults” on the Exit Menu screen, then exit saving changes. This loads optimized default settings for normal use.note If needed, please print this section before rebooting and entering the Setup Utility as it will not be accessible from there.Using the Setup UtilityThe Setup Utility allows you to configure your computer’s basic settings. When you turn your computer on, the system reads this information to initialize the hardware so that it can operate correctly. You can use the Setup Utility to change your computer’s start-up configuration. For example, you can change your system’s security settings.Starting the Setup UtilityYou can only start the Setup Utility after the computer has been turned on or rebooted. To execute a controlled reboot, select Start, Restart. Shortly after the computer restarts, you will see the following text at the bottom of the screen: “Press F2 to enter Setup.”Press the F2 key when you see this prompt.notes The BIOS password settings affect this option. If a user or supervisor password has been previously entered, you will be asked for a password.The touch screen is not active in the Setup Utility.The Menu Bar The Setup Utility has six menu options in the Menu Bar (1) at the top of the window. Press the left or right arrow keys to cycle through these menu screens. inFormation: Displays a summary of the computer’s hard-ware informationmain: Contains basic settings about your computer such as date, time, and other general optionsadvanCed: Allows you to view and configure your drives, and I/O (input/ output) ports, and stealth mode settingsseCurity: Lets you set passwords for protecting your com-puterBoot: Allows you to set the order in which the system boots.exit: Includes options to save or discard your changes, and to exit the BIOS Utility Viewing or Changing Field SettingsThe Navigation Help instructions (2) on the bottom of each menu display the keys used to move through and change the Settings and Information fields on the left side of the menu. Press the up and down arrow keys to cycle through fields on each menu Press ESC to exit any sub-menu Press ENTER to make a selection or go into a sub-menunote You can change the value of a field if it is enclosed in [brackets]. Navigation keys for a menu are shown at the bottom of the screen. Please refer to the help information that displays in the Field Help Window as you select a field.Caution Certain fields are highly technical. Do not make changes to a field if you do not understand its function. For optimum settings, press F9 to load setup defaults; then press F10 to save the changes and exit the Setup Utility.note Don’t forget your password. If you forget your pass-word, you may have to return your notebook computer to your dealer to reset it.The Field Help WindowThe Field Help Window (3) is on the right side of each menu. It displays the help text for the currently selected field. This text updates as you move the cursor from field to field. Customizing Your BIOS Settings](https://usermanual.wiki/General-Dynamics-Itronix/IX-GOBI2.GD6000-Manual/User-Guide-1182229-Page-37.png)
![General Dynamics Itronix | 72-0136-004 GD6000 User GuideTroubleshootingThe computer doesn’t automatically suspend Exit any application that uses COM ports Make sure external power is not connected. Depending on power settings, some systems will not suspend automatically when they are connected to external powerThe system date and time are incorrectFor WindoWs xP: Reset the correct date and time by choos-ing the Date/Time icon from the Control Panel and making the appropriate changes.For WindoWs vista: Click on the Start Button, then go to the Control Panel. From here, locate the Clock, Language and Region setting. Under Date and Time, make the appropriate changes. I receive an “out of memory” error message Too many applications may be running at the same time. Close applications you don’t need. Make sure you have enough space on your hard disk (at least 15% free). Restart the computer.PC Card TroubleshootingI can’t remove the PC card Press the ejector button located next to the PC Card Slot on the right side of the computer. The button will pop out. Press the ejector button again to eject the PC card. Slide the card out. If the ejector button malfunctions when you press it, release the button and then press it again.Diskette Read Error Any card in the PC Card slot except for a properly formatted memory card will cause this error since it is trying to read the PC Card. The system does not recognize the PC Card CD-ROM when it is inserted into the PC Card socket There is a delay of 10 to 15 seconds before the CD-ROM drive is recognized. Drivers may not be installed.The computer locks up when I remove the PC cardBefore you remove the card, select the PC card icon in the sys-tem “tray” area of the screen (near the clock in the lower right corner), and choose “Stop [card name] card.”FAQsI’ve heard that cleaning up and rearranging files on the hard drive will improve the startup speed of my programs. How do I do this?Hard disk maintenance can improve the startup speed of programs. This maintenance includes deleting unnecessary files and defragmenting to rearrange data into more efficient groupings. Windows includes utilities for performing these maintenance tasks.How do I adjust the volume?There are two methods to adjust the volume:metHod 1: Double-click the Volume Control icon on the Win-dows task bar. Adjusting the slide bar will adjust the volume.metHod 2: Press FN+F8 or FN+F9 to decrease or increase volume.You may also press FN+F10 to mute the computer.How do I change the battery?See the section on Battery Installation and Removal.How long will the battery last?The main Li-Ion battery lasts approximately 2.5 to 3.5 hours with normal use, depending on your configuration. How do I change the display brightness? Press FN+F6 to decrease display brightness Press FN+F7 to increase display brightnessHow do I clean the display?To clean the display assembly, use a soft, dry cloth. In some cases, you can use a small amount of water to remove streaks or smears. Do not use paper products because they can scratch the screen. How do I calibrate the touch screen?1. Select Start, All Programs, Touchkit, Configure Utility.2. Select 4 pts Cal3. Touch the tip of the pen to the center of each blinking symbol as they appear on the screen until calibration is complete.4. Select OK to save and exit.](https://usermanual.wiki/General-Dynamics-Itronix/IX-GOBI2.GD6000-Manual/User-Guide-1182229-Page-56.png)