General Dynamics Itronix IX100XUSI-WLBT 802.11bg WLAN Module User Manual
General Dynamics Itronix Corporation 802.11bg WLAN Module Users Manual
UserManual.wiki
>
General Dynamics Itronix
>
IX100XUSI-WLBT User Manual
>
users manual
Contents
1.
USERS MANUAL
2.
users manual
3.
integrator manual
users manual
Navigation menu
Upload a User Manual
Namespaces
Wiki Guide
HTML
PDF
Info
Views
User Manual
Discussion / Help
Navigation
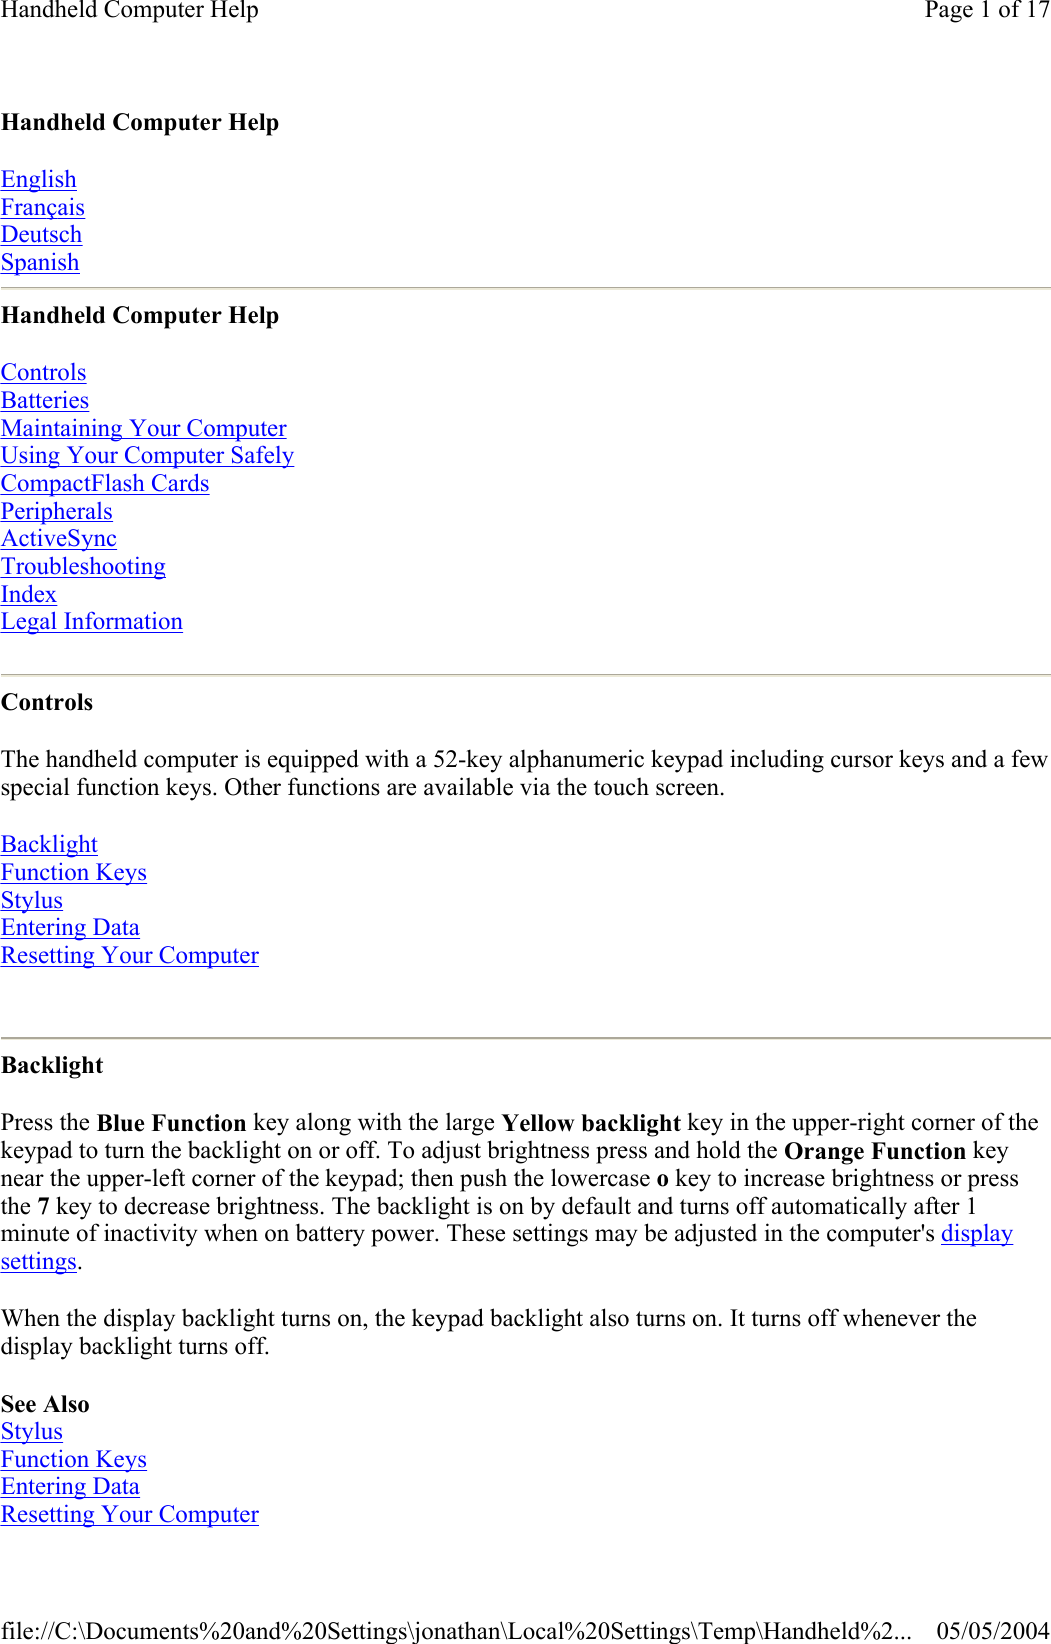
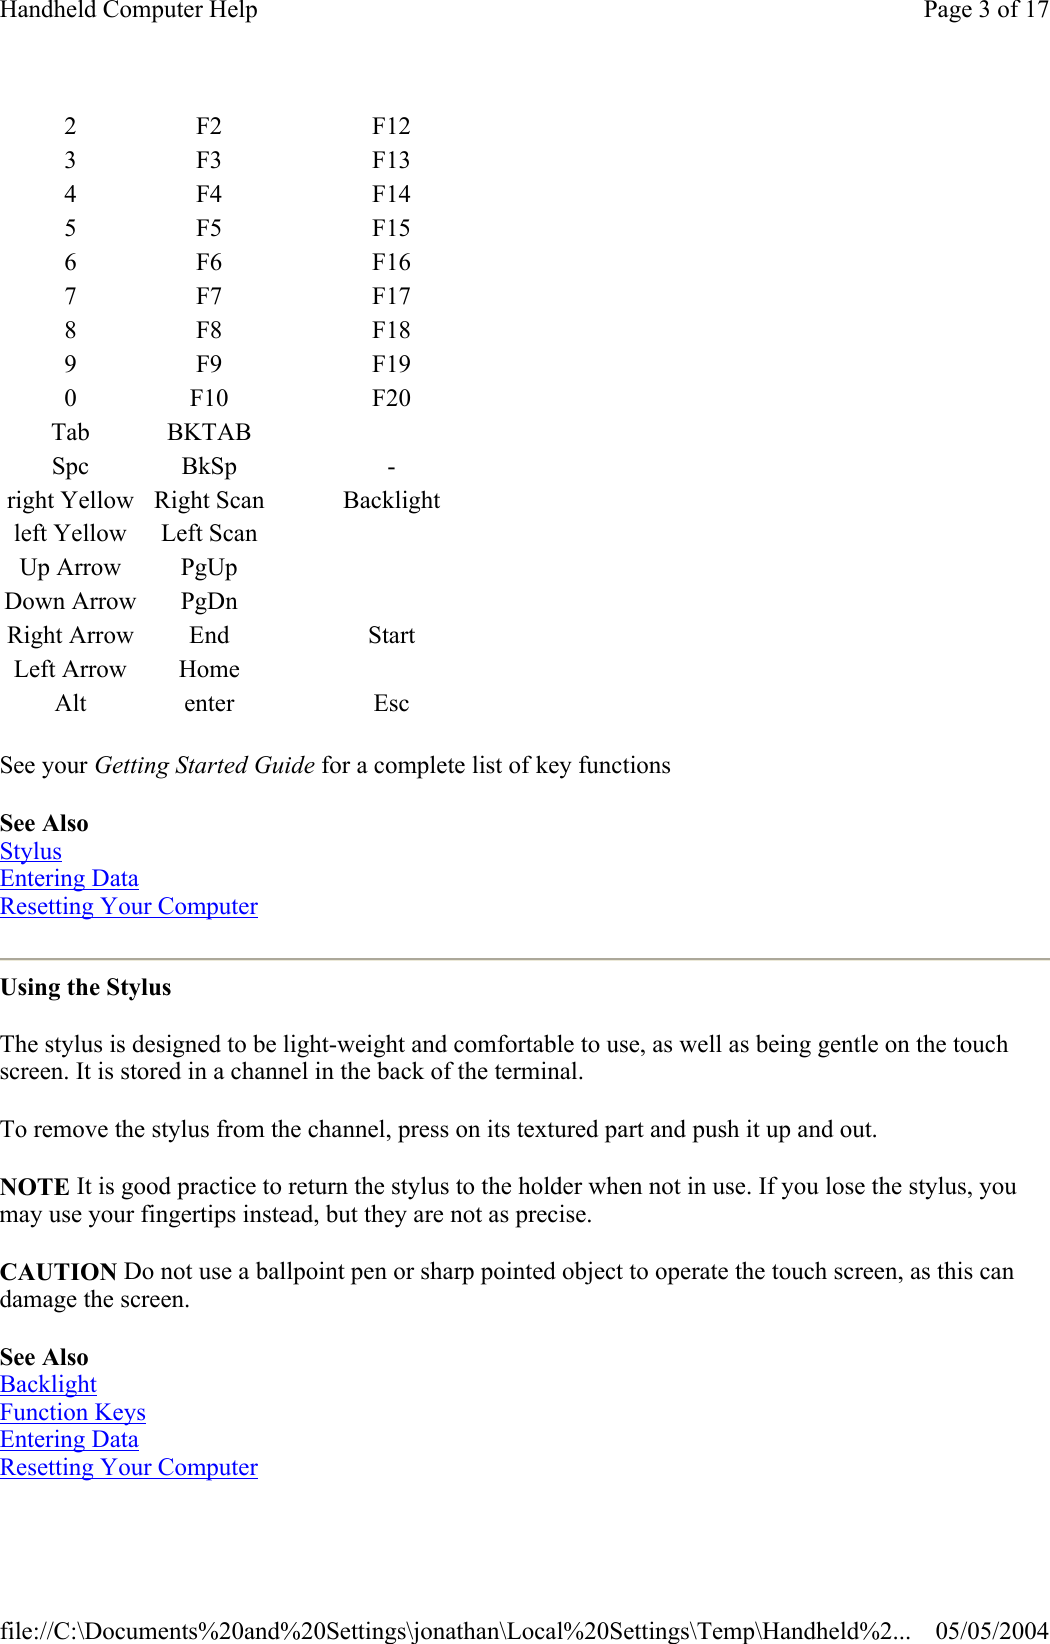
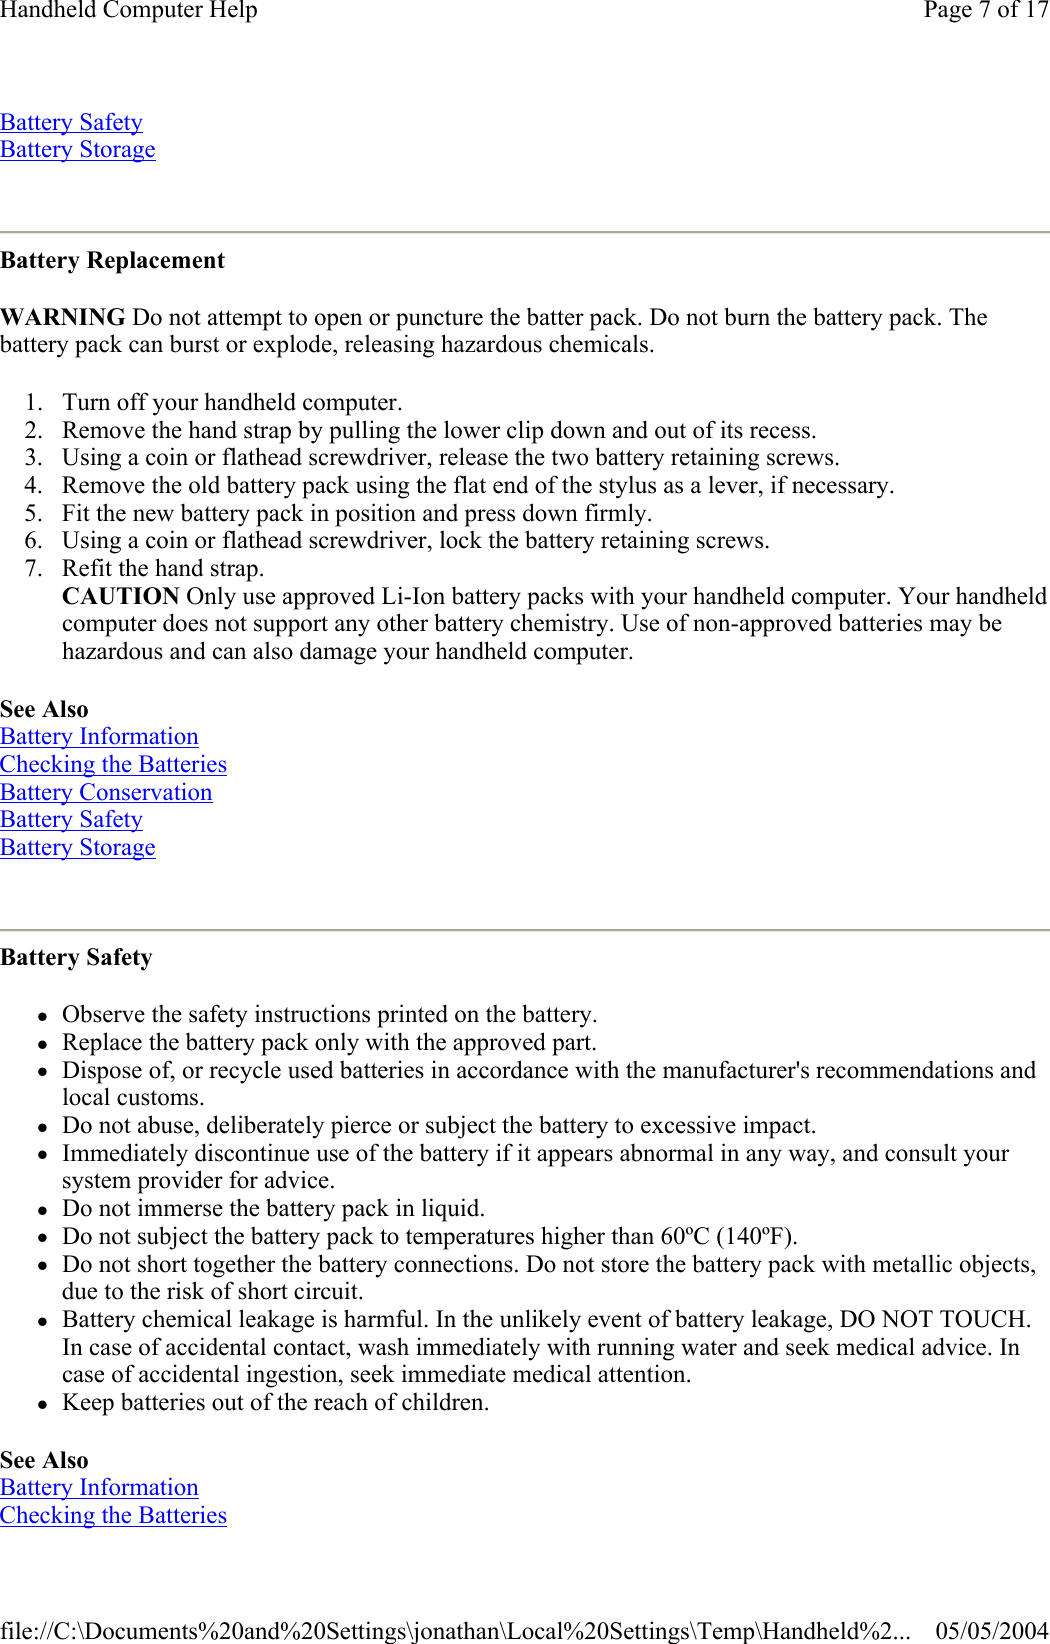
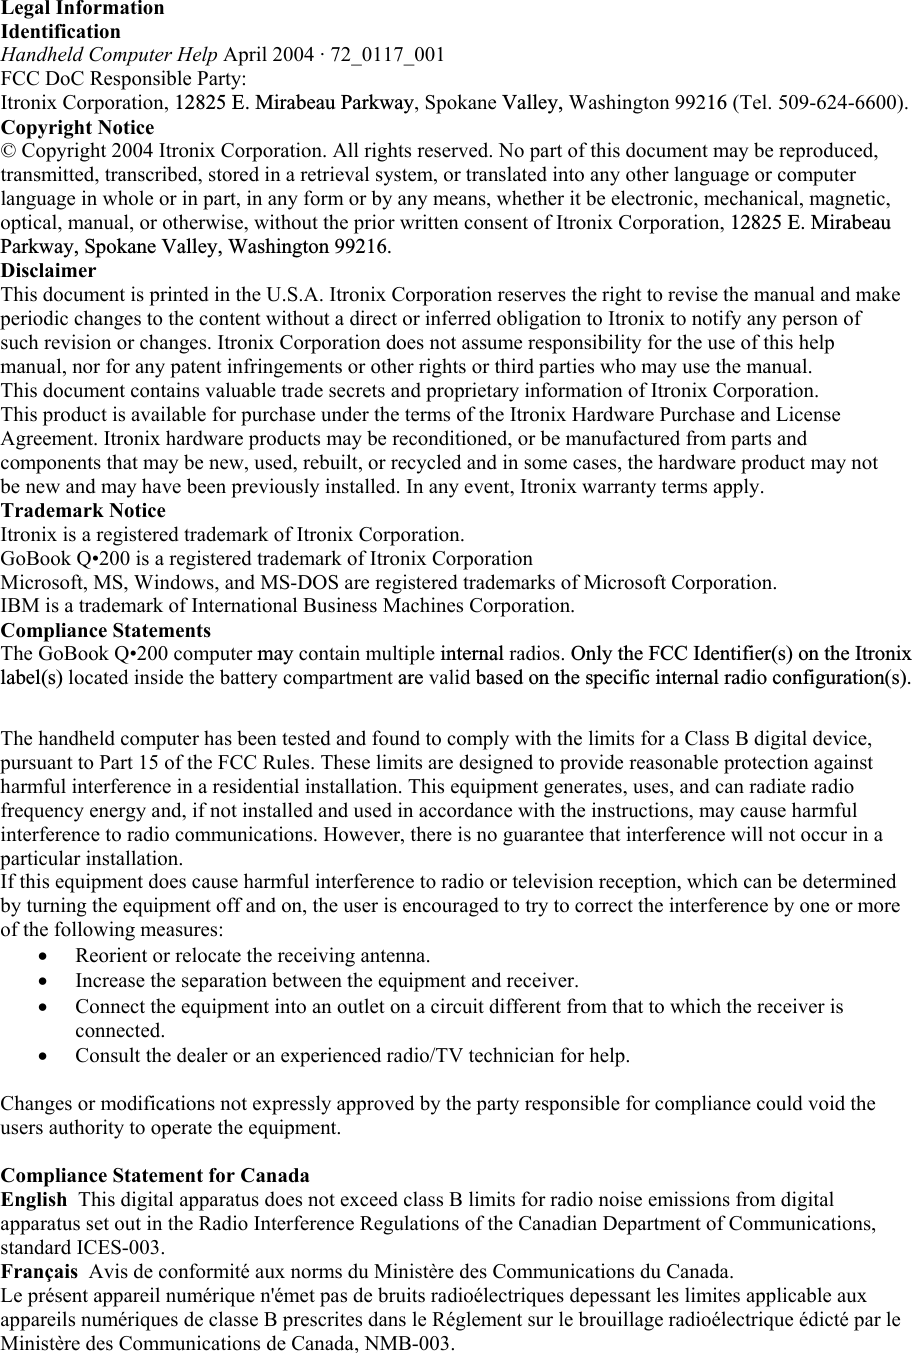
![Function Keys The FN keys have many functions. The most commonly used functions are: zOrange FN + Power: When held for five seconds this performs a Soft Reset. zOrange FN + Blue FN + Power: When held for five seconds this performs a Hard Reset. CAUTION The Hard Reset is an emergency procedure only. Use the Soft Reset instead if possible. If you Hard Reset, you will lose the settings saved in the operating system as well as all data stored in RAM. You will have to recalibrate your touch screen and personal data when you restart. zBlue FN + Yellow Backlight: Toggles the backlight The FN keys may also have different functions depending on the program in use. Below is a list of key combination functions associated with the Orange and Blue function keys: Key Orange FN Blue FNA|B ~ BREAKD:E#F;G" <H` >I* INSJ' /K.L?N`O(P) PAUSEQ!R $ PRINT SCREENS \ SCROLL LOCKT% =U&V enter Volume ControlW@ {X}Y^ [Z]1F1 F11Page 2 of 17Handheld Computer Help05/05/2004file://C:\Documents%20and%20Settings\jonathan\Local%20Settings\Temp\Handheld%2...](https://usermanual.wiki/General-Dynamics-Itronix/IX100XUSI-WLBT.users-manual/User-Guide-712213-Page-2.png)