General Dynamics Itronix IX270-MC8765 IX270-MC8765 User Manual
General Dynamics Itronix Corporation IX270-MC8765 Users Manual
UserManual.wiki
>
General Dynamics Itronix
>
IX270 MC8765 User Manual
Users Manual
Navigation menu
Upload a User Manual
Namespaces
Wiki Guide
HTML
PDF
Info
Views
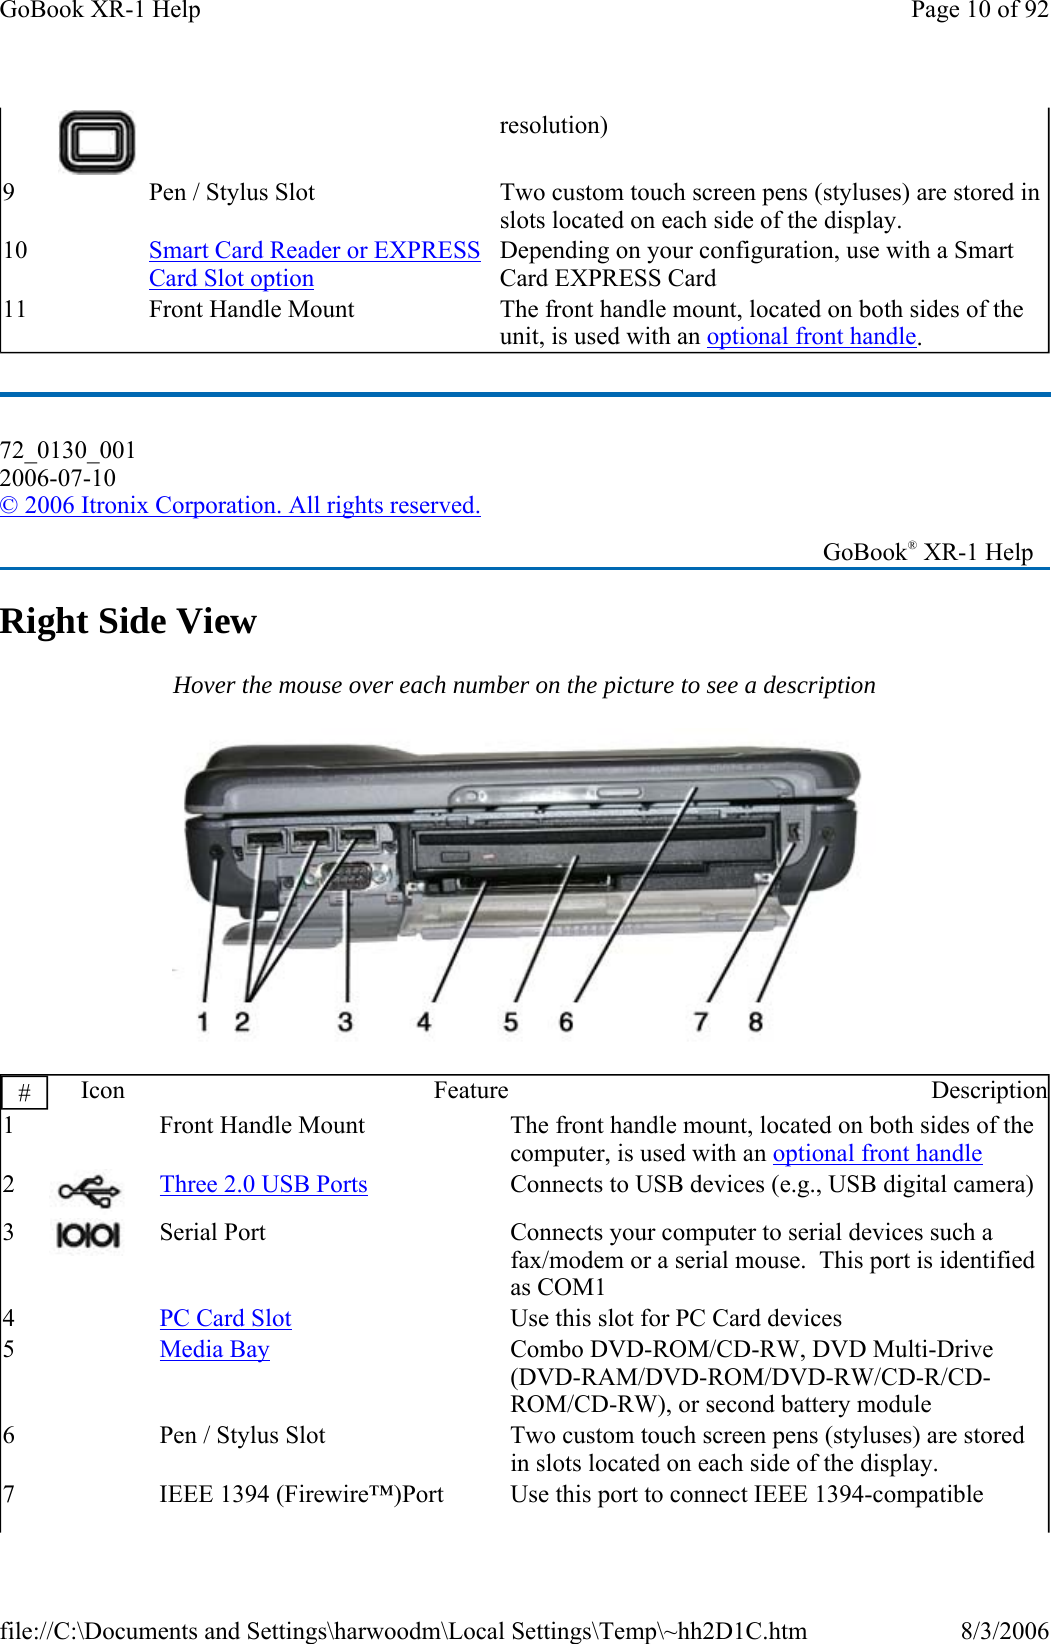
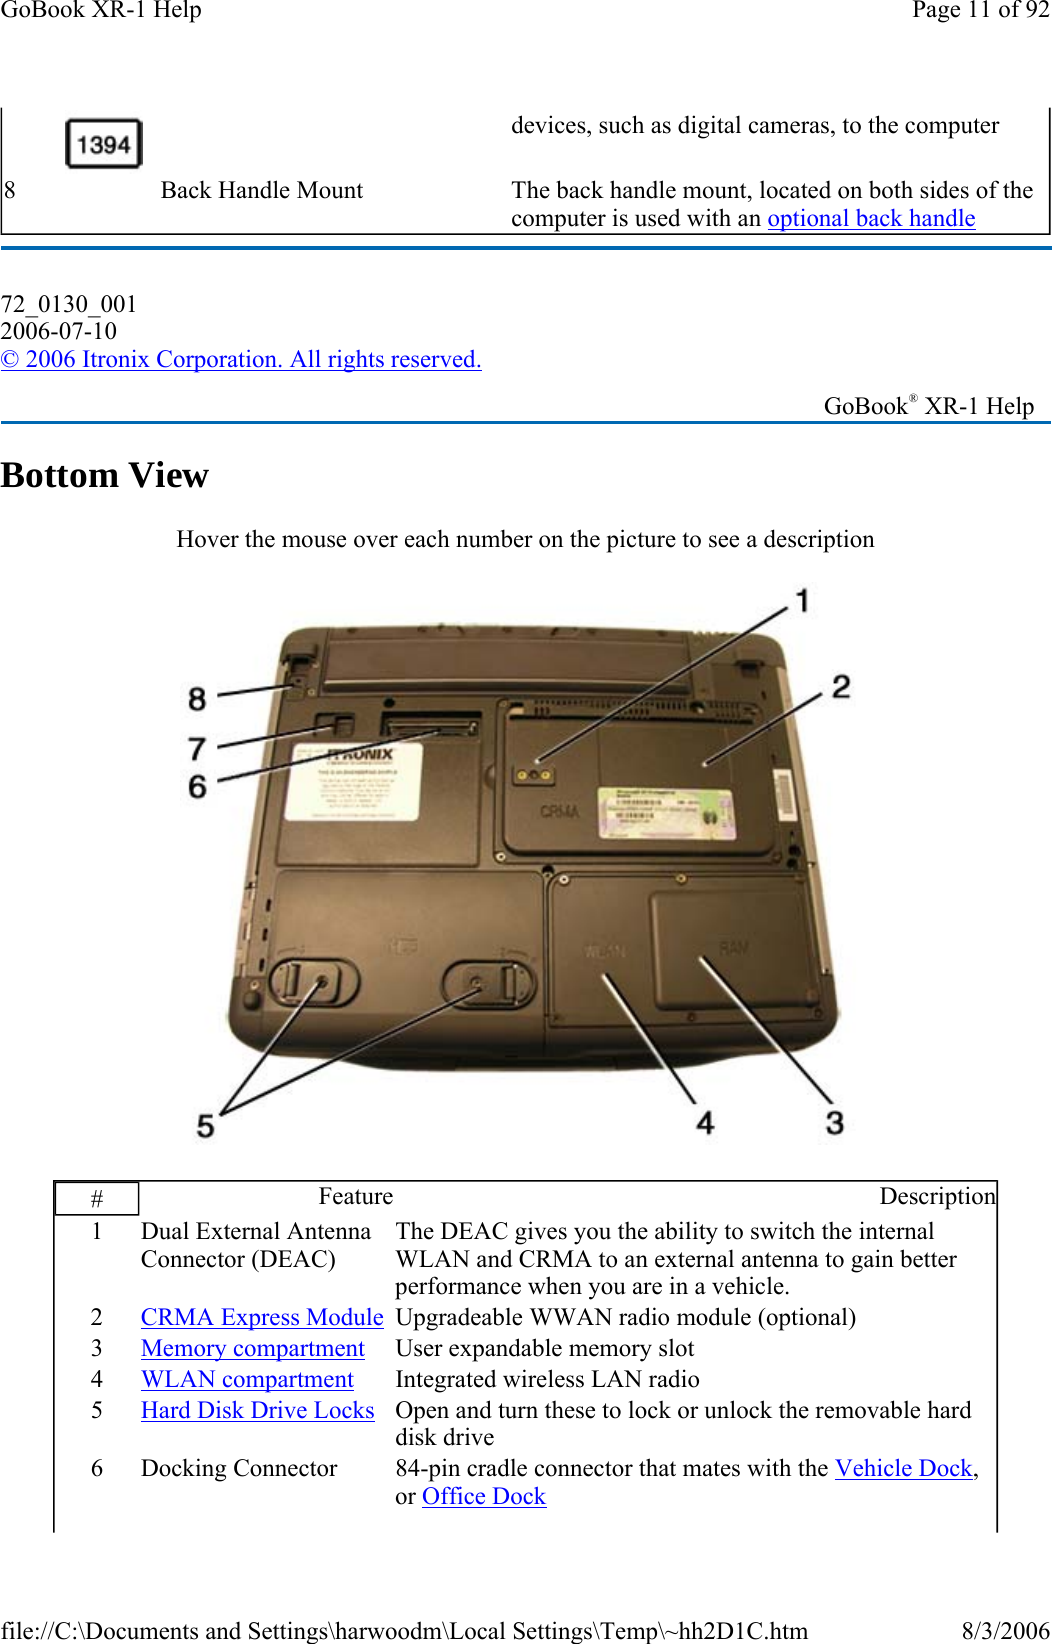
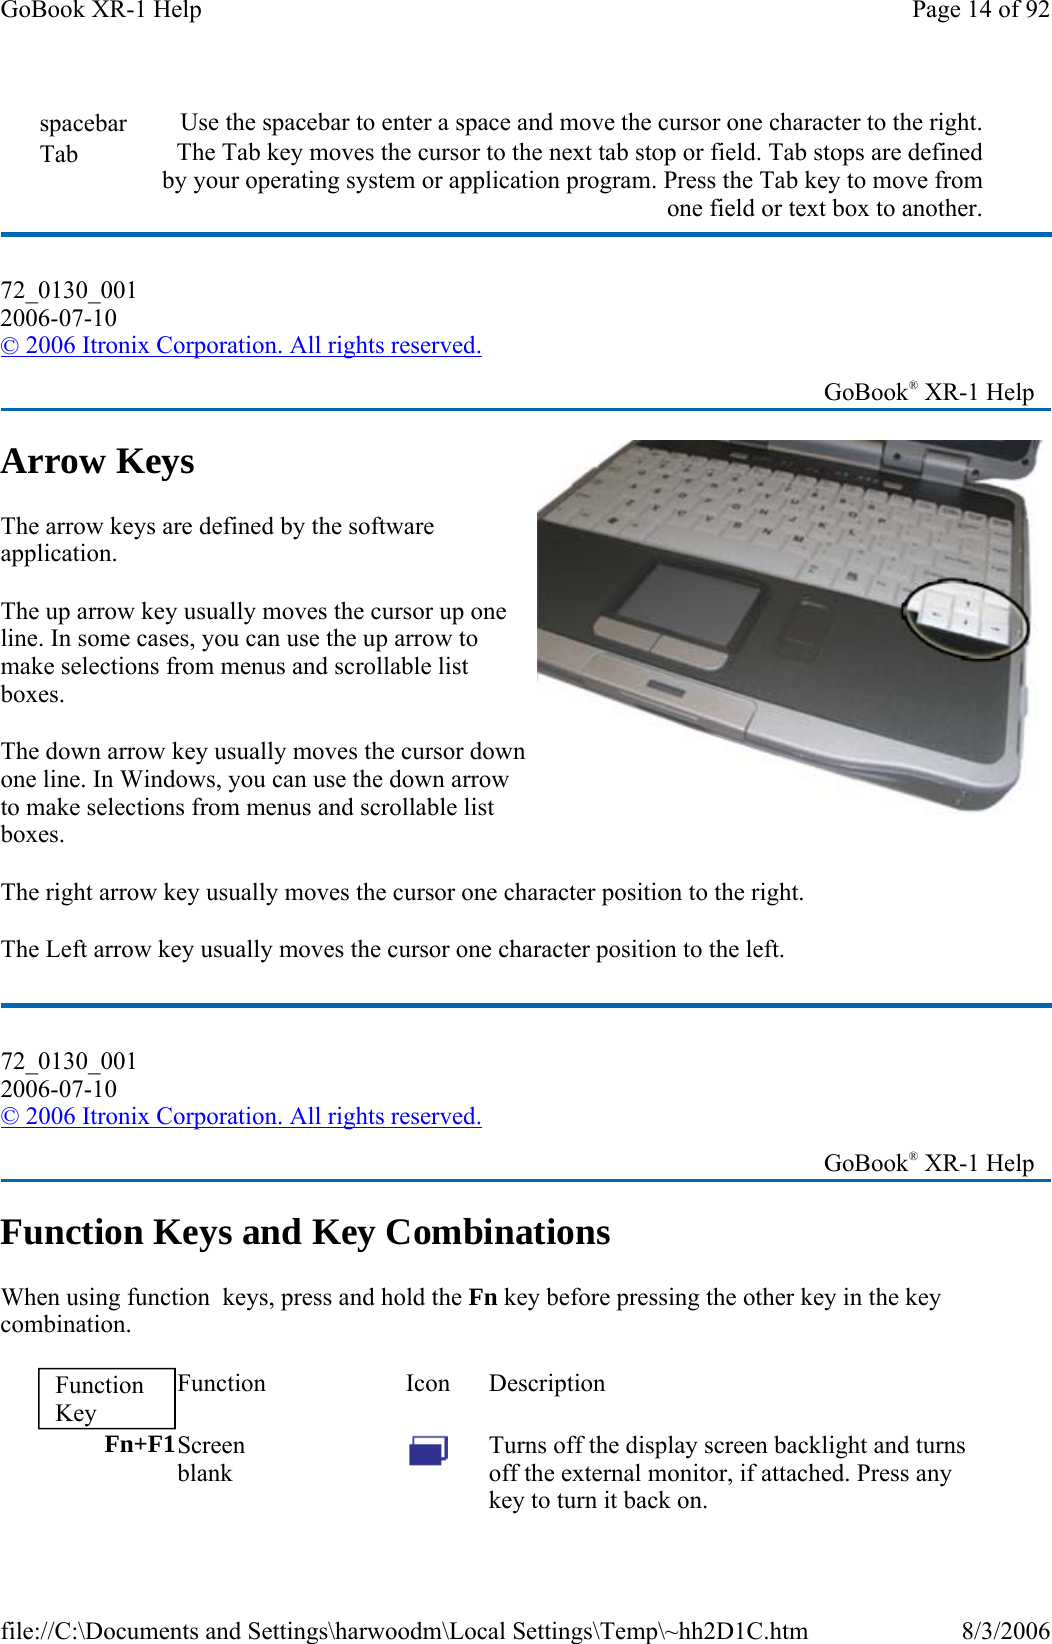
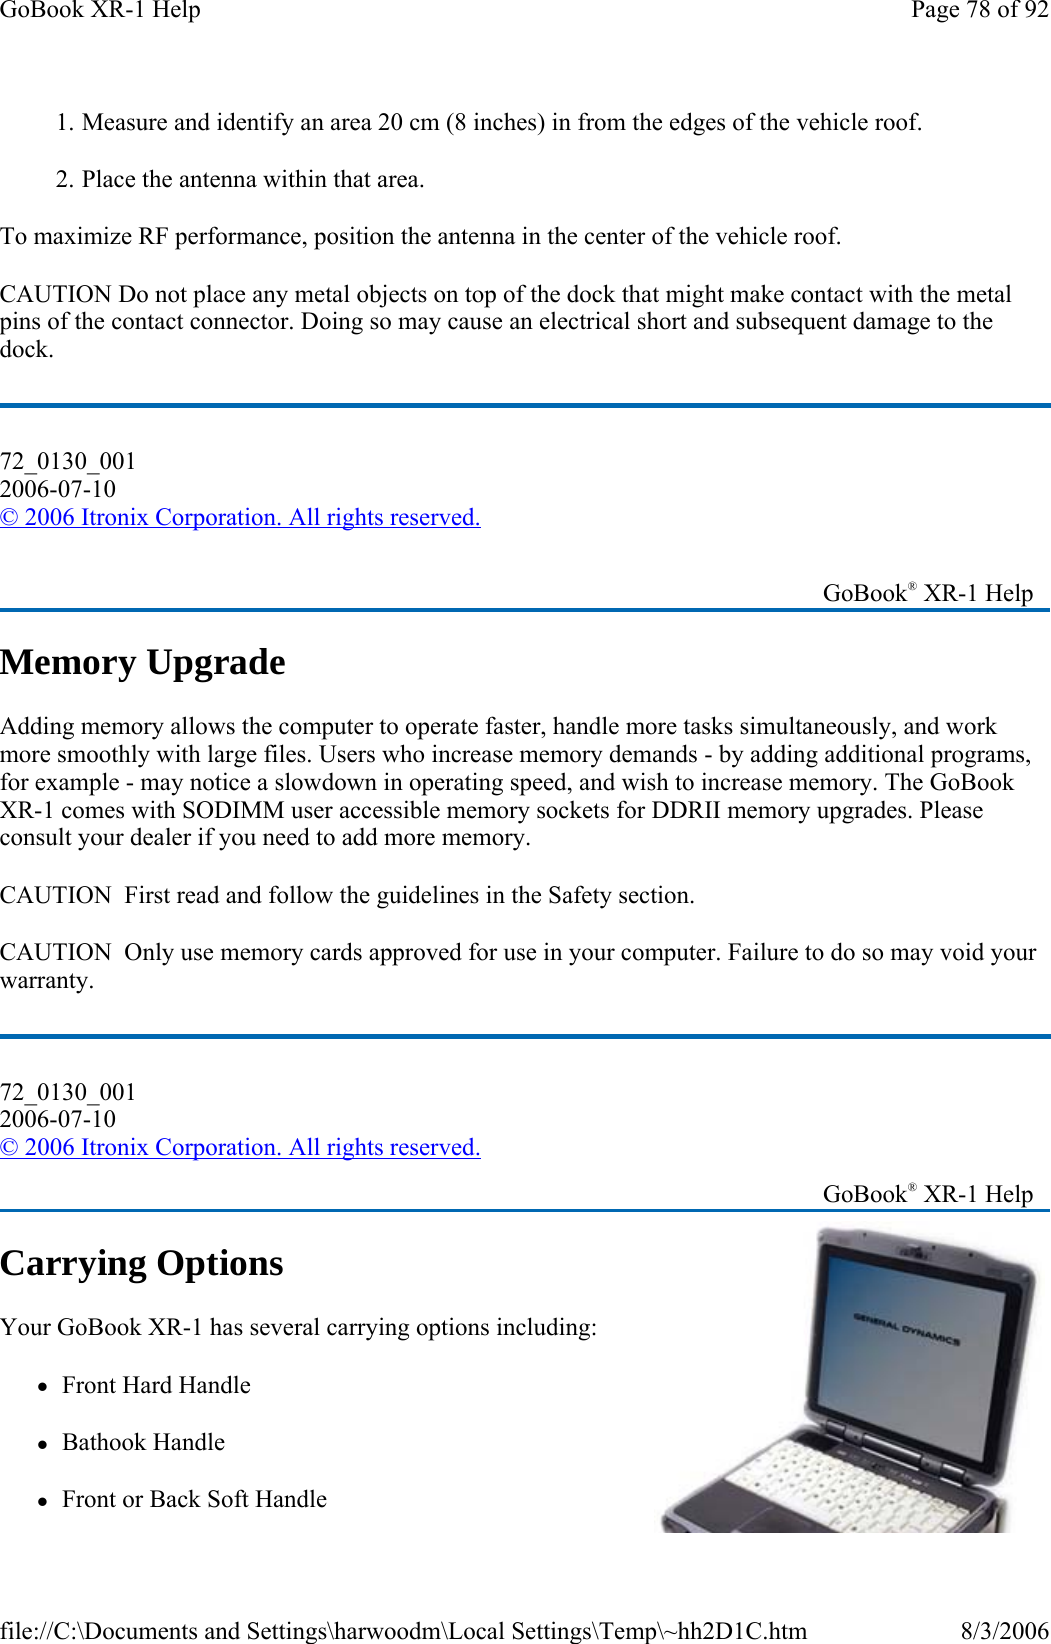
User Manual
Discussion / Help
Navigation


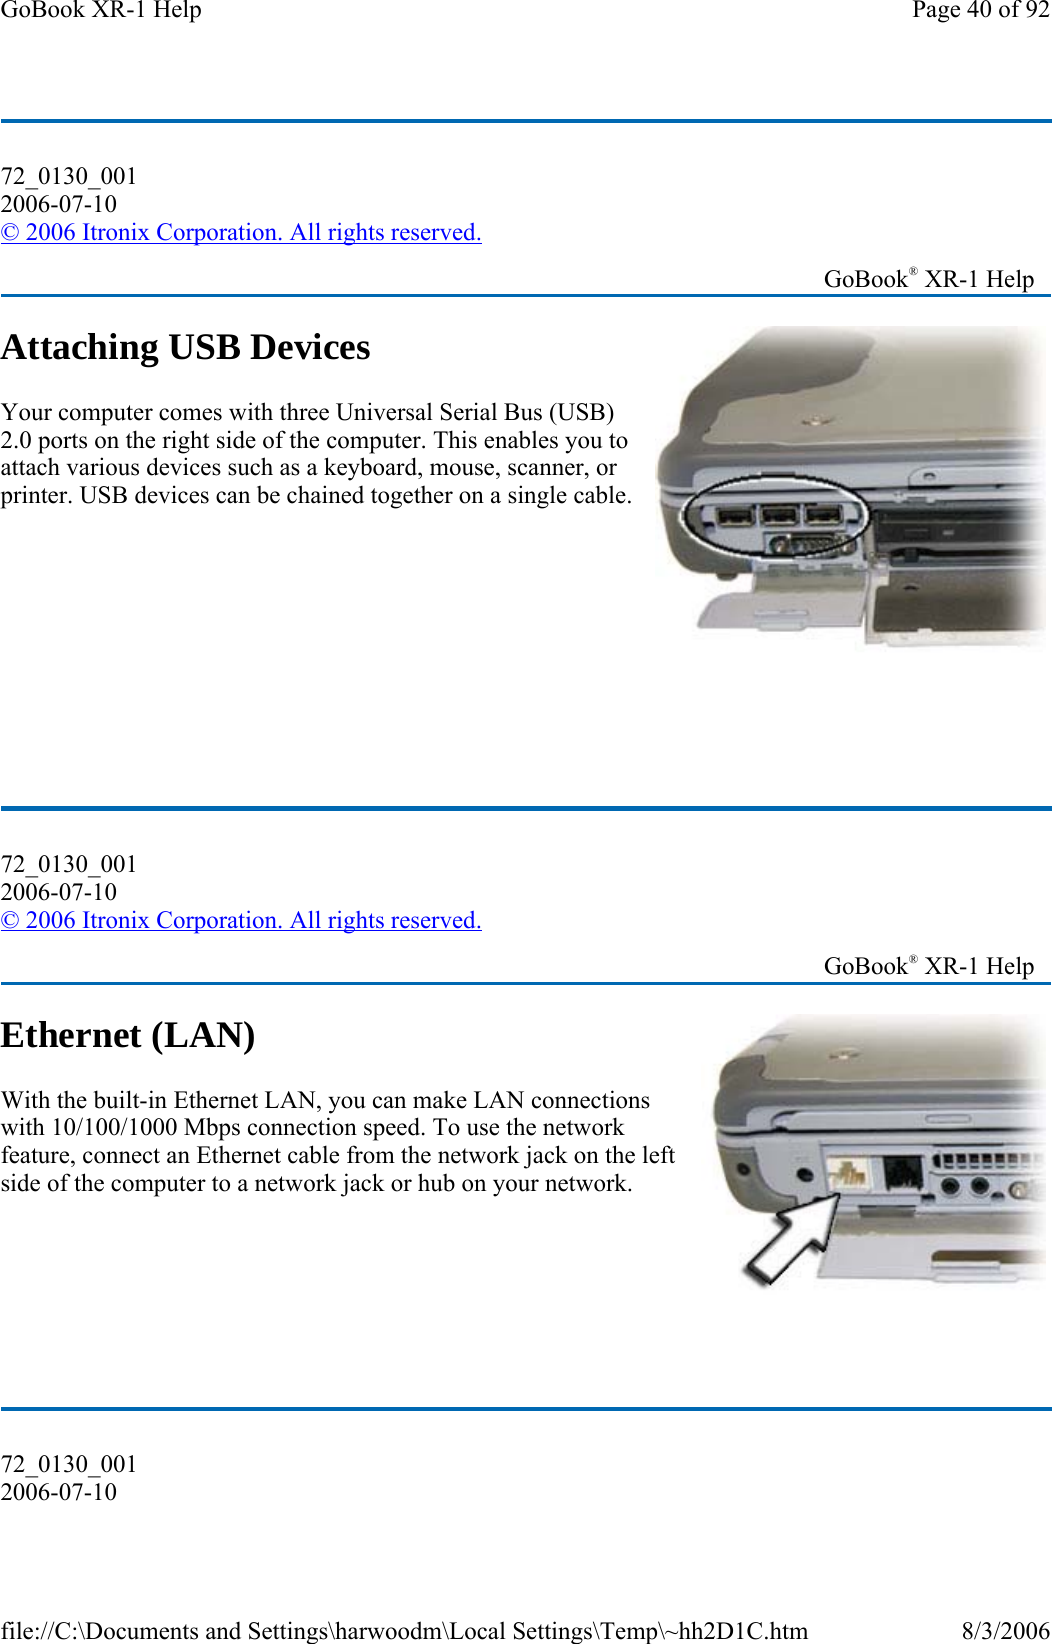
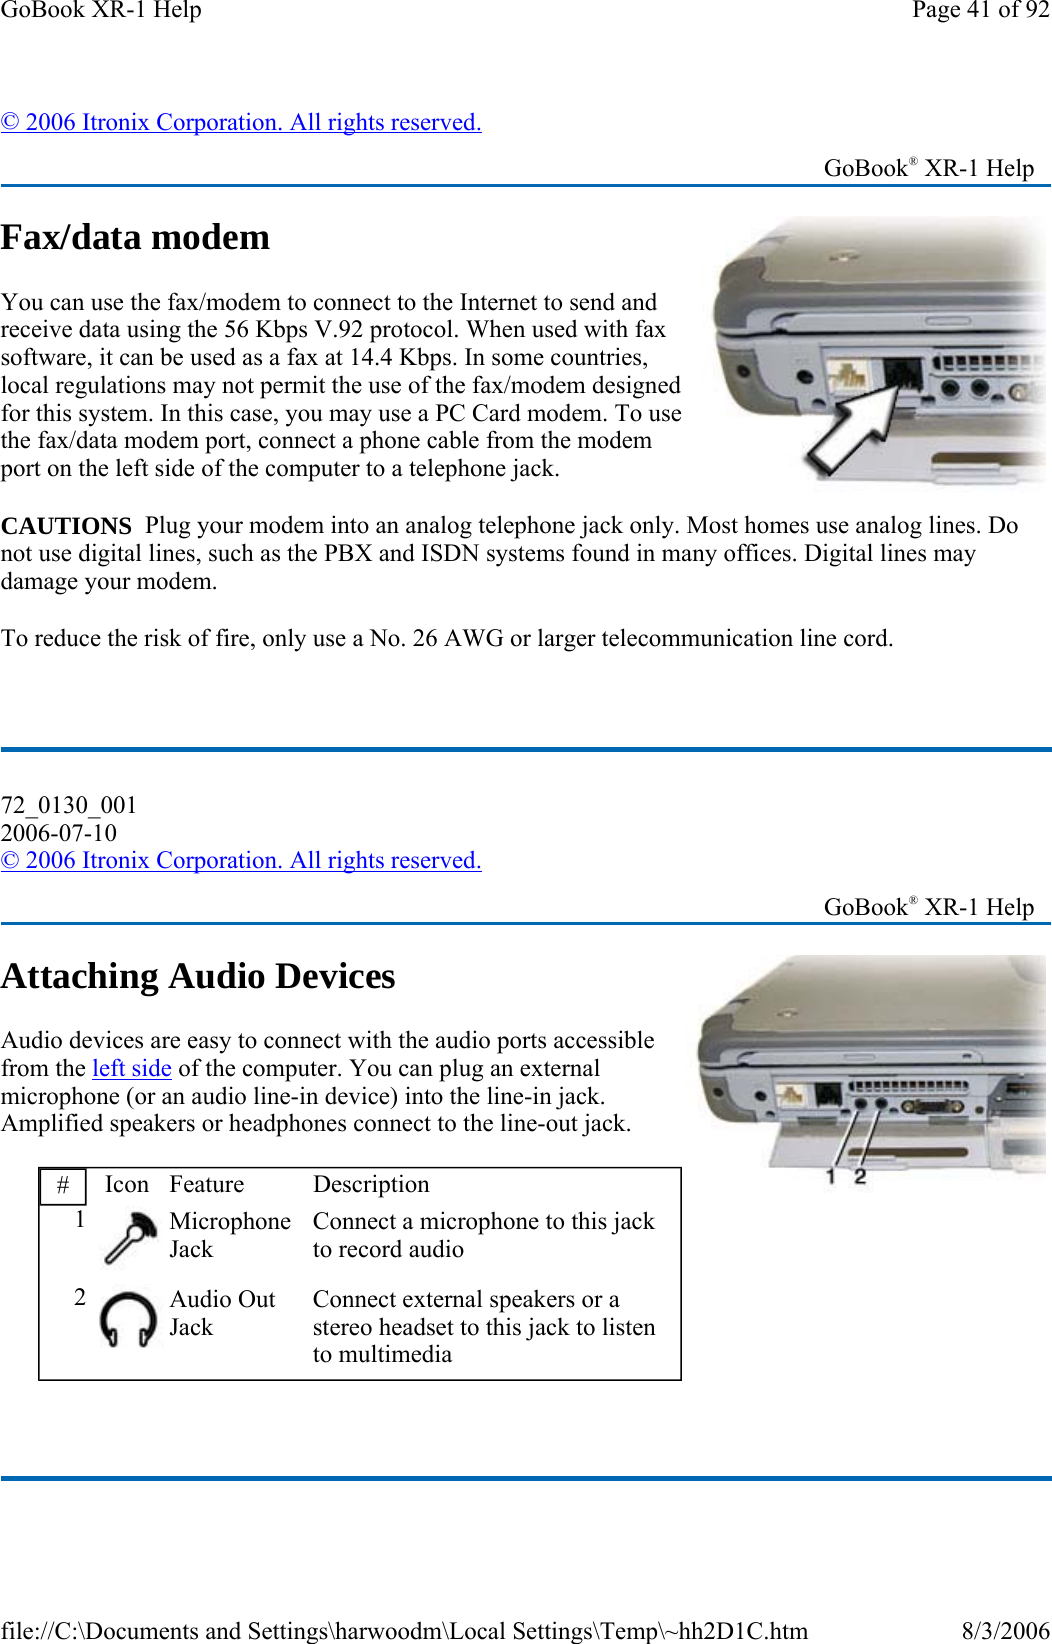


![Warnings and Cautions WARNING It is important that only authorized personnel service and attempt repairs on the equipment. Unauthorized service or repair may void the warranty and any maintenance contract in effect for the equipment. Unauthorized service personnel might be subject to shock hazard on some equipment if removal of protective covers is attempted. There is danger of explosion if the battery is incorrectly replaced. Replace only with the same or equivalent type recommended by the manufacturer. Dispose of used batteries according to the manufacturer's instructions. The product you have purchased is powered by a rechargeable battery. The battery is recyclable and, under various state and local laws, it may be illegal to dispose of this battery into the municipal waste stream. Do not crush the battery or place it in a fire. Check with your local solid-waste officials for details on recycling options or proper disposal. CAUTION Internal components of the GoBook XR-1 (IX270) computer will be damaged if exposed to contaminants. When dust covers, the PC card door, or the bottom access panel are open on the computer, shield the unit from all contaminants such as liquids, rain, snow, and dust. Each internal radio may or may not have an individual FCC Identifier label. That FCC Identifier label is not applicable to this configuration. Only the external FCC ID is applicable. Only the antenna with which an intentional radiator is authorized may be used with the intentional radiator. The WAN antenna location is in the upper center edge of the display screen and is not to be modified. The PAN antenna location is near the lower left edge of the Keyboard and is not to be modified. The WLAN embedded dual antennas are located internally in the upper right and left edges of the display screen and are not to be modified. This device may contain a WLAN radio transmitter, a Pan radio transmitter, and a WAN radio transmitter. To comply with FCC RF exposure requirements when using the WAN radio transmitter, a minimum separation distance of 20 cm must be maintained between the upper center edge of the display screen antenna and all users/bystanders. When using the WLAN transmitter, a minimum separation distance of 20 cm must be maintained between the upper right and left edges of the display screen and all users/bystanders. When using the PAN transmitter, a minimum separation distance of 20 cm must be maintained between the lower left edge of the Keyboard and all users/bystanders. The WAN transmitter, PAN transmitter and WLAN transmitter should be turned off before carrying the Laptop PC in order to comply with FCC RF exposure requirements. The equipment has been approved to [Commission Decision "CTR21"] for pan-European single terminal connection to the Public Switched Telephone Network (PSTN). However, due to differences between individual PSTNs provided in different countries the approval does not, of itself, give an unconditional assurance of successful operation on every PSTN network termination point. In the event of problems, you should contact your equipment supplier in the first instance. Safety Information Do not proceed beyond a WARNING or CAUTION until the indicated conditions are fully understood and met. Page 3 of 3Notices and Compliance8/3/2006mk:@MSITStore:C:\Documents%20and%20Settings\harwoodm\Desktop\Ix270%20Manual...](https://usermanual.wiki/General-Dynamics-Itronix/IX270-MC8765/User-Guide-694122-Page-95.png)