Geniatech ATV1000ATV2000 Android TV User Manual Android TV oka
Shenzhen Geniatech INC.,LTD. Android TV Android TV oka
UserManual.wiki
>
Geniatech
>
ATV1000ATV2000 User Manual
Users Manual
Navigation menu
Upload a User Manual
Namespaces
Wiki Guide
HTML
PDF
Info
Views
User Manual
Discussion / Help
Navigation


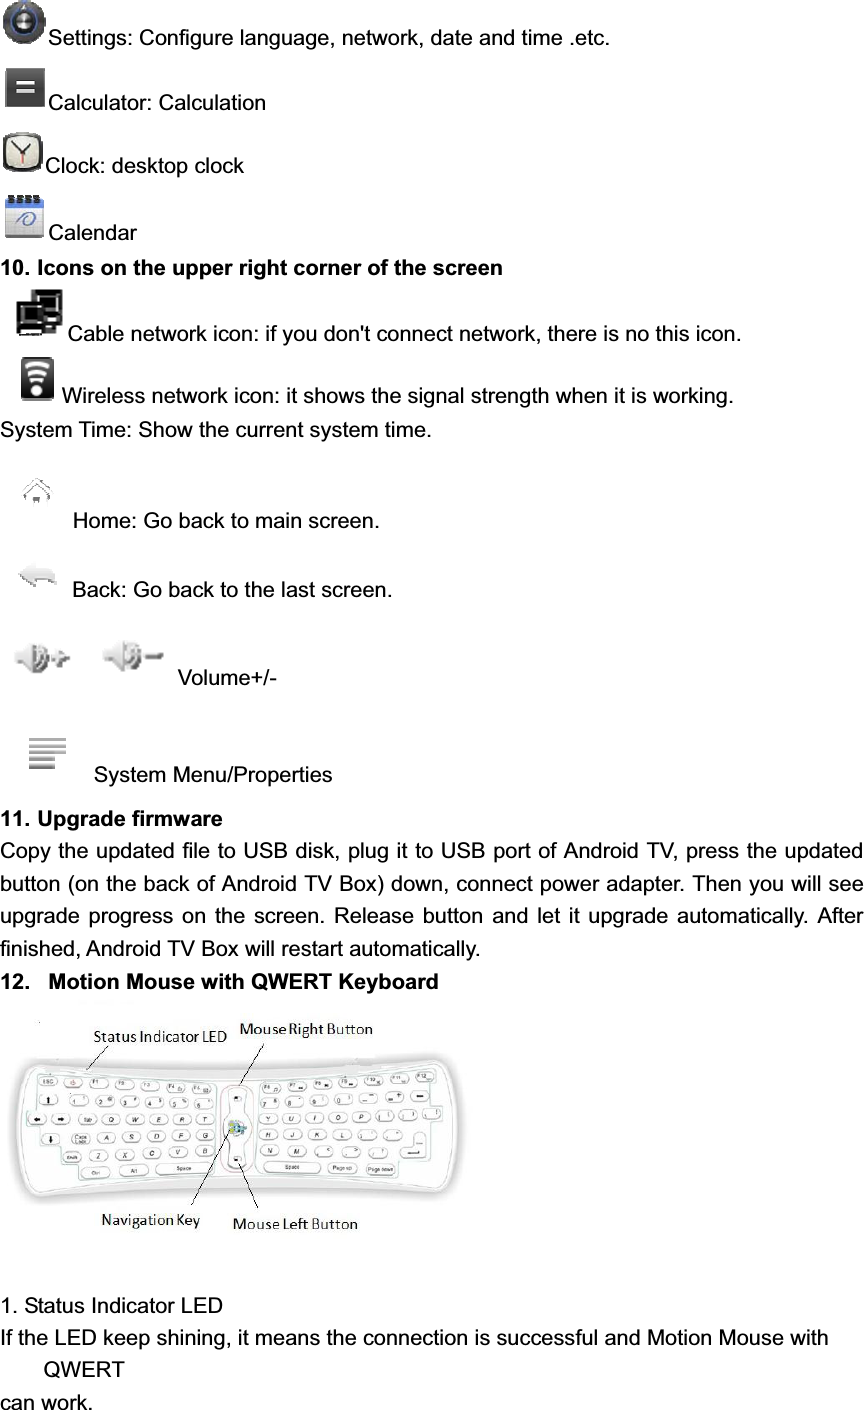
![If none of the buttons on the keyboard has been pressed, and the LED (16Hz) flickers quickly, it Means the power of the batteries is insufficient and you need to replace the batteries 2. Button function (1)Key(s) location It is the main component of the product ,the arrangement of the keyboard is the same as the common keyboard, it includes digits keys ૠalphabetic keys ૠusual operational symbols keys and punctuators keys, and also some necessary control keys Special key: F1 MENU F2 HOME F3 NOTIFICATION F4 BROWSER F5 GMAIL F6 MUSIC F7 ZOOMIN/Fast Backward F8 PLAY/PAUSE F9 ZOOMOUT/Fast Forward F10 MUTE F11 VOL-- F12 VOL++ []Power(2) Mouse buttons [] mouse navigation key: press and hold this button or double click this button, the cursor will appear exactly where you point, wave your wrist around. Single click this button (in this mode, only mouse right and left buttons are workable, the other buttons are useless) [] Quick double click: active/de-active suspend mode. [] Mouse left button of the mouse: work the same as the common mouse left button [] Mouse right button of the mouse: work the same as the common mouse right buttonHow to use: Point the arrow buttons to your TV.](https://usermanual.wiki/Geniatech/ATV1000ATV2000/User-Guide-1466732-Page-8.png)